Posts

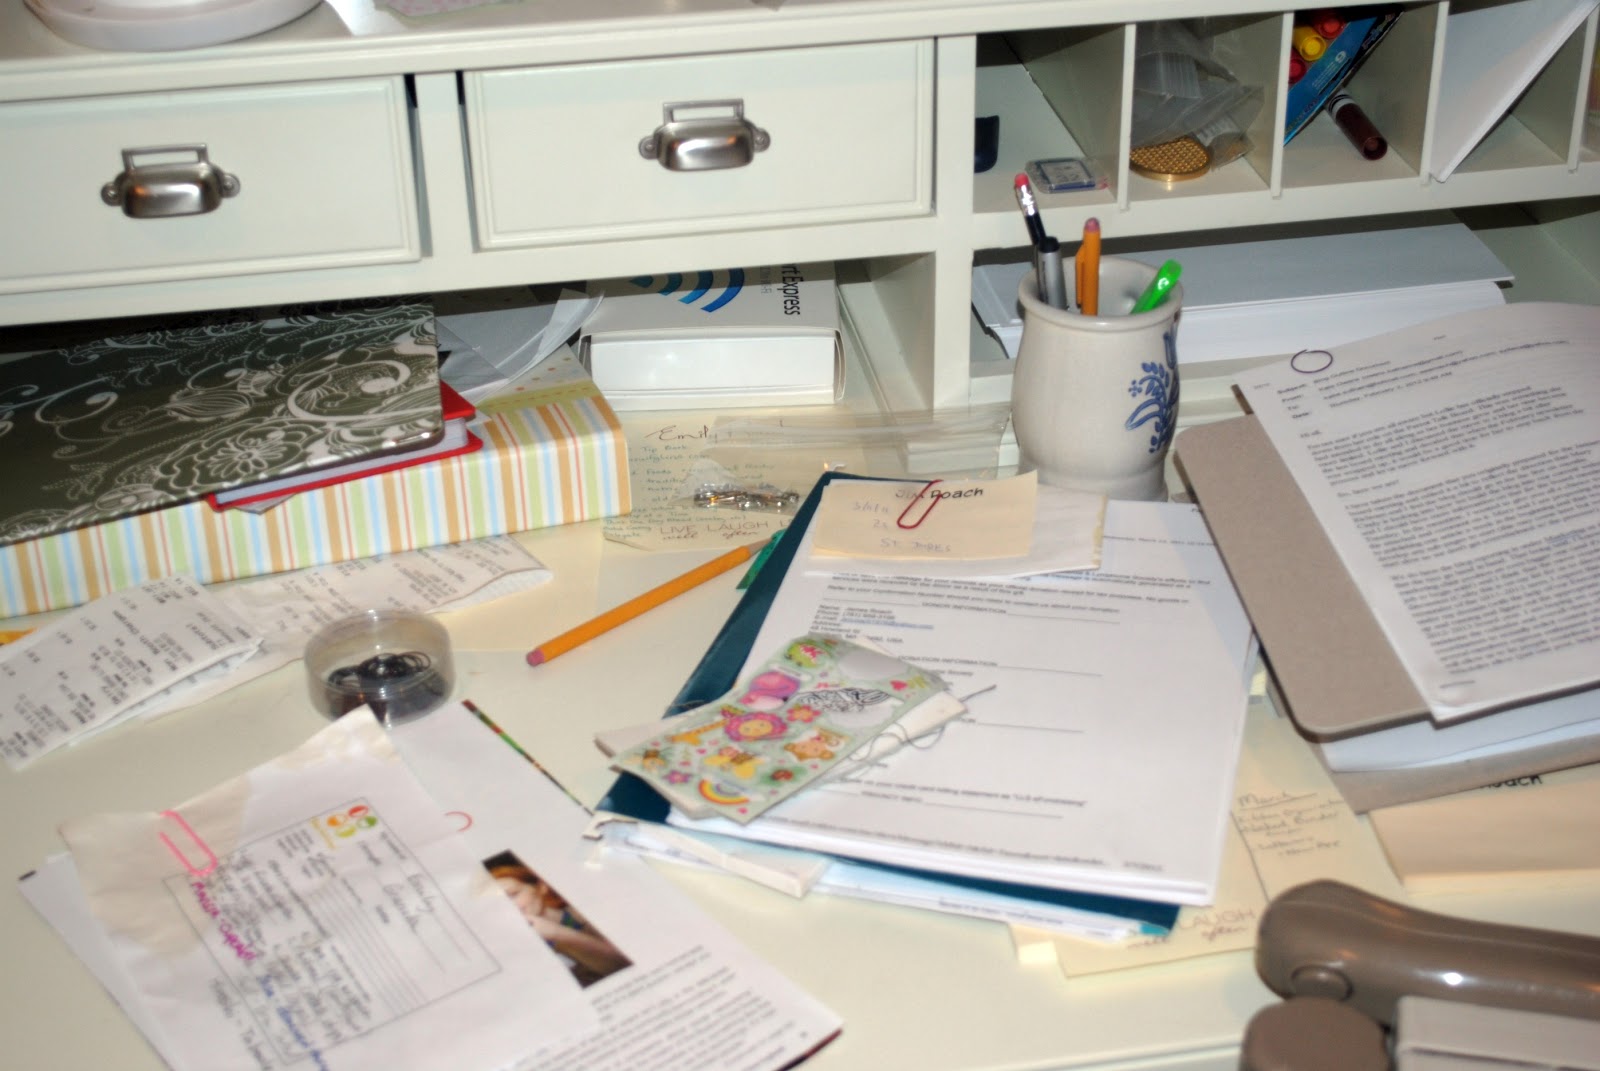
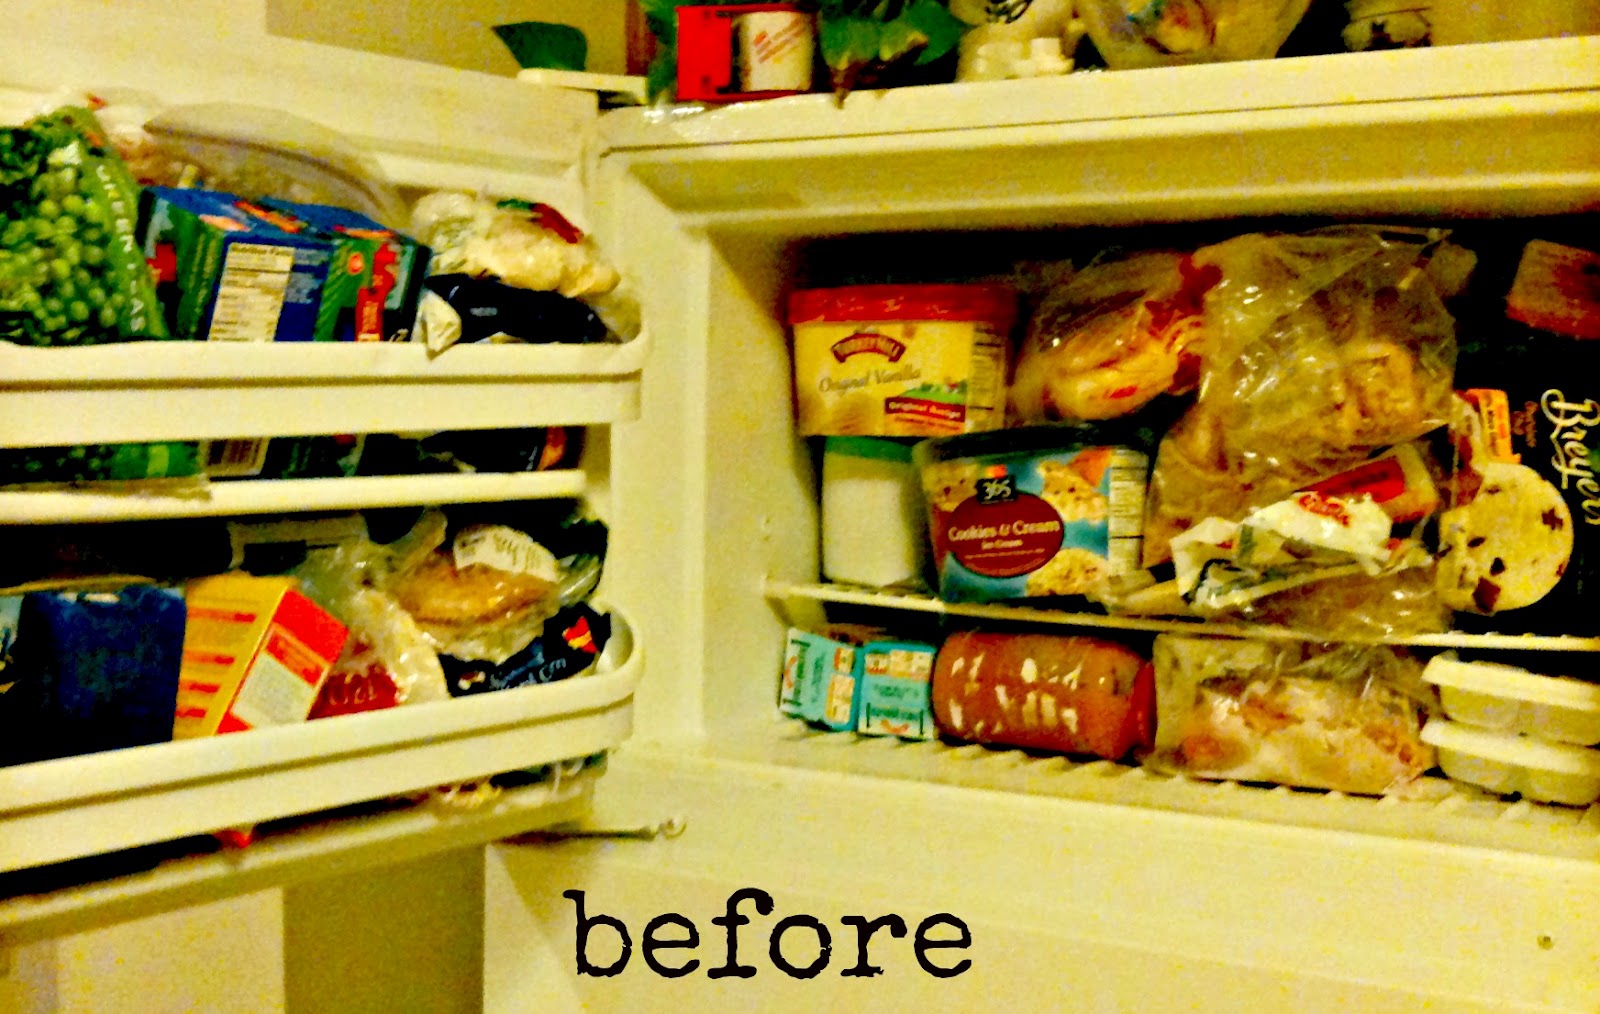
Good news when you want to organize your freezer.  You have to finish this project, and finish fast.  When I started menu planning last week I realized my freezer had gotten a little out of control.  Usually I keep a running of list of what’s inside clipped to the side of the fridge.  I realized that the freezer was full, but not with anything useful to make dinner.  Time to clear it all out and start over. (And why exactly do I have THREE ice creams in there??)

I choose clear Fridge Binz from Bed Bath and Beyond for this project.  You can get them on Amazon for a lot less than I paid…lesson learned. Check online first! I liked the clear option and the durability of the material.  I don’t mind spending a little more money on an organization system if I think I can use it for the next 10 years.

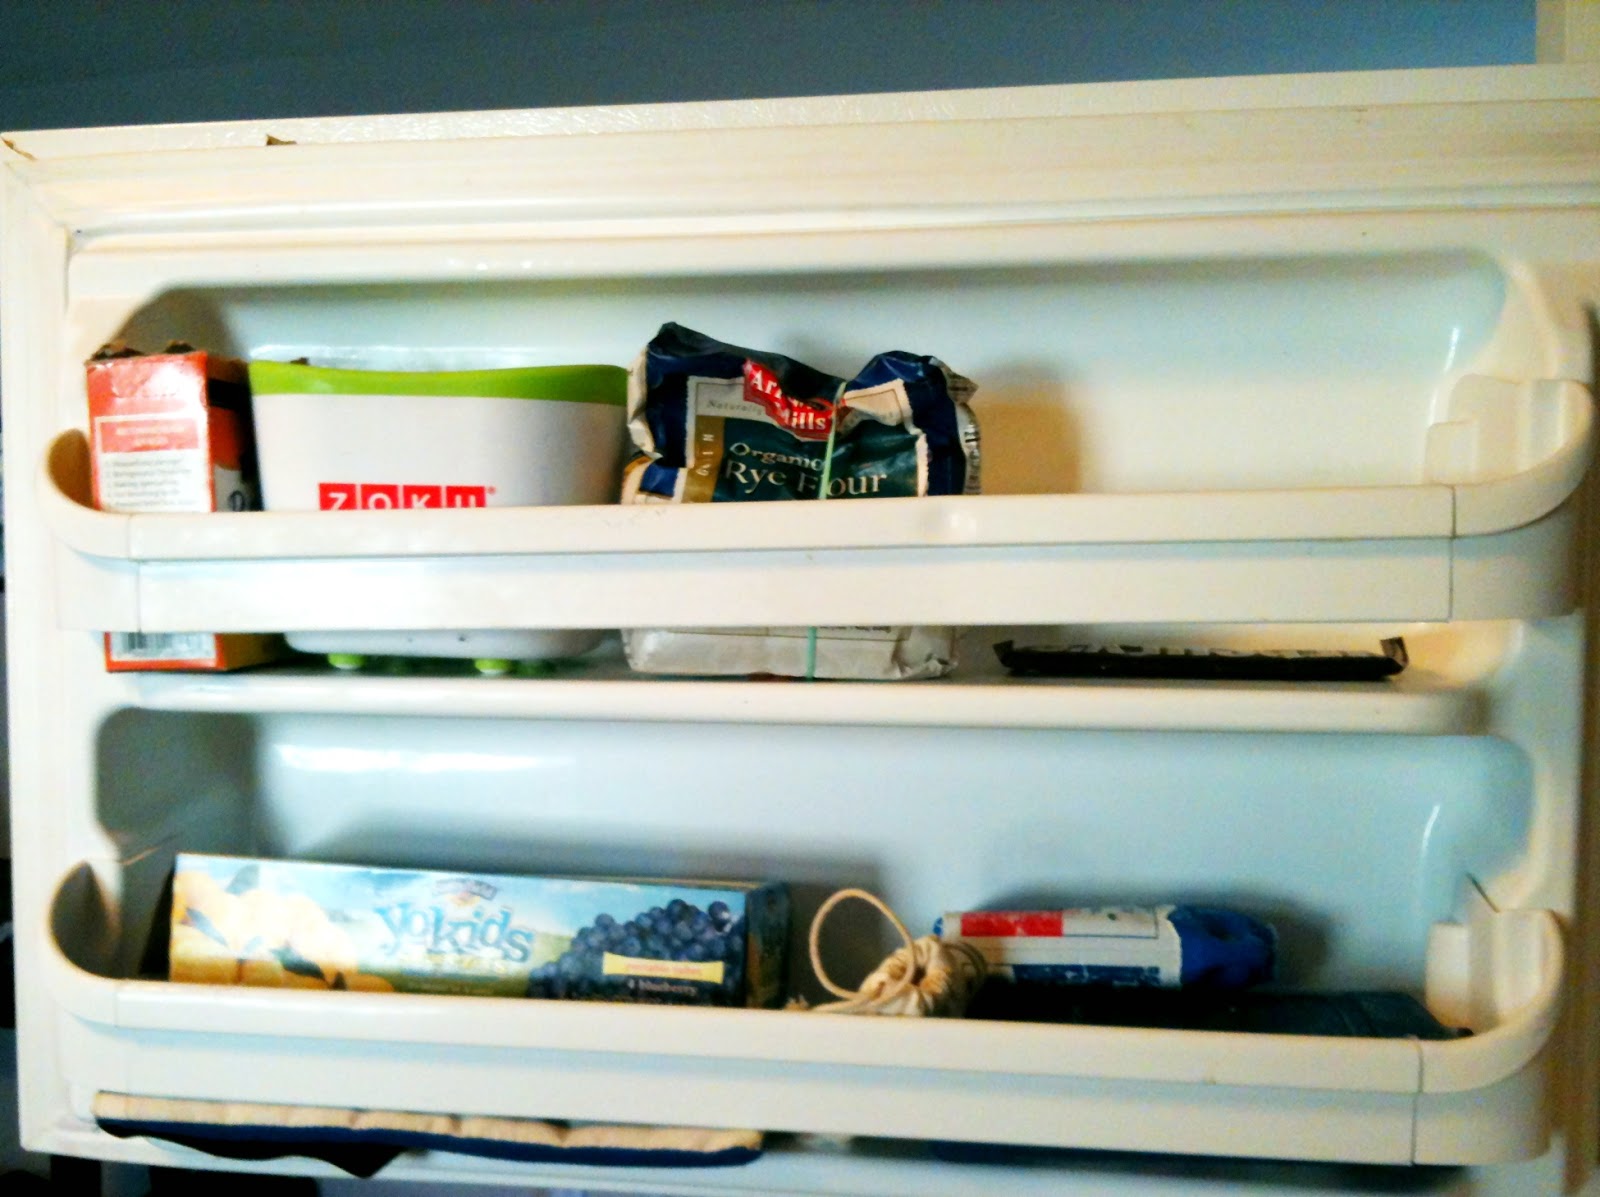
The door now has some workable space.  So excited for the warm weather to break out our Zoku Popsicle maker and use up some of the frozen fruit I found.

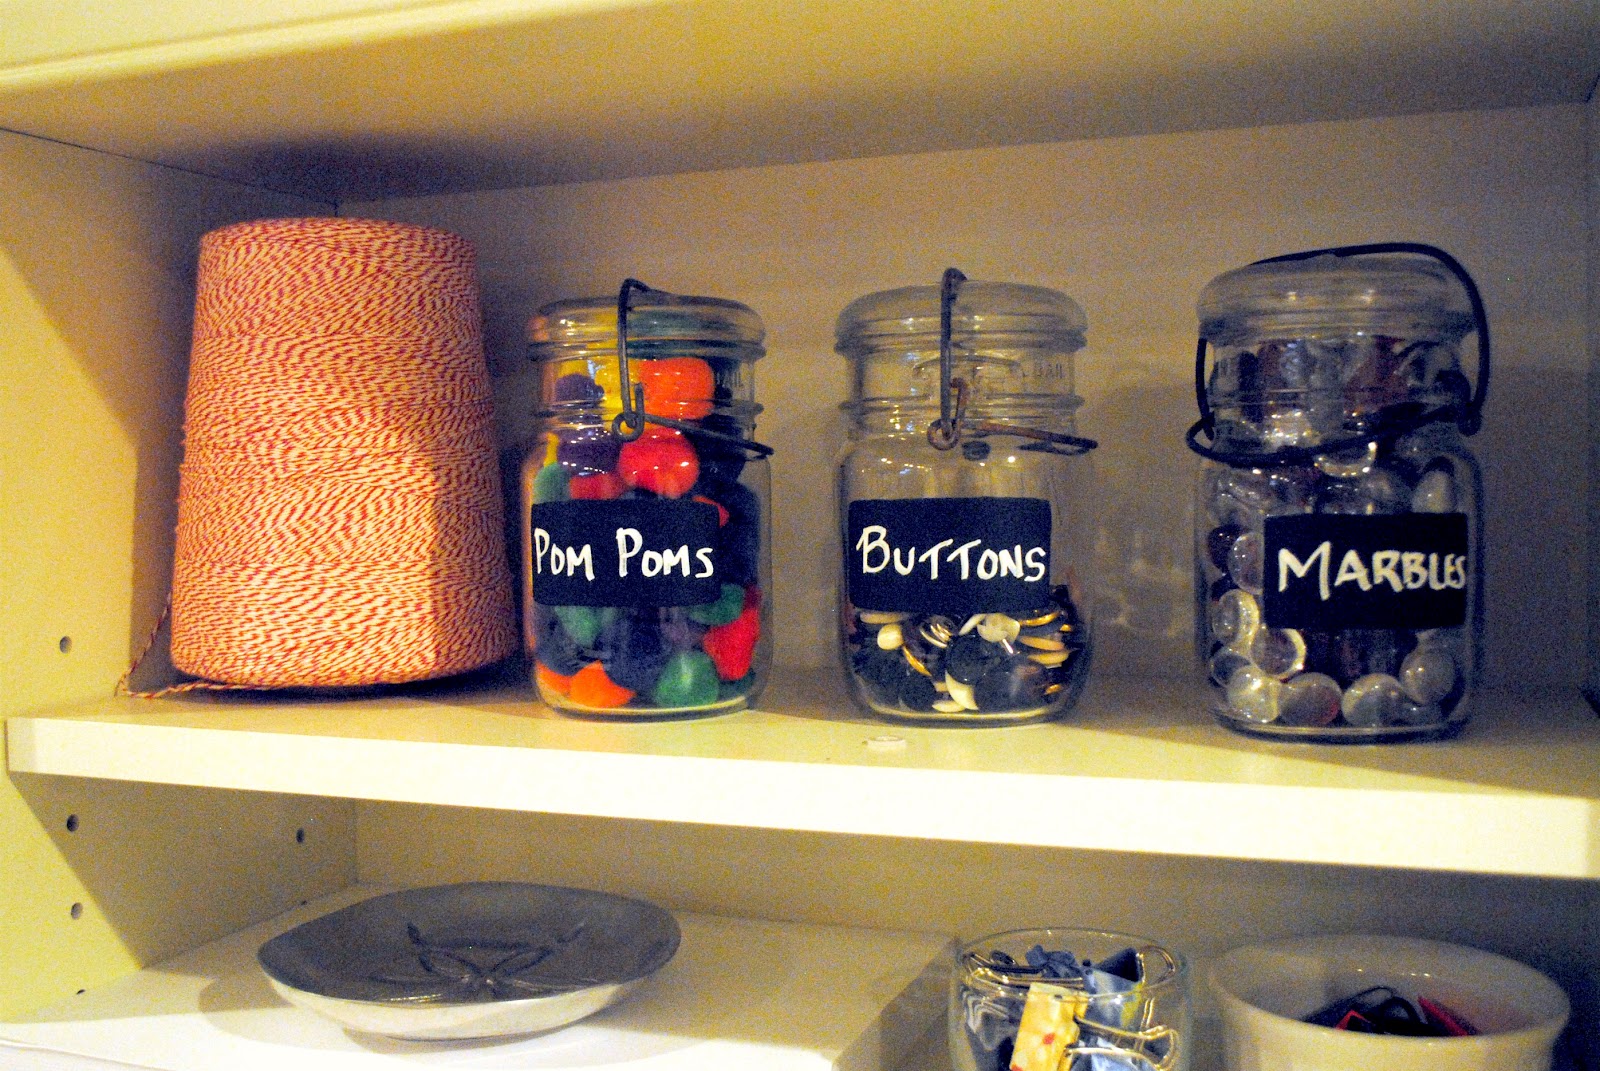
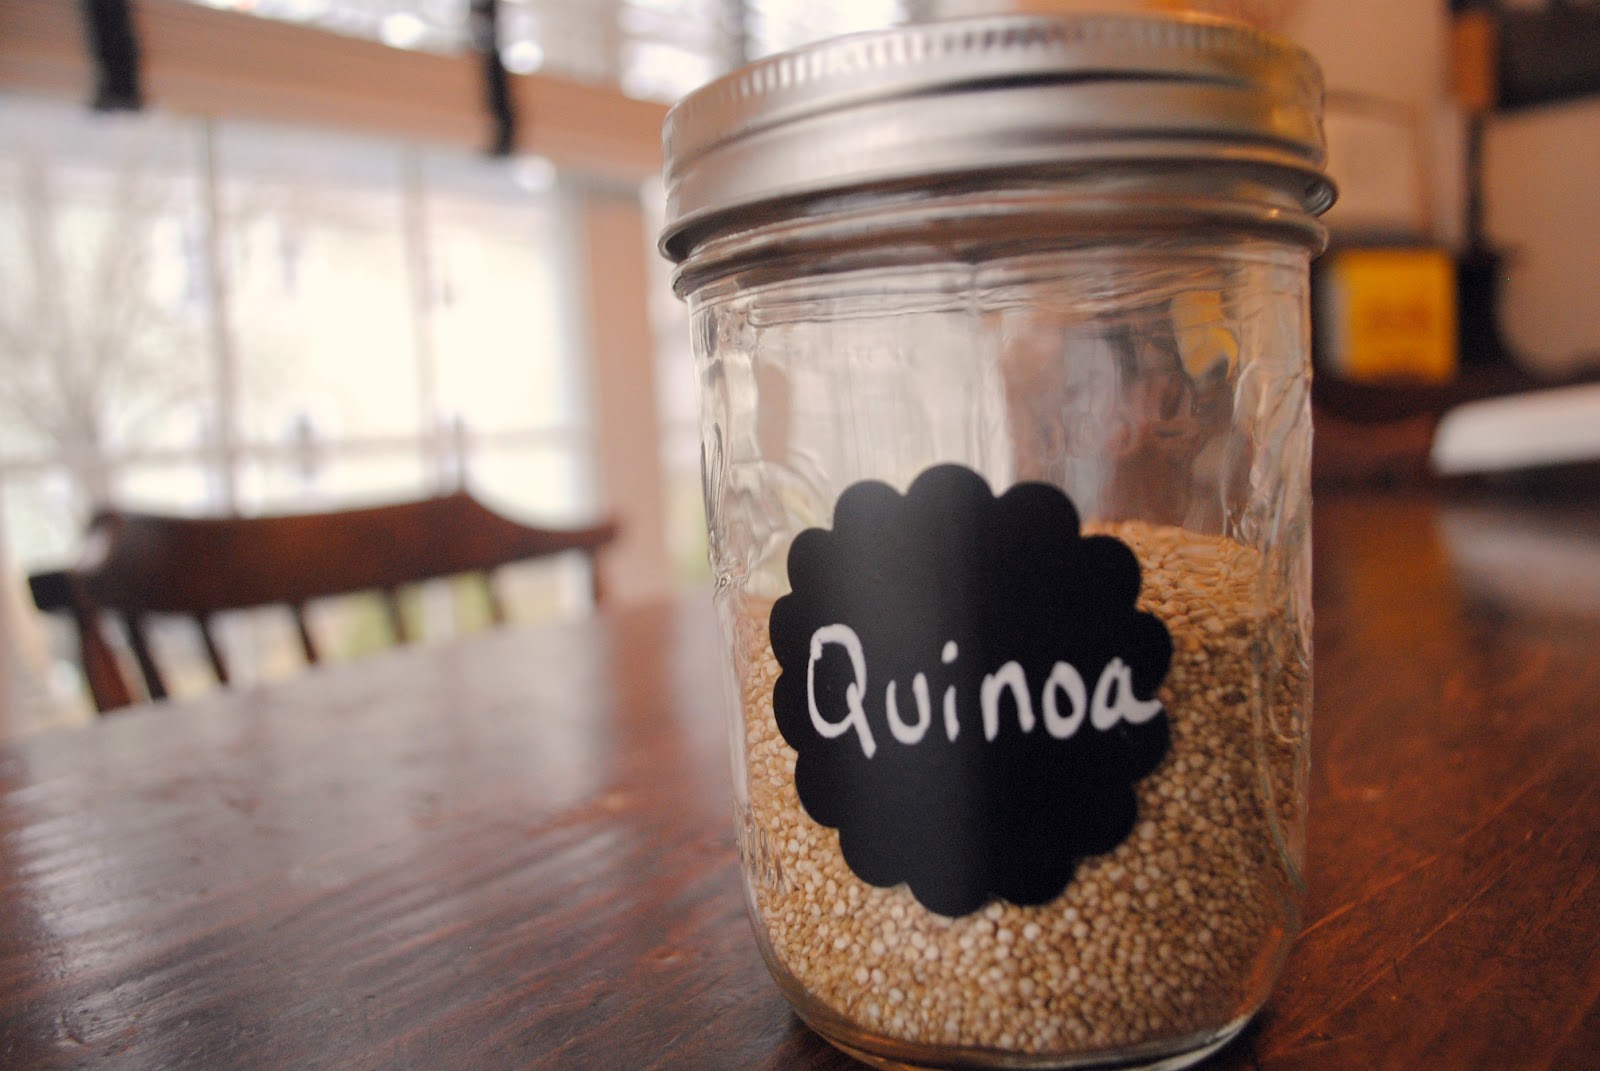
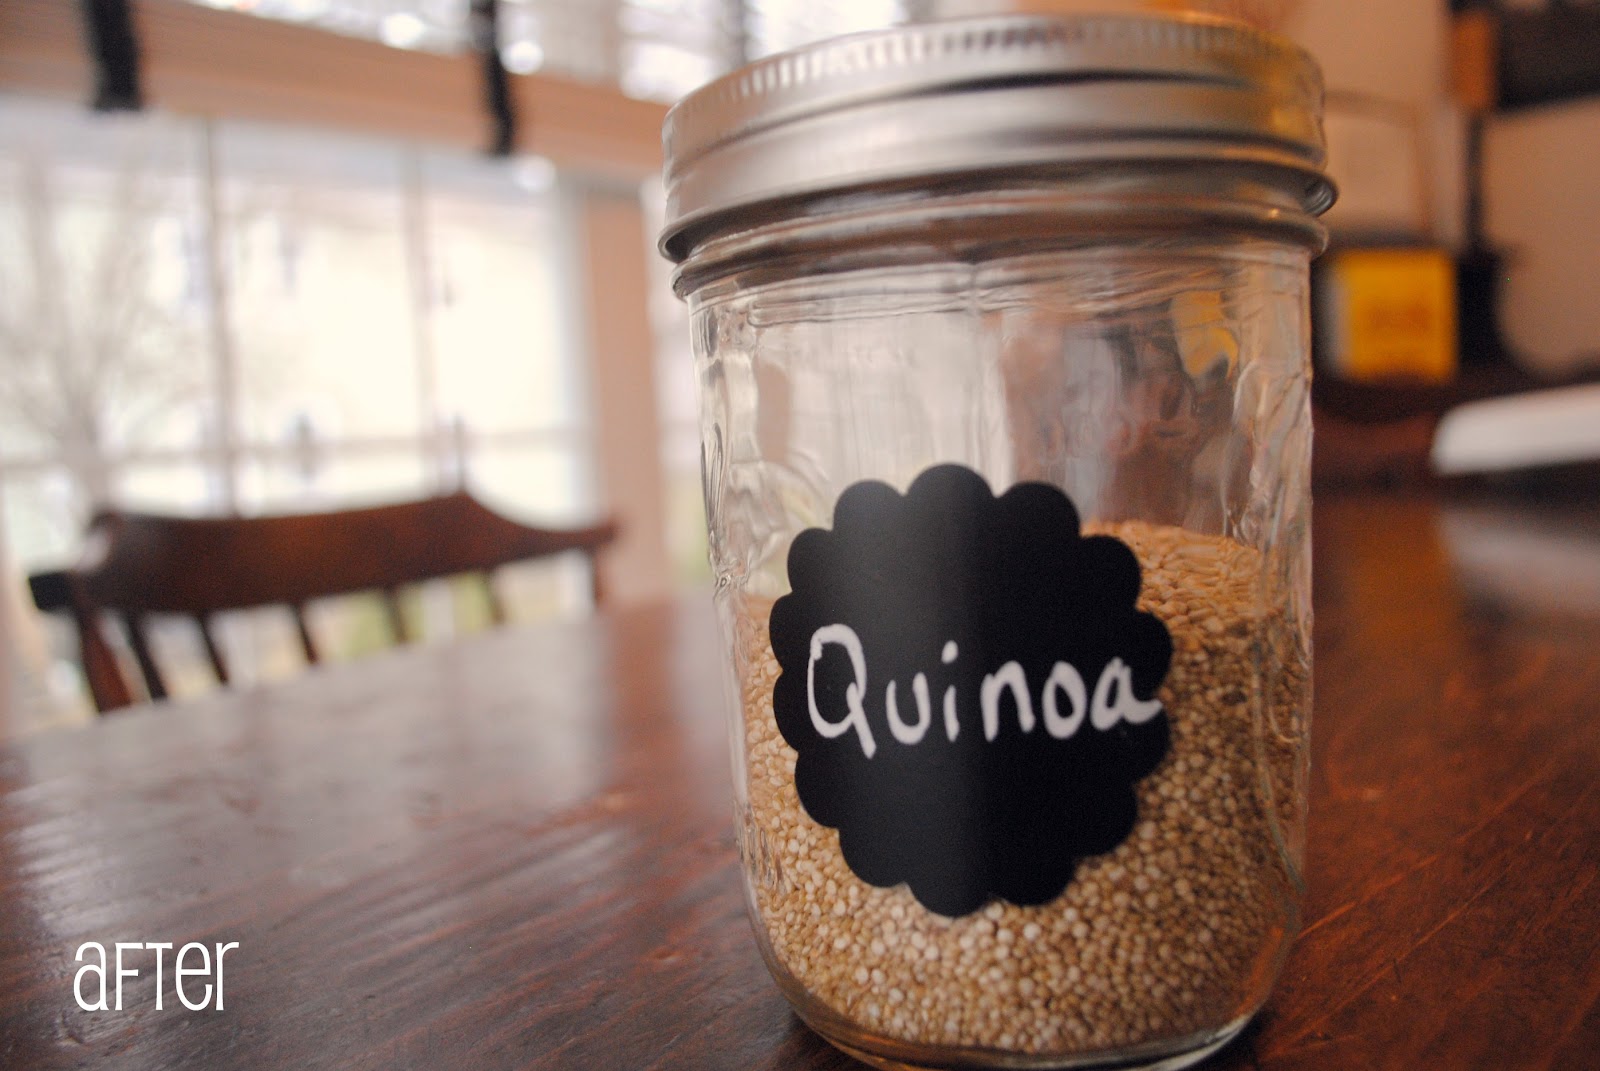
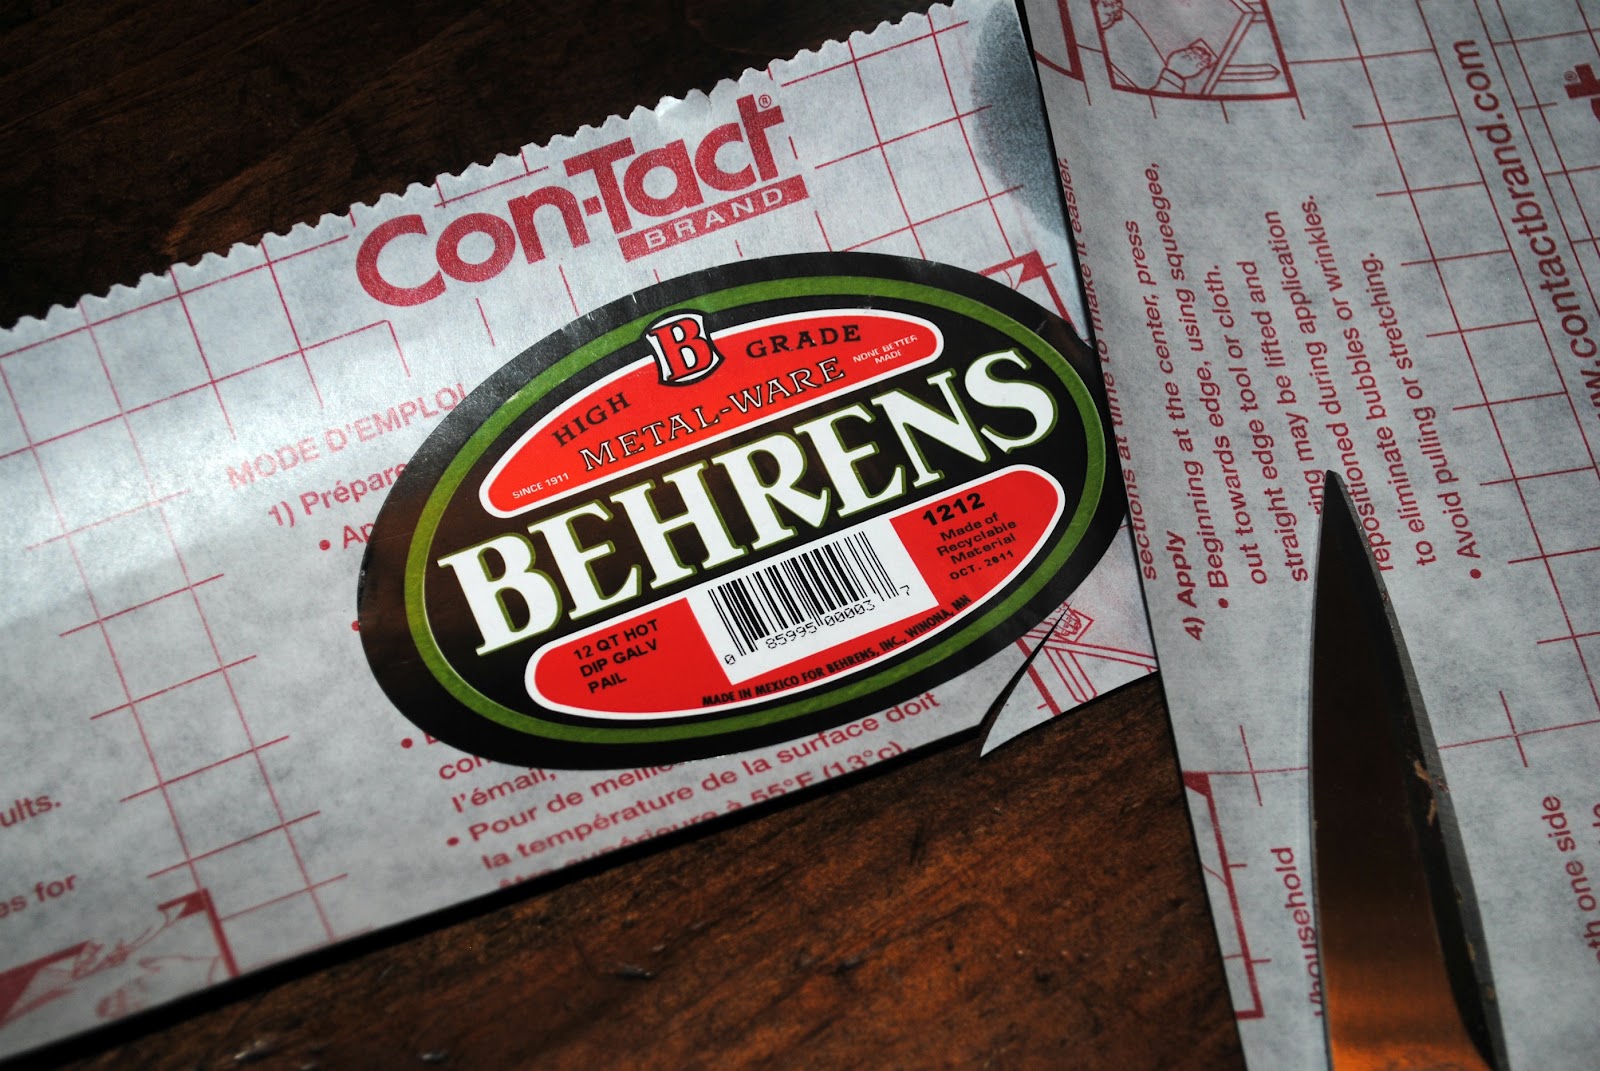
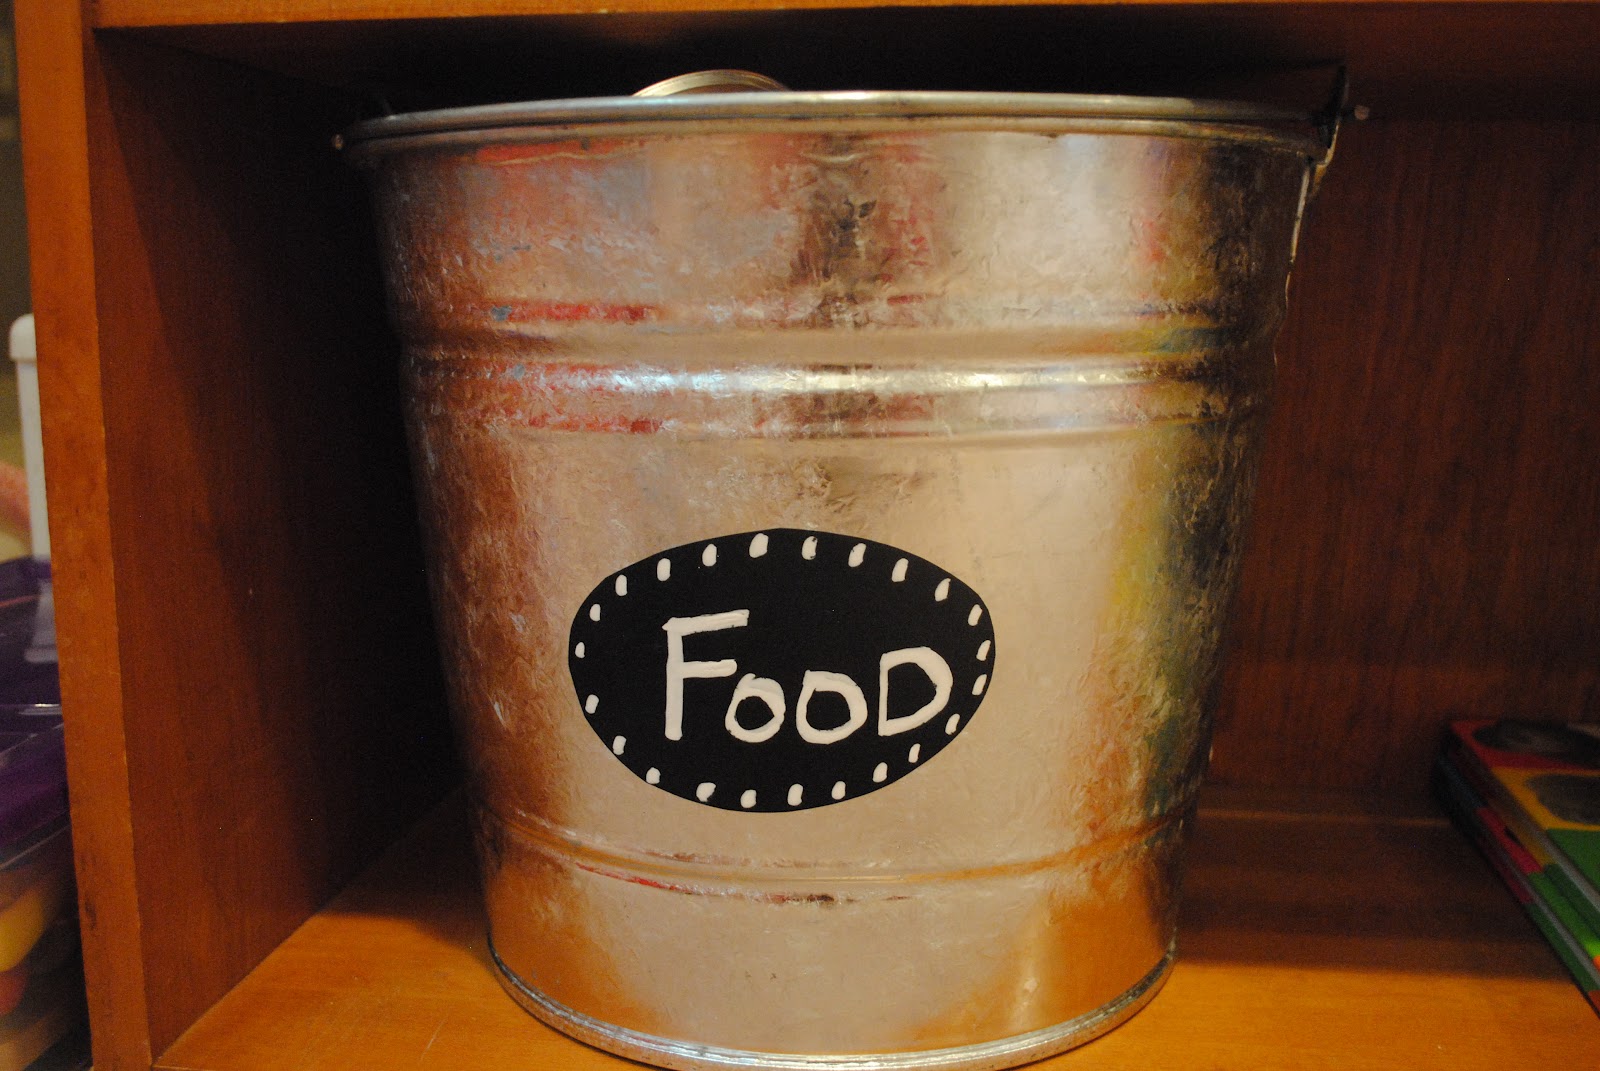
The labels were made by the Chalkboard Contact PaperI have used in my other organizing projects last month.  I like the simplicity of the black and white labels so I just keep going with it for now.  I even like how the scallop punch label for the apple sauce came out.  I can reuse the jar, wipe off the label and then fill it with something else.

Anyone else have an organizing project ahead for the weekend? I love to hear what everyone else is working on and get inspired to tackle something else!

-Amazon links are all affiliate links. I you purchase through them, it will usually save you money and also kick back a little to support this site. Thanks for your support!

Do you have a room in your house that ends up being the dumping ground for papers, pictures and more?  That  is what has become of my home office.  It shares space with the playroom in the basement and over the past few months, it has been collecting more than its fair share of random items.  I am a big believer in finding a home for everything so this area was a big stress.

The scary “before” shot

Now it’s time for week 4 of Project Simplify.  It’s pick-your-own hot spot this week and I knew it was time to tackle the home office. Don’t miss the giveaway at the end of the post to help you get started organizing your home management projects!  

I realized that it was time for the home office to share the burden of organizing both the grown-up’s stuff and also the kids’ craft stuff.  It’s more fun to enjoy crafting time when you can put your hands on crayons and paper quickly.

Vintage glass containers with chalkboard labels

The clean out project came first.  It took a few hours, including a few with my husband to do the all important task of weeding through our filing drawers.  We were left with bags of papers to recycle, items to be donated, pictures to be added to albums (hundreds of them at that) and finally a clear work space to decide how to organize what was worth keeping close by.  I suggest doing this first to make it easier to then decide what types of containers you may need, instead of buying containers first.  I decided to use what I had and give them consistent labels to help create some cohesiveness.

The hutch is my favorite area as everything now has a home, and I can find my glue gun super fast!  I used the Chalkboard Contact Paperthat I also used for my Pantry Project during week 2. My favorite craft punch is the Tag Punchbecause I can create tags from any paper I have on hand.

I wrote on the labels with Wet Erase Chalk Marker for large labels and then use a very skinny line silver marker for mini drawer labels.  I like how the black and white labels looked so I tried to be consistent throughout the office area.

My working desk is now cleared off and I can give all three of my major projects their own space.  I am using a Naked Binder for my blogging paperwork, including their binder dividers and pocket folders. These binders appealed to my eco-friendly self as they are made from 100% post consumer waste board.  Absolutely no plastic. For my other two volunteer projects, I’m in the process of creating binders to keep the paperwork from getting scattered around.

Blogging Binder 

I’m also starting to use the invite.L daily planner.  It has grid lines and space for me to write to-do lists for the blog, farmers market, Parent Talk and just everyday home stuff.  Now I don’t have multiple lists going and it’s helping me prioritize what I need to tackle first.  Plus the cover is in French which always brings a smile to my face.

Leave a comment below to win a daily planner from invite.L and also a Naked Binder package!  Contest will be open until midnight April 10th, 2012. A winner will be notified via email.

a Rafflecopter giveaway
I hope this organization series has inspired you to tackle some of your own hot spots.  I think sharing organizing tips is relevant for Random Recycling as it can help you find items to repurpose, or save you from buying a new stapler when you really have two buried in a drawer.  I have found Organized Simplicityhelpful in reminding me that less is more.  The less stuff laying around, the faster it is to clean your house.  There is also a sense of calm that exists when you walk into a room and don’t see a pile of to-do’s staring at you in the face.  I hope you have enjoyed this series as much as I have, and your home has too.

Image and video hosting by TinyPic

Week 1: Kids’ Storage with Paint Buckets
Week 2: Creating a Pantry
Week 3: Laundry Closet

I love to hear your feedback and comments. Stop by and visit FacebookPinterest or Twitter for more conversation!  Or get posts delivered via Email or RSS Feed. Thanks!    


To see even more organization ideas: SimpleMom, TidyMom, BlueCricketDesign,  Frugally Sustainable, Your Green Resource, and OrgJunkie

This is the final week of Project Simplify.  It’s been so much fun tackling a specific area each week.  My husband likes it so much he has picked out our “mail table” for next week to continue our challenge.

Everyone gets to pick their own hot spot this week.  For me it’s the home office.  It has been a bit of a dumping ground since the holidays and it needs some TLC.  I have a variety of projects I work on, including the blog, social media marketing for volunteer organizations and helping to launch a farmers market in town.  There are too many piles of stuff so I will also be sharing some new organization systems for managing different projects.

Plus there will be a giveaway to celebrate the end of Project Simplify!  One winner will receive products from both Naked Binder and invite.L.

Here is the starting point for the home office…I’m already looking forward to cleaning this up!


What’s your hot spot for the week?

Image and video hosting by TinyPic

Week 1: Kids’ Storage with Paint Buckets
Week 2: Creating a Pantry
Week 3: Laundry Closet

I love to hear your feedback and comments. Stop by and visit FacebookPinterest or Twitter for more conversation!  Or get posts delivered via Email or RSS Feed. Thanks!    

Sometimes life gets in the way of blogging.  This was one of those weeks.  This is a quick recap of the before and after of my closet projects for week 3 of Project Simplify.

I’m glad I started this project at the beginning of the week.  Our game closet was a little scary.  It kept growing without weeding out the games we didn’t regularly play.  I divided it up into three piles: Keep, Keep somewhere else and Donate.  The donate pile ended being fairly large which made me happy.  I hope other families will enjoy them as we have in the past.

Donation pile

Afterwards we have a coat closet with a tidy shelf of the strategy games we regularly play.  Plus we cleaned out the bottom half of the closet too, including four blankets.  How does that happen??

I made a dent in the laundry closet, yet it’s still not quite done. There was dead space in this closet that we put to good use. (See a trend here with my past post, Creating a Pantry)

It’s for shoes.  Specifically, my husband’s size 14 shoes.  They just never fit into our cubby by the back door and always needed their own home.  I think he is most excited about having all of his biking gear all pulled together so he can quickly buzz out for a ride. We also got a new Dust Buster and mounted it to the wall to free up additional shelf space.

 I’m still trying to figure out how to improve the bottom row, I may but more of these $2 Target ice buckets in green.  I like the pop of color it provides when I open the closet.

So life gets in the way sometimes.  I dropped everything this week and took my kids to spend time with my Nana during her final days.  Being around kids always made her happy.  Sometimes that is all that matters.

For more organizing ideas, follow my Pinterest boards. If you have a Project Simplify post, please feel free to share it in the comments.

Image and video hosting by TinyPic
I love to hear your feedback and comments. Stop by and visit FacebookPinterest or Twitter for more conversation!  Or get posts delivered via Email or RSS Feed. Thanks!    

After last week’s pantry project, I had some time to think about how to maintain a healthy, real food pantry.  I want to be able to open the pantry door and find things that I will use regularly and will work easily into each week’s meal plan.  There will always be some boxes in there of crackers, cereal and possibly Trader Joe’s Cornbread mix.  That is our reality as I have yet to see a super easy cracker recipe that I can make with two kids hanging off my leg.

In the meantime, here are my suggestions of how to work on creating a real food pantry.  Divide it up into categories and take it one step at a time.  This is a list of the items nearly always in the (new) pantry,or main kitchen shelves.

Baking
-Rolled Oats, old-fashioned not the quick variety
-Steel Cut Oats
-Unsweetened Coconut
-Flaxseed
-Sunflower Seeds
-Pepitas (pumpkin seeds)
-Honey
-Agave
-Molasses
-Maple Syrup
-Whole Wheat Flour
-Coconut Oil
-Baking essentials like Baking Soda, Baking Powder, Brown Sugar

Main Dinners & Sides
-Variety of Beans (I have started cooking beans in my pressure cooker)
-Whole Wheat Pastas (& Gluten free pasta for visitors)
-Variety of Rice (I use short grain brown rice and arborio most often)
-Barley
-Quinoa
-Lentils
-Coconut Milk
-Artichokes
-Good Tuna packed in oil
-Olive Oil
-Sesame Oil
-Variety of vinegars (Red Wine, Rice and Champagne)

Nuts are also a big part of our “pantry” storage.  However I store them all in the refrigerator to keep them as fresh as possible.  Although we go through them fast, I want to keep them as fresh as possible.  The oils in the nuts can go rancid if left in the cabinet too long.  (Same for Wheat Germ, that is also stored in the fridge.)  The nuts we always have on hand are Walnuts, Pecans and Almonds.  Peanuts are generally only purchased if I’m making pad thai.

This year I want to try out some recipes using some alternative flours like brown rice flour or coconut flour.  We have so many friends, or their children, who have gluten issues and I would like to be able to offer a fun, healthy treat for them at an event or playdate.

Whole Foods self-serve bulk buying section

Maintaining a real food pantry doesn’t need to be expensive.  I find buying from the Whole Foods self serve bulk section the most affordable option for me.  Costco is also where I buy a lot of basics like old fashioned oatmeal, brown sugar, agave and many of the nuts we use.  Coconut oil is always purchased online as I tend to find better deals on bulk sizes.  Eventually I would love to get really large quantities and organize a co-op, but this project will just have to wait.

Reuse your tomato sauce jars for your pantry and it’s another way to reduce costs.  You don’t need to buy more plastic containers for bulk/pantry items.  Use what you are already using.  I even use some of our old Tupperware for storage, then I won’t risk putting it in the microwave.

Don’t forget some fun labels…see more in my Creating a Pantry post!

What are your must-have’s for a healthy pantry?

It’s already week 3 of Project Simplify and it’s time to tackle Closets, Drawers and Countertops.  Free time is tight this week so I’m targeting a couple of hot spots, along with my helpers…

The “emptier”
The “distractor”

Our board game collection has taken over our coat closet.  While we are huge fans of strategy games, there are a few too many in here that we rarely play.  This is hot spot #1 for the week.  I discovered we have not one, not two, but three versions of Scrabble in our closet.  Plus Bananagrams.  Time to donate a few versions and move on.  I think I’ll use the letters from Bananagrams to help Madison with learning her letters.

Hot spot #2 is our laundry closet.  It’s right next to the back door and it ends up being a “catch-all” for things besides the laundry.  Again we have a closet with some dead space…time to fix that.  After six years of living here, adding two children to the family, we realize that we need to maximize all the space we have.

There are a couple of random spots in the kitchen on my hit list too…kids’ dishes, the “junk” drawers and the plastic storage stuff that we rarely use now.  Thanks goodness for Pinterest to find some inspiration to organize these areas too!

Kids’ stuff with grown-up stuff, yes or no?

Which is your hot spot? Closets or drawers or countertops?

Image and video hosting by TinyPic
I love to hear your feedback and comments. Stop by and visit FacebookPinterest or Twitter for more conversation!  Or get posts delivered via Email or RSS Feed. Thanks!    

We live in a small space, but I love to cook.  I would love to have a huge pantry someday, but in the meantime, I need space to do double duty. There were a few problems happening with our “recycling” closet.  As our family grows, along with appetites, I have seen an increase in our incoming groceries. There are large packages from Costco, bulk bin goods from Whole Foods, plus the items I stock up on when there is a good sale.  The items were not being stored well in our kitchen, so many things were getting crammed into this closet.  A closet which had a whole lot of dead space in it.  There were two upper shelves to start, plus we added in an old bookcase that’s been around since my first post college apartment.  I decided it was time to CREATE A PANTRY!

The first stop I made was Lowe’s.  After taking the measurements of the original wire shelving, I set out to get two more.  I love that you can get the shelving cut to order there so it’s the perfect size.  I also found some handy storage totes there too as you can see in the pictures below.

I figured out the drill and installed the shelves myself.  Measure twice and cut once, that’s what my Dad always taught me.  They were really easy to install and although wire shelves are not my favorite thing, they are inexpensive and allows for good lighting from the bulb overhead.

The next step was to clear out the whole closet.  We had way too many shopping bags and paper bags taking up space.  I reduced it to a few brown paper bags to line the recycling bins, plus my favorite rice sack bag.

Next up were some new labels for my glass jars.  I use a mix of glass mason jars, tomato sauce jars and coconut oil jars.  The glass coconut oil jars from Tropical Tradition are big, free of decoration, and just perfect for storing the shredded coconut I use for my granola.  Making the granola each week is one of the main reasons why I buy in bulk and needed a new system.  I’ll share more in a future post about how to create a real food pantry, without spending a fortune.

I ordered Chalkboard Contact Paperfrom Amazon, along with a wet erase chalk marker.  I wanted the label to be more vibrant than with just white chalk. I made a mistake on one label and this stuff really does wash off with a wet towel, and I reused the label with no problem.  I’m hoping that if I need to change a label in six months, I can still wash it off.  Time will tell!

I punched out labels using a 2″ scallop cutter for the jars (EK Success), and a tag punch which looks to be about 3″.  Then I wrote up all the labels and let them dry for about 5 minutes. I used Wet Erase Chalk Marker. I labeled everything that I felt would be a mainstay item in my pantry, including breakfast items like steel cut oats.  Random items like Israeli couscous I didn’t label as I only get it for specific recipes in small amounts.

The tag labels went on the new fabric totes I bought at Lowe’s.  They were on sale and quite a steal.  Plus I love the pop of color when I open up the pantry. The labels are now consistent on both new shelves.

Pantry Organizing RandomRecycling.com

Ready for the final ta da shot…this just makes me happy now when I open the door. The actual door now has additional storage too.

This project should have a disclaimer on it.  I did not do it in a week.  More like 2-3.  In the spirit of full disclosure, I don’t want anyone to think this magically happens in just a few days. At least I hope this can give you a road-map to how to get a similar project done in a few easy steps. Overall it was a low cost project that has huge rewards. Ready to stock your pantry with real food?  Check out my Create a Real Food Pantry post.

I also gave my trusty recycling bins some love and added labels to them: Plastic/Glass, Paper, and 5 cent bottles.  This system has worked great for us the past 6 years and there was no need to
fix it.  Now it’s even easier for us to access the bins.

If you are looking for more kitchen organization ideas, check out my Organization Pinterest board.  Over at Simple Mom, there will be many more posts too with before and after pictures all about Kitchens and Pantries this week.

Do you have a pantry in your kitchen?  Or somewhere else in your house?  What are the must have items that make cooking easy and healthy?

Image and video hosting by TinyPic

Want to see what I stock my pantry with? Here is a post on how I created a Real Food Pantry.
Project Simplify Week 1: Kids’ Stuff~ Paint Bucket Storage

Project Simplify Kick-Off

Project Simplify Home Office~ clear the clutter

I love to hear your feedback and comments. Stop by and visit FacebookPinterest or Twitter for more conversation!  Or get posts delivered via Email or RSS Feed. Thanks!    


To see even more organization ideas: SimpleMom and OrgJunkie, Tatertots&Jello;, Making the World Cuter, Spring Cleaning Challenge and Frugally Sustainable , A Bowl Full of Lemons, Metamorphosis Monday

It’s week 2 of Project Simplify and the focus is on kitchens and pantries. After reading many of the week one posts on Simple Mom, I’m excited to tackle the next challenge.   My big project is creating a pantry.  Not a small project and it’s one that I started a couple of weeks ago.  There was a lot of dead space in my storage areas so I went to work on maximizing my space.

These are before pictures of what we call our “recycling closet.”  It’s near the kitchen and dining room so it’s easy to access, which was so important in setting up a recycling zone.  My favorite thing in there are our recycling bins, which are stacked 3 high to accommodate plastic/glass/tin, paper and $.05/cans.  All changes needed to work around keeping this area accessible.
The challenging part of the closet is the lack of shelves in the mid-section of the closet.  We added in a shallow bookshelf for the bottom half that works fine.  It’s just a tad cluttered at the moment.

Here’s a sneak peek into what you can expect from the final reveal on Friday.

What’s the biggest storage struggle for you in the kitchen?

Image and video hosting by TinyPic
Related Posts: Week 1 Project Simplify~ Kids’ Stuff, Toy Storage Solutions

I love to hear your feedback and comments. Stop by and visit FacebookPinterest or Twitter for more conversation!  Or get posts delivered via Email or RSS Feed. Thanks!    

Ok, so the photo on the left is from Project Simplify last year.  I realized that I only really cleaned-up last year instead of decluttering and organizing. (and that my photo editing skills have improved.)  We had the same issues this year when I took a hard look at what was happening with the toy zones.
  • Kitchen food is always everywhere
  • Books are always getting pulled out and not easily put away
  • Puzzle storage continues to be a challenge

So I think we figured out #1 and #2 and #3, puzzle storage, is something I hope I will find in other’s links in Project Simplify.

Playroom Storage Pails

I am really excited about the paint bucket storage.  I found them for about $10 at our local Lowe’s.  I used chalkboard contact paper and a wet erase chalk market found on Amazon.

I traced the original label from the paint bucket onto the contact paper, it was clearly the perfect size oval for the bucket.  Then I used the chalk marker instead of regular chalk so it would be more vibrant.  It’s also washable so I can relabel the bins as the kids’ taste changes.

With all of the kitchen food inside, the bin is fairly heavy so it’s staying on the low shelf.  I really like the look of the bins and if it’s working after a month, I’ll be getting more to fill the shelves.

Playroom Organization

The baby toys got packed up and moved to the attic.  We sorted toys into like items and tossed a few broken containers.  Toys got new batteries and a head got glued on.  I have to say it feels refreshing to see everything be so usable now.

The book issue was resolved by using empty space under our TV in the basement.  My collection of childhood favorites was getting destroyed, including the loss of covers of Make Way for Ducklings and Are You My Mother?  They are now tucked away in the back, and flanked by Golden Books and Dr. Suess learn to read books.  Plus a very loud train…

The other project that seemed fitting this week was dealing with the artwork from school.  I had a file of favorites from the past year that needed a home.

I photographed each piece on a white fabric background and have them saved on the computer.  My plan is to make a photo book to save the memory of the favorite masterpieces.  Hopefully then I can let them go, except for anything with a hand-print.  Those I will keep.  Forever.

Got a decluttering suggestion?  Share it in the comments or get inspiration from the Simple Mom collection of posts. Next up is the kitchen and/or pantry!

Image and video hosting by TinyPic
I love to hear your feedback and comments. Stop by and visit FacebookPinterest or Twitter for more conversation!  Or get posts delivered via Email or RSS Feed. Thanks!    


this post was shared at Blue Cricket Design.

Here we go! Time to clear through some of the kids’ stuff for Project Simplify.  In my case, I’m tackling the toy area(s) in our house, plus the pile of artwork that I haven’t the heart to recycle yet.  The kids’ clothes are in good shape as we have declutter system already working in that zone.  
My little helper is very good at taking everything out to help me start sorting.  We spent some time putting like items together and weeding through everything, including a pile of baby toys. 

Our other project is the artwork…piles of it.  I sorted and took pictures of each one.  Now time to put it all together into a new project.  Check back in for all the “After” pictures tomorrow!

Image and video hosting by TinyPic
I love to hear your feedback and comments. Stop by and visit FacebookPinterest or Twitter for more conversation!  Or get posts delivered via Email or RSS Feed. Thanks!