
The first stop I made was Lowe’s. After taking the measurements of the original wire shelving, I set out to get two more. I love that you can get the shelving cut to order there so it’s the perfect size. I also found some handy storage totes there too as you can see in the pictures below.
I figured out the drill and installed the shelves myself. Measure twice and cut once, that’s what my Dad always taught me. They were really easy to install and although wire shelves are not my favorite thing, they are inexpensive and allows for good lighting from the bulb overhead.
The next step was to clear out the whole closet. We had way too many shopping bags and paper bags taking up space. I reduced it to a few brown paper bags to line the recycling bins, plus my favorite rice sack bag.
Next up were some new labels for my glass jars. I use a mix of glass mason jars, tomato sauce jars and coconut oil jars. The glass coconut oil jars from Tropical Tradition are big, free of decoration, and just perfect for storing the shredded coconut I use for my granola. Making the granola each week is one of the main reasons why I buy in bulk and needed a new system. I’ll share more in a future post about how to create a real food pantry, without spending a fortune.
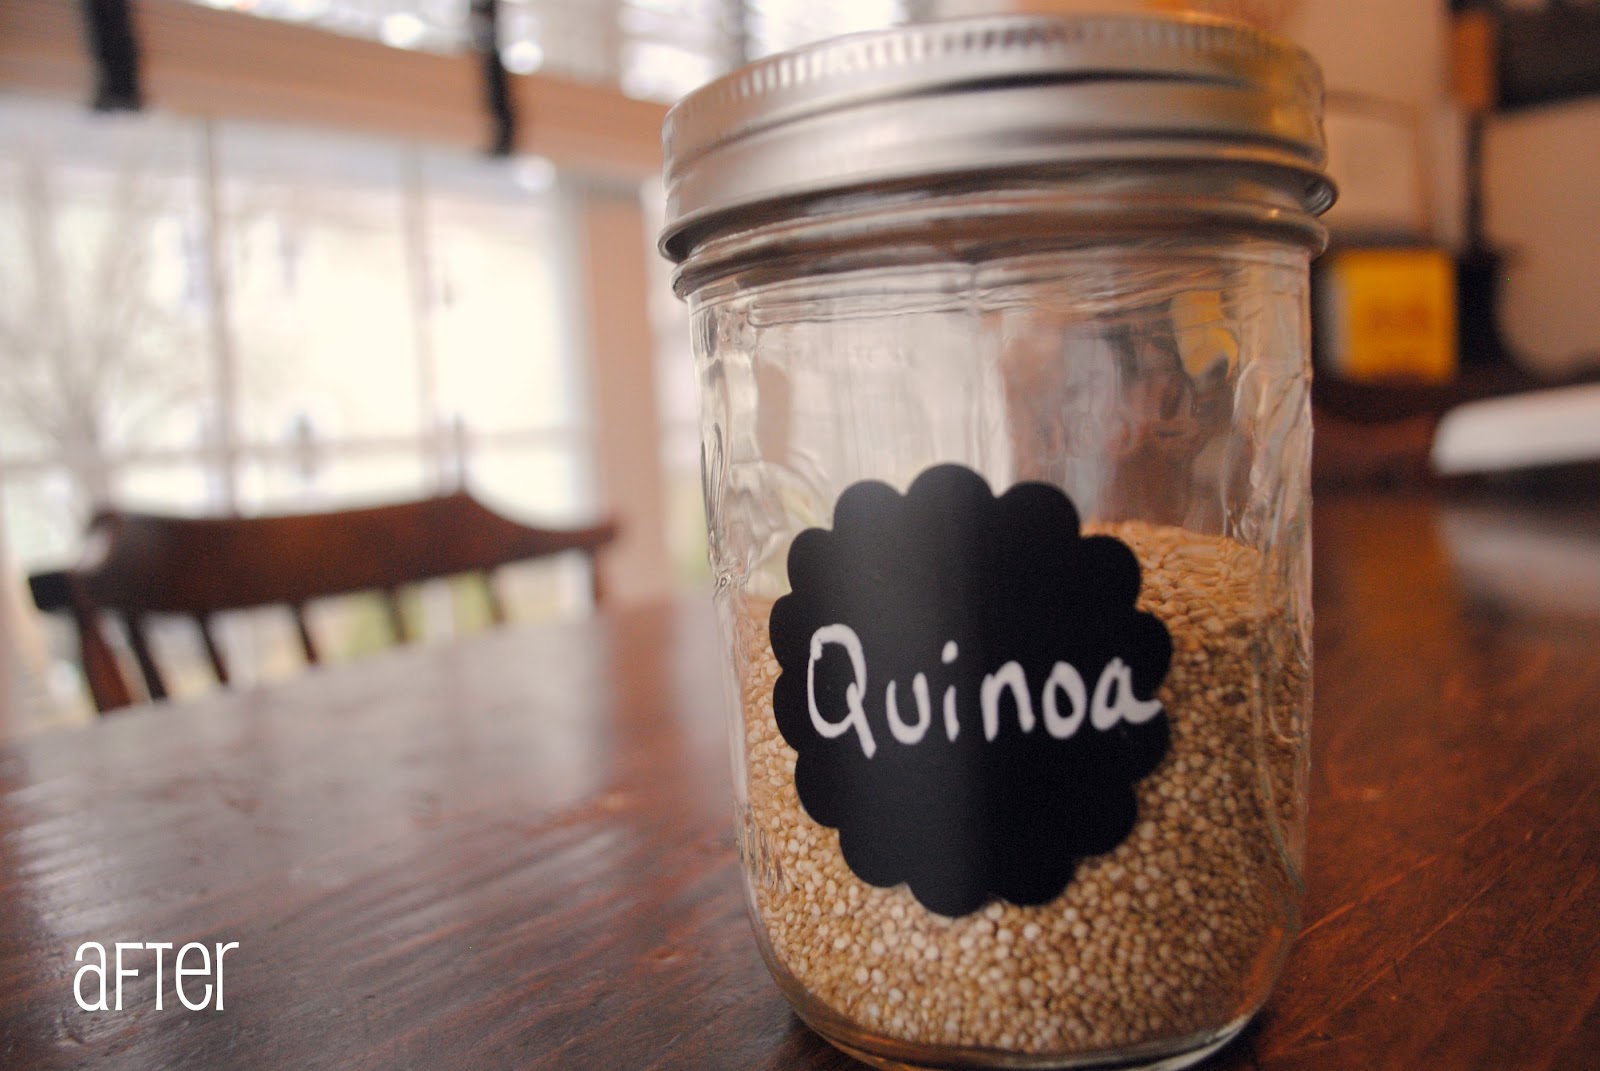
I ordered Chalkboard Contact Paperfrom Amazon, along with a wet erase chalk marker. I wanted the label to be more vibrant than with just white chalk. I made a mistake on one label and this stuff really does wash off with a wet towel, and I reused the label with no problem. I’m hoping that if I need to change a label in six months, I can still wash it off. Time will tell!
I punched out labels using a 2″ scallop cutter for the jars (EK Success), and a tag punch which looks to be about 3″. Then I wrote up all the labels and let them dry for about 5 minutes. I used Wet Erase Chalk Marker. I labeled everything that I felt would be a mainstay item in my pantry, including breakfast items like steel cut oats. Random items like Israeli couscous I didn’t label as I only get it for specific recipes in small amounts.
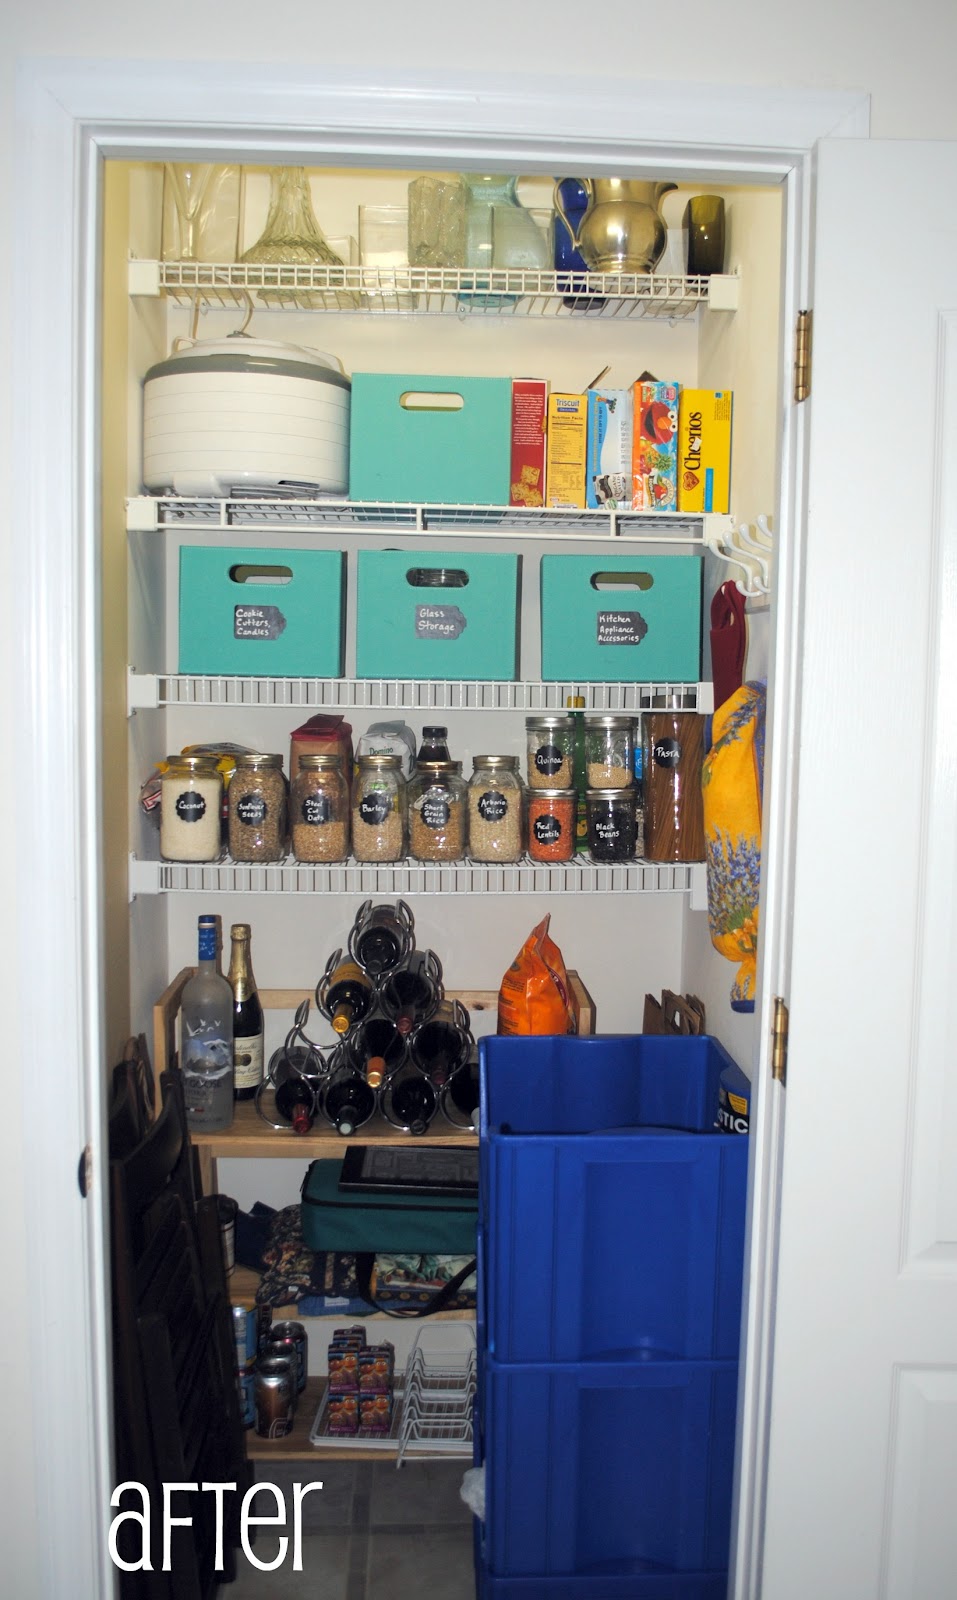
The tag labels went on the new fabric totes I bought at Lowe’s. They were on sale and quite a steal. Plus I love the pop of color when I open up the pantry. The labels are now consistent on both new shelves.

Ready for the final ta da shot…this just makes me happy now when I open the door. The actual door now has additional storage too.
This project should have a disclaimer on it. I did not do it in a week. More like 2-3. In the spirit of full disclosure, I don’t want anyone to think this magically happens in just a few days. At least I hope this can give you a road-map to how to get a similar project done in a few easy steps. Overall it was a low cost project that has huge rewards. Ready to stock your pantry with real food? Check out my Create a Real Food Pantry post.

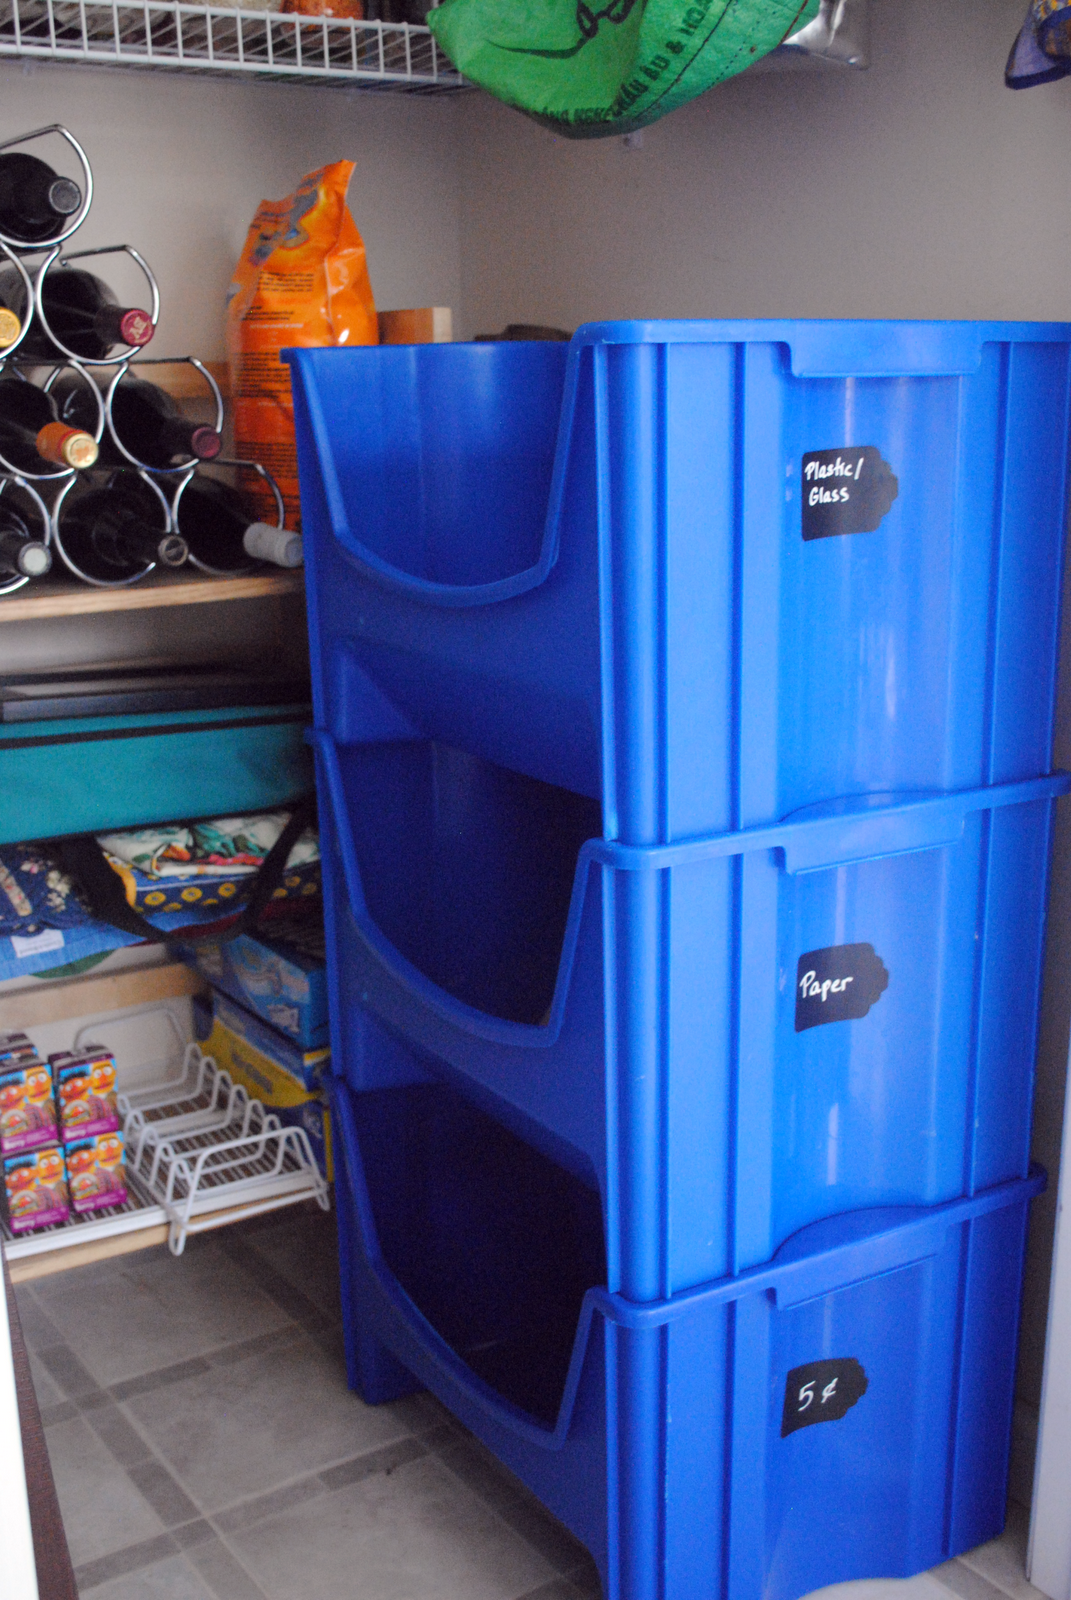
I also gave my trusty recycling bins some love and added labels to them: Plastic/Glass, Paper, and 5 cent bottles. This system has worked great for us the past 6 years and there was no need to
fix it. Now it’s even easier for us to access the bins.
If you are looking for more kitchen organization ideas, check out my Organization Pinterest board. Over at Simple Mom, there will be many more posts too with before and after pictures all about Kitchens and Pantries this week.
Do you have a pantry in your kitchen? Or somewhere else in your house? What are the must have items that make cooking easy and healthy?

Want to see what I stock my pantry with? Here is a post on how I created a Real Food Pantry.
Project Simplify Week 1: Kids’ Stuff~ Paint Bucket Storage
Project Simplify Home Office~ clear the clutter
I love to hear your feedback and comments. Stop by and visit Facebook, Pinterest or Twitter for more conversation! Or get posts delivered via Email or RSS Feed. Thanks!
To see even more organization ideas: SimpleMom and OrgJunkie, Tatertots&Jello;, Making the World Cuter, Spring Cleaning Challenge and Frugally Sustainable , A Bowl Full of Lemons, Metamorphosis Monday


