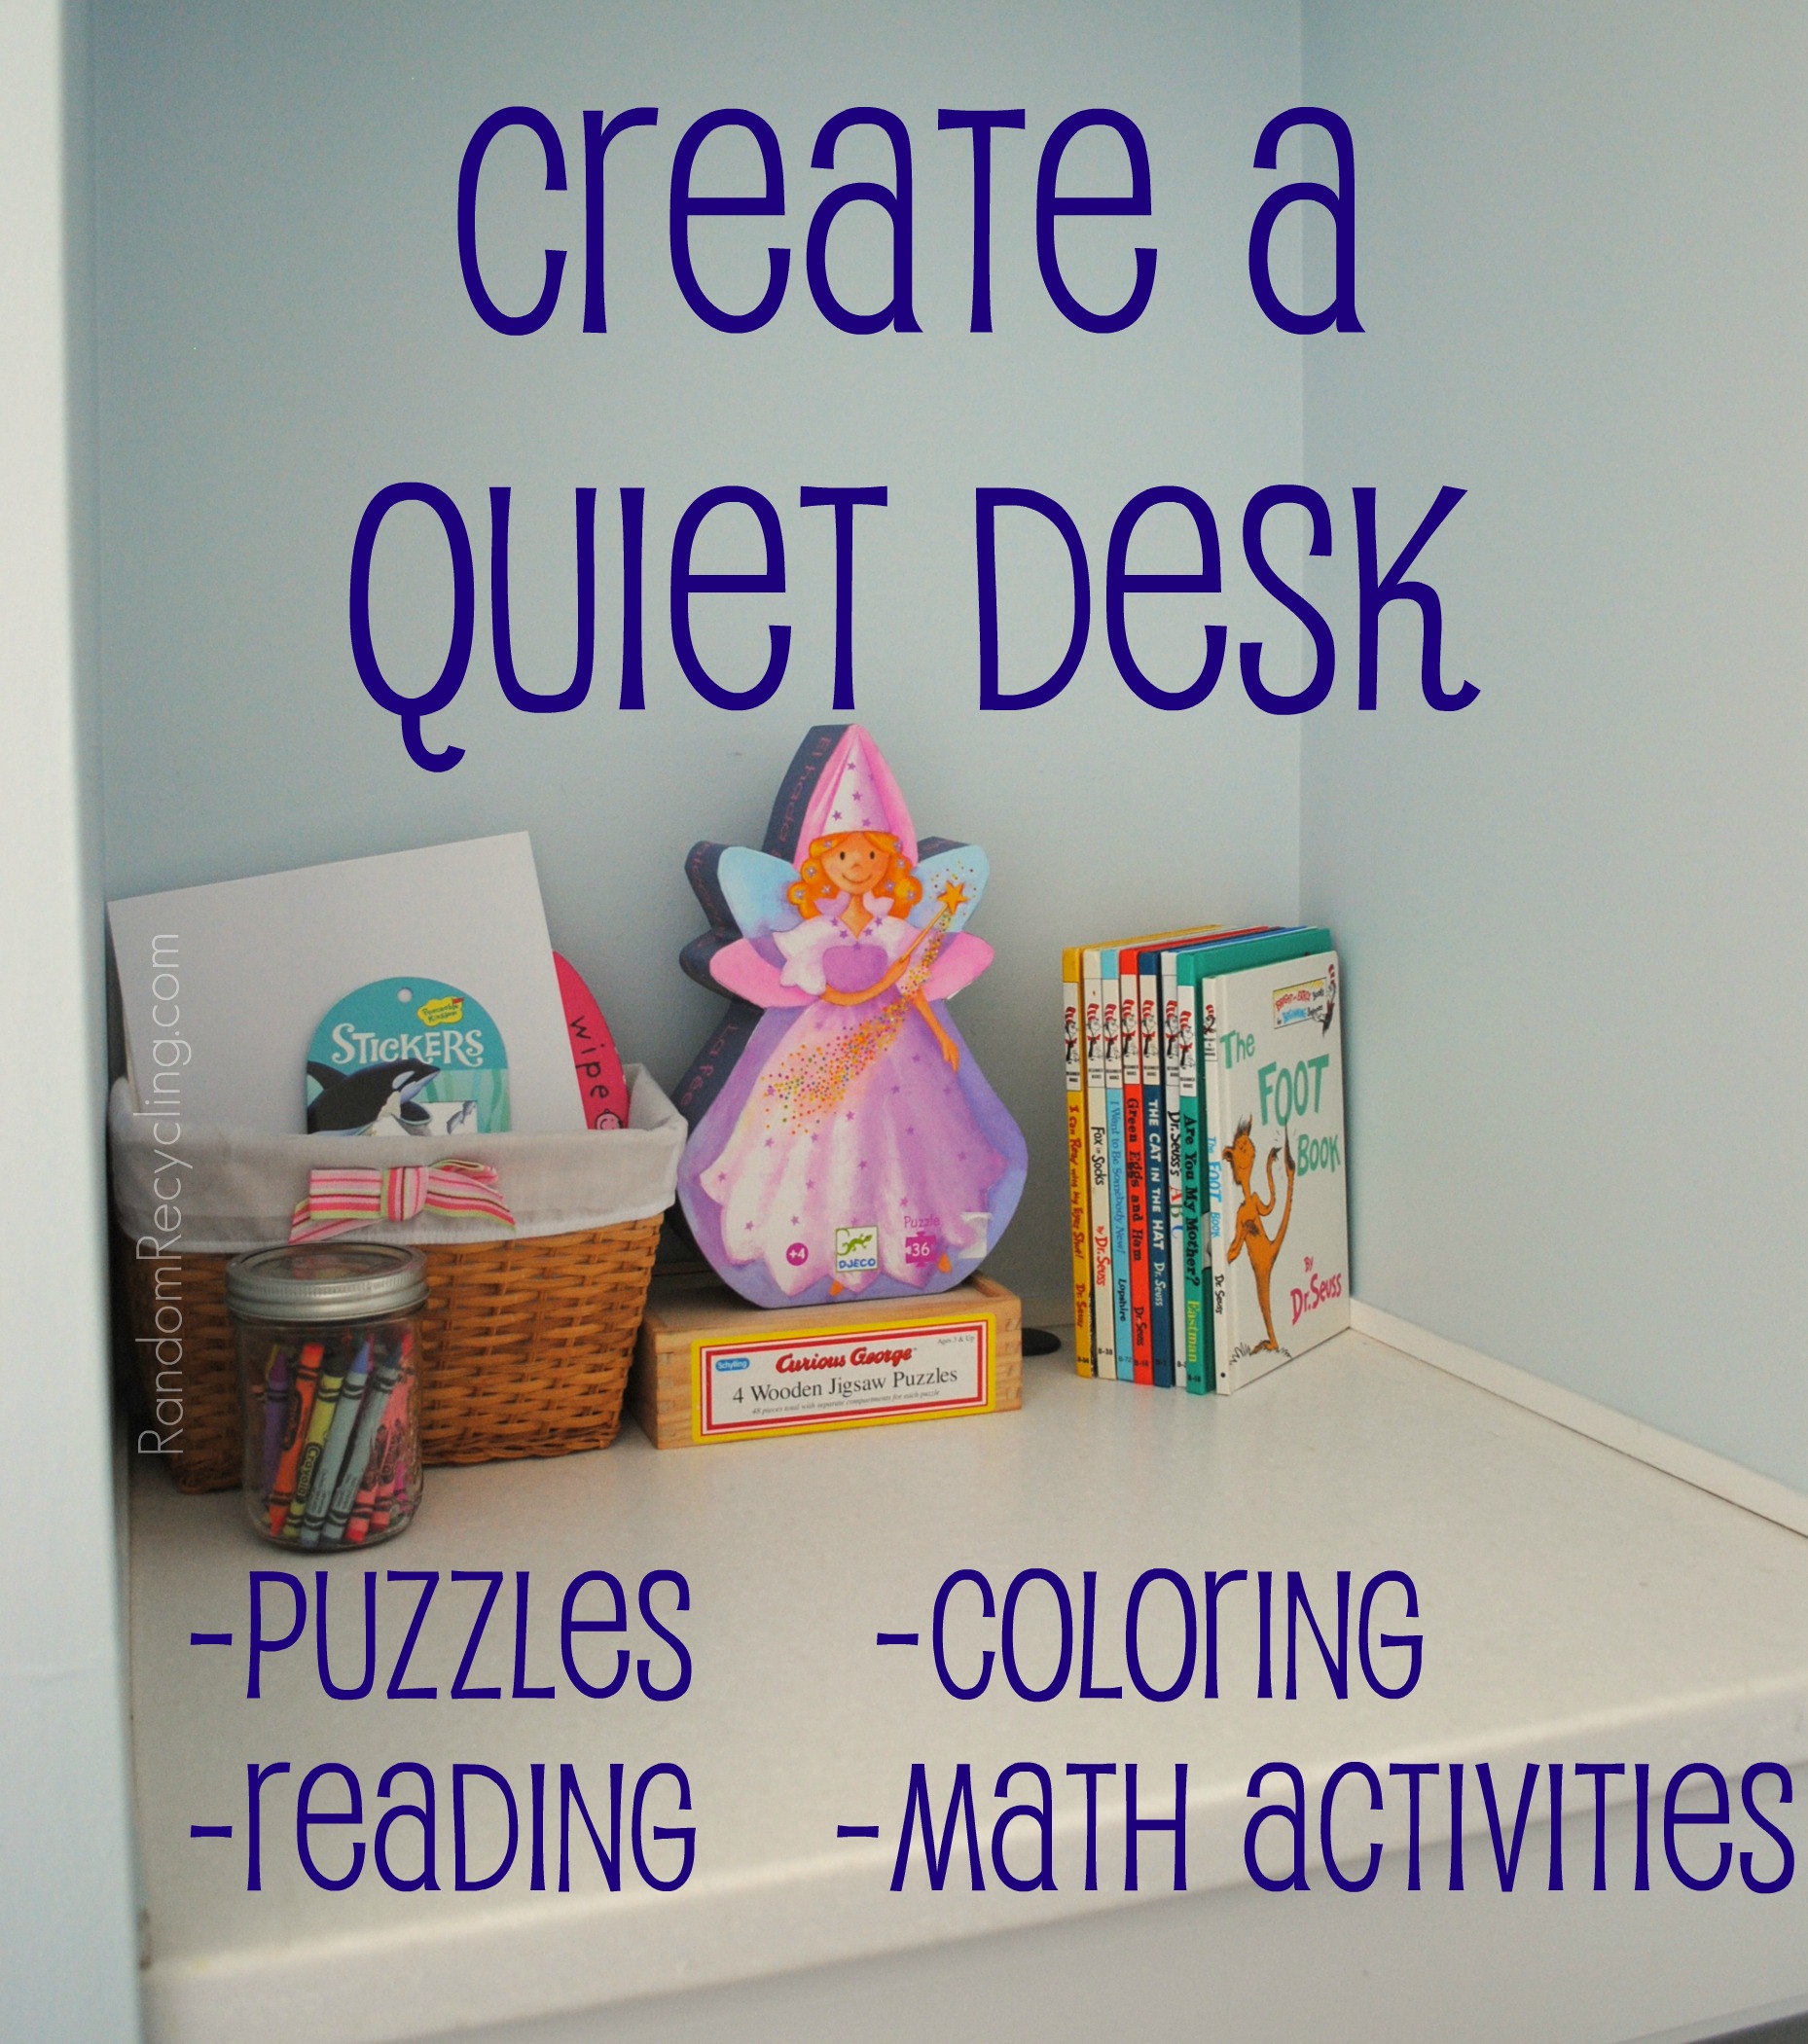
The Project Simplify challenge this week became a little more in-depth so I decided to split it out into two separate posts. This project features the creation of a quiet activity desk for my preschooler. I used some wasted space to carve out a special area for her to enjoy in the nursery when I’m busy with the new baby next month.

Preschooler Quiet Desk RandomRecycling.com

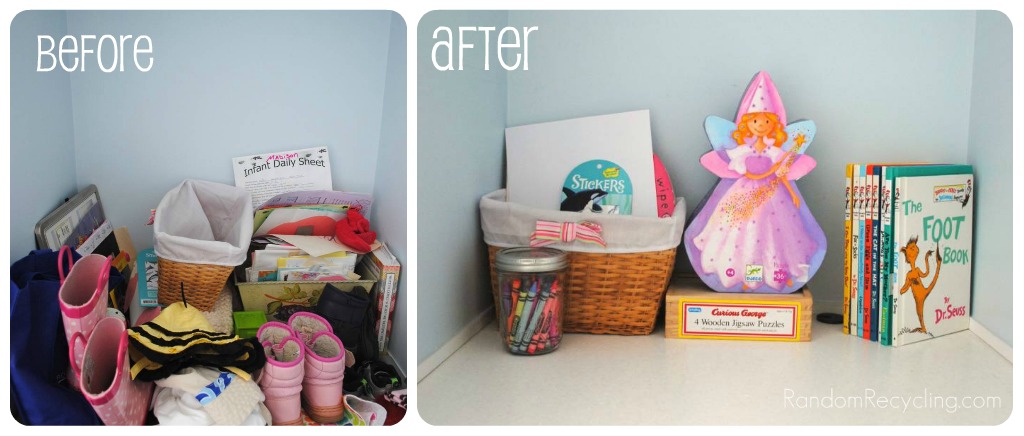
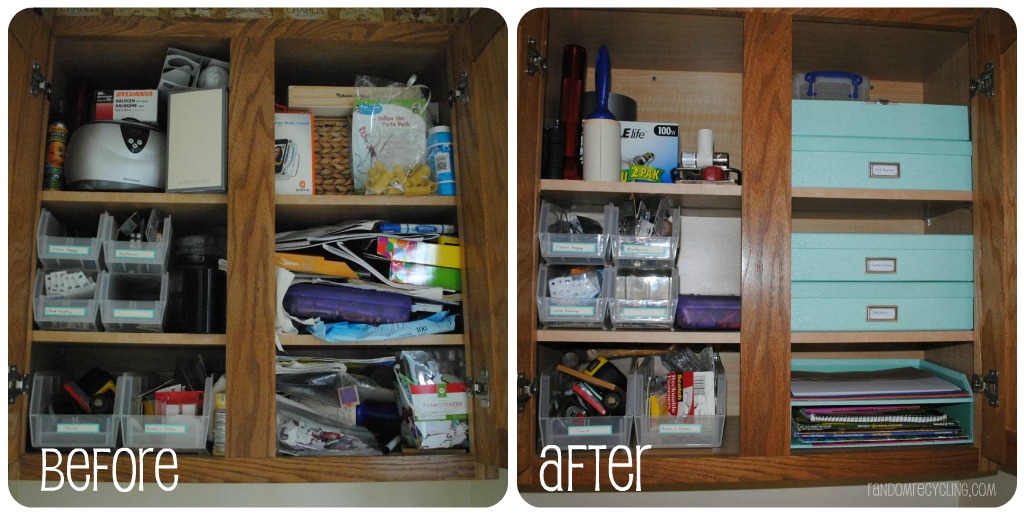
I recently had an interior designer, Dina from Honey & Fitz, come for a visit to help me plan out the kid’s room as it shifts from a girly one to a shared girl/boy bedroom.  We also reviewed the layout of the nursery and debated what to do with this random desk space that was built into the room. We never used it as a desk, even when the room was my home office. Once I cleared off all the clutter, including the day care notes from years past, the desk looked so lonely. I realized that it could be a good place for the kid’s to be entertained while I’m busy nursing the new baby. This led to the creation of the “Quiet Desk.”

The desk offers great work space and it’s just the right size for a child. Madison said, “I can do my homework here.” Cute since she is a long way off from homework days, but she already gets the concept of it. While I’m happy the desk is now functional, I would love to add a couple more interesting things on the wall to look at. Maybe a fun map to start talking about geography, or some hanging clipboards with activity sheets attached to them. The goal is to have some activities that the kids can do independently when I don’t have any hands free.

Create a Quiet Desk for Kids RandomRecycling.com

When I search on Etsy for Quiet Books, there are so many fun options, depending on the age of your child. I really like this quiet book from Handcrafting Harmony as it offers lots of fine motor skill practice.

I’m curious to see how well the two “big kids” share this new space. When I introduced it to them it was a hit, except it’s a little tight for two little people at the same time. I also need to find a little place mat as I think the crayons will soon decorate the desk instead of paper the way my little guy colors.

What other activities would you add to this quiet space? Any other tips for entertaining older kids while you are busy nursing a newborn? 

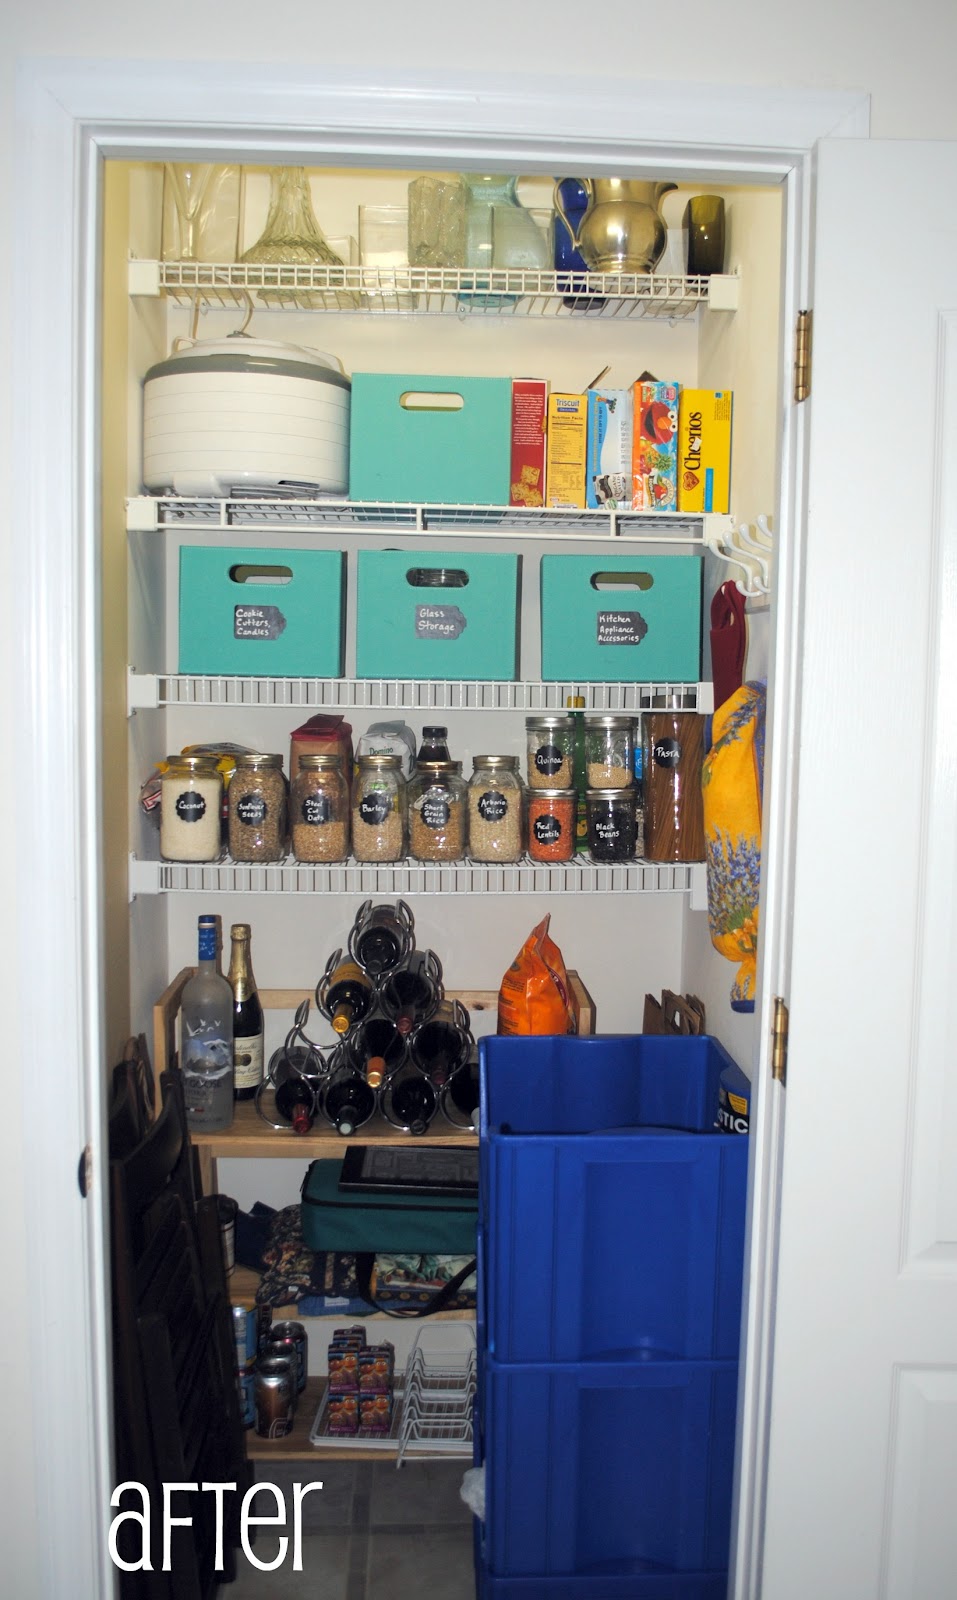
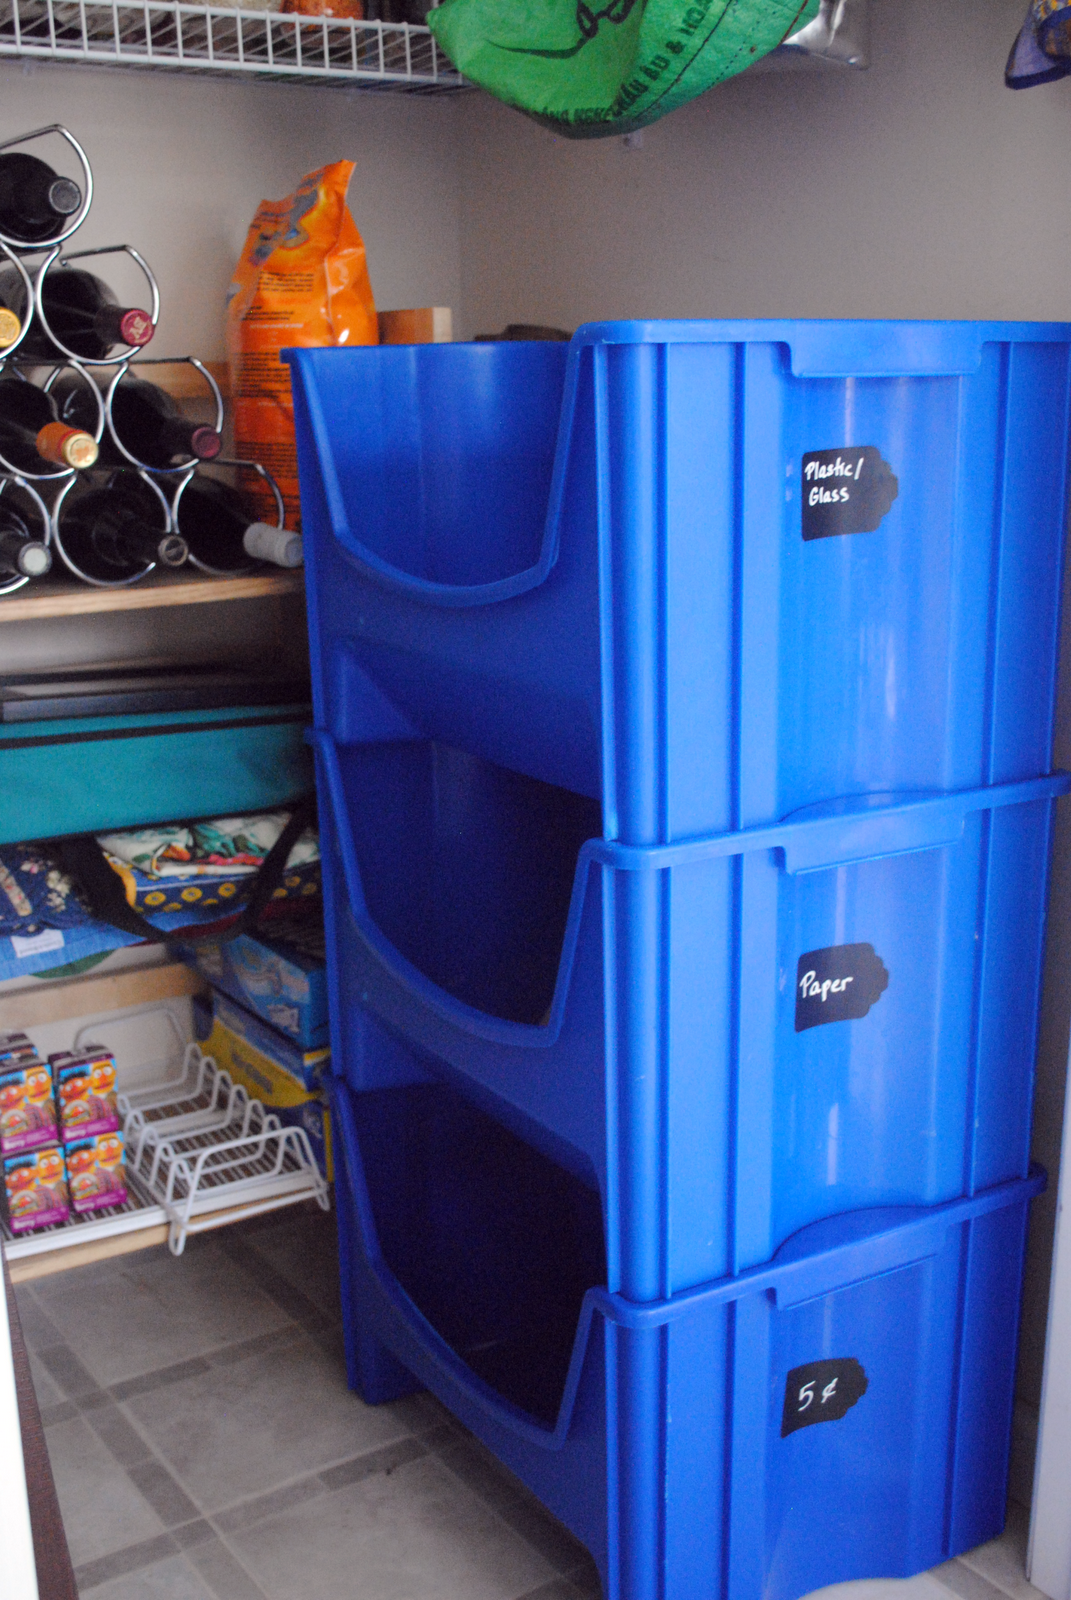
For Part 1 of this week’s Project Simplify, check out the How to Organize Your Gift Wrap post.

For more organizing ideas, head over to the collection of posts on Simple Mom’s week three round-up of “pile” projects.  You can see all of my other Project Simplify posts here. Up next week~ the put off project! You know you have one…

This is shared with Growing Slower’s Tuesday Baby link-up

Craft Cabinet Project RandomRecycling.com

It’s the first week of Project Simplify and the focus is on shelves and drawers. I decided to put my efforts into creating a craft cabinet that is easily accessible,pretty and organized. Since we have limited storage space on our main level of living, I found the kid’s toys and crafts creeping into every corner. I like having a variety of crafts to play with, but I don’t want them too accessible for the kids. J.J. tends to draw on everything, including the walls and his sister. The elevated cabinet in our half bathroom became a good spot to keep things handy, but out of the reach of little hands.

I had already organized the left side of the cabinet a few months ago and used the Martha Stewart labels so I stuck with the same color story for the right side. The robin’s egg blue color is pretty and the material is pretty durable if I need to wipe off some markers or play dough from a box.

Craft Clean out RandomRecycling.com

The first step is to clean out and take an assessment of what you own. Organize it into like items, purge what you don’t need, move seasonal crafts (i.e. Christmas stickers) to the basement, and then decide the storage system that will work for you. I like the document boxes because I can reuse them long after the kids outgrow this craft organization system.

Budding Blogger RandomRecycling.com

I enlisted some help organizing the crafts. However my helper was quickly distracted by all the fun craft projects she found on the table.

Craft Cabinet Storage RandomRecycling.com

My organizing supplies came from Staples. I got free delivery and it basically came overnight since they are local. Nothing makes like easier than home delivery! I got three document boxes, a desk organizer with drawer and metal book-plate. Everything fit well, except the drawer didn’t quite have enough clearance to make it easy to pull out. I decided to separate the drawer from the box which created a two tier organizer for papers and coloring books, which actually worked out better. The drawer is open storage at the top for larger items like play dough and accessories.

Craft Cabinet Organized RandomRecycling

Part of what works in any organization system is making it easy to use and also making it pretty. I think it’s easier to maintain if both of these factors are met. So far I just love opening the cabinet and not seeing a jumble of crafts and “other” stuff. It’s amazing how many random things were tucked away on the shelves. I finally tossed some scented candles that I just don’t want  in my house any more. I felt guilty throwing out something that worked, but I just don’t want the toxic fumes in my house. I already feel better that the clutter is gone.

Up next week is closets…which one is on your list?  If you are tackling any spring cleaning projects, please share in the comments. I’ll be sharing my post over at SimpleMom each week of Project Simplify.

Craft Cabinet After RandomRecycling.com

After I mentioned making our own foaming hand soap in yesterday’s post about household cleaners, more than a couple people have asked how to make it.

Here is the super easy recipe I use to make the foaming hand soap. I use Dr. Bronner’s Magic Soaps Pure-Castile Soap as the base.  This product got an A from the EWG Healthy Cleaning Guide. Tea tree oil is also a great addition because it has antibacterial, antiviral, antifungal and antiseptic qualities.

I reuse the foaming hand soap dispenser from CleanWell.  This line of products is a favorite and when I need a fresh bottle.  They have antibacterial soaps without triclosan, which is a big environmental hazard.

DIY foaming hand soap recipe

Foaming Hand Soap Recipe

Keyword: Soap

Ingredients

  • 2 tablespoons Castille Soap
  • 2 drops of Tea Tree Oil
  • 2 drops of Essential oil I use lemongrass currently

Instructions

  • Add ingredients to empty foaming hand soap dispenser (about a 9 oz size). Fill the balance with water and shake gently.
Tried this recipe?Mention @emilyroachwellness or tag #erwellness!


DIY foaming hand soap recipe


This is a super cheap way to keep up with the kids overuse of the foaming hand soap.  I have found Madison “cleaning” the bathroom sink with half the bottle.  At about 25 cents a bottle, I don’t have to stress about it.  Plus, there’s no sodium lauryl sulfate, triclosan or synthetic fragrance involved in her cleaning project.

If you can handle making your own hand soap, now you can move on to making your own bubble soap for kids!

Happy washing!

Disclosure: Some affiliate links are included in this post. 

We live in a small space, but I love to cook.  I would love to have a huge pantry someday, but in the meantime, I need space to do double duty. There were a few problems happening with our “recycling” closet.  As our family grows, along with appetites, I have seen an increase in our incoming groceries. There are large packages from Costco, bulk bin goods from Whole Foods, plus the items I stock up on when there is a good sale.  The items were not being stored well in our kitchen, so many things were getting crammed into this closet.  A closet which had a whole lot of dead space in it.  There were two upper shelves to start, plus we added in an old bookcase that’s been around since my first post college apartment.  I decided it was time to CREATE A PANTRY!

The first stop I made was Lowe’s.  After taking the measurements of the original wire shelving, I set out to get two more.  I love that you can get the shelving cut to order there so it’s the perfect size.  I also found some handy storage totes there too as you can see in the pictures below.

I figured out the drill and installed the shelves myself.  Measure twice and cut once, that’s what my Dad always taught me.  They were really easy to install and although wire shelves are not my favorite thing, they are inexpensive and allows for good lighting from the bulb overhead.

The next step was to clear out the whole closet.  We had way too many shopping bags and paper bags taking up space.  I reduced it to a few brown paper bags to line the recycling bins, plus my favorite rice sack bag.

Next up were some new labels for my glass jars.  I use a mix of glass mason jars, tomato sauce jars and coconut oil jars.  The glass coconut oil jars from Tropical Tradition are big, free of decoration, and just perfect for storing the shredded coconut I use for my granola.  Making the granola each week is one of the main reasons why I buy in bulk and needed a new system.  I’ll share more in a future post about how to create a real food pantry, without spending a fortune.

I ordered Chalkboard Contact Paperfrom Amazon, along with a wet erase chalk marker.  I wanted the label to be more vibrant than with just white chalk. I made a mistake on one label and this stuff really does wash off with a wet towel, and I reused the label with no problem.  I’m hoping that if I need to change a label in six months, I can still wash it off.  Time will tell!

I punched out labels using a 2″ scallop cutter for the jars (EK Success), and a tag punch which looks to be about 3″.  Then I wrote up all the labels and let them dry for about 5 minutes. I used Wet Erase Chalk Marker. I labeled everything that I felt would be a mainstay item in my pantry, including breakfast items like steel cut oats.  Random items like Israeli couscous I didn’t label as I only get it for specific recipes in small amounts.

The tag labels went on the new fabric totes I bought at Lowe’s.  They were on sale and quite a steal.  Plus I love the pop of color when I open up the pantry. The labels are now consistent on both new shelves.

Pantry Organizing RandomRecycling.com

Ready for the final ta da shot…this just makes me happy now when I open the door. The actual door now has additional storage too.

This project should have a disclaimer on it.  I did not do it in a week.  More like 2-3.  In the spirit of full disclosure, I don’t want anyone to think this magically happens in just a few days. At least I hope this can give you a road-map to how to get a similar project done in a few easy steps. Overall it was a low cost project that has huge rewards. Ready to stock your pantry with real food?  Check out my Create a Real Food Pantry post.

I also gave my trusty recycling bins some love and added labels to them: Plastic/Glass, Paper, and 5 cent bottles.  This system has worked great for us the past 6 years and there was no need to
fix it.  Now it’s even easier for us to access the bins.

If you are looking for more kitchen organization ideas, check out my Organization Pinterest board.  Over at Simple Mom, there will be many more posts too with before and after pictures all about Kitchens and Pantries this week.

Do you have a pantry in your kitchen?  Or somewhere else in your house?  What are the must have items that make cooking easy and healthy?

Image and video hosting by TinyPic

Want to see what I stock my pantry with? Here is a post on how I created a Real Food Pantry.
Project Simplify Week 1: Kids’ Stuff~ Paint Bucket Storage

Project Simplify Kick-Off

Project Simplify Home Office~ clear the clutter

I love to hear your feedback and comments. Stop by and visit FacebookPinterest or Twitter for more conversation!  Or get posts delivered via Email or RSS Feed. Thanks!    


To see even more organization ideas: SimpleMom and OrgJunkie, Tatertots&Jello;, Making the World Cuter, Spring Cleaning Challenge and Frugally Sustainable , A Bowl Full of Lemons, Metamorphosis Monday