As summer vacation beckons, it’s a time for kids to let loose and just play. It’s also a good time to let them read books of their own choosing to foster their interests. In our family, we often plan a visit to a new library when we have a rainy summer day. We read as many books there as we can, then put them away and say goodbye till next time. Having a “new” place to read can help keep the fun in an educational activity, for both little kids and big kids.

Pottery Barn Kids partnered with PBS Kids to promote the Summer Reading Challenge. Read any 8 titles from their recommended list and receive a free book! PB Kids stores also have weekly story times where kids can help reach their goal. The challenge runs through July 17th.

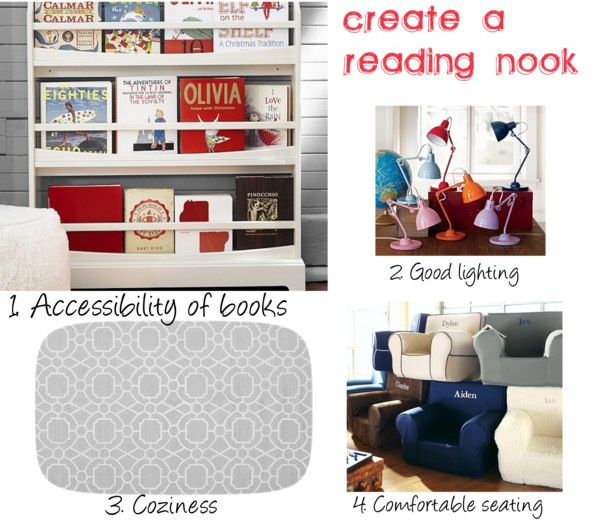
Creating a summer reading nook is another way to encourage reading during the quiet times of the day. On a recent visit to Pottery Barn Kids, they shared their ideas for a successful reading nook.

create a reading nook

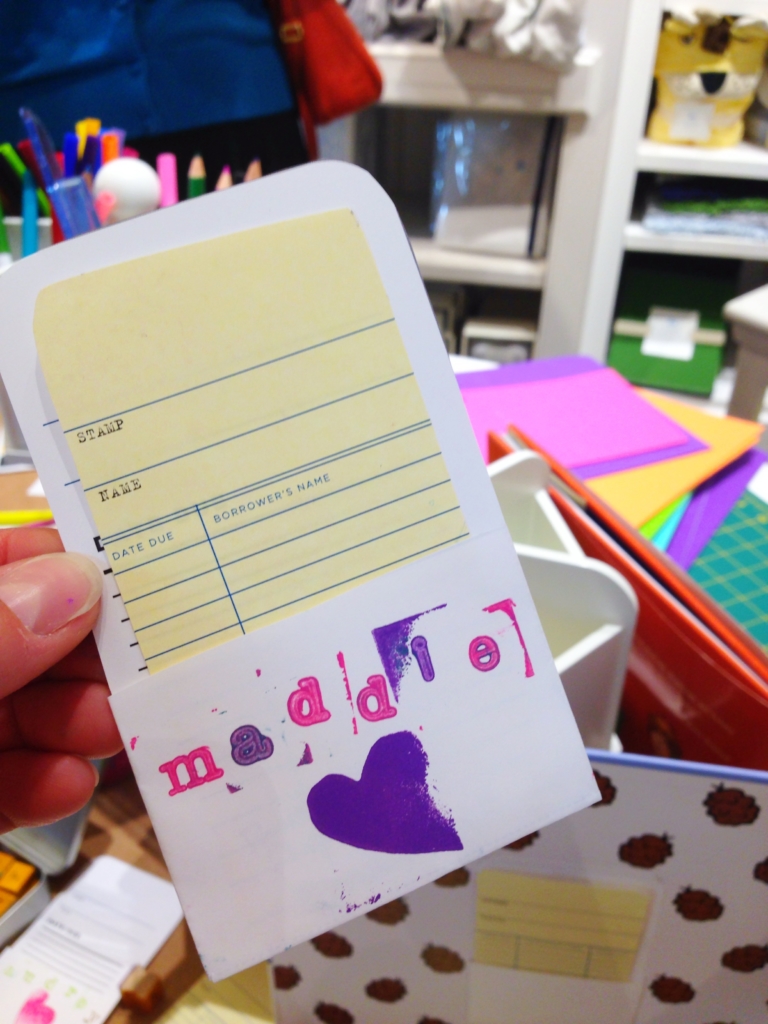
There are also some fun book plate DIY projects to make with the kids for their favorite books. I tried making a couple at the Pottery Barn Kids store and will do it again with my kids. The downloadable templates for the project is found on the Building Blocks blog, a fun collection of ideas from Pottery Barn Kids.

  DIY book plate

Here is the list of books included in the challenge:

·         Bear Snores On by Karma Wilson and Jane Chapman

·         Big Brothers Don’t Take Naps by Louise Borden

·         Corduroy by Don Freeman

·         Curious Baby Counting by H.A. Rey

·         Good Night, Good Night Construction Site by Sherri Duskey Rinker and Tom Lichtenheld

·         Grammy Lamby and the Secret Handshake by Kate Klise and M. Sarah Klise

·         Heads by Matthew Van Fleet

·         How Do Dinosaurs Count to Ten? By Mark Teague

·         How Do Dinosaurs Say Goodnight?  by Jane Yolen and Mark Teague

·         Ladybug Girl by David Samon and Jacky Davis

·         Llama Llama and the Bully Goat by Anna Dewdney

·         Madeline and the Old House in Paris by John Bemelmans Marciano

·         Nelly Gnu and Daddy Too by Anna Dewdney

·         Olivia by Ian Falconer

·         Paddington Bear by Michael Bond and R.W. Alley

·         Pete the Cat I Love My White Shoes by James Dean and Eric Litwin

·         Sniff by Matthew Van Fleet

·         Tallulah’s Toe Shoes by Marilyn Singer and Alexandra Boiger

·         The Day the Crayons Quit by Drew Daywalt and Oliver Jeffers

·         What Sisters Do Best/What Brothers Do Best by Laura Numeroff and Lynn Munsinger


Ready to create a new summer reading nook for your kids? To kick things off, Pottery Barn Kids is offering a $25 gift card to one lucky winner. Please leave a comment below naming your favorite childhood book. Contest is open until Saturday June 7th. Winner will be notified via email.

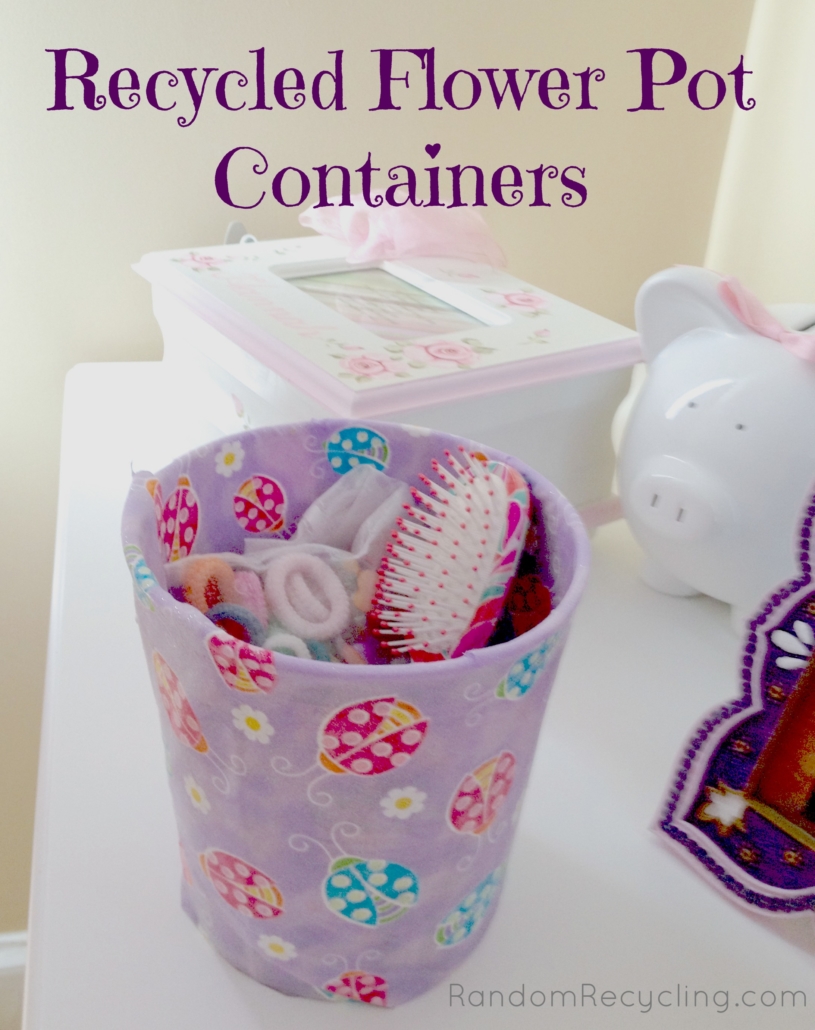
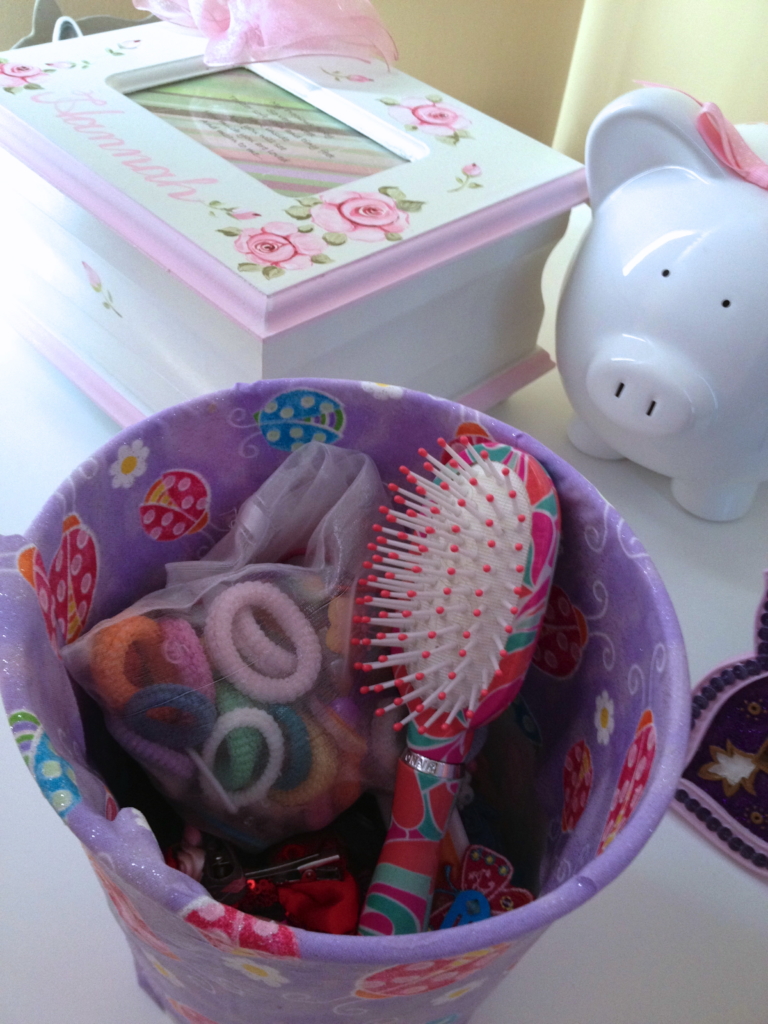
As people start planting flowers and vegetables in their gardens, there is a plethora of leftover plastic flower pots to deal with. My friend Andrea shared this clever project, recycling her plastic flower containers into cute containers for her girl’s room. All you need is some Mod Podge glue, cute fabric and some spray adhesive and you’ve got yourself some cute new containers for a bedroom, kitchen or home office.

Recycled Flower Pot Container

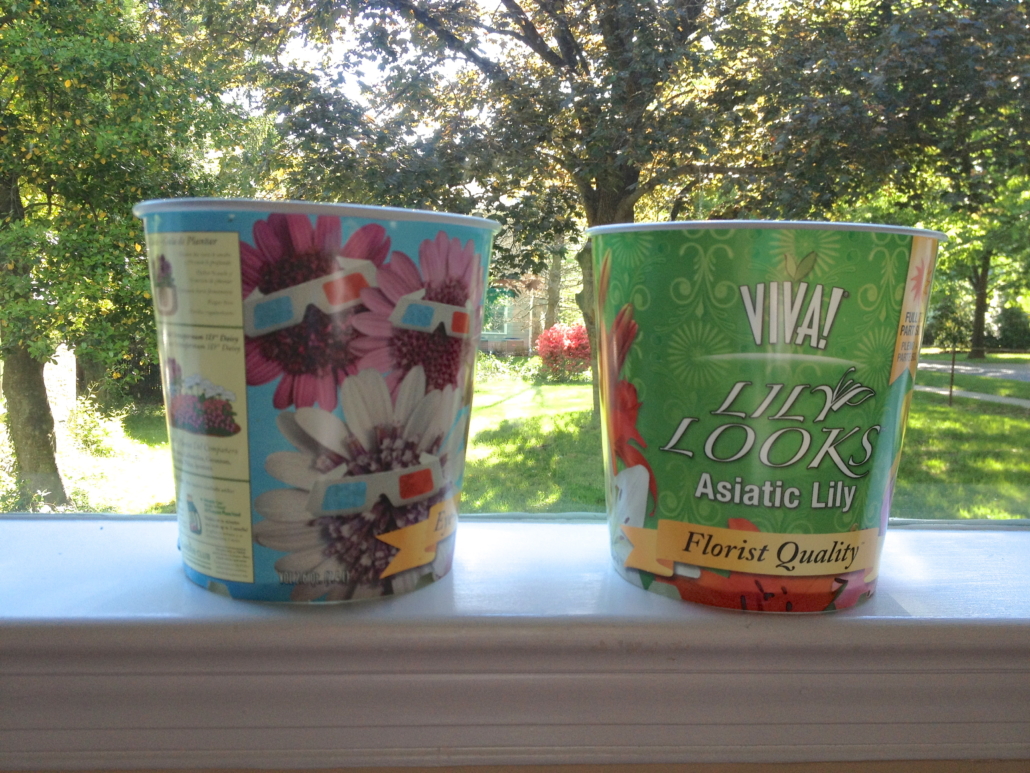
The first steps are to clean out the flower pots thoroughly with dish soap. Dry well.

Recycle Flower Pot Project

Pick up some cotton fabric at your local store.

Mod Podge and Fabric Project

Cut the fabric to fit around your pot. Spray adhesive in a well ventilated space and then wrap the fabric around the pot. Once dry, paint the pot with Mod Podge glue to finish the look. (Alternatively, you can skip the spray adhesive and just use the Mod Podge only.)

Mod Podge Flower Pot Project

Let the pots dry thoroughly before using.

Match the containers to your kid’s room, or pick some fun fabric to dress up your home office. The options are endless.

Recycled Flower Pot Containers for Girls Room

Do you have a fun recycling project to share? Send me an email with the details and you may be featured here!

Craft Cabinet Project RandomRecycling.com

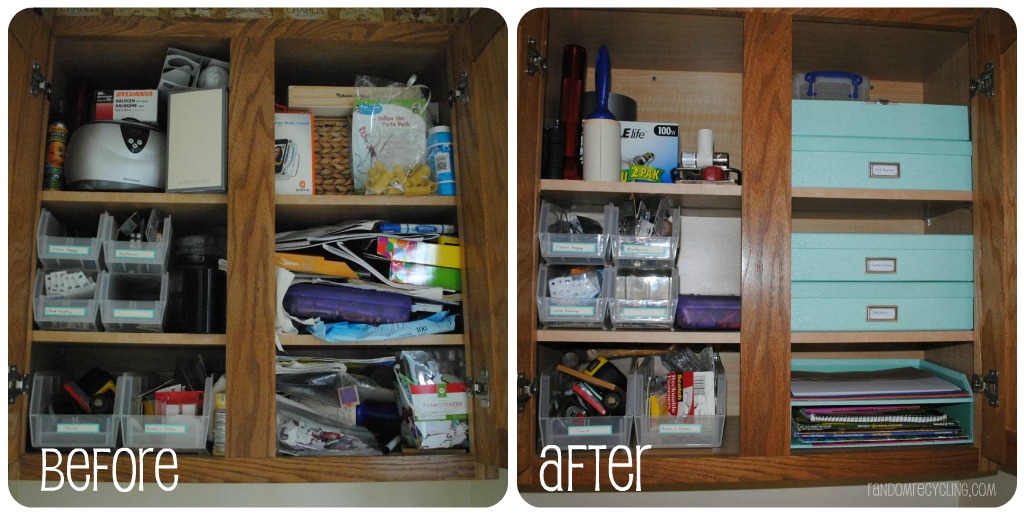
It’s the first week of Project Simplify and the focus is on shelves and drawers. I decided to put my efforts into creating a craft cabinet that is easily accessible,pretty and organized. Since we have limited storage space on our main level of living, I found the kid’s toys and crafts creeping into every corner. I like having a variety of crafts to play with, but I don’t want them too accessible for the kids. J.J. tends to draw on everything, including the walls and his sister. The elevated cabinet in our half bathroom became a good spot to keep things handy, but out of the reach of little hands.

I had already organized the left side of the cabinet a few months ago and used the Martha Stewart labels so I stuck with the same color story for the right side. The robin’s egg blue color is pretty and the material is pretty durable if I need to wipe off some markers or play dough from a box.

Craft Clean out RandomRecycling.com

The first step is to clean out and take an assessment of what you own. Organize it into like items, purge what you don’t need, move seasonal crafts (i.e. Christmas stickers) to the basement, and then decide the storage system that will work for you. I like the document boxes because I can reuse them long after the kids outgrow this craft organization system.

Budding Blogger RandomRecycling.com

I enlisted some help organizing the crafts. However my helper was quickly distracted by all the fun craft projects she found on the table.

Craft Cabinet Storage RandomRecycling.com

My organizing supplies came from Staples. I got free delivery and it basically came overnight since they are local. Nothing makes like easier than home delivery! I got three document boxes, a desk organizer with drawer and metal book-plate. Everything fit well, except the drawer didn’t quite have enough clearance to make it easy to pull out. I decided to separate the drawer from the box which created a two tier organizer for papers and coloring books, which actually worked out better. The drawer is open storage at the top for larger items like play dough and accessories.

Craft Cabinet Organized RandomRecycling

Part of what works in any organization system is making it easy to use and also making it pretty. I think it’s easier to maintain if both of these factors are met. So far I just love opening the cabinet and not seeing a jumble of crafts and “other” stuff. It’s amazing how many random things were tucked away on the shelves. I finally tossed some scented candles that I just don’t want  in my house any more. I felt guilty throwing out something that worked, but I just don’t want the toxic fumes in my house. I already feel better that the clutter is gone.

Up next week is closets…which one is on your list?  If you are tackling any spring cleaning projects, please share in the comments. I’ll be sharing my post over at SimpleMom each week of Project Simplify.

Craft Cabinet After RandomRecycling.com