Ever hear about using a dehydrator?  I hadn’t until about a year ago when I started reading blogs that talked about making dried apple slices in the fall and homemade fruit roll-ups.  Before then, it never was on my kitchen wish list.

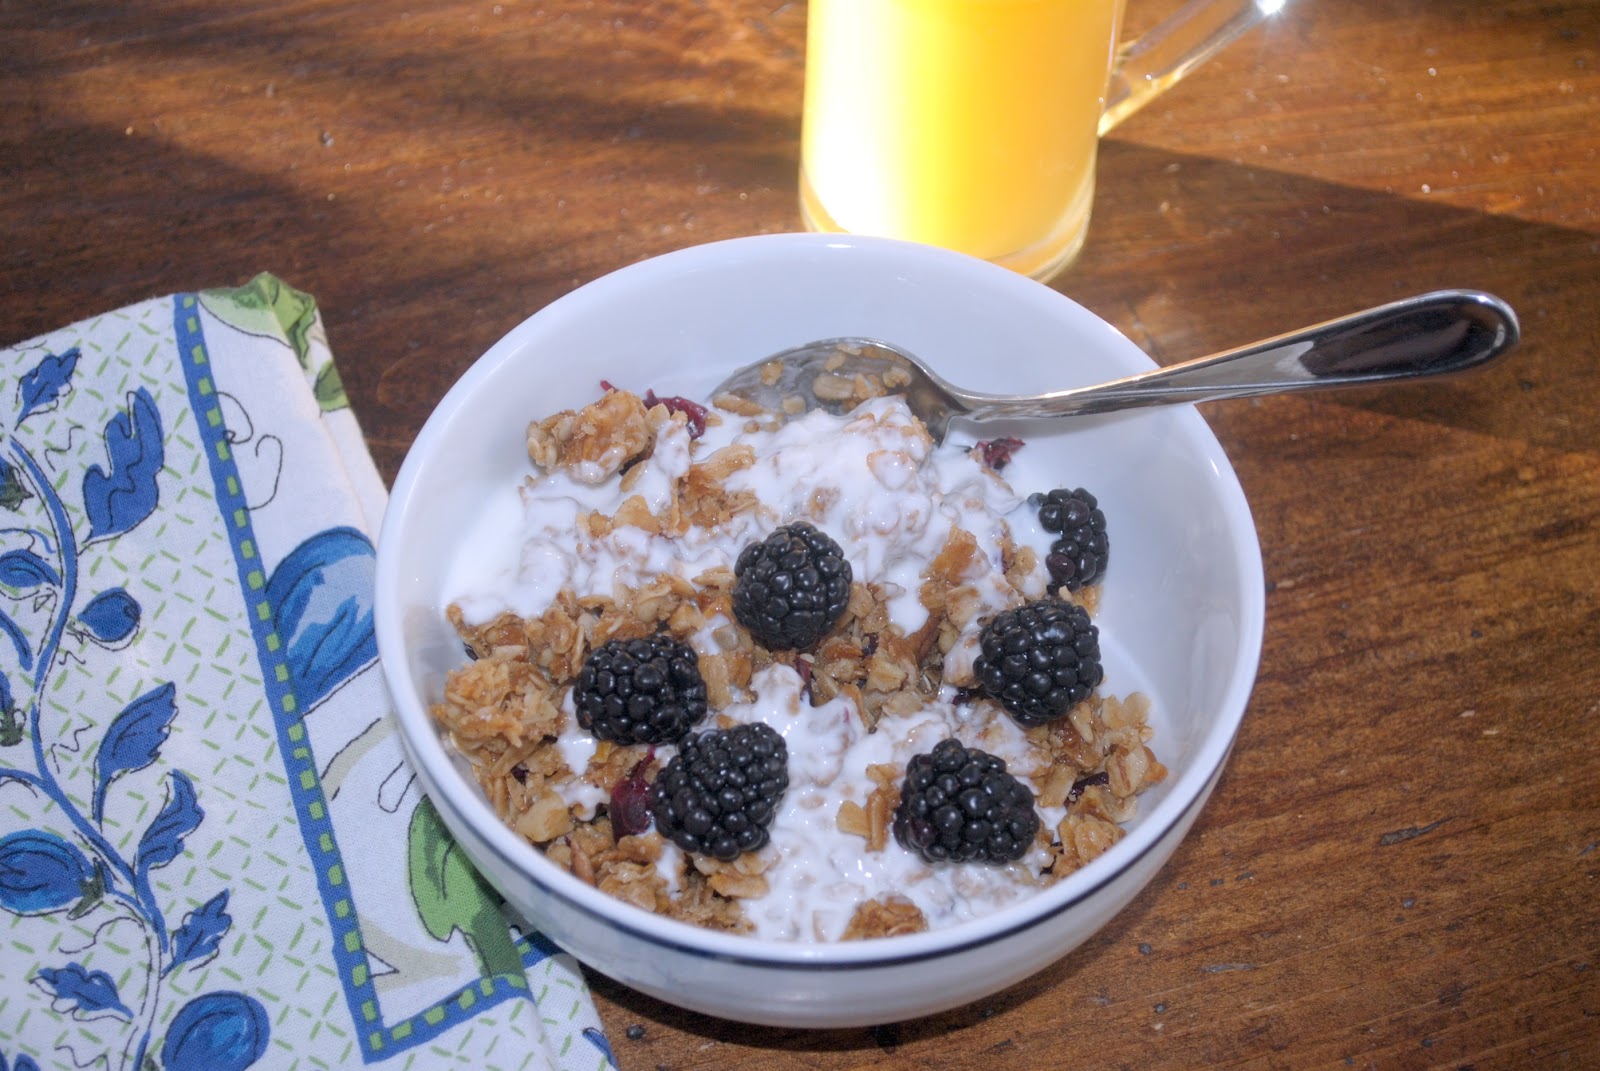
Luckily, a little birdy (thanks Christy!) told my husband I might be interested in one for Christmas. Over the past two months we have devoured not only apple slices, but also bananas, pineapples and strawberries.  I’ve dehydrated potatoes, but haven’t found a great stew recipe yet to try them out.  The number of items to dehydrate is massive, but we have limited it to snacks.  Have you noticed a snack theme to my last few posts 😉

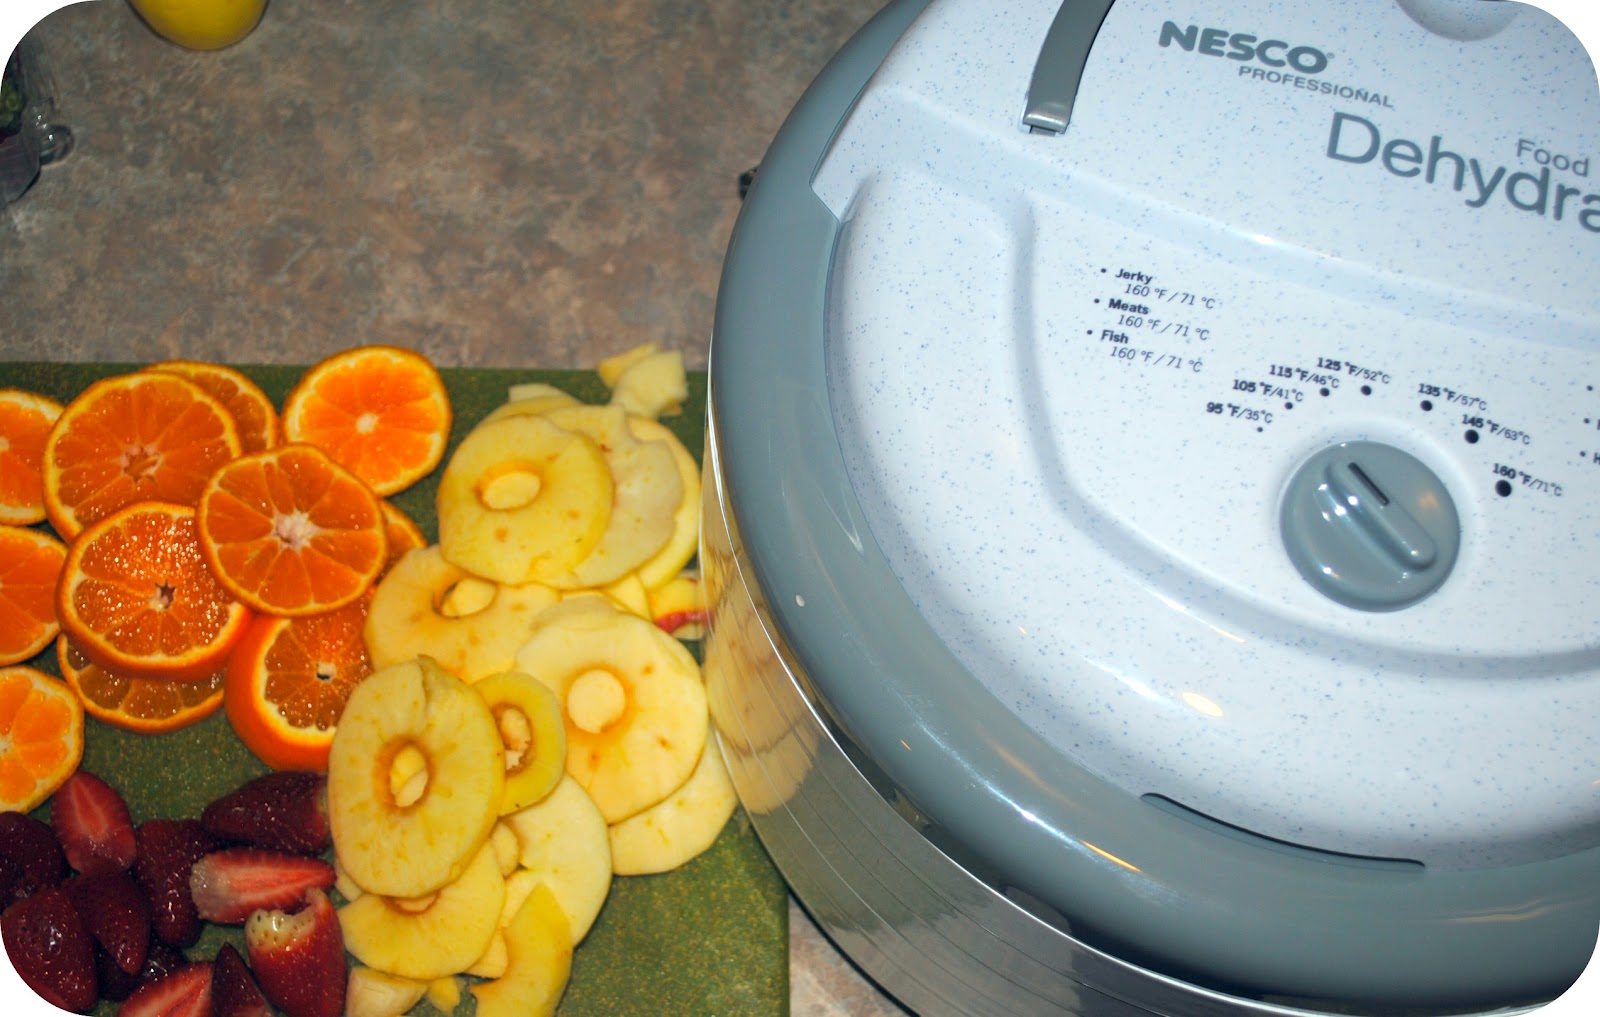
I have the Nesco Food Dehydrator.  It’s round and comes with 5 trays, plus layers for drying herbs or making fruit leathers (yum!).  It’s reasonably priced for anyone looking to test the water of dehydrators, compared to the more fancy Excalibur dehydrators that have square trays and a different air flow.  For non-essential kitchen toys like this, I like being able to decide if I really use it before making a bigger investment.

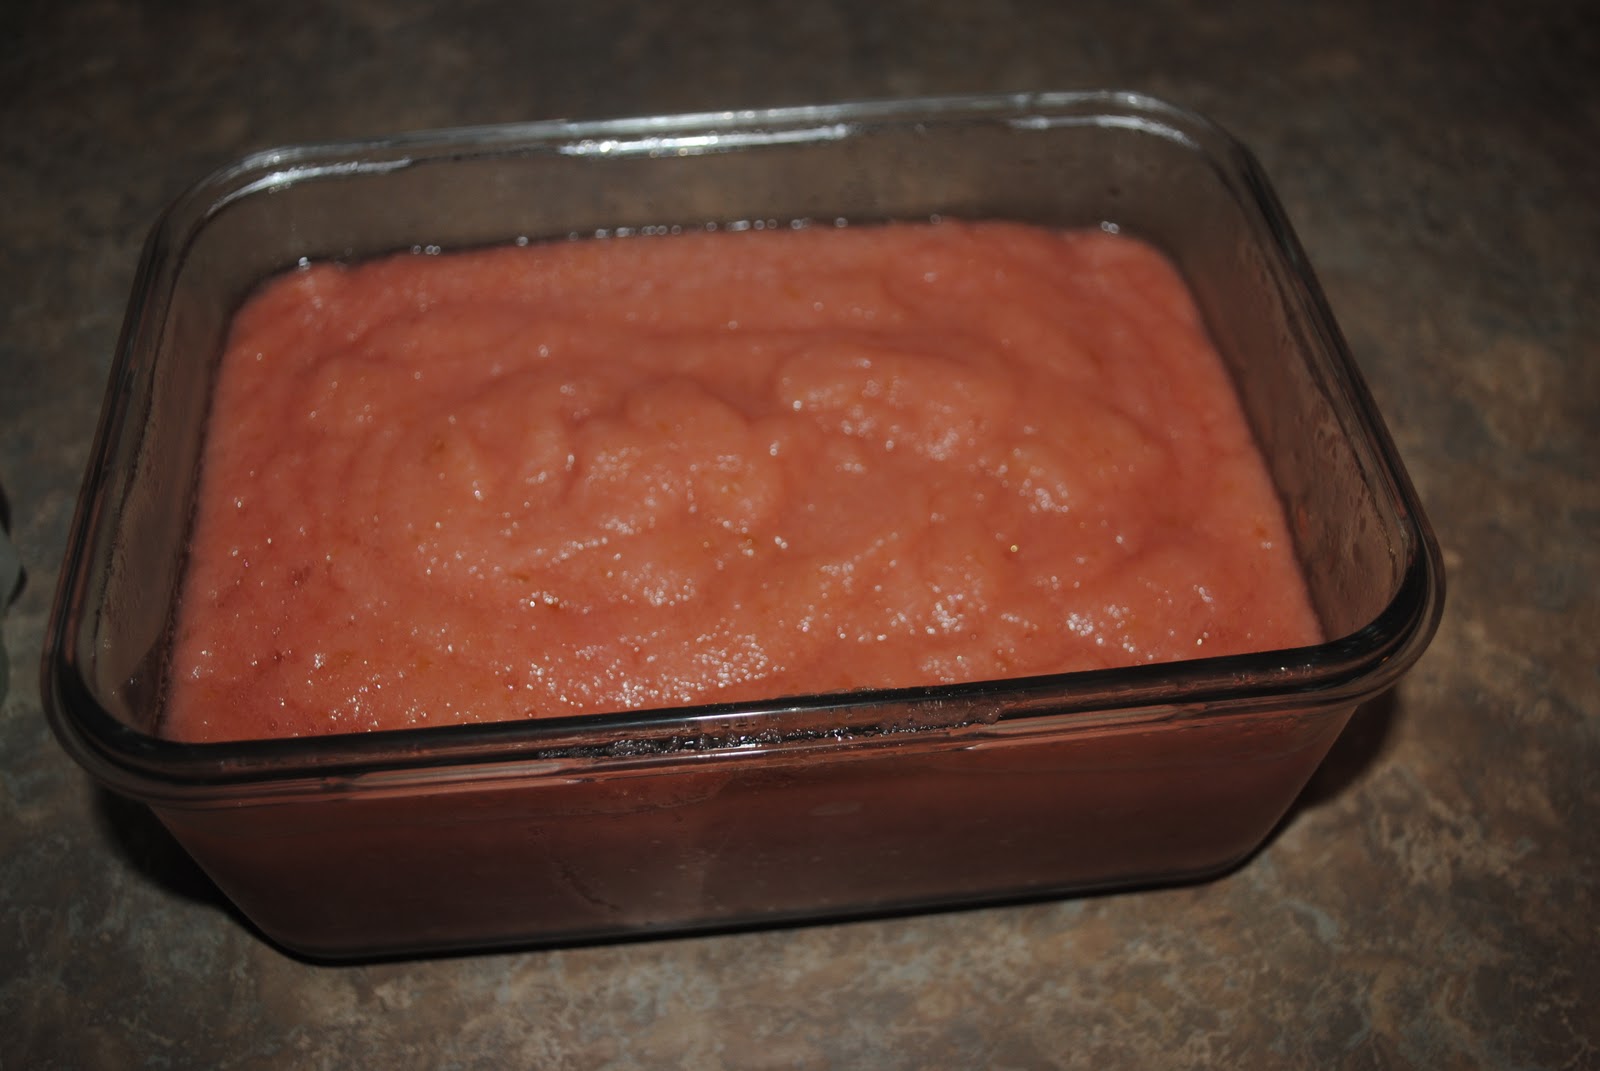
So far, our two favorite snacks have been cinnamon apple slices and strawberry fruit leather.  Both are easily portable, enjoyed by both the 3 and 1 year old and also offered a great teething food instead of a store-bought biscuit.  We haven’t tried it, but sweet potatoes are also supposed to be great for teething, plus the little ones get a nice dose of beta carotene.

Cinnamon Apple Rings
Wash and core about 4 large apples.  We have done a mix of varieties and they all cook up similarly well.
Peel on or off is your call.  I like to leave it on to increase the fiber in the snack.
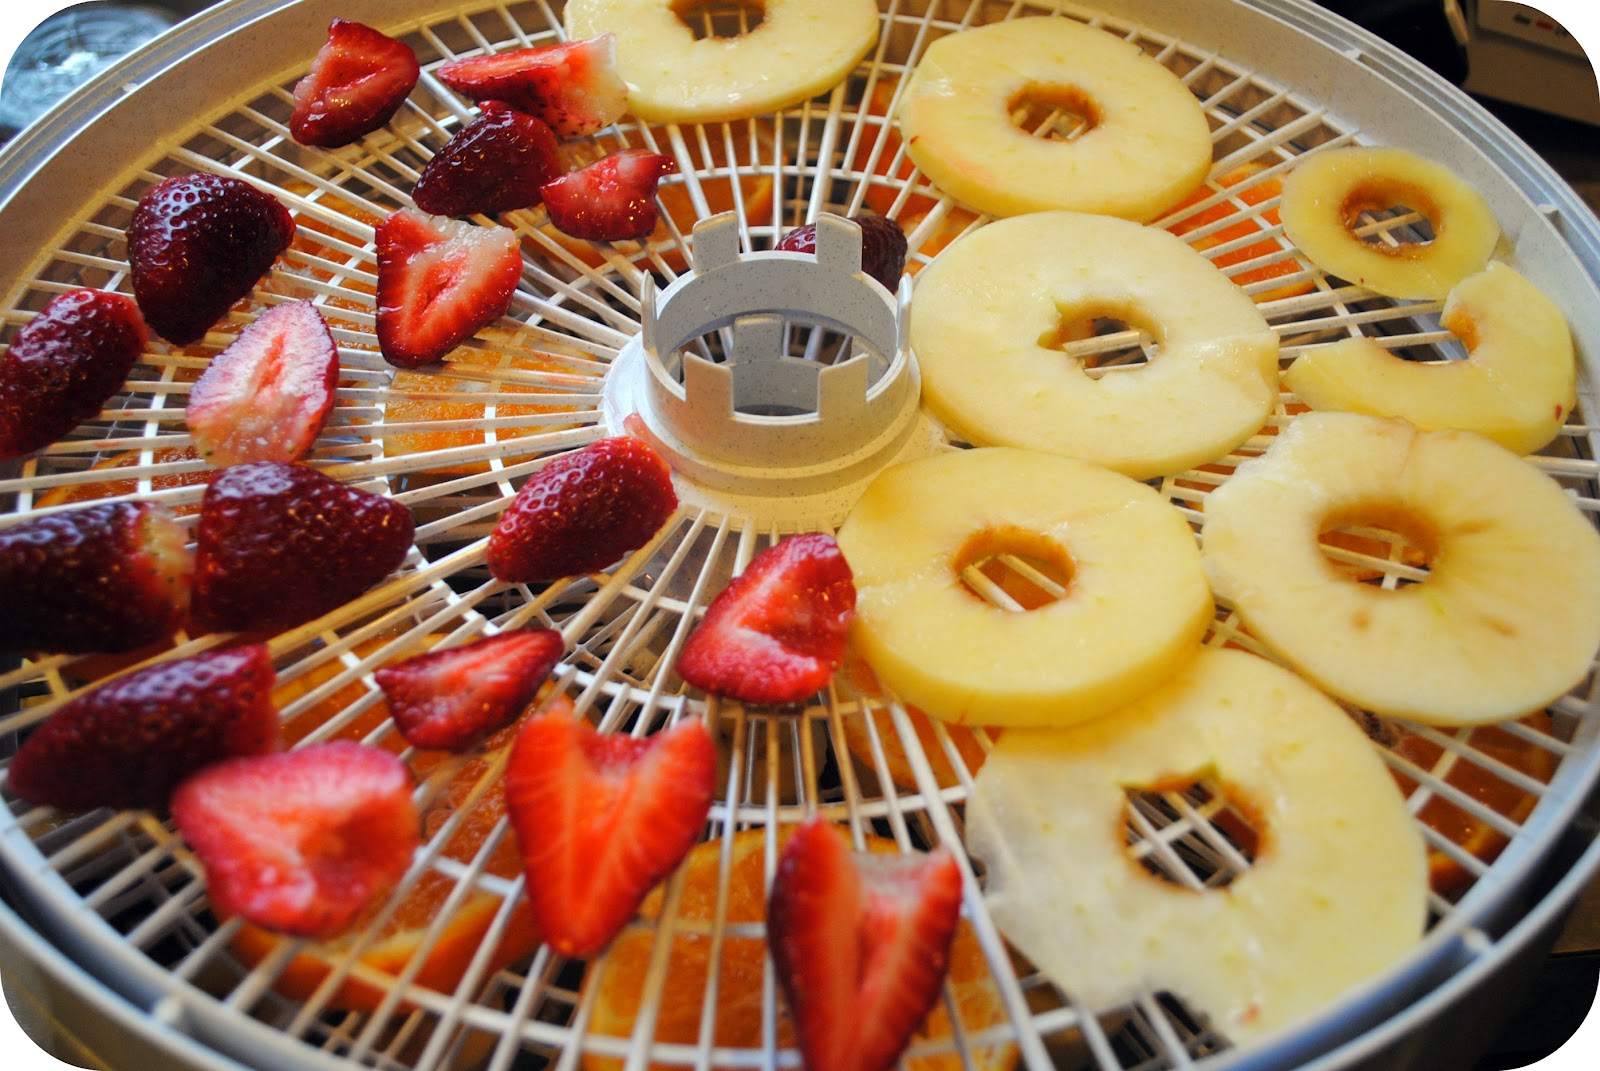
Slice the apples about 1/4-inch thick, either with a sharp knife or a mandoline.
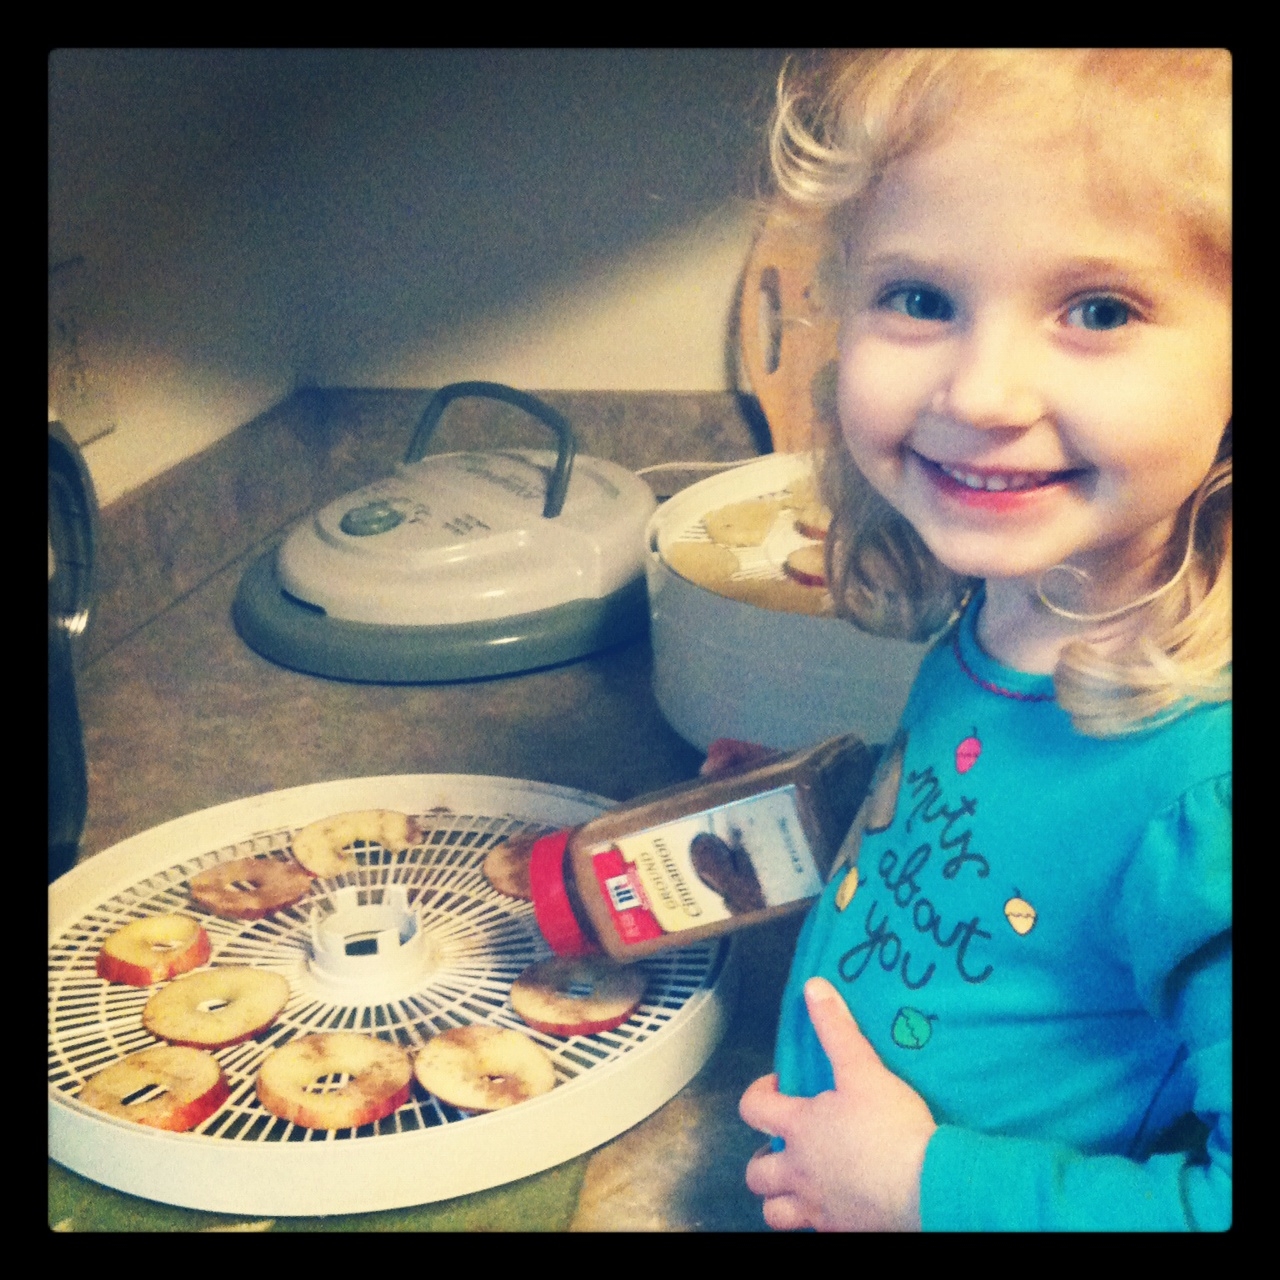
Sprinkle apples with cinnamon lightly on one side.
Place apples on the drying racks in a single layer.  Avoid crowding the apples to allow for even drying.
Dry at 135 degrees overnight, or about 9 hours. (I suggest allowing yourself time to check them in the morning so you get a sense of how fast they cook, it depends on the size of the apple slice.)
The rings are done when they are pliable, but no liquid is squeezed out when you break it apart.  You don’t want brittle rings, that means they are a bit overdone.
Store the cooled apple rings in an airtight container or zip top bags.

If you don’t have a dehydrator, you can make these in an oven on the lowest setting, either 150 or 200 degrees.  The apples can be layered on an oven safe cooling rack over a baking sheet.  You will need to watch the time as the difference in degrees can vary the cooking time.  (more details here.)

One of my new year’s goals is to do some emergency preparation planning.  You just never know when you might get a snow storm that shuts everything down.  I would feel better knowing we have some food options in the house that will last for a long time, and don’t necessarily come out of a can.  There will be more to come on this topic as I share the progress we have made on this goal and how the dehydrator fits into our plans.  My husband wants to make beef jerky.  He might be on his own with this next kitchen mission.  Maybe I’ll get him to guest post. (he, he.)

Slow Cooker Tomato Soup at RandomRecycling.com

Ever try to make your own Tomato Soup?  After reading the label on my favorite tomato soup, I decided to test out other organic options.  Nothing ever hit the mark.  I’ve cooked it before on the stove and never really been happy with the results.  Finally tried it in the crock pot and it came out fabulous!  I served it alongside grilled cheese sandwiches for a simple dinner one night, then added barley to it to make it into a lunch.

Slow Cooker Tomato Soup at RandomRecycling.com

CROCK POT TOMATO SOUP

Course: Soup

Ingredients

  • 1 large Onion chopped.
  • 1 stick of butter
  • 28 oz Can of Whole Tomatoes
  • 1/2 Cup White Wine I used Sauvingnon Blanc
  • 1 Tbl Sugar
  • 1 Tsp Dried Tarragon
  • Sea Salt
  • Sour Cream for serving

Instructions

  • In a large skillet, melt the butter on medium heat. Add onion and cook for about 15 minutes until softened. Stir often. (Or, set slow cooker to saute and complete this task in the main cooker.)
  • Add tomatoes (do not drain), wine, sugar and tarragon into the crock pot. Add onion and butter. Cover and cook on Low for 5 hours.
  • Puree using an Immersion Blender
  • or in a blender in batches. Season with salt. Serve with cold sour cream.
Tried this recipe?Mention @emilyroachwellness or tag #erwellness!

Enjoy!


Healthy Homemade Chicken Nuggets

Skip the drive thru and the frozen food aisle.  Here is an easy chicken nugget recipe that is both kid, and husband, friendly.  I grew up eating these and I have hardly tweaked the original recipe from the Eater’s Choice cookbook.  Now I make sure to cook enough so there is leftovers for the kids lunches.

A note about breadcrumbs.  I use the heels of my bread and pulse them in the food processor.  I have also used panko breadcrumbs as well and they come out just as crunchy.

Healthy Homemade Chicken Nugget Recipe

Kid-approved healthy chicken nuggets are a winner at the dinner table.
Prep Time: 8 minutes
Cook Time: 15 minutes
Total Time: 23 minutes
Cuisine: American, dinner
Servings: 4 servings
Author: Emily

Ingredients

  • 3-4 Boneless Chicken Breasts
  • 2 Tbl Olive Oil
  • 2 Garlic Cloves
  • 1/4 tsp ground black pepper
  • 1 Cup Breadcrumbs 2-3 pieces of bread
  • 1/4 tsp cayenne pepper
  • Dipping Sauce~ 2 1/2 Tsp Honey and 2 Tbl Dijon Mustard

Instructions

  • Preheat oven to 425 degrees.
  • Cut chicken into bite size pieces, about 8 pieces per breast.
  • Mix oil, garlic, pepper and chicken in a zip top bag and marinate about 30 minutes. (You can do it in the morning and let it sit till evening, or just marinate for a few minutes, it doesn't make a huge difference in taste.)
  • Mix breadcrumbs with cayenne pepper. Roll chicken pieces in bread crumbs and place on a large cookie sheet. I line my cookie sheet with parchment paper to make clean up easy.
  • Bake 15-17 minutes until lightly browned and cooked through.
  • Use honey mustard sauce or ketchup for dipping.

Notes

Updated: Instead of a breadcrumb topping, you can coarsely chop 3/4 cups of nuts. Pecans, walnuts or almonds are all healthy choices. If you choose a nut topping, omit the garlic from the recipe.
Tried this recipe?Mention @emilyroachwellness or tag #erwellness!


Healthy Homemade Chicken Nugget Recipe


Chicken Nuggets Honey Mustard Sauce

Enjoy this healthy homemade chicken nugget recipe. I’ve been eating this version since I was a kid!

After a few rounds of making my own yogurt, I feel confident enough to share my steps for how to make yogurt in a slow cooker.  I’ve tried to make it in the past using a stove top method with thermometers involved, but never found it that easy.  The slow cooker method is easier, you just need to plan your time accordingly.

How to  Make Yogurt with a Slow Cooker

How to make yogurt with slow cooker
Ingredients
1/2 Gallon of Milk ~ cannot be Ultra-Pasteurized, which many Organic milk products are.  I have found Organic Pasteurized milk at Trader Joe’s that worked fine. Local, farm fresh milk is what’s I’m using.
1/2 Cup Plain Yogurt, called the “starter”.  Once you make up your first batch, you can save a 1/2 cup and use for a future batch.
Instructions
Pour all of the milk into a slow-cooker and turn to Low. Leave it on for 2 1/2 hours. Check that the temperature is around 180 degrees as you learn how hot your slow cooker runs. They are not all created the same.
Unplug the cooker and let it sit for 3 hours.
At the end of 3 hours, mix in the 1/2 cup yogurt starter to the warm milk.  I slowly whisk in the yogurt.
Cover the slow cooker with a thick bath towel to retain heat.  Let the slow cooker sit overnight, or at least 8 hours.  Refrigerate in the morning.
That’s it!  In the morning, you have yogurt.  While I like it cool, I have eaten it right away in the morning, and so have the kids.  I’ve tried my starter using both Plain and Vanilla and each worked fine, just choose according to your taste.  I use my yogurt for baking and also to serve with my Homemade Granola. I usually mix fresh fruit in my yogurt and granola breakfast so I don’t care for fruity yogurt.  If that’s how you roll, you can make a puree in the blender of fresh or frozen fruit and then blend it into the yogurt.

What do you think? Will this take some of the burden off your yogurt expense each week? Let me know if you have any questions about how to make yogurt with the slow cooker.

Throughout the fall, I took the kids to Belkin Lookout Farm for loads of apple picking and train rides.  Every week I made a big vat of homemade applesauce.  So many friends ask how I make it so here is my recipe.  It’s super simple, healthy, reduces plastic waste, and is affordable.

1. Wash apples thoroughly, core and chop into small pieces. I process mine in a Food Mill after cooking so I leave the skin on.  This adds more fiber to the applesauce, but also gives it a pretty pink color. It’s just as I remember my Nana’s applesauce, with a little less sweetness.

2. Add about a 1/2” of water in the pot and heat on medium low for about 15 minutes, or until apples are mushy. (I am feeding the applesauce to my little guy so I use water instead of cider.  The cider does give it just a little more flavor.)  Add 3 cinnamon sticks to a large pot, but you could also add about 1 tsp ground cinnamon as well.

3. Set a Food Mill over a large bowl.  Once apples are cooled, process in food mill. Remember to discard the cinnamon sticks.  I add a large scoop at a time and process it for a few minutes.  Make sure you scrape the bottom of the food mill to get all the sauce.

4. Store applesauce in the refrigerator for up to one week.  It doesn’t usually last that long in our house as we use it for baby food, toddler snack and as a side dish with roast chicken.

It does take a few minutes to get it all done, but it’s totally worth it.

Healthy Homemade Granola via RandomRecycling.com

We have been making this nutty granola recipe every week for well over a year now. The kids love making it with me and it’s fun to tweak it with different dried fruits and nuts throughout the year. Below is our standard recipe but feel feel to just add in the nuts and dried fruits you have on hand. The honey is the key ingredient as it helps the granola maintain it’s crunchiness.

Photo by Tara Bellucci

Enjoy a little sweet granola with homemade yogurt and you will start the day off on a happy foot.  Once you get the basics down, you can tweak it a bit to your taste.  A little less sweet or a little more nutty, you can alter the recipe to make it your own.  I tend to use a mix of sweeteners depending on how much I have of each in the house.

[amd-zlrecipe-recipe:15]

I love this recipe and serve it with fresh fruit and yogurt. If you want it less clumpy/sticky, you can swap out the honey for maple syrup. I also buy a lot of ingredients in bulk to keep the cost low. The pecans are pricy, but add a lot of flavor.

Enjoy!