I know no one wants to think about cold and flu season, but now is the time to get ahead of the game.  Blackberries are coming into season here in the Northeast.  While they can be a bit strong tasting on their own, they pack a powerful health punch.

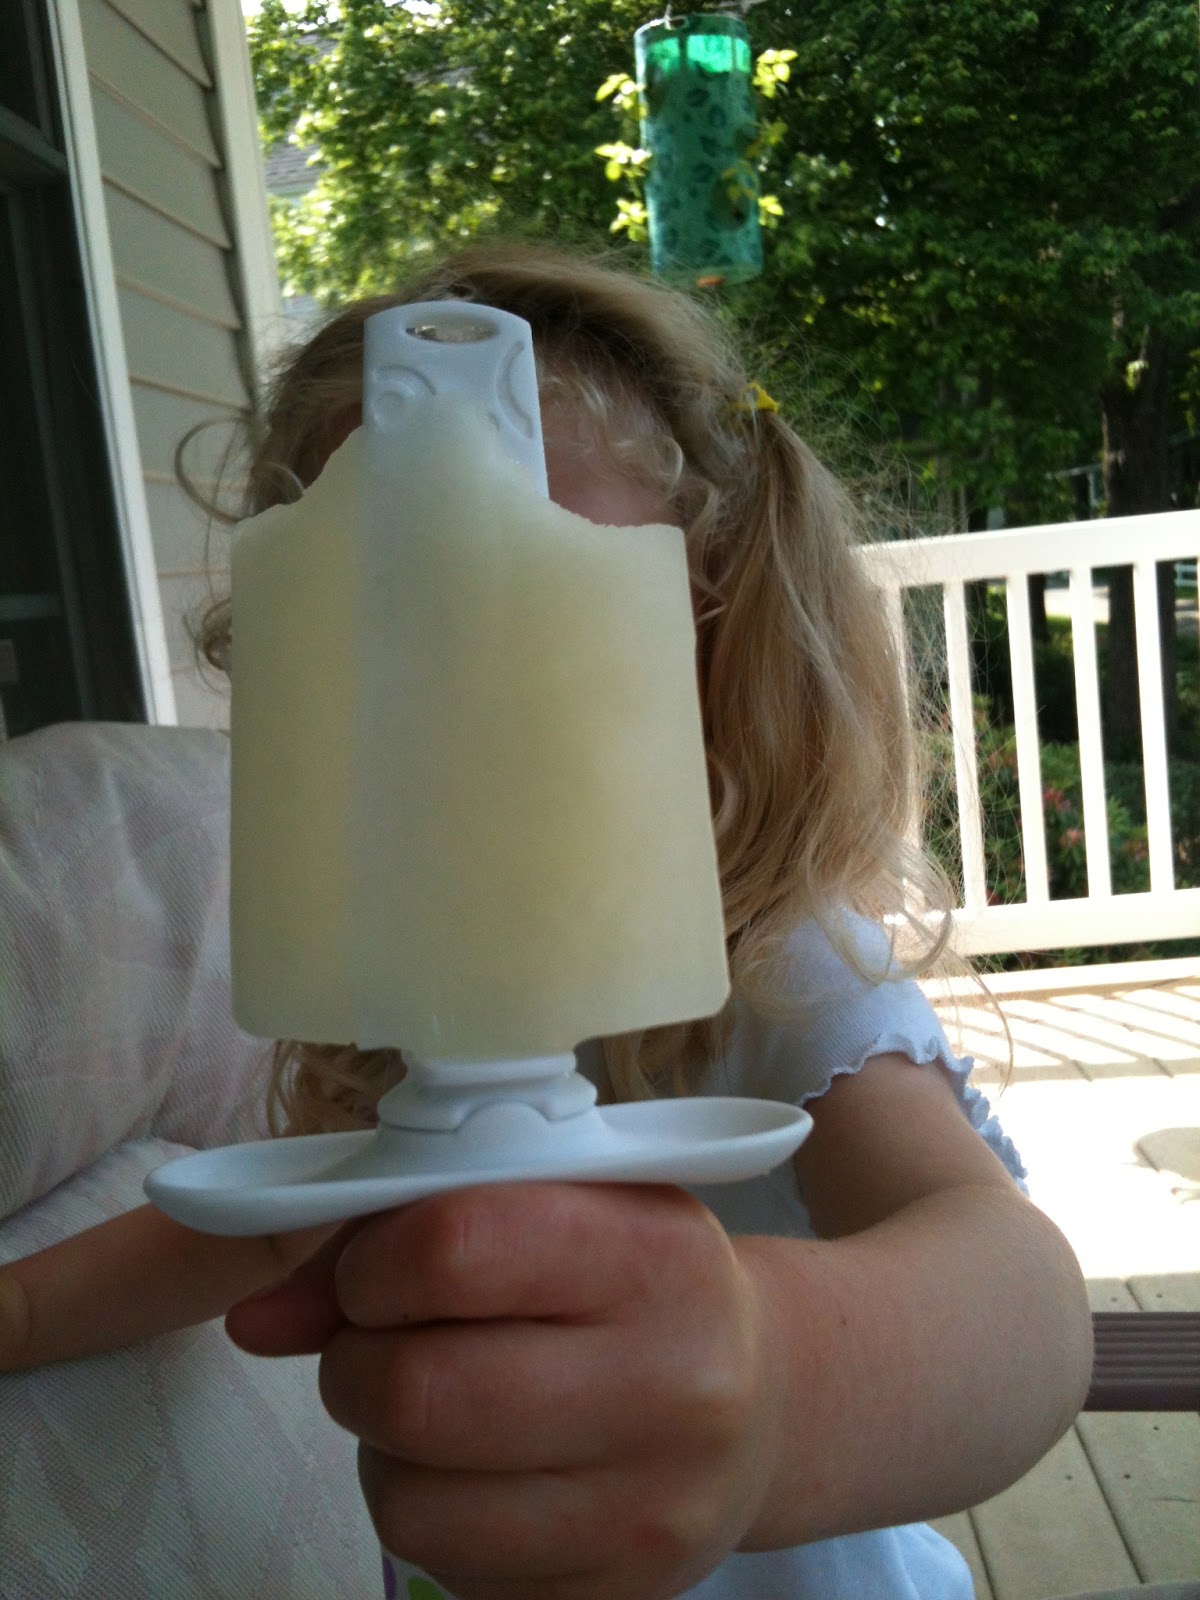
My little blackberry picker

Blackberry elixir is used when you first have the signs of a cold.  It has similar health benefits of the elderberry syrup we make in the fall. The berries have high levels of both Vitamin C and E, both immune-boosting antioxidants. My stepmother told me it was used by her family for generations, which inspired me to make my own. I’m a big fan of trying to treat a cold quickly, and without a visit to the doctors office.

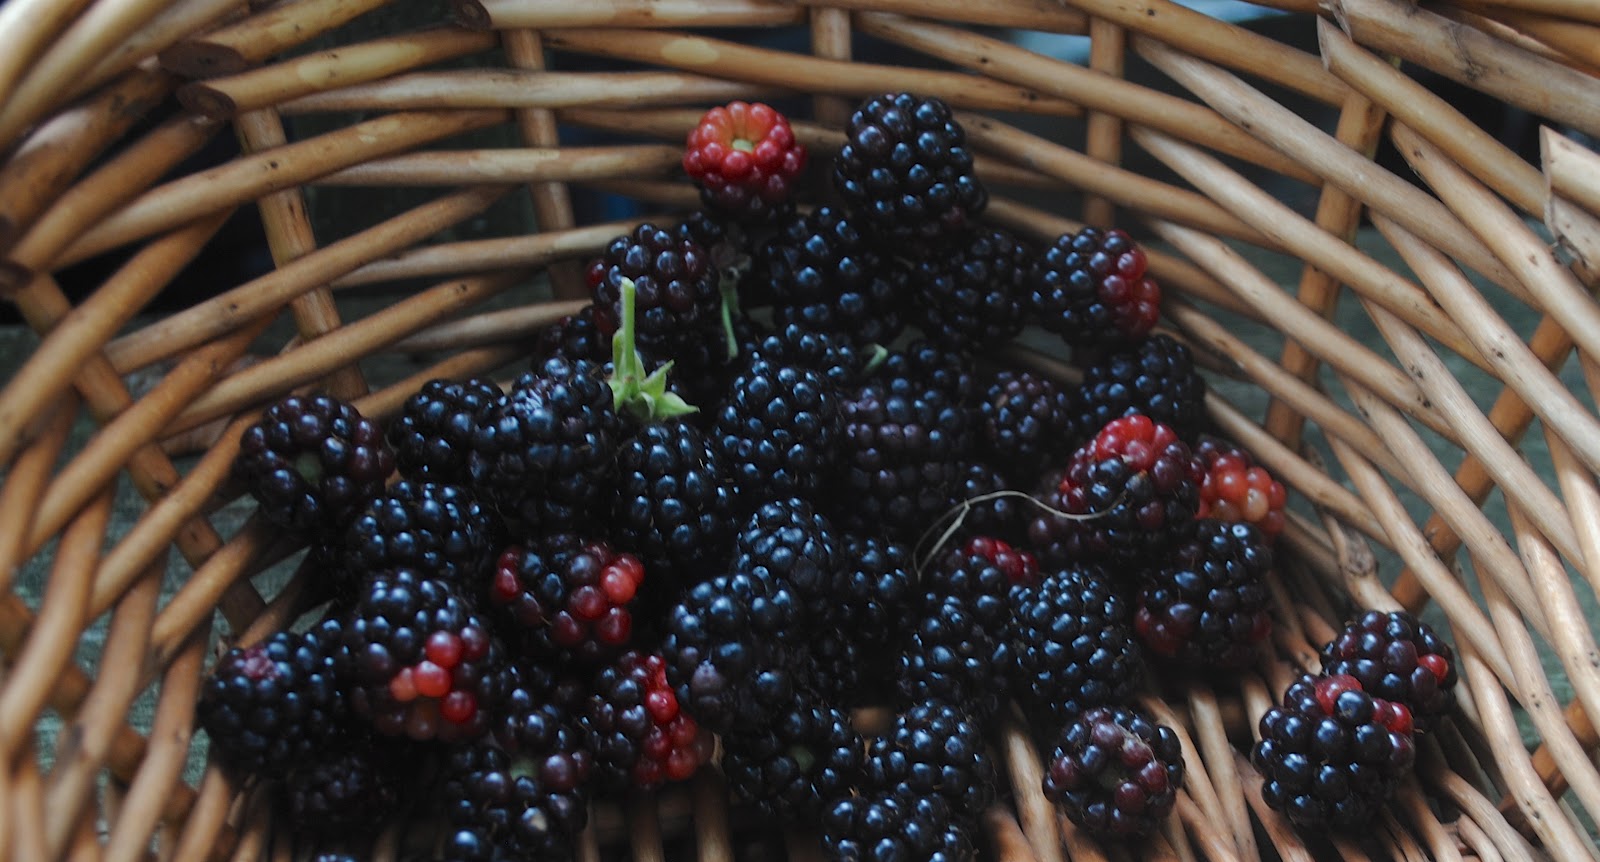
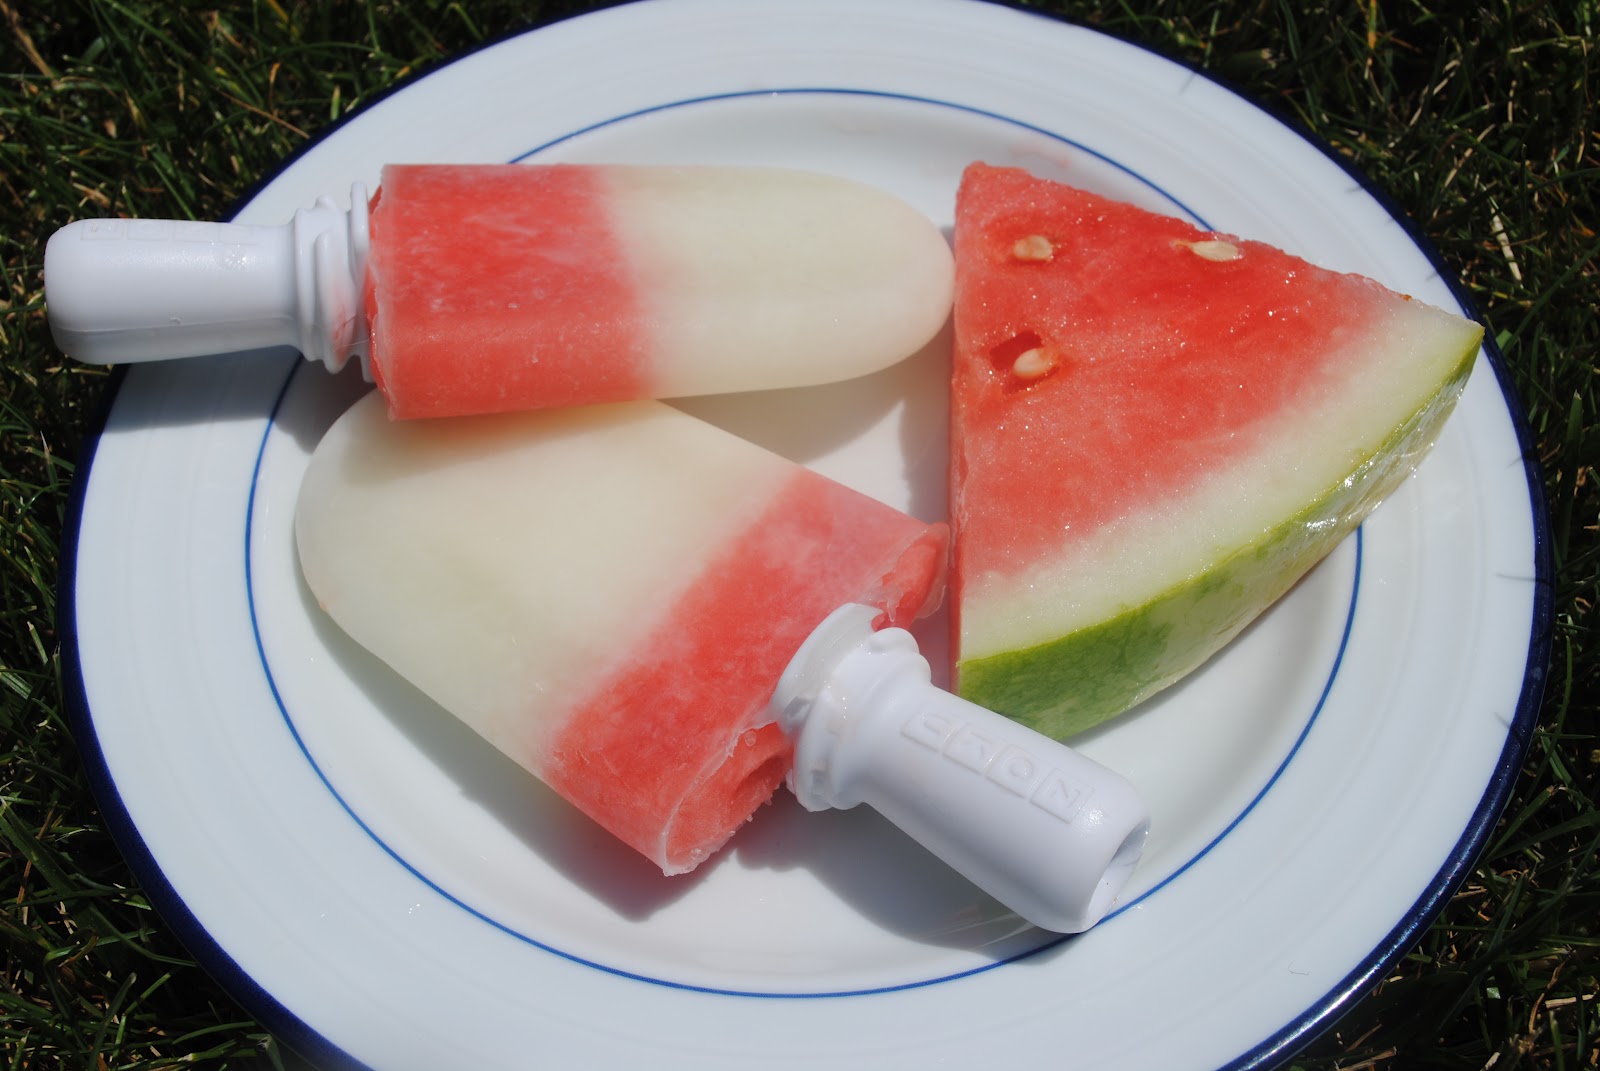
Fresh blackberries off the vine

Our neighbor has a generous blackberry bush and we made it a family affair to collect some.  Both kids ate some and liked them.  I found them to be a little too strong for my tastes.

I collected about 1 1/2 cups of blackberries to make our first blackberry elixir.  The berries should be rinsed and well drained.  Remove stems and discard any moldy berries.  Add them to a glass jar; I used the pint size.

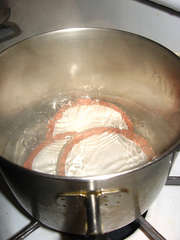
Cover the berries with brandy

Cover the berries with the brandy.  Secure the top and gently swirl.  Place in a cool, dry spot in your kitchen.  Swirl gently for a few days, then let it ferment for eight weeks.  Mark your jar with the ready date so you know when to strain it. It can sit longer, it will just get stronger.  You can add a tablespoon of sugar to the elixir, however I try to avoid white sugar when possible.  If it’s too tart when you taste it, you can add some simply syrup to the glass.

When you first see the signs of a cold, pour yourself a warm glass just before bed.  Drink it up, get cozy under some warm blankets, and feel better in the morning.  Cheers!

Image and video hosting by TinyPic
I love to hear your feedback and comments. Stop by and visit FacebookPinterest or Twitter for more conversation!  Or get posts delivered via Email or RSS Feed. Thanks!  I’m sharing this with Sustainable Ways I‘m Lovin’ ItThe Morris Tribe and Green Your Way.

My kids are popsicle crazy.  Morning, noon and night they want to make popsicles.  In my quest to avoid unnatural food dyes and excess sugar, we started making our own popsicles.  Welcome Zoku to the family.

Zoku makes popsicles super fast.  10 minutes fast.  If you have kids, you know fast is good.  They have no patience for waiting for a treat and this is just long enough.  Plus it becomes a fun project when you start “decorating” your popsicles.

Lemonade and local strawberries

Dress up the everyday popsicle with strawberry slices.  Or go with a sweeter option and add in mini chocolate chips!

Our go to popsicle is yellow or pink lemonade.  I like the Newman’s Own Organic Lemonade which has no high fructose corn syrup or artificial colors or flavors.  Both kids love it.

Watermelon and lemonade popsicle

There are all sorts of special accessories for the Zoku.  We have a basic model with 2 moldsand if our family grows, we will be in the market for a larger option down the road.  I love the idea for making a bunch of popsicles for the kids and their playmates when they get older. They all already get excited about clicking in their “drip trays.”

I picked up my Zoku at Williams and Sonoma, plus the Zoku Quick Pops Recipe Book.  You can also find them on Amazon.

And yes, the Zoku is also good for making boozy popsicles for the grown-ups too.  Shhh…don’t tell the littles.

Image and video hosting by TinyPic


strawberry lemonade popsicles (1)

How to Host a Canning Party with Friends

Please welcome my guest writer Mary who shares her experience of hosting a canning party, plus her recipe for Sassy Tomato Salsa.  Many hands make less work.  Leave a comment and share what you would make at your canning party.


When veggies are ready to be harvested, we need to take advantage of this large influx of ingredients to make delicious things to eat.  Buying these by the bushel really cuts down on the cost and it’s easy to put up a few bushels at a time but it’s definitely more fun when you do it with friends.  I’d like to share with you about one canning party I hosted at my house one summer.  As a side note, before we begin, there are quite a few sites that offer free printables for canning and even specialized invitations for your party.  Make it as fancy or relaxed as you see fit….the whole idea is to have fun!
I gathered friends I knew either loved to can or wanted to learn.  We chose the items we wanted to can that day and divvied up the ingredients amongst ourselves.  This also included what we would need for lunch and of course, the wine we’d consume *smile* but sharing the cost of things can really reduce the cost of taking on a large project like this.  Tomatoes by the bushel can be purchased at farmer’s markets, vegetable stands or sometimes even grocery stores.   Roma, or paste, tomatoes make the best tasting salsa because they are meatier.


Canning Fun
We set up stations in my kitchen, in my garage and even outside.  Tasks were divided with 2 people at each station and it was proven again that many hands make light work.  The first station worked with the tomatoes, the first step of the process.  After washing the tomatoes, place them in boiling water until the skins split, remove them from the water and plunge into a sink of ice water – this stops the cooking process and allows the skins to peel easily.  All the vegetables that are included in the making of the salsa had to be chopped into small pieces and this was done both by hand and using the food processor.  Once all the ingredients were assembled, they were put into large stock pots to cook.  Since there were six of us working together, we wanted to make sure we each had at least 6 pint jars of salsa apiece so we were cooking a large amount of ingredients and it had been divided into four large stock pots.  We set up a camp stove outside to cook two of the pots and two were cooked on the stove in the kitchen.  As preparation had taken most of the morning, while the salsa was cooking we stopped for a lunch of all the yummy stuff to eat everyone had brought and of course, bottles of wine.  It takes at least 2 hours, if not longer, to cook the salsa down to the consistency needed so we had a good bit of down time.


How to Process
You need to prepare the jars to be filled so they need to be washed in hot, soapy water and then placed in boiling water to sterilize the jars.  Since you are doing a large amount of jars, it`s easiest to place them into a warm oven to hold the jars since you`ll have too many to hold in the canners.  You will also need to place the lids and rings in large saucepans to sterilize them and it also softens the rubber on the lids, so they will seal.  Remove a jar from the oven and fill up to an inch from the top.  You need to remove the air bubbles from the jar and you can use the handle from a spatula, a plastic lettuce knife or anything similar that you can run around the edges of the jar to make sure the bubbles are moved from the food.  Wipe the top of the jar to remove any signs of spills as this will prevent the jars from sealing properly.  Remove a lid from the hot water, place on top of jar and then screw a ring into place but not only hand-tighten.

Place jars in the canner, which has water boiling in it, and continue until canner is full.  Once the water reaches a boil again, place lid on top and set timer for 15 minutes.  As we had 4 canners going at one time (two outside and two inside), we had jars coming out at different times.  Place the processed jars on old towels to cool and as they cool, you should hear the most delightful “ping“ coming from the jars as they seal.  You can also check this by pushing on the top of the jars, if they don`t give to the touch, they are sealed but if they move up and down, this means they aren`t sealed properly and should be kept in the refrigerator for eating soon.

Disclaimer
Please note that some people may tell you that this recipe needs to be pressure canned but rest assured that the increased vinegar that is noted in the recipe makes it safe for water bath processing.  Also, there are many vegetables that do need to be pressure canned but that would need to be covered in another post.  My most important caution to everyone is to be sure and check current canning and preserving books for assistance as many of the old methods aren’t safe for today’s safety standards.  You may also find someone who says “well, that’s the way my mother did it and how I’ve always done it.”  This is strictly your decision on how to proceed but methods were updated for very good reasons and I feel safer following them.

Please note that the recipe will need to be adjusted to the amount you want to prepare.  This particular recipe makes 8 pints so we made 4 batches of it in order for everyone to have 6 jars to take home with them (there were 5 of us).


Sassy Tomato Salsa

Author: Emily Roach

Ingredients

  • 8 cups tomatoes peeled, seeded, chopped and drained
  • 2 ½ cups chopped onion
  • 1 ½ cups chopped green pepper
  • 3 – 5 chopped jalapeños
  • 6 cloves minced garlic
  • 2 tsp cumin
  • 2 tsp pepper
  • 1/8 cup canning salt
  • ¼ cup chopped fresh cilantro
  • 1/3 cup sugar
  • 1 cup vinegar
  • **See note if using a Boiling Water Bath

Instructions

  • Mix all ingredients, bring to a boil, boil; boil for 30 minutes (or longer to better marry flavors). Pour into hot jars. Wipe tops of jars to remove any lingering food, place lid on top and hand tighten rings.
  • Process in a Boiling Water Bath for 15 minutes.
  • Makes 8 pints.
  • This can also be processed in a pressure canner but for simplicity sake, I’m only providing the directions for the water bath process as it’s a little easier for a first-time canner.
Tried this recipe?Mention @emilyroachwellness or tag #erwellness!

About the Author
I am a mother and a Nana who presently lives in southern Ontario, Canada, only 15 minutes from Niagara Falls.  I came to live in Canada by way of Kentucky when I married a wonderful Canuk – unfortunately, I lost him almost 5 years ago.  I have tried to lived a fairly frugal life most of my life, a lot of it while raising my two boys by myself for a long while.  Now that I’m widowed, I find myself putting those skills to use again and am finding I’m searching for a more simple life as well.

Helpful items for the Canning Party:

**I prefer wide mouth jars when I can find them.


Zucchini Bread Recipe Quick Breads

When I think of my Nana, I usually think of her in the kitchen.  Amazing things came out of that kitchen, including a fair share of baked goods.  I recently found her Zucchini Bread recipe and gave it a try.  Zucchini is in abundance this time of year so this is a very inexpensive snack for the whole family to enjoy.

Zucchini bread ingredients
 

Grate zucchini on a hand grater or in a food processor

Zucchini Bread Recipe Quick Breads

NANA’S ZUCCHINI BREAD

Course: Breakfast
Keyword: bread

Ingredients

  • 4 eggs
  • 2 cups sugar; 1/2 white and 1/2 brown. I used slightly less of each
  • 1 cup vegetable oil or coconut oil
  • 1 teaspoon vanilla
  • 3 1/2 cups flour I used white whole wheat
  • 1 1/2 teaspoons baking soda
  • 3/4 teaspoon baking powder
  • 1 1/2 teaspoons salt
  • 1 teaspoon cinnamon
  • 2 cups grated zucchini
  • 1 cup chopped nuts
  • 1 cup raisins

Instructions

  • Pour hot water over raisins in a separate bowl and set aside.
  • Beat eggs in a large bowl. Add the sugar gradually, beating as you go and add the oil and vanilla.
  • In a separate bowl, combine the flour, baking soda, baking powder, salt, and cinnamon.
  • Add the dry ingredients to the egg mixture, alternating with the zucchini.
  • Stir in the chopped nuts.
  • Drain raisins and stir in. (Nana's note: you may substitute another cup of raisins for the nuts.)
  • Bake in a greased and floured loaf pan in a 350 degree oven for 55-60 minutes. Makes 2 loaves.

Notes

My note: since this is a double recipe, I make one loaf of bread and one pan of muffins (12). Muffins take only 35 minutes so set a double timer. I use the timer on my iPhone so I always have it with me while I'm running after the kids.
Tried this recipe?Mention @emilyroachwellness or tag #erwellness!

I plan to bake and cook my way through some more of my Nana’s recipes.  Thanks for everyone who gave suggestions of how to preserve her recipes from the Facebook page. If you have another suggestion, please leave it in the comments.

Homemade Basil Pesto Recipe

The basil in the garden is growing like crazy.  Combined with the rain and the heat everything exploded over the past week.  Finally I could make some pesto.

I generally don’t measure anything when I am making it but I’ll assign some easy measurements as a guideline.  Usually it’s more like I harvest as much basil that is ready and go from there.

I tend to serve the pesto with fresh bread as an appetizer.  Even the kids love it.  Once our spinach is in, we can switch out the basil for spinach to encourage more healthy green eating.

Basil Pesto and Garlic Scapes

Homemade Basil Pesto Recipe

Homemade Basil Pesto

Course: Sauce
Keyword: pesto

Ingredients

  • 2 cups basil leaves packed. remove any hard stems
  • 1/2 cup walnuts or pine nuts, which I never have on hand
  • 1/2 cup shredded parmesan cheese not the Kraft powdery stuff
  • 1/2 cup olive oil
  • 3 tablespoons of chopped garlic
  • 2 garlic scapes chopped
  • salt and pepper to taste

Instructions

  • Pulse the walnuts in the food processor first to a finely chopped consistency.
  • Add basil, cheese, garlic and scapes to processor and blend well.
  • While machine is running, pour olive oil in slowly.
  • Add salt and pepper to taste and pulse well after each addition.
Tried this recipe?Mention @emilyroachwellness or tag #erwellness!

Garlic Scape and Pesto

The garlic scape was a new addition this week.  They come in lots of different varieties and the spiciness varies greatly.  Adjust the amount of garlic you add to the pesto if you have very spicy garlic scapes.  I used the Keith garlic scape this week and it wasn’t super spicy so I still used about 3 tablespoons of garlic.

Enjoy!

Image and video hosting by TinyPic

Did you know today is pie day?  I thought I would share my Strawberry Rhubarb galette, which is essentially a pie but sounds so much fancier.  Shhh, don’t tell anyone it’s even easier to make than a pie.

I have made the Martha Stewart Strawberry Rhubarb Pie, as seen here. Lattice pies are lovely but not something you can whip up in 15 minutes.  Yes, you can make pie in 15 minutes.  Yes, that includes making your own crust.

I make my pie crust from an old Betty Crocker recipe using flour, milk, vegetable oil (it’s the only thing I still use vegetable oil for!) and a little salt.

For this recipe, I made a 9″ pie shell mixing together 1 1/3 cups flour, 1/2 teaspoon salt, 1/3 cup vegetable oil and 3 tablespoons of milk.

Roll out and transferred to a parchment or silpat lined baking sheet.

For the filling, I used 2 stalks of rhubarb cut 3/4” thick.  Add 1/2 cup sugar, 2 cups roughly chopped strawberries, 1/8″ teaspoon of salt, 3 tablespoons of cornstarch and about 1 1/2 tablespoons orange juice.  Mix together and pour in the middle of the pie crust.

Fold the sides in towards the middle, overlapping slowly.  Bake in a 375 degree oven for about one hour.  Let cool and transfer to a cake stand and serve.  Goes great with a little strawberry ice cream.

Enjoy!

 strawberry rhubarb galette spring dessert

Oatmeal Chocolate Chip Sea Salt Cookies. Sweet and salty cookies, the perfect combo!

All parties are better with cookies.  Even better are cookies that are both salty and sweet like Chocolate Chip Oatmeal Cookies with Sea Salt.  This week I hosted a group of bloggers and blog contributors from the Parent Talk Matters blog.  We got our work done and then checked out these lovely cookies over a glass of wine. A perfect treat for the end of the day.

Oatmeal Chocolate Chip Sea Salt Cookies. Sweet and salty cookies, the perfect combo!

CHOCOLATE CHIP OATMEAL SEA SALT COOKIES

Course: Dessert
Keyword: Cookies

Ingredients

  • 2 sticks of butter room temperature
  • 3/4 cup brown sugar
  • 1/4 sugar
  • 2 large eggs
  • 2 tsp vanilla extract
  • 1 1/2 cup white whole wheat flour or all purpose flour
  • 1 teaspoon baking soda
  • 1/2 teaspoon salt
  • 3 cups old fashioned oats
  • 2 cups semisweet mini chocolate chips 12 oz package
  • Sea salt flakes or kosher salt

Instructions

  • Beat butter and sugars together in a mixer until creamy.
  • Add in the eggs and vanilla, beat until thoroughly combined.
  • In a separate bowl, mix the flour, baking soda and salt.
  • Slowly add flour mix to the egg and sugar mix.
  • Stir in oats and chocolate chips until combined.
  • Drop rounded teaspoons onto cookie sheet
  • Press down each cookie slightly and sprinkle with sea salt.
  • Bake 10-12 minutes in a 350 degree oven, or until golden brown.
  • Cool for 3 minutes and then transfer to cooling rack.
  • Makes 4 dozen small cookies or about 3 dozen large.
Tried this recipe?Mention @emilyroachwellness or tag #erwellness!

Enjoy!

Do you ever flip through cookbooks for relaxation?  If yes, have I got one for you.  The new Joy the Baker Cookbookis a delightful mix of comforting recipes focusing on good old fashioned sweet stuff. I got Madison to snuggle in next to me on the couch while we went page by page, admiring the mouth-watering photos and planning what to make.  We decided on the Mommom’s chocolate bourbon-spiked banana bread.  How could that not be good?

The recipes in the book are easy and use a lot of basic pantry ingredients.  I went a little healthier and used the white whole wheat flour for this recipe in place of all purpose and it came out great.  Well, not just great but amazing.  The bourbon gave the bread just a little kick and a unique sweetness.

I won the cookbook from Simple Mom during Project Simplify in March.  The book is signed by Joy and I was just a little bit giddy when it finally arrived.  I have listened to Joy the Baker’s podcast weekly for some time now and if you haven’t heard it, you can find it at Homefries.com.  She chats with Tracy B. from Shutterbean (amazing font land/photography/recipes.) These podcasts are a treat to listen to while cleaning up the kitchen, they are random and always silly.

Next up to make…Carrot Cake Pancakes with cream cheese spread.  Oh Joy.

Image and video hosting by TinyPic

 I love to hear your feedback and comments. Stop by and visit FacebookPinterest or Twitter for more conversation!  Or get posts delivered via Email or RSS Feed. Thanks! 


CURRENT SPONSORS

What’s not to love about Chocolate and Cheesecake and Cookies?  Put it all together and you get one rocking cookie.  We had these over Easter weekend and they did not disappoint.  I also used white whole wheat flour to up the healthy quotient.  No one was the wiser 😉
Recipe was adapted from Sister Wisdom.

Chocolate+chip+cheesecake+label1

CHOCOLATE CHIP CHEESECAKE COOKIES

Course: Dessert
Keyword: Cookies

Ingredients

  • 2 cups of flour ~ I used white whole wheat
  • 1/2 teaspoon salt
  • 1/2 teaspoon baking powder
  • 1/8 teaspoon baking soda
  • 10 tablespoons butter
  • 1 cup sugar
  • 1 egg
  • 3 ounces cream cheese softened
  • 1 tsp vanilla
  • 12 ounces chocolate chips
  • 3/4 cup chopped pecans

Instructions

  • Preheat oven to 375 degrees.
  • Combine dry ingredients in one bowl and whisk to combine. In a mixer, blend butter, sugar, egg, cream cheese and vanilla. Slowly add the flour mixture until all incorporated. Stir in the chocolate chips and pecans.
  • Drop rounded spoonfuls onto a cookie sheet, 12 per sheet.
  • Bake 10-12 minutes or until golden brown around the edges.
Tried this recipe?Mention @emilyroachwellness or tag #erwellness!


Enjoy!

Image and video hosting by TinyPicI love to hear your feedback and comments. Stop by and visit FacebookPinterest or Twitter for more conversation!  Or get posts delivered via Email or RSS Feed. Thanks!    
This post is shared with Sustainable Ways, What’s Cooking Wed.

Strawberry Fruit roll-ups, or fruit leather, are probably the kids’ favorite snack right now.  Both get excited when they see the blender come out.  The tricky part is the one year old is so slow eating his, big sister tries to take what he hasn’t eaten yet!

Strawberry Fruit Leather
Ingredients
1 lb Fresh Strawberries  
2 tablespoons honey

Instructions
Wash strawberries and remove the green stems.

Place strawberries and honey in a blender and puree.

Pour strawberry mix on a dehydrator tray with the fruit leather tray. Spread evenly.

Cook at 135 degrees overnight, or about 10 hours.
This is a bit trickier with an oven, as friends have confirmed that getting an evenly cooked roll-up is difficult. However, you can cook it on a very low oven temp on a parchment lined baking sheet.  I would advise using a cookie sheet with no sides to allow for better air flow, or turn on the convection oven blower.

It will be done when there are no sticky spots.  You want it to be pliable, not brittle.
Let cool completely, then peel fruit leather from tray and move to parchment paper.

Little hands got to this before I could get my picture!

Roll the paper and fruit leather together into a long roll.  Cut with scissors into desired length.  Store in an airtight container or zip top bag.

Strawberry Fruit Leather RandomRecycling.com

See the previous post for the Cinnamon Apple Ring recipe.
Enjoy!