Posts

One question I get asked often is, “How did you learn how to be green?” For me, it’s an ongoing learning process. However, most of what I do was taught to me by my parents. If anyone could live off the land, it would be my Dad. He taught our family a lot about making the most of our resources, reducing our waste impact, and growing much of our own food in the summer months. One could also say he is really frugal, which spearheaded a lot of these routines. Totally true, but he taught me many valuable lessons about how be eco-responsible well before it became the trendy thing to do.

Teach Kids to be Green

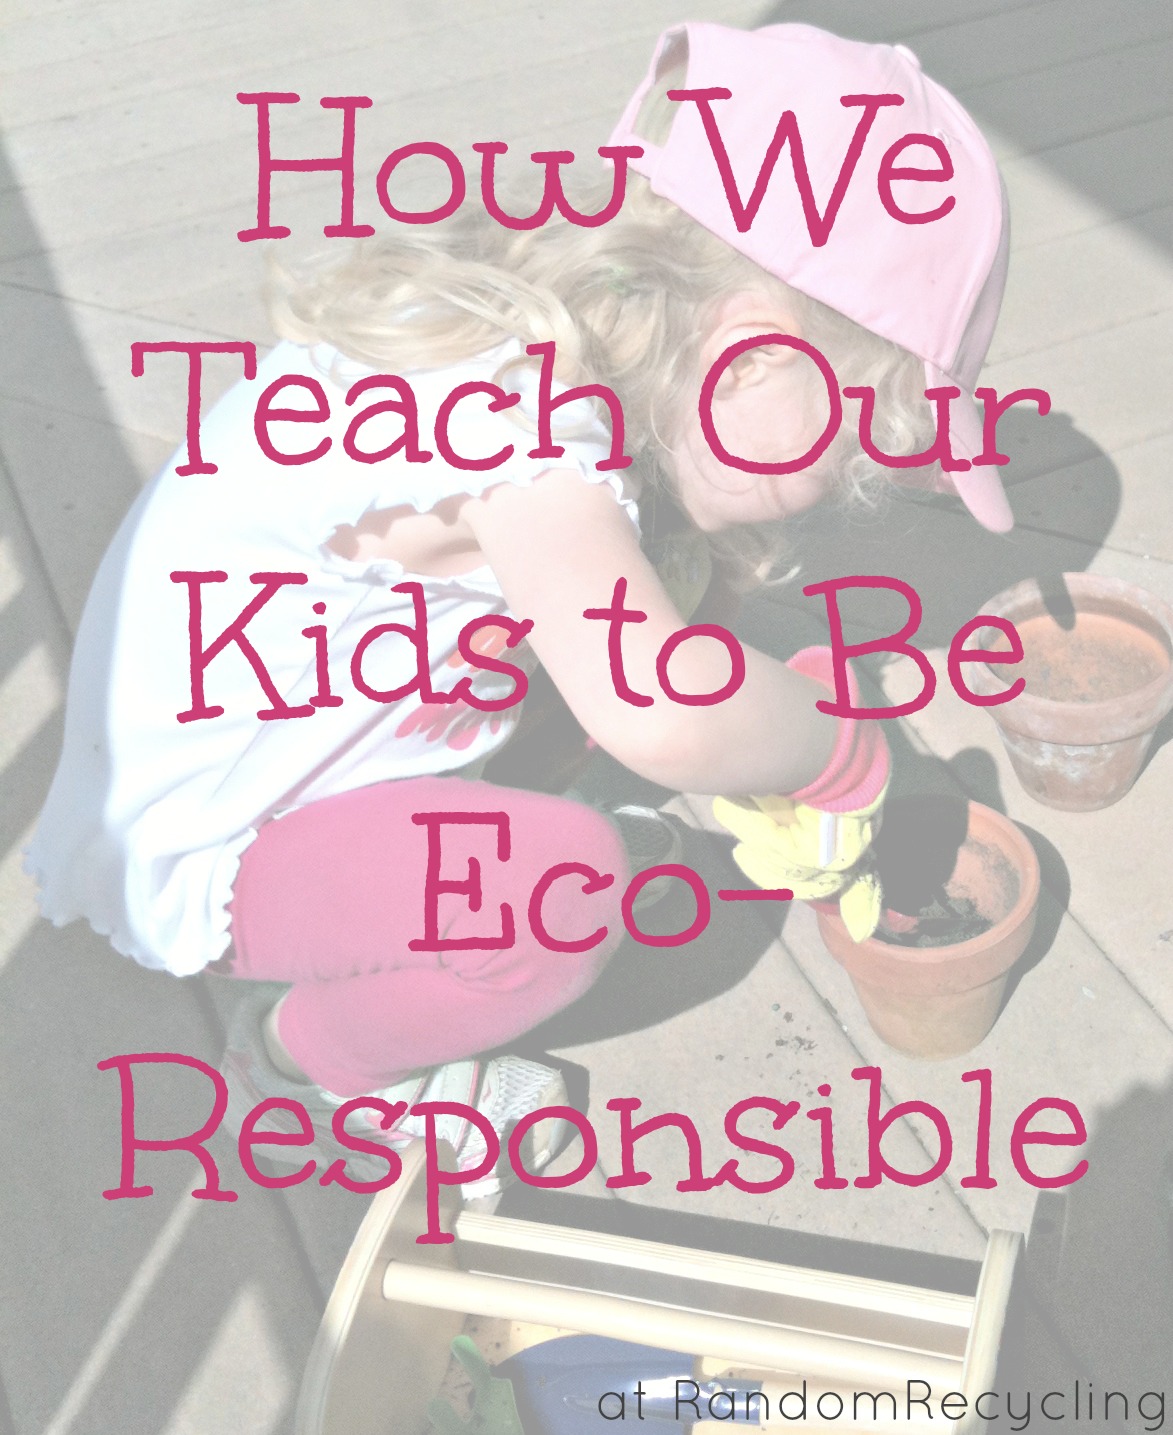
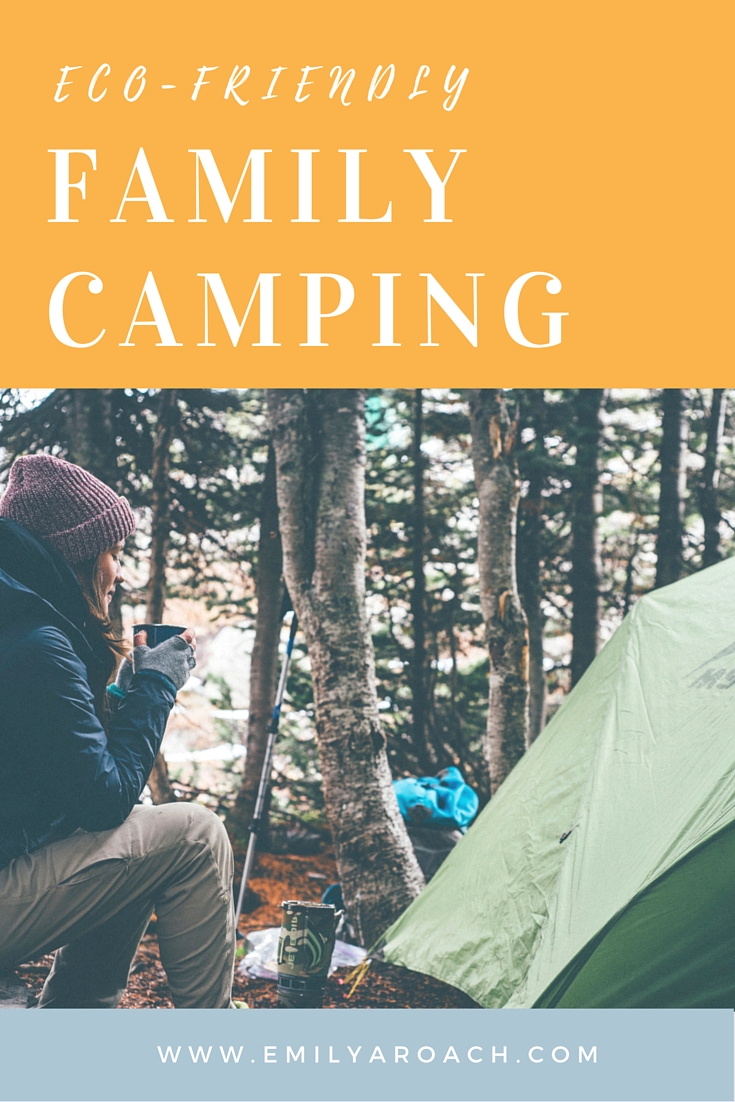
I walked around the house the past few weeks looking at all the ways I encourage and teach my kids to be green. Some are simple words we use, others are the systems we have in place for our family. The list below is ways that work for our family, with children four and under. As they grow, I expect this list will change and hopefully expand as they take on more responsibilities.

Recycling Bin for Closet

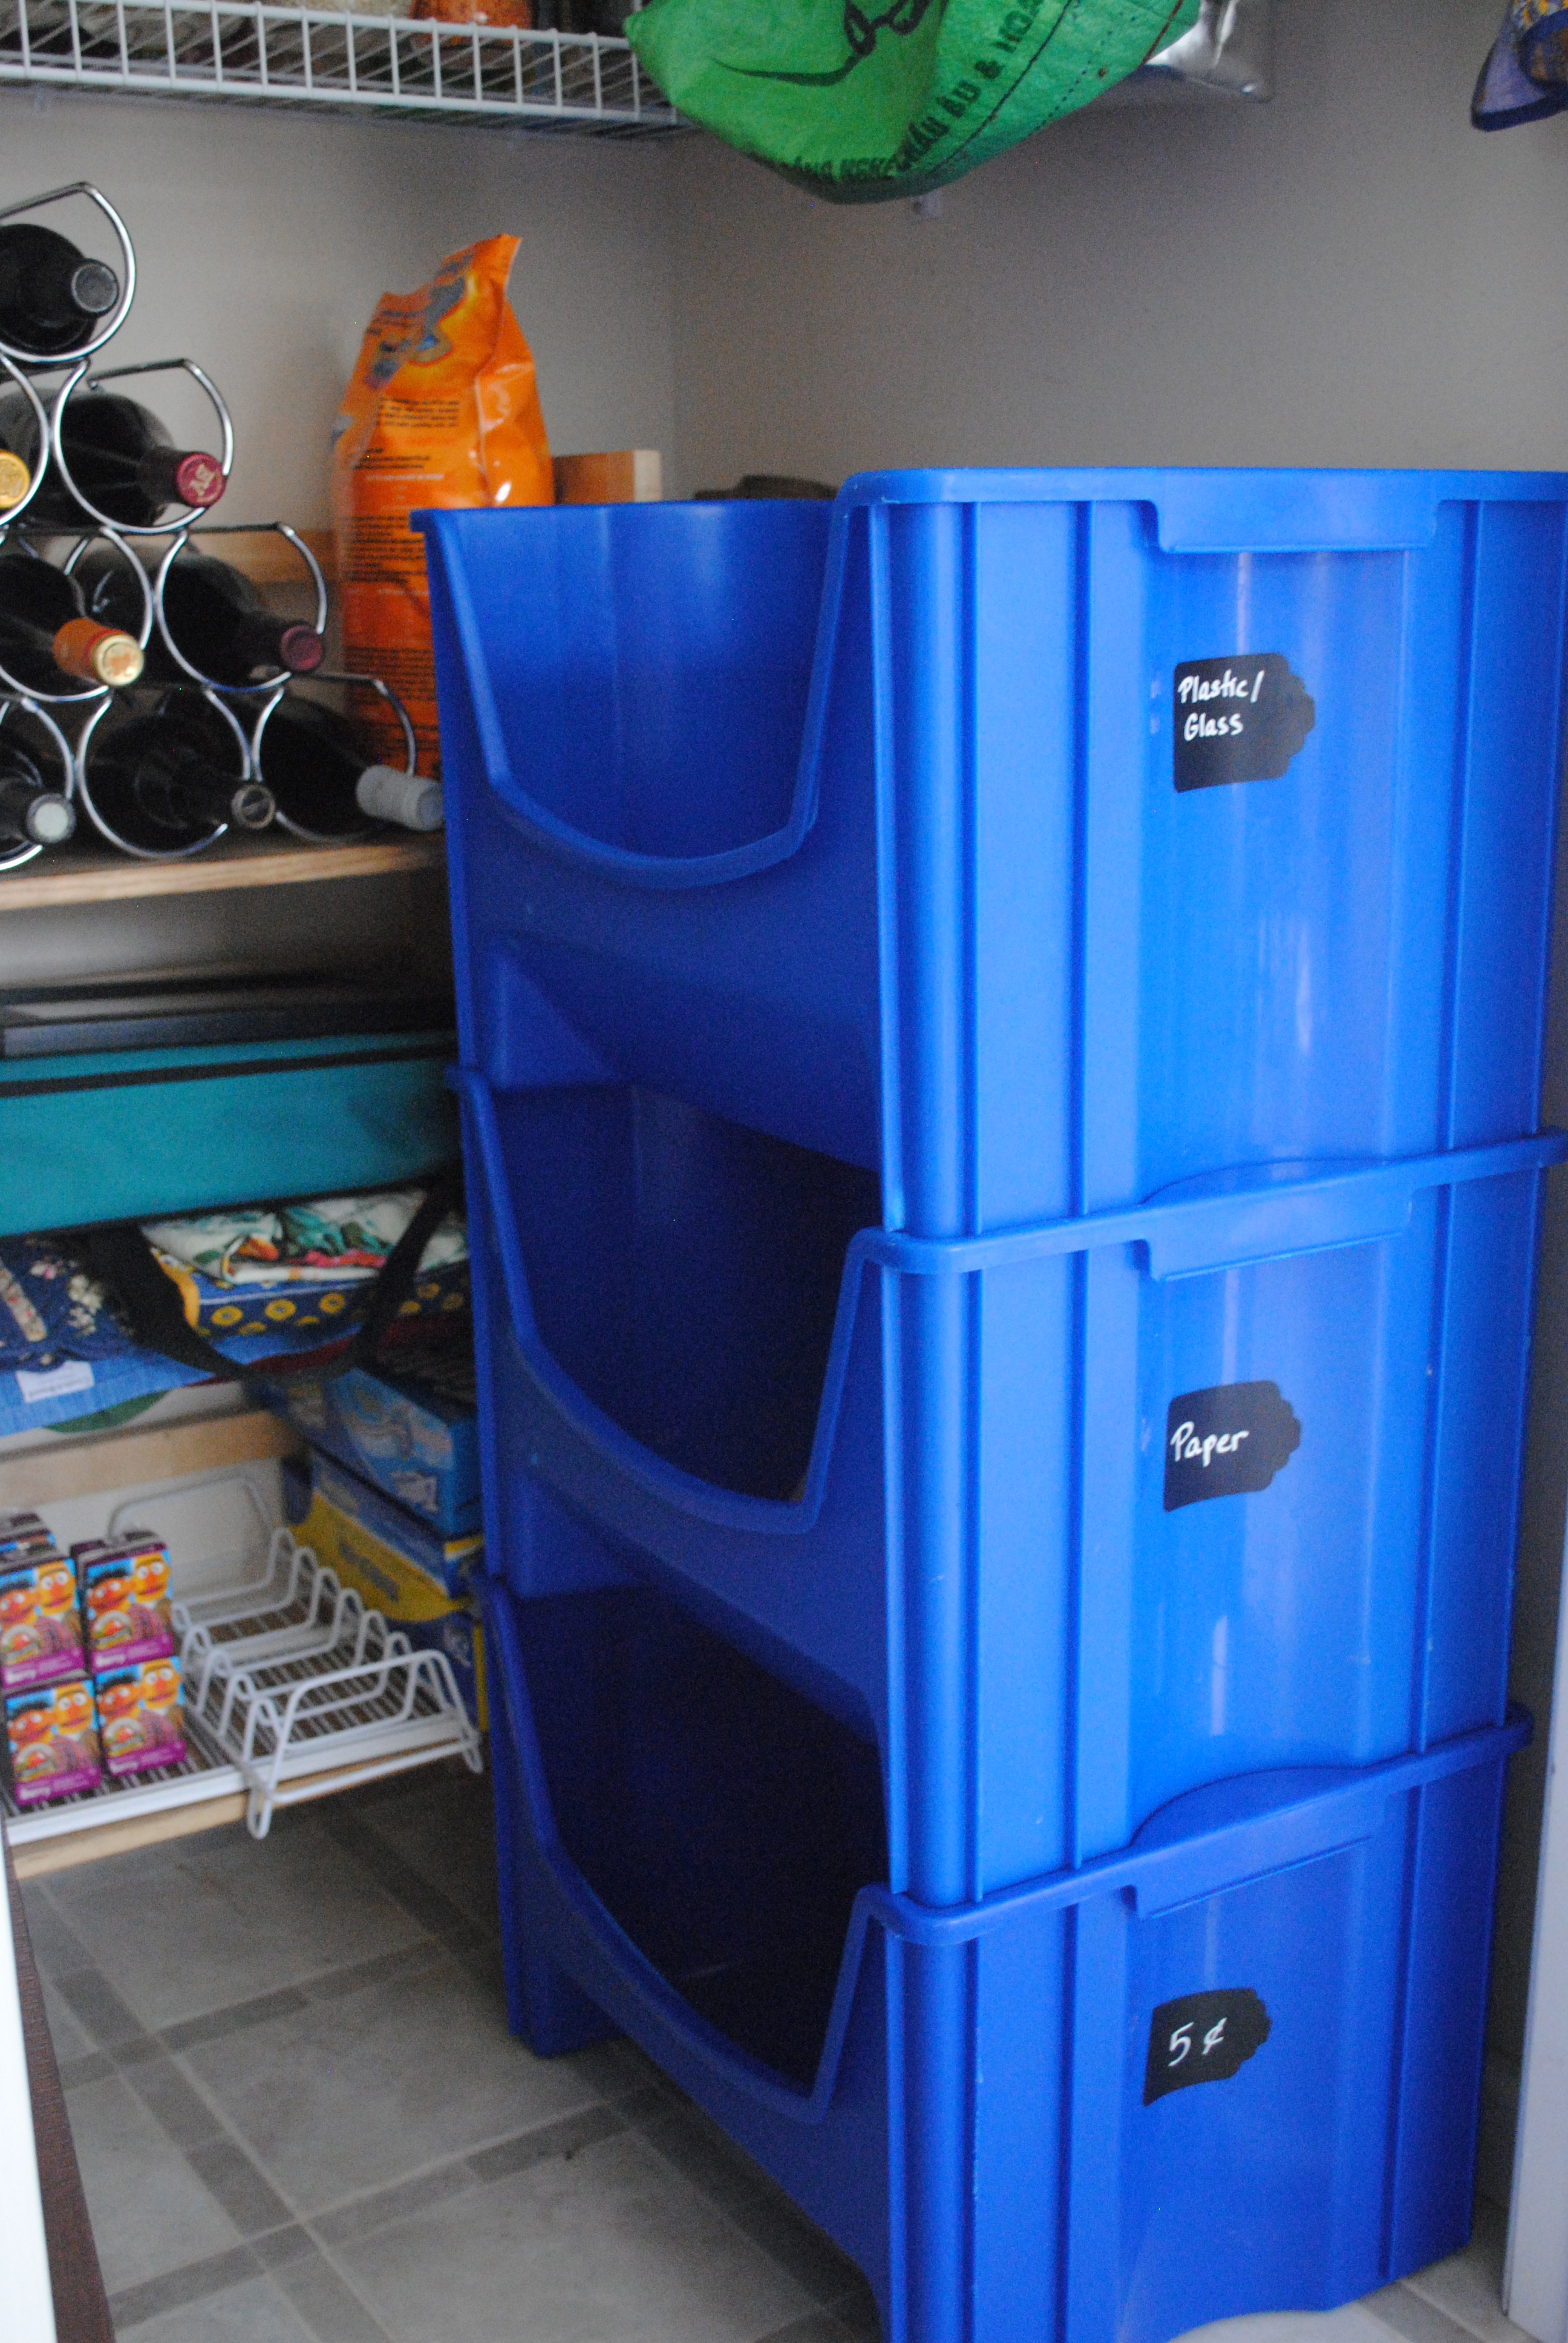
  • Recycling station is accessible and easy to understand. The kids also learn what can and can’t be recycled. 
  • Compost is a part of their vocabulary; they know to save their banana peels and apple cores for the shiny bucket under the sink.
  • Walk to do errands instead of driving
  • Offer paper from the recycling bin for coloring. Explain the importance of using both sides of a paper.
  • Turning off lights when we leave the room.
  • Conserving water. We encourage this while brushing teeth, washing hands and while washing dishes.
  • Use a shower timer. Both kids love showers and they know that when the timer is up, it’s time to get out.
  • Not wasting food. Still tough for them to understand, I’m trying to be more mindful of reducing their portions and let them ask for seconds instead.
  • Spending time outdoors instead of in front of the TV
  • Explaining the idea of making donations when we have too much toy clutter.
  • Saving clothes that are too small for younger family members. (JJ thinks his girl cousin will wear all of his too-small clothes!)
  • Reusing the same glass throughout the day.
  • Teaching the kids how to cook and talk about where ingredients come from. We had a great conversation the other day when Madison asked if we could make maple syrup as our afternoon project.
  • Involve them in gardening if you have the space. Even if it’s just a pot of basil on the windowsill, let them help water and nurture the plant.
  • Reuse their artwork as wrapping paper or use what’s on hand, like newspaper.

Newspaper Wrapping Paper

What else do you practice in your home to educate kids to be green?

Fruit Valentine Tags

In light of all the sweets and treats my daughter is going to bring home from school today for Valentine’s Day, I decided to take a different approach. Together we decided to give out healthy apples and oranges as a treat for her preschool friends.

I found the fruit tags on Pinterest and printed them out from Craftaholics on card stock. The tags were cut out using my paper-cutter for the sides and scissors for the top. The heart cellophane bags are from my local party store for $.39/each. Oranges and apples came from Trader Joe’s. I have a giant roll of red baker’s twine and I love any excuse to use it.

Making Fruit Valentines RandomRecycling

My little helper decorated the oranges with a face using a black marker. Then she wrote her name on the back of each tag. It was an exercise in patience for me as I watched her write her name and struggle when she made a mistake. Although I didn’t want to waste tags, I knew it was important for her to take the time to make them just right for her friends.

I know she will come from school today with a goodie bag filled with candy full of artificial ingredients. She will be happy and I will let her have her candy in small doses. (Read why we try to avoid artificial dyes.) At least if my daughter and her friends learn at a young age that there are other fun gifts to give besides candy at Valentine’s Day, there is hope for them to make their own healthy decisions down the road.

Happy Valentine’s Day, from my family to yours!

Kids Valentines RandomRecycling


DIY Finger Paint for Kids Random Recycling

When it’s too cold to go outside, it’s time to get creative inside. Our craft project of the day was to make DIY Finger Paint. One of my goals is to finally make some of the many kid-safe recipes I have found on Pinterest. There are recipes for nearly everything that you buy at the store, except you can make them for a lot less with ingredients you already have in your home. Often times, it’s also less toxic than what is available at the store.

DIY Finger Paint can be made with just 4 ingredients, plus some food coloring. I had a box of unopened food coloring that I have avoided using in our baking. Using it to decorate paint is a perfect way to use it up. The project is actually two steps: 1) Making the paint 2)Finger Paint time.  I made the finger paint with Madison’s help while the little guy took his nap. By late afternoon the paint was cool enough to use and they could get nice and messy playing with the paint.

The messiness level is pretty high on this one so beware. The food coloring stains the hands, but it did wash out fine in the bath. The color will be a lot better on white paper, I used paper bags instead to test it out. The paper is really durable and my kids don’t really care about the “picture” they are making. They just want to swirl it around and make “rainbows.”

Ingredients

2 tablespoons sugar

1/3 cup cornstarch

2 cups water

1/4 cup clear liquid dish soap

food coloring

Instructions

Add sugar and cornstarch to a small sauce pan. Blend together, then add water. Cook on medium heat until the mixture turns into a gel-like substance.

Bring to a boil, then turn off heat and stir in the liquid soap.

Divide the mixture into separate containers that you can add the food coloring too. I would use about 8-10 drops for small containers. Glass baby food jars are great for this. We used larger jars to create the colors, then I transferred smaller amounts to an egg carton to use at the kid’s easel. If you have any leftovers, cover tightly to use later.

DIY Finger paint Random Recycling

Do you have a favorite DIY craft project or recipe to share?


I’m sharing this over at The Tuesday Baby Link Up.

Eco-Friendly Camping for Families

Please welcome my guest blogger Elizabeth who is sharing some great sustainable camping tips.  I have been camping once so I am happy to have someone with a lot more experience share some fun ways to stay green while camping.

 
My first camping memory is from when I was seven years old.  We lived in Fort Lewis, Washington at the time and I can still recall running down the shoreline of the Pacific Ocean with my siblings and friends.  There is a vague memory of waking up in a tent and the smell of campfires.  I love talking to my father about my first encounter with a raccoon that was stealing trash through a fence right near our camp.  It was beyond exciting.

Since I have grown up, camping has taken on a whole new interesting twist for me.  Now I have a growing interest in all things frugal, but also in trying to be sustainable and take care of the same environment I’ve grown to love spending so much time in.

Basics – Follow the Rules
First and foremost, follow these common and important rules that you’ll find in most camp areas.
  • Don’t bring firewood that isn’t from that particular area.  This creates a risk of introducing disease and pests that could wreak havoc on the beautiful place you are staying.
  • Make sure you never leave your fire or hot coals unattended.  Also, if possible try to only have fires in designated areas.
  • My mom always taught us to leave the campsite cleaner than it was when we arrived, and I think it’s one of the best pieces of advice for any camper.
Reduce, Reuse, Recycle
When you start packing your camping boxes, you may find yourself reaching for paper (or Styrofoam *shudder*) plates with those white plastic forks, knives, and spoons.  There will inevitably be those rolls of paper towels and paper napkins accompanying them.  My best piece of advice is to resist this urge and the illusion of convenience.
These items are garbage, no really; they are just going to be trashed.  This inevitably is negative because obviously if you care about sustainability you don’t want to contribute to our trash problem for no reason.  You may not have considered that this trash is also inconvenient for you.  The more of these papers goods you are putting in a trash bag in your campsite, the more objects there are for our favorite camping critters and friends to smell out and then toss all over your campsite.
So let’s consider some really fun options out there.
  • BPA-Free reusable plastic kitchenware comes in all sorts of shapes, sizes, and colors.  Check out the Sea To Summit X Bowl & X Plate which is collapsible so it saves you room.  They also have the Delta Plate and Delta Bowl.
  • Check out the many metal-based products out there.  The MSR Mountain Plate is stainless steel and lightweight, while still being a bit more sturdy then the cheaper aluminum plates.  Enamelware plates are also really popular choices like this GSI Metal Rim Plate.  If you are interested in a bit more of an investment, check out this Snow Peak Titanium Plate that leaves no metallic taste in your food and will not rust.
  • Sporks are not just a fun idea for kids in school, so check around for some great multipurpose reusable utensils.  The Delta Spork with Serrated Knife is BPA-Free and is ergonomically designed for easy use.  Bamboo has become known as a great sustainable resource and so I was excited to find these Bamboo RePEaT Utensil Sets that come with cute cases in various colors, but it doesn’t just stop at bamboo.  Those cases are made from recycled PET plastic! How great is that?
  • Check out local thrift stores for hand towels you can pack with you to use instead of paper towels.  The great things with these are that you can just simply rinse them out and then you hang them up to dry and they’ll be ready to go by your next meal generally.
Cook Well, Store Well, Eat Well
A great investment option for campers is cast iron that can be used both in your home and during your great outdoor adventures.  One of my favorite pages for information on cast iron is found at Sustainable Baby Steps.  You can either purchase these beauties brand new or you can keep an eye out for friend, family, or garage/yard sales looking to get rid of older pans.
Next, invest in a real cooler.  Do not be tempted by cheap coolers because the chances are you will quickly lose money in the ice that you will have to replace.  Not all of us can go for coolers like the Coleman OptiMaxx though, which rings in around $370.  The Coleman Xtreme is a much cheaper cooler that promises to keep ice for around 5 days at 90F degrees, that isn’t bad! Be sure to test your cooler out before you purchase it as well.  Sometimes coolers makes great promises but are difficult to latch or barely stay closed at all.
Lastly, remember to eat well.  Sometimes campers are bombarded by convenience foods that are packed with unnecessary fillers, preservatives, and tons of sodium.  Before you venture out into your camping trip, make a detailed list of meals for your time.  Be sure to include snacks and drinks.  Most recipes are easily translatable to a campfire, especially if you have a cast iron Dutch oven that allows you to bake.


  • Meet your campsite neighbors.
  • See if your campsite has fun activities for the kids (or the adults – bingo anyone?).
  • Walk trails.
  • Bring your bicycles.
  • Go swimming if you can.
  • Create traditions.
Most of all – make memories with your loved ones that will last their lifetime and enjoy the time you have together in nature.

About the Author
Elizabeth Beadles is a twenty-something stay at home mom and wife.  She loves camping, writing, and playing with her son.  She believes that we are all capable of making choices to become responsible individuals living a sustainable lifestyle.  You can find her ramblings and thoughts on life, love, and sustainability at As We Grow Green.
 

Kitchen Stewardship in the Big Woods: Family Camping Handbook

Need more Camping Food ideas? Check out the Kitchen Stewardship in the Big Woods ebook with lots of real food recipes for camping. Plus tips on how to organize your campsite and what to pack to keep the kids entertained.  (Disclosure: I am an affiliate of Kitchen Stewardship ebooks. I love her recipe books and  I get a small percentage of each book sold. Happy reading.)

photo credit: bulliver via photopin cc

I am in love with holiday decorating. Easter included.  Time to decorate those eggs!  This year I finally took some time to do some egg dying with natural ingredients.  Everything came from what I already had in the house.

I bought generic white eggs.  I went with hard boiled instead of blowing them out because I was wasn’t sure if my kids could handle something so delicate.  Cook for at least 15 mins on a simmer to avoid cracks.

I did some clean out of the fridge/freezer and cabinet to test out a few options.  The blueberries soaked in water for about an hour.  Others were boiled for about 20 minutes to draw out the colors.

Once the liquid was ready, I divided it up into smaller containers and added about one teaspoon of vinegar per one cup of liquid.

Cover the area with a large cloth or newspaper as this got messy when the eggs were dropped in!

We got used the following and let the eggs sit in the mixture overnight.

Spinach~ light green
Cranberries~ light pink…I would strain in a cheese cloth before doing this again.  I got funny bubbles on the eggs
Pomegranate tea~ turned green over night!  Originally was pink
Carrots~ light yellow
Red wine~ brown, almost prehistoric looking.
Beet juice~ (very) light pink
BLUEBERRIES~ dark blue. Favorite of all the eggs by far.

We drained them on a cookie cooling rack.  I didn’t care about little marks as it just adds to their character. This was an easy kids activity when adult can make the natural dyes at the stove ahead of time.  The eggs are safe to eat as long as they are refrigerated.  Find more egg dying ideas on my Pinterest Board.  Next up for me are some chalkboard eggs!

Happy Easter and Passover to all!

I have been testing out a new product called De Odor Works as an alternative to commercial deodorant/antiperspirant. I’m sure many of you have heard at some point there is some possible link to the aluminum in deodorants and breast cancer.  While I believe that has not been completely proven, I like the idea of using a more natural product.  Plus, so many of the deodorants on the market are not easily recycled. I already keep a small stainless steel bar near my kitchen sink because it’s one of the only things to get rid of the smell of lobster off my hands. I never thought it would work for other body odors…

De Odor Works is a stainless steel bar I used in the shower for 30 seconds under each arm to eliminate odors caused by bacteria. The bar itself is easy to handle, even under the running water.  It’s light weight, but made a racket when I knocked it off its shelf in the shower!  I tested this product for two weeks and I decided I’m going to keep using it.  Here’s why:

1. It really did keep odors away, even after taking a long walk in hot weather.
2. My white shirts didn’t turn yellow, which they always do from regular deodorants.
3. My underarms are smoother now since my pores are no longer blocked from regular deodorant use.
4. In case I forget to put deodorant on in my haste to get out the door in the morning, I’m covered!
5. I have tried the all natural salt deodorants before, but was never happy with the application of it.

One note, this product is not an antiperspirant, not does it claim to be.  When going to a hot yoga class, use some back-up protection!  I just felt a little too “au naturale” after sweating for 90 minutes.

If you are interested in this great product, you can purchase it at Amazon
The bar is $29.95 (plus shipping) and may be the last time you need to purchase a deodorant. The company also offers a refund if you are not happy with your product.  Happy shopping!

Disclosure: De Odor works provided me with a sample for review, however, the opinions expressed in this review are completely my own. No compensation was received for this review.