referral_badge-e21a0bf93c2d04d285ba89d2d14d8cb0If I’m not cooking with my kids, you can often find us at the craft table working on some kind of project. Sometimes it’s free play with the supplies we have on hand, and other times we work through specific craft activities. We received Kiwi Crate craft boxes for the past few months and I was ready to see what else is out there. When I was in Philly, I met the Wummelbox, a multi-craft box geared towards kids ages 3-8. My sample box arrived pretty quickly and the kids couldn’t wait to get started.

What is a Wummelbox?

Wummelbox craft

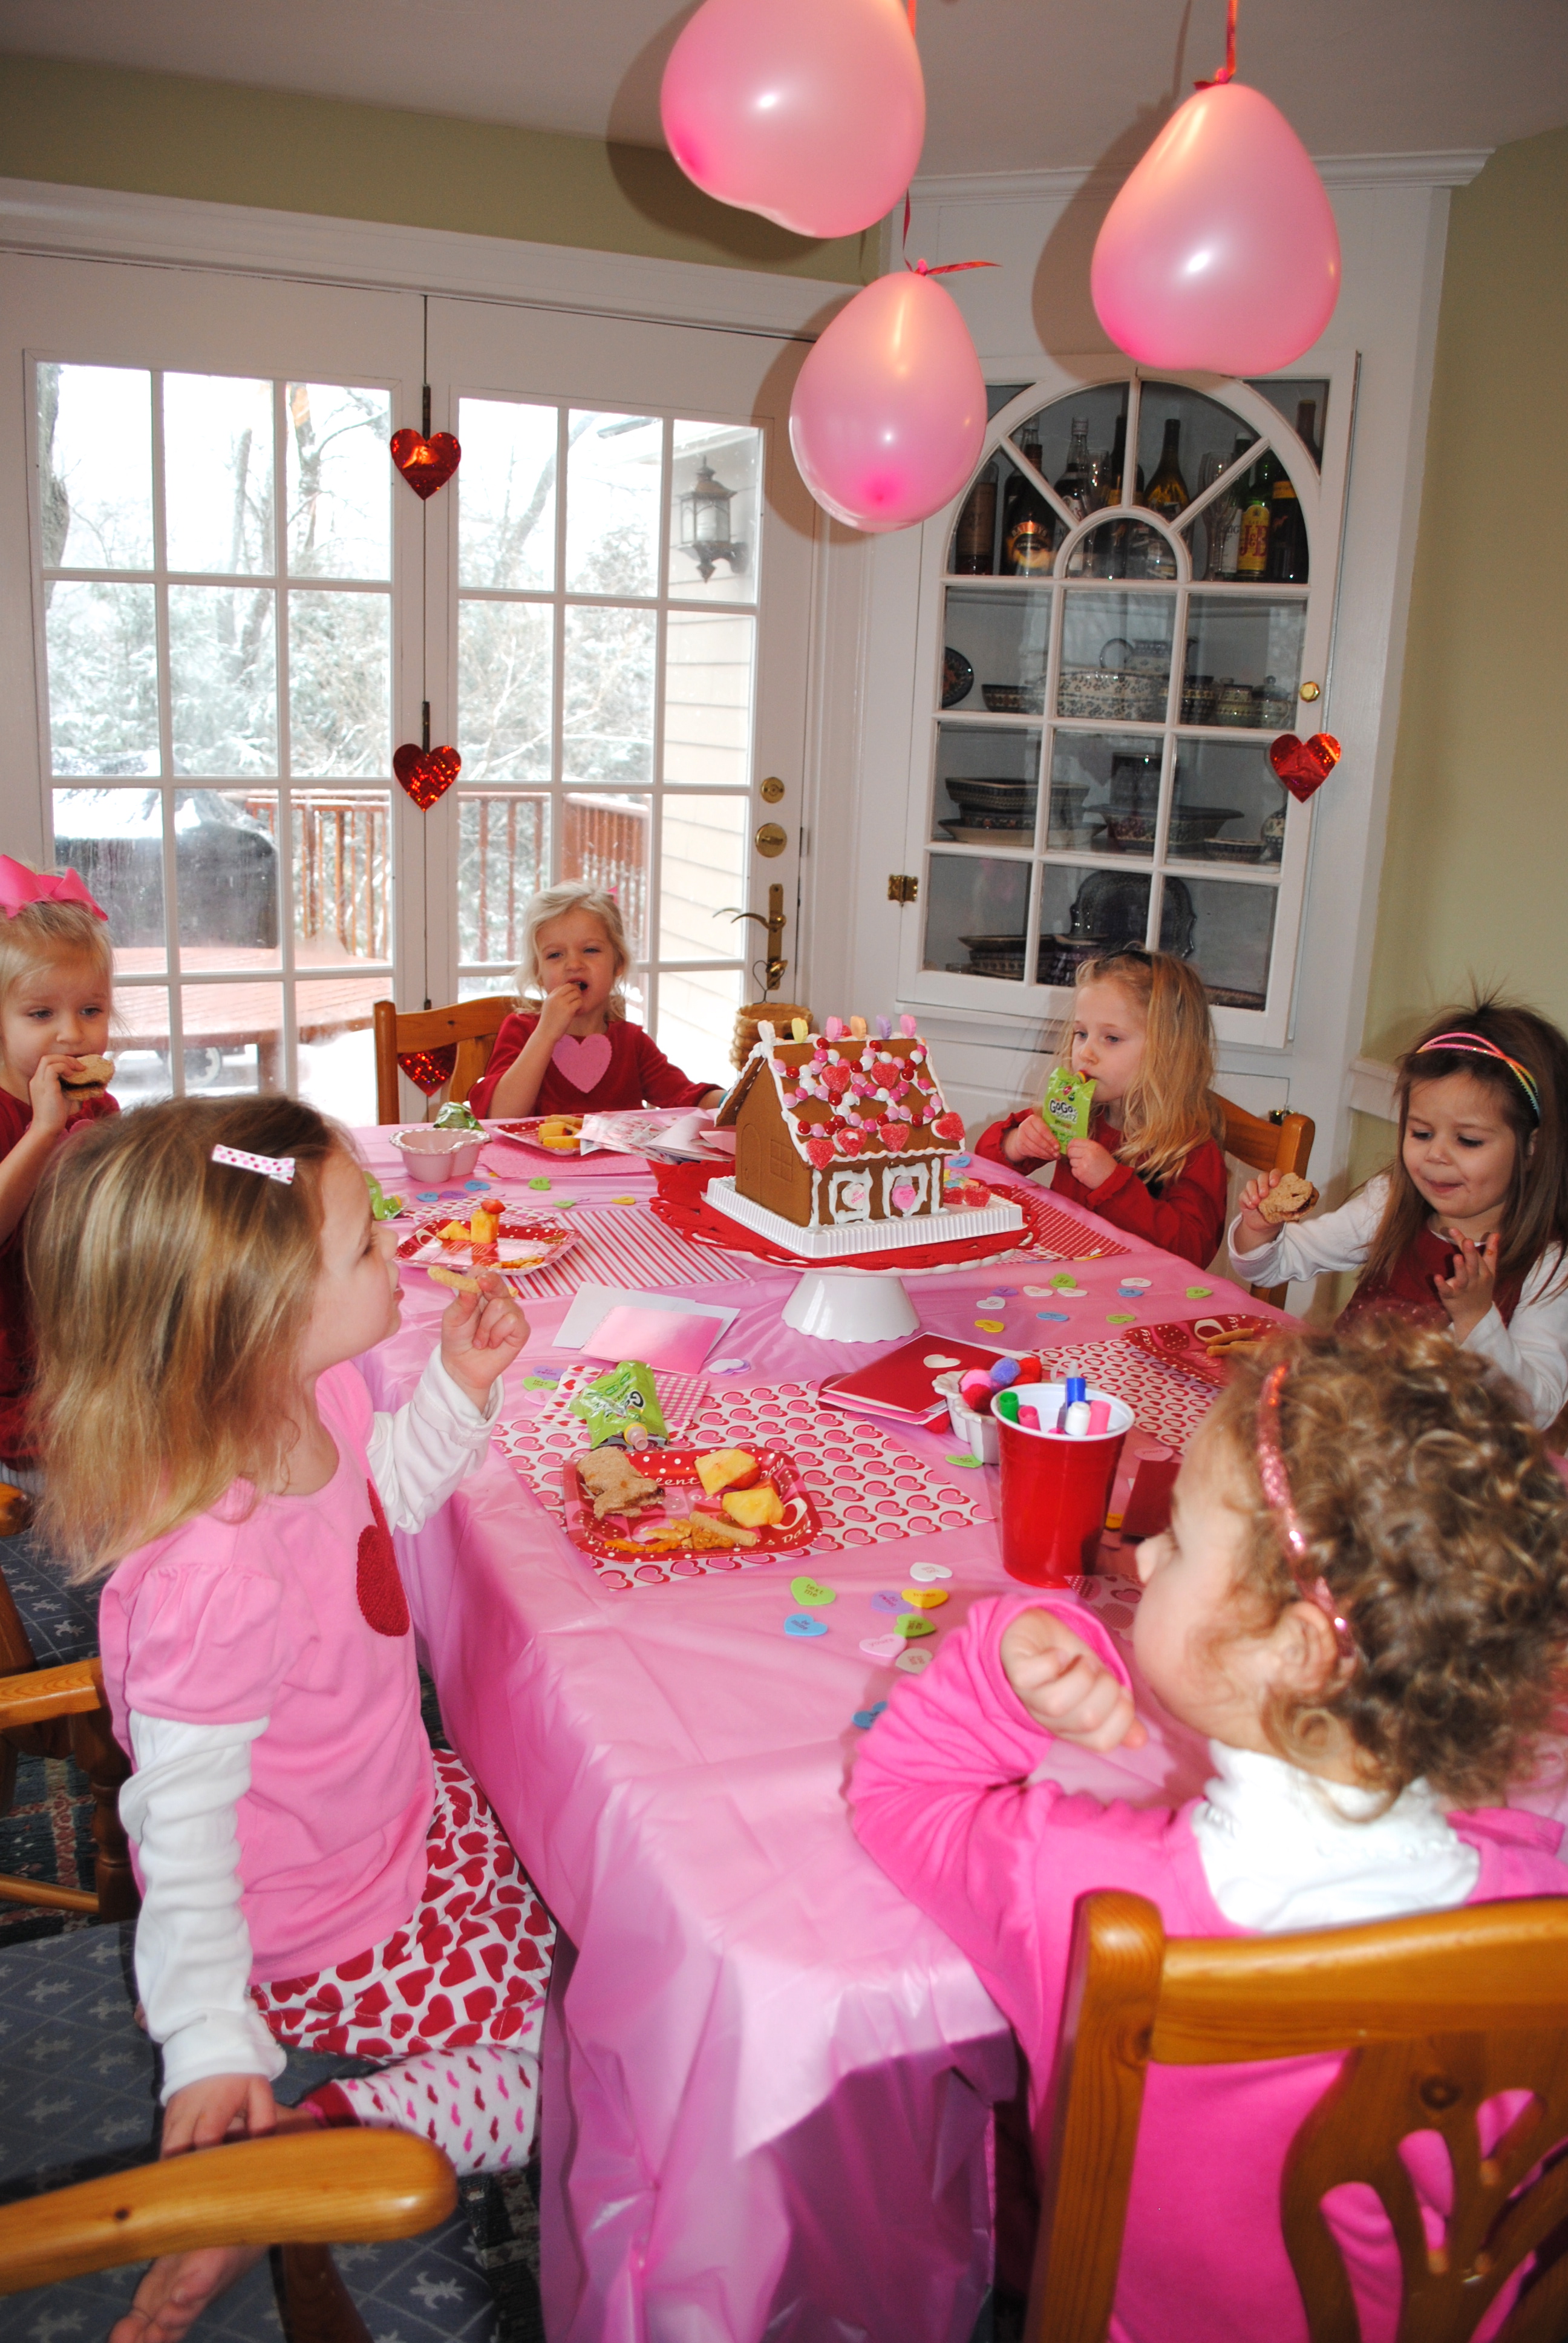
Each craft box arrives at your doorstep with 3-4 creative projects to work on with your kids, all fitting a particular theme. Depending on their age, some need lots of supervision while other projects can be done independently. My kids are 4 and 2 so I sit in between them to work on our little masterpieces.

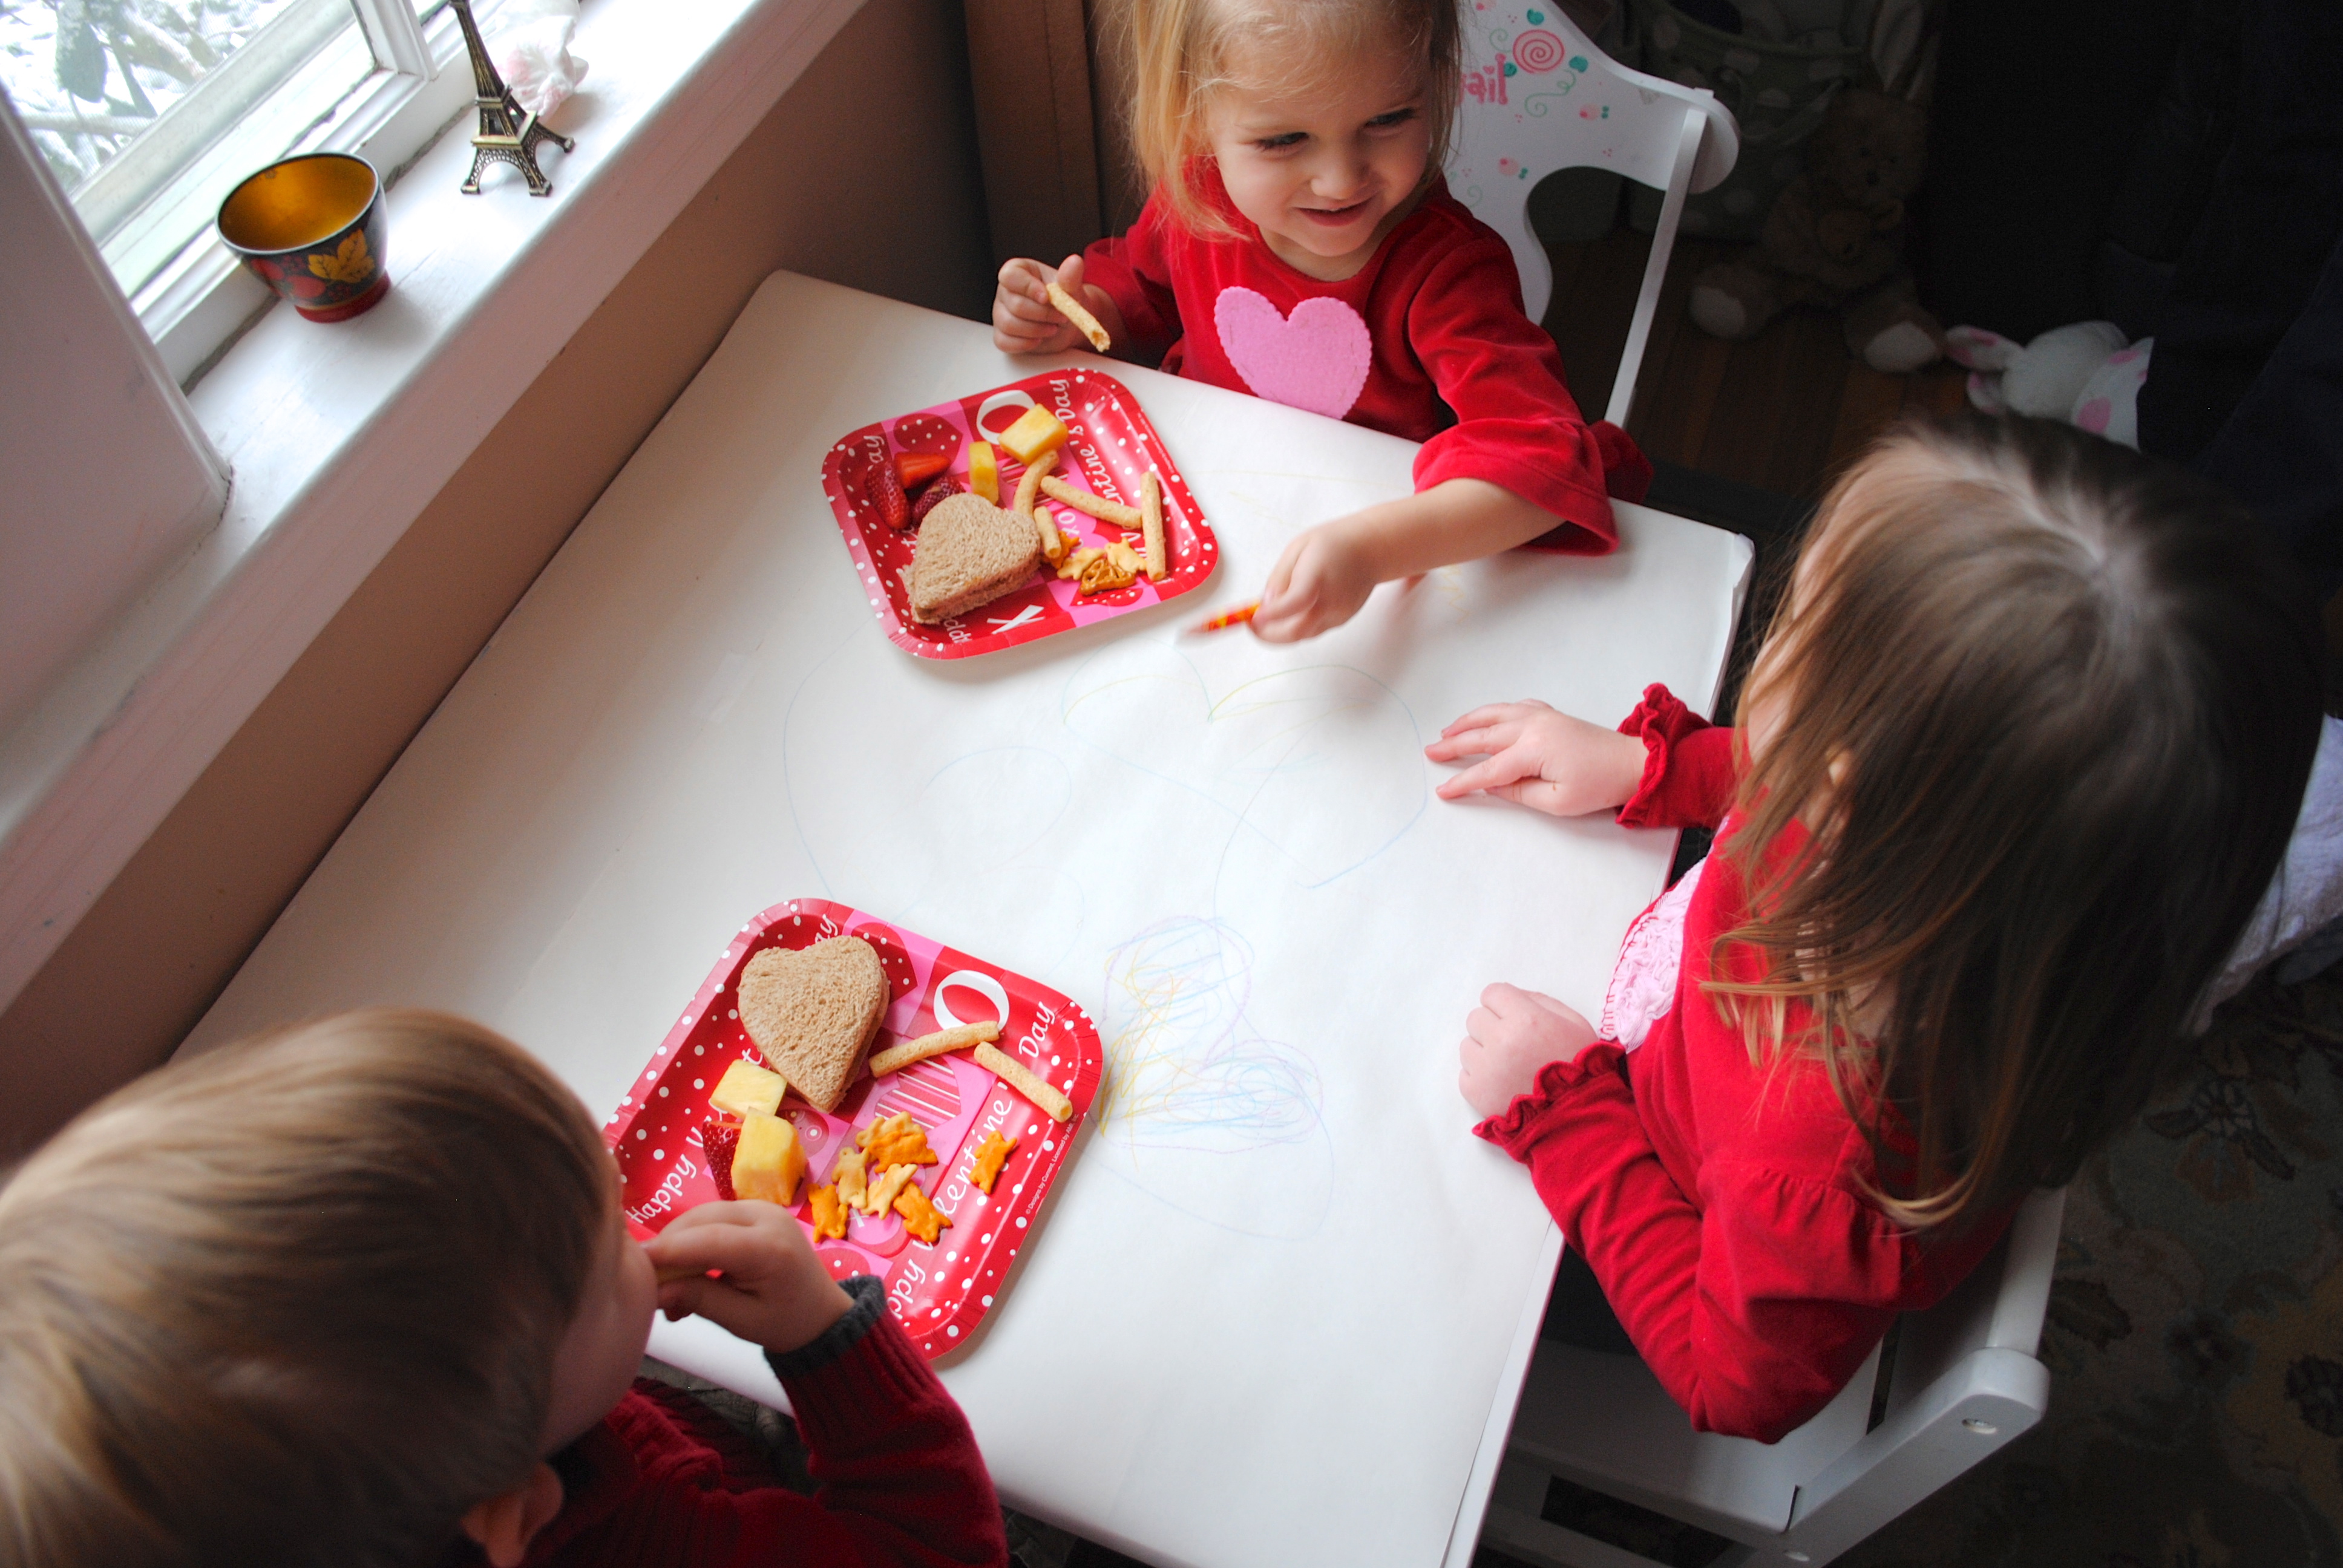
The first thing that excited me about the Wummelbox is the projects are wrapped separately. The Kiwi Crates are slightly sorted but my kids usually pull one thing out and then it’s all jumbled together. I liked being able to take one project out at a time, depending on how much time I have available to devote to “craft” time.

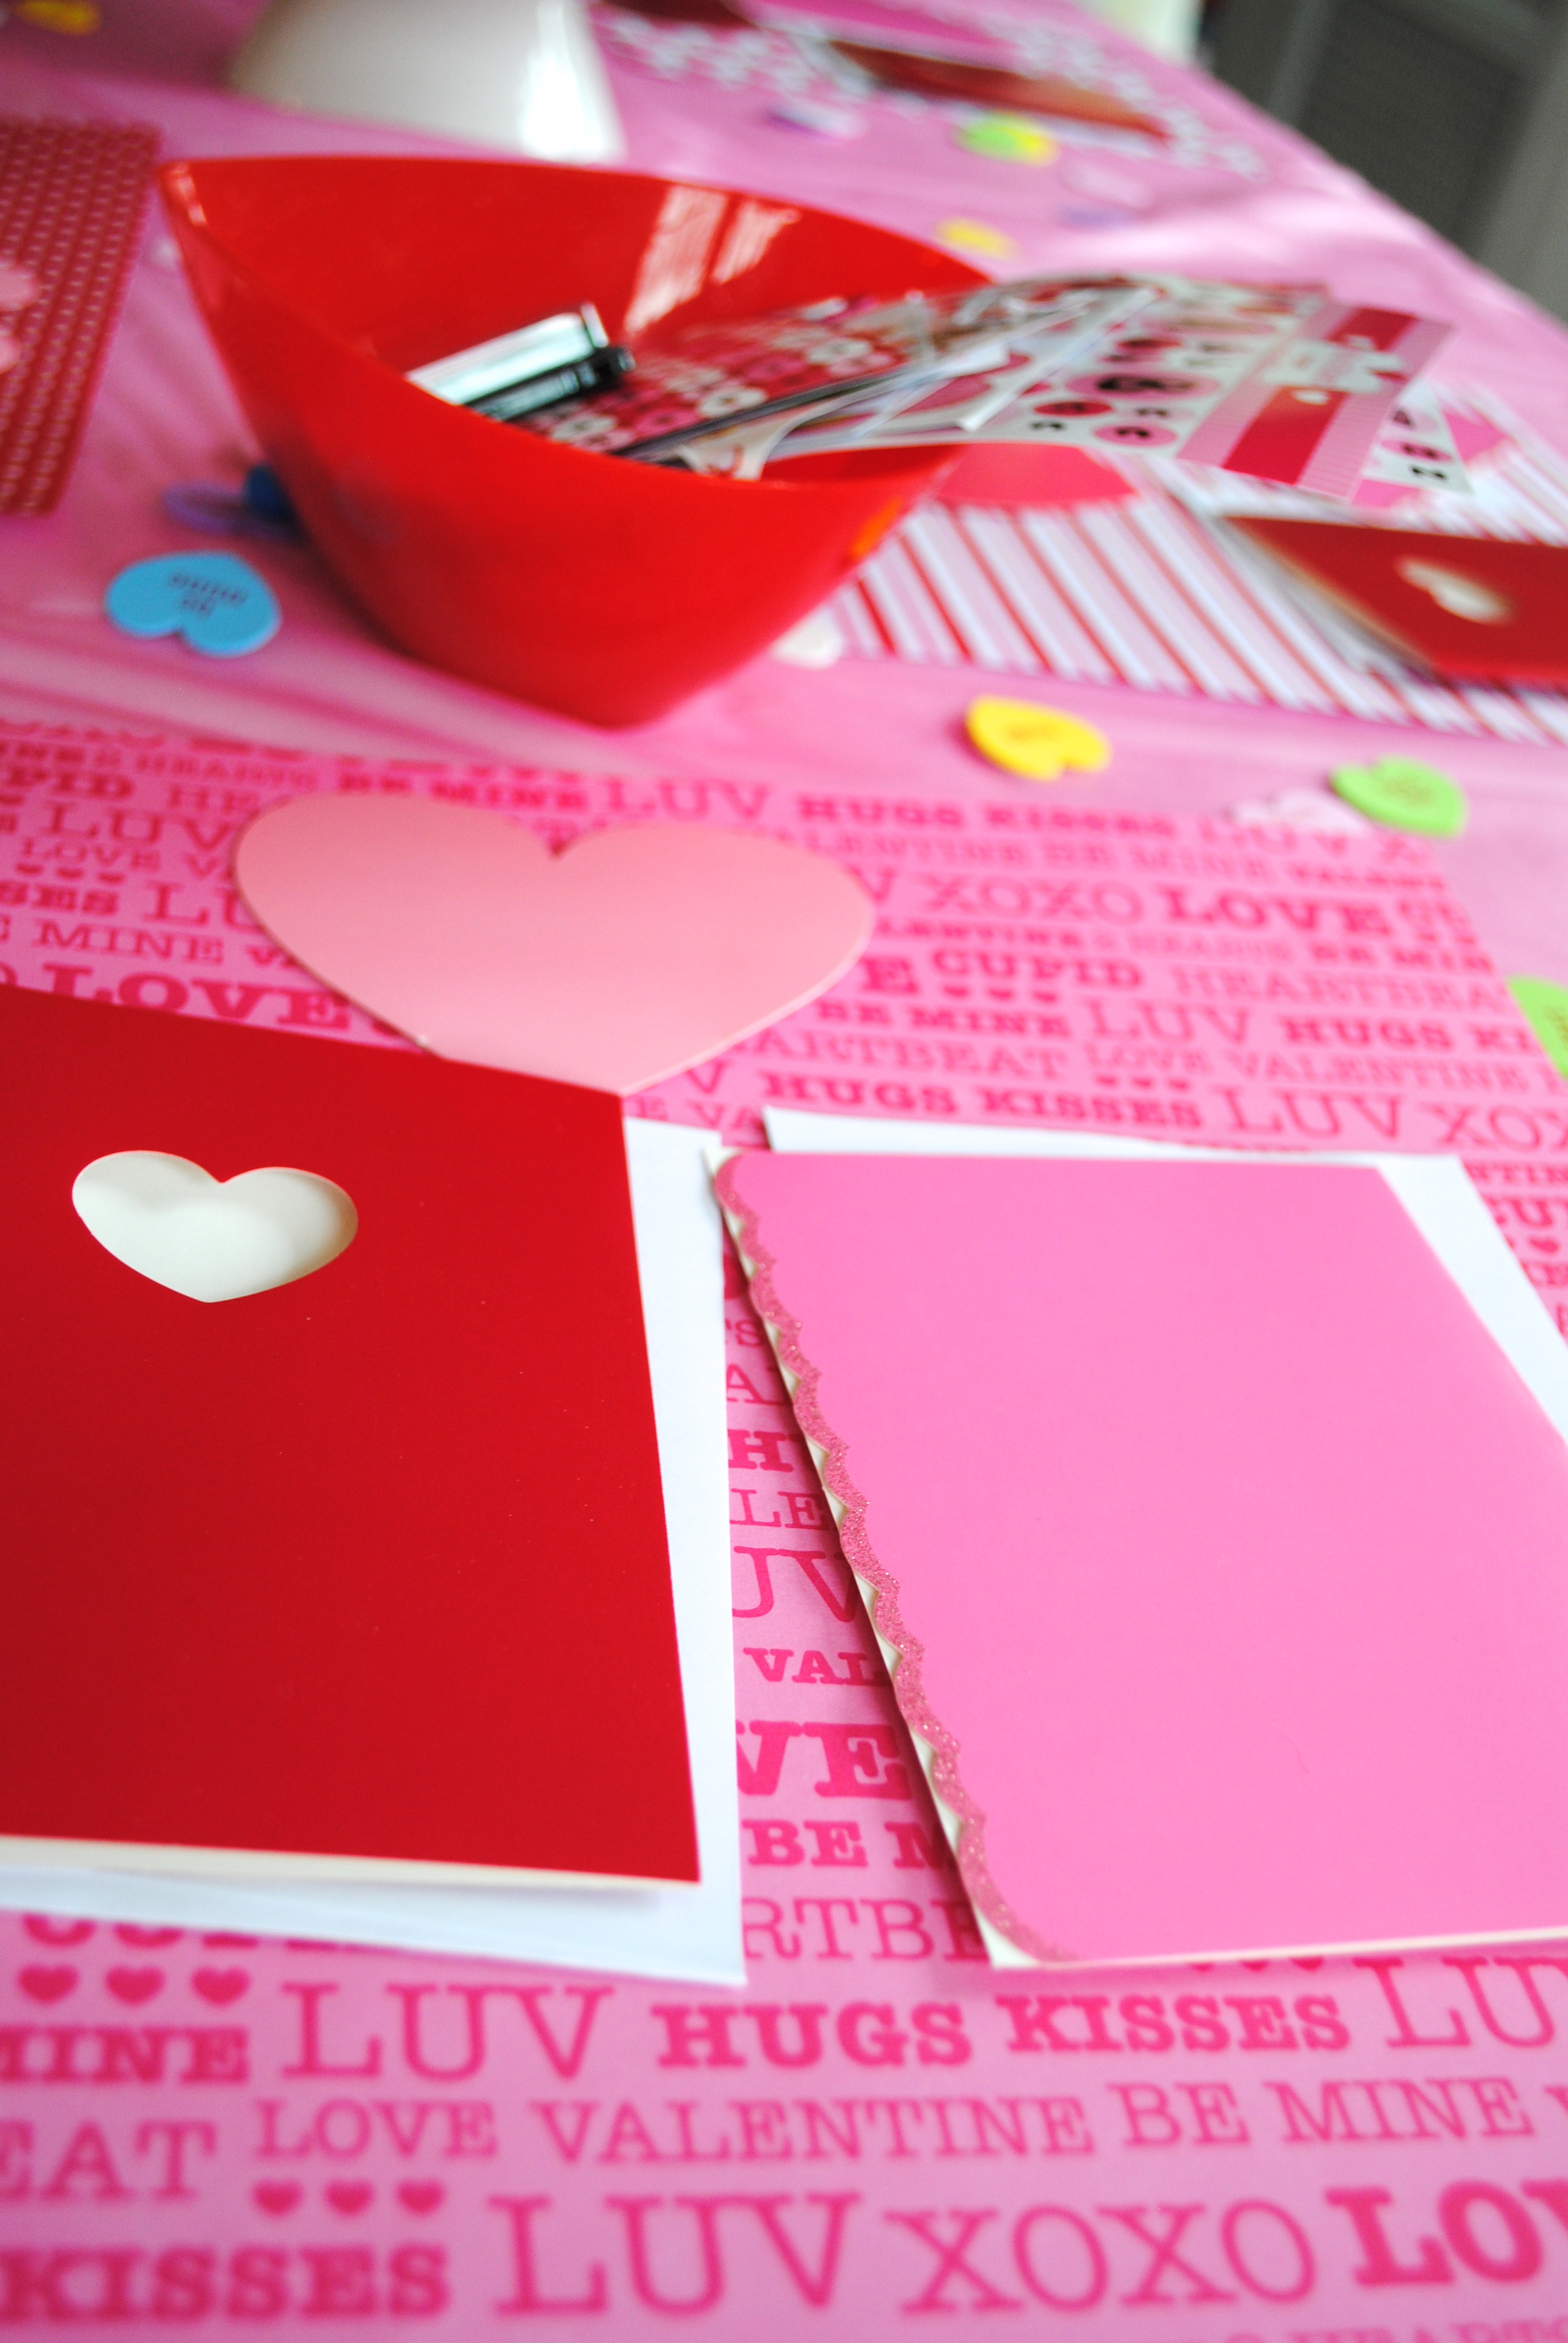
Madison was happy when she saw a new package with scissors. Although it’s her third pair, she was happy because they were pink. Usually there are more gender neutral colors, we just got lucky with the pink pair!  I appreciate the extra scissors because we now have  more craft supplies for play dates.

Wummelbox Music and Sound

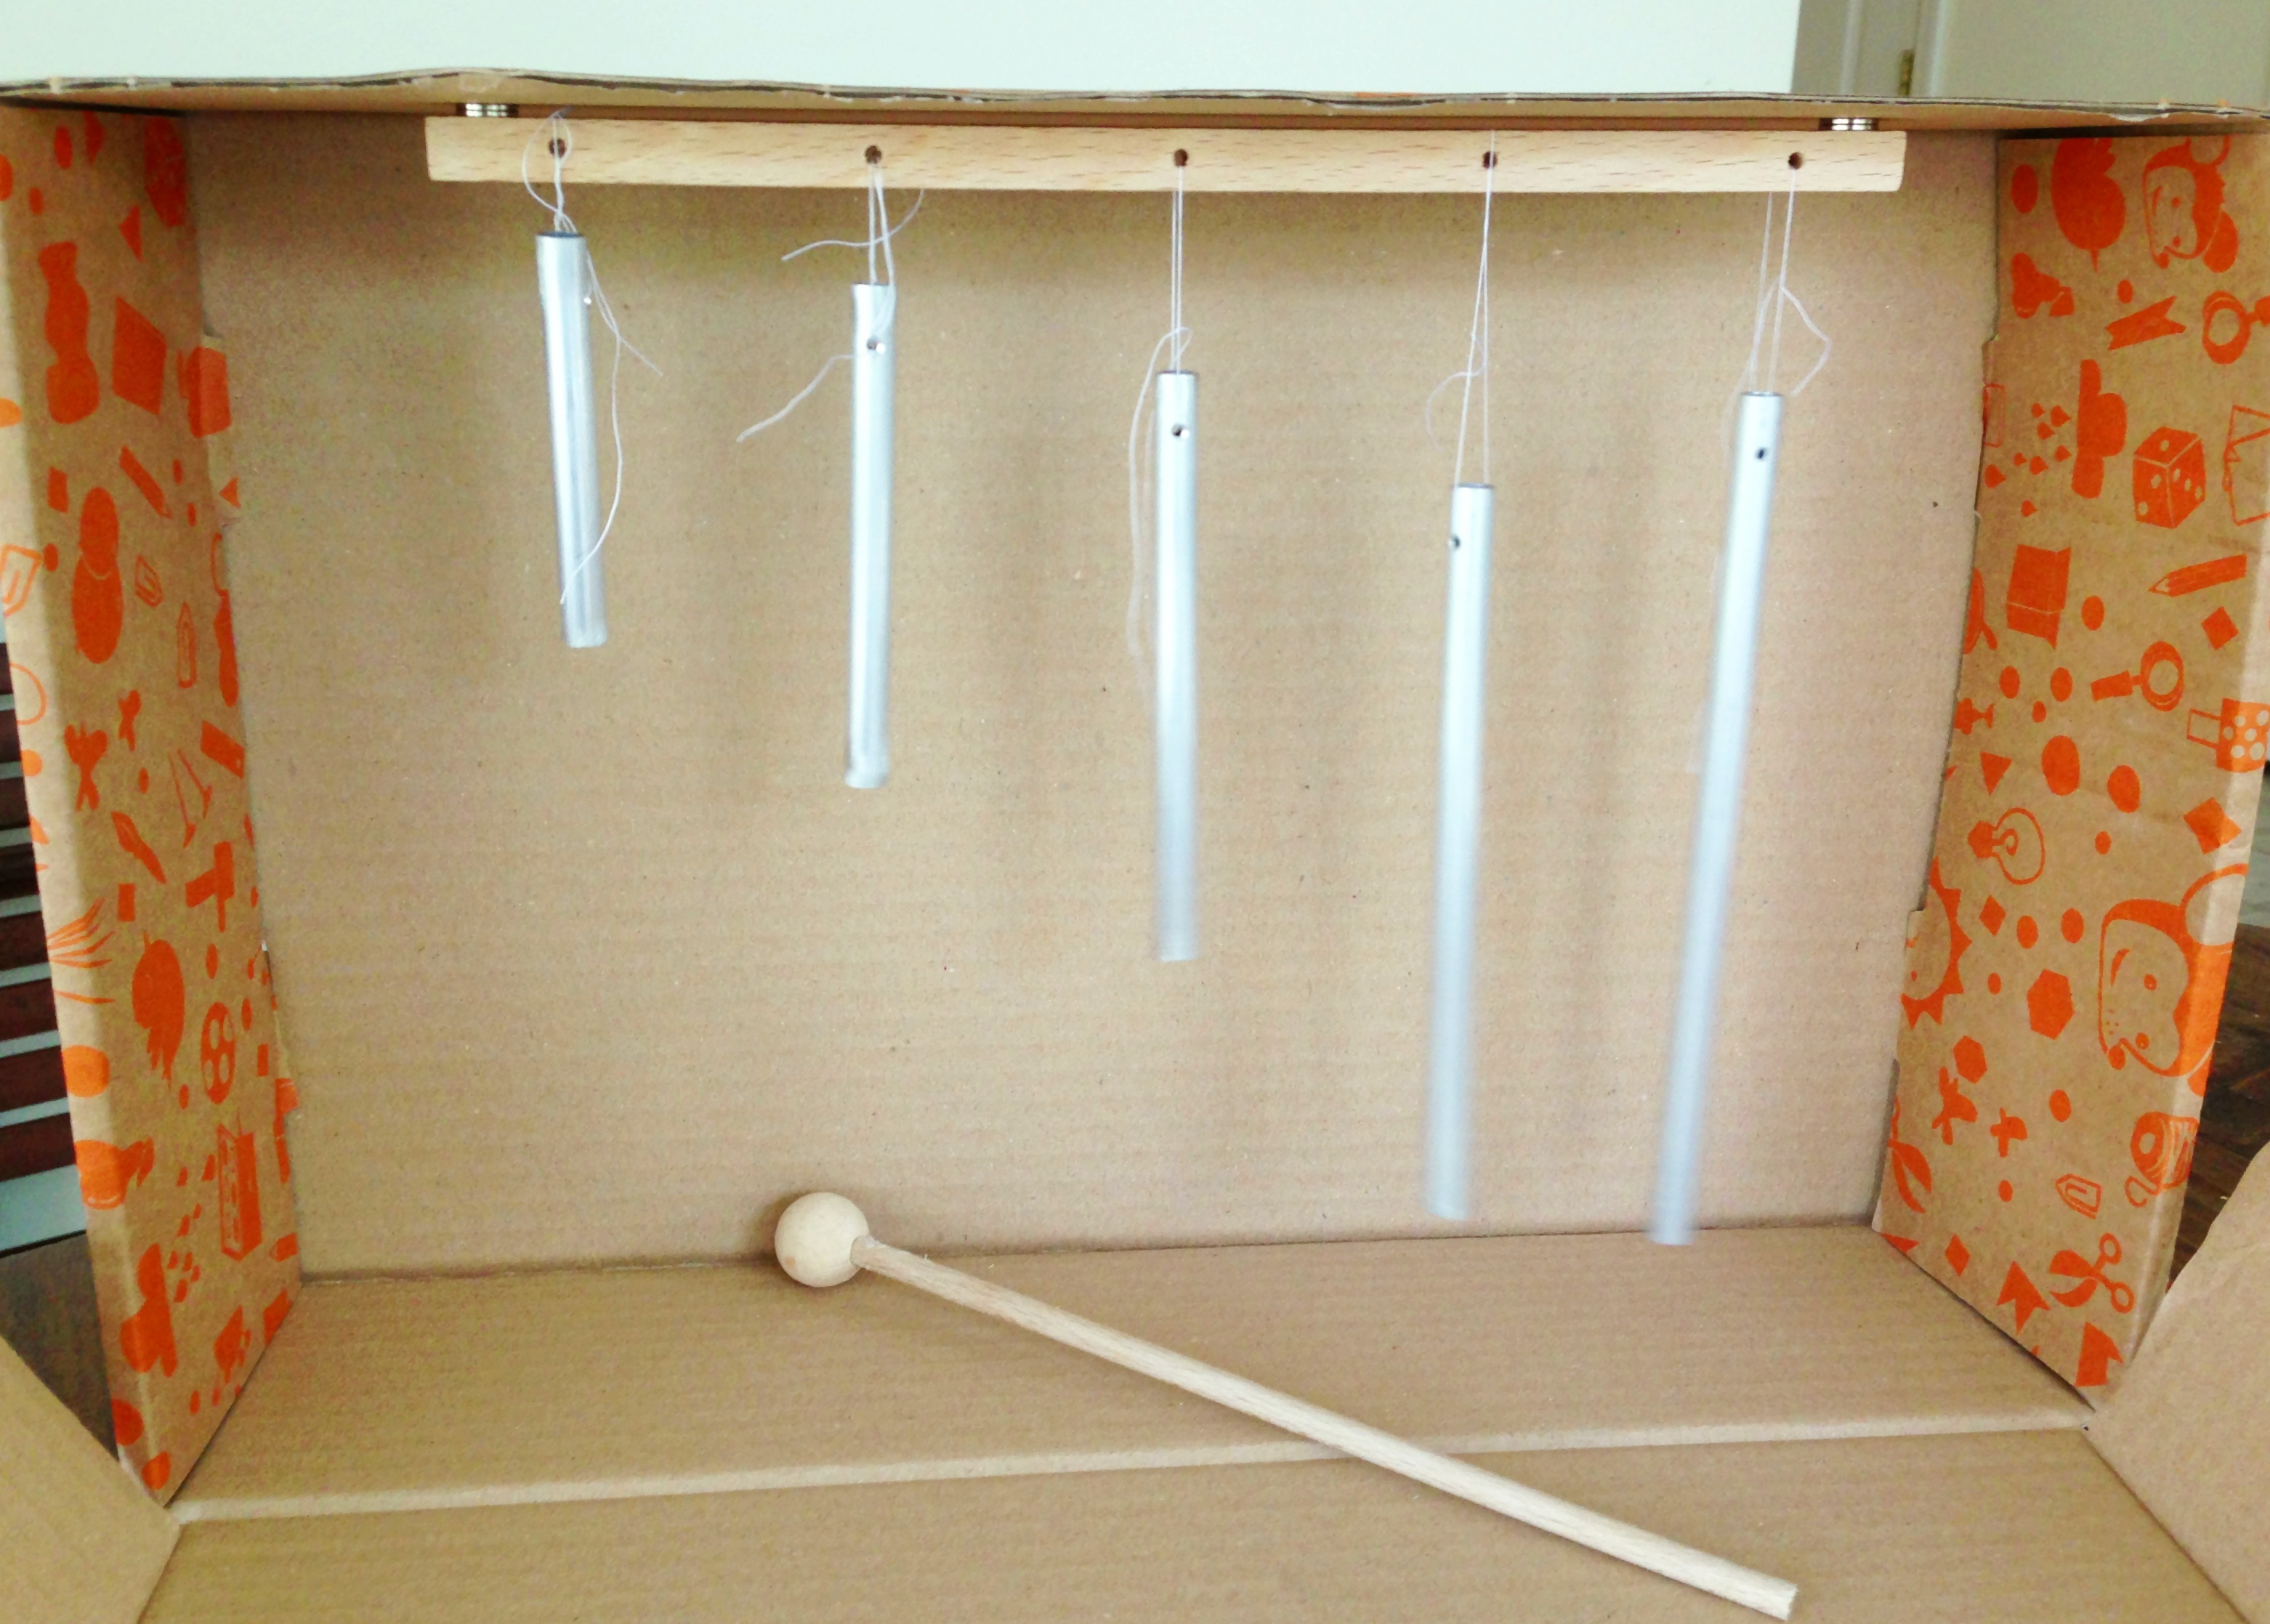
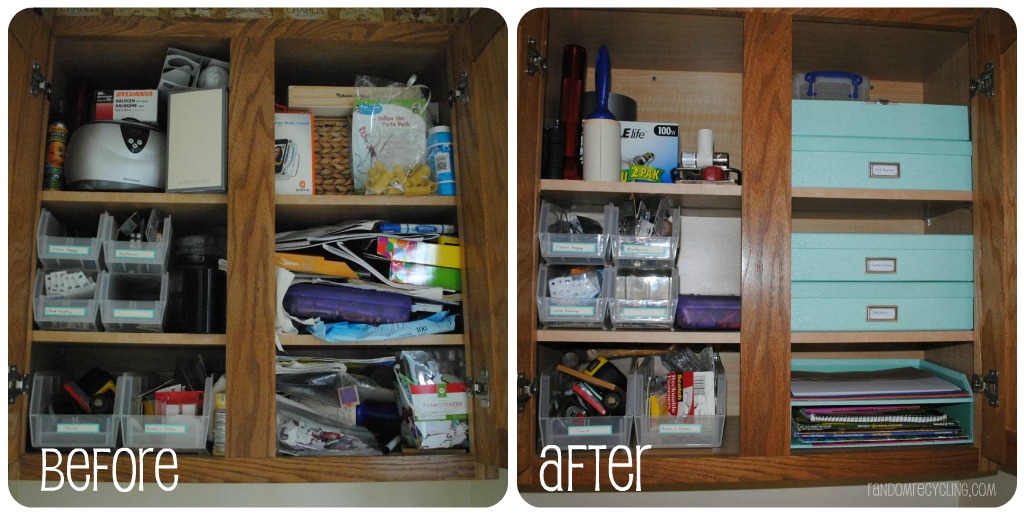
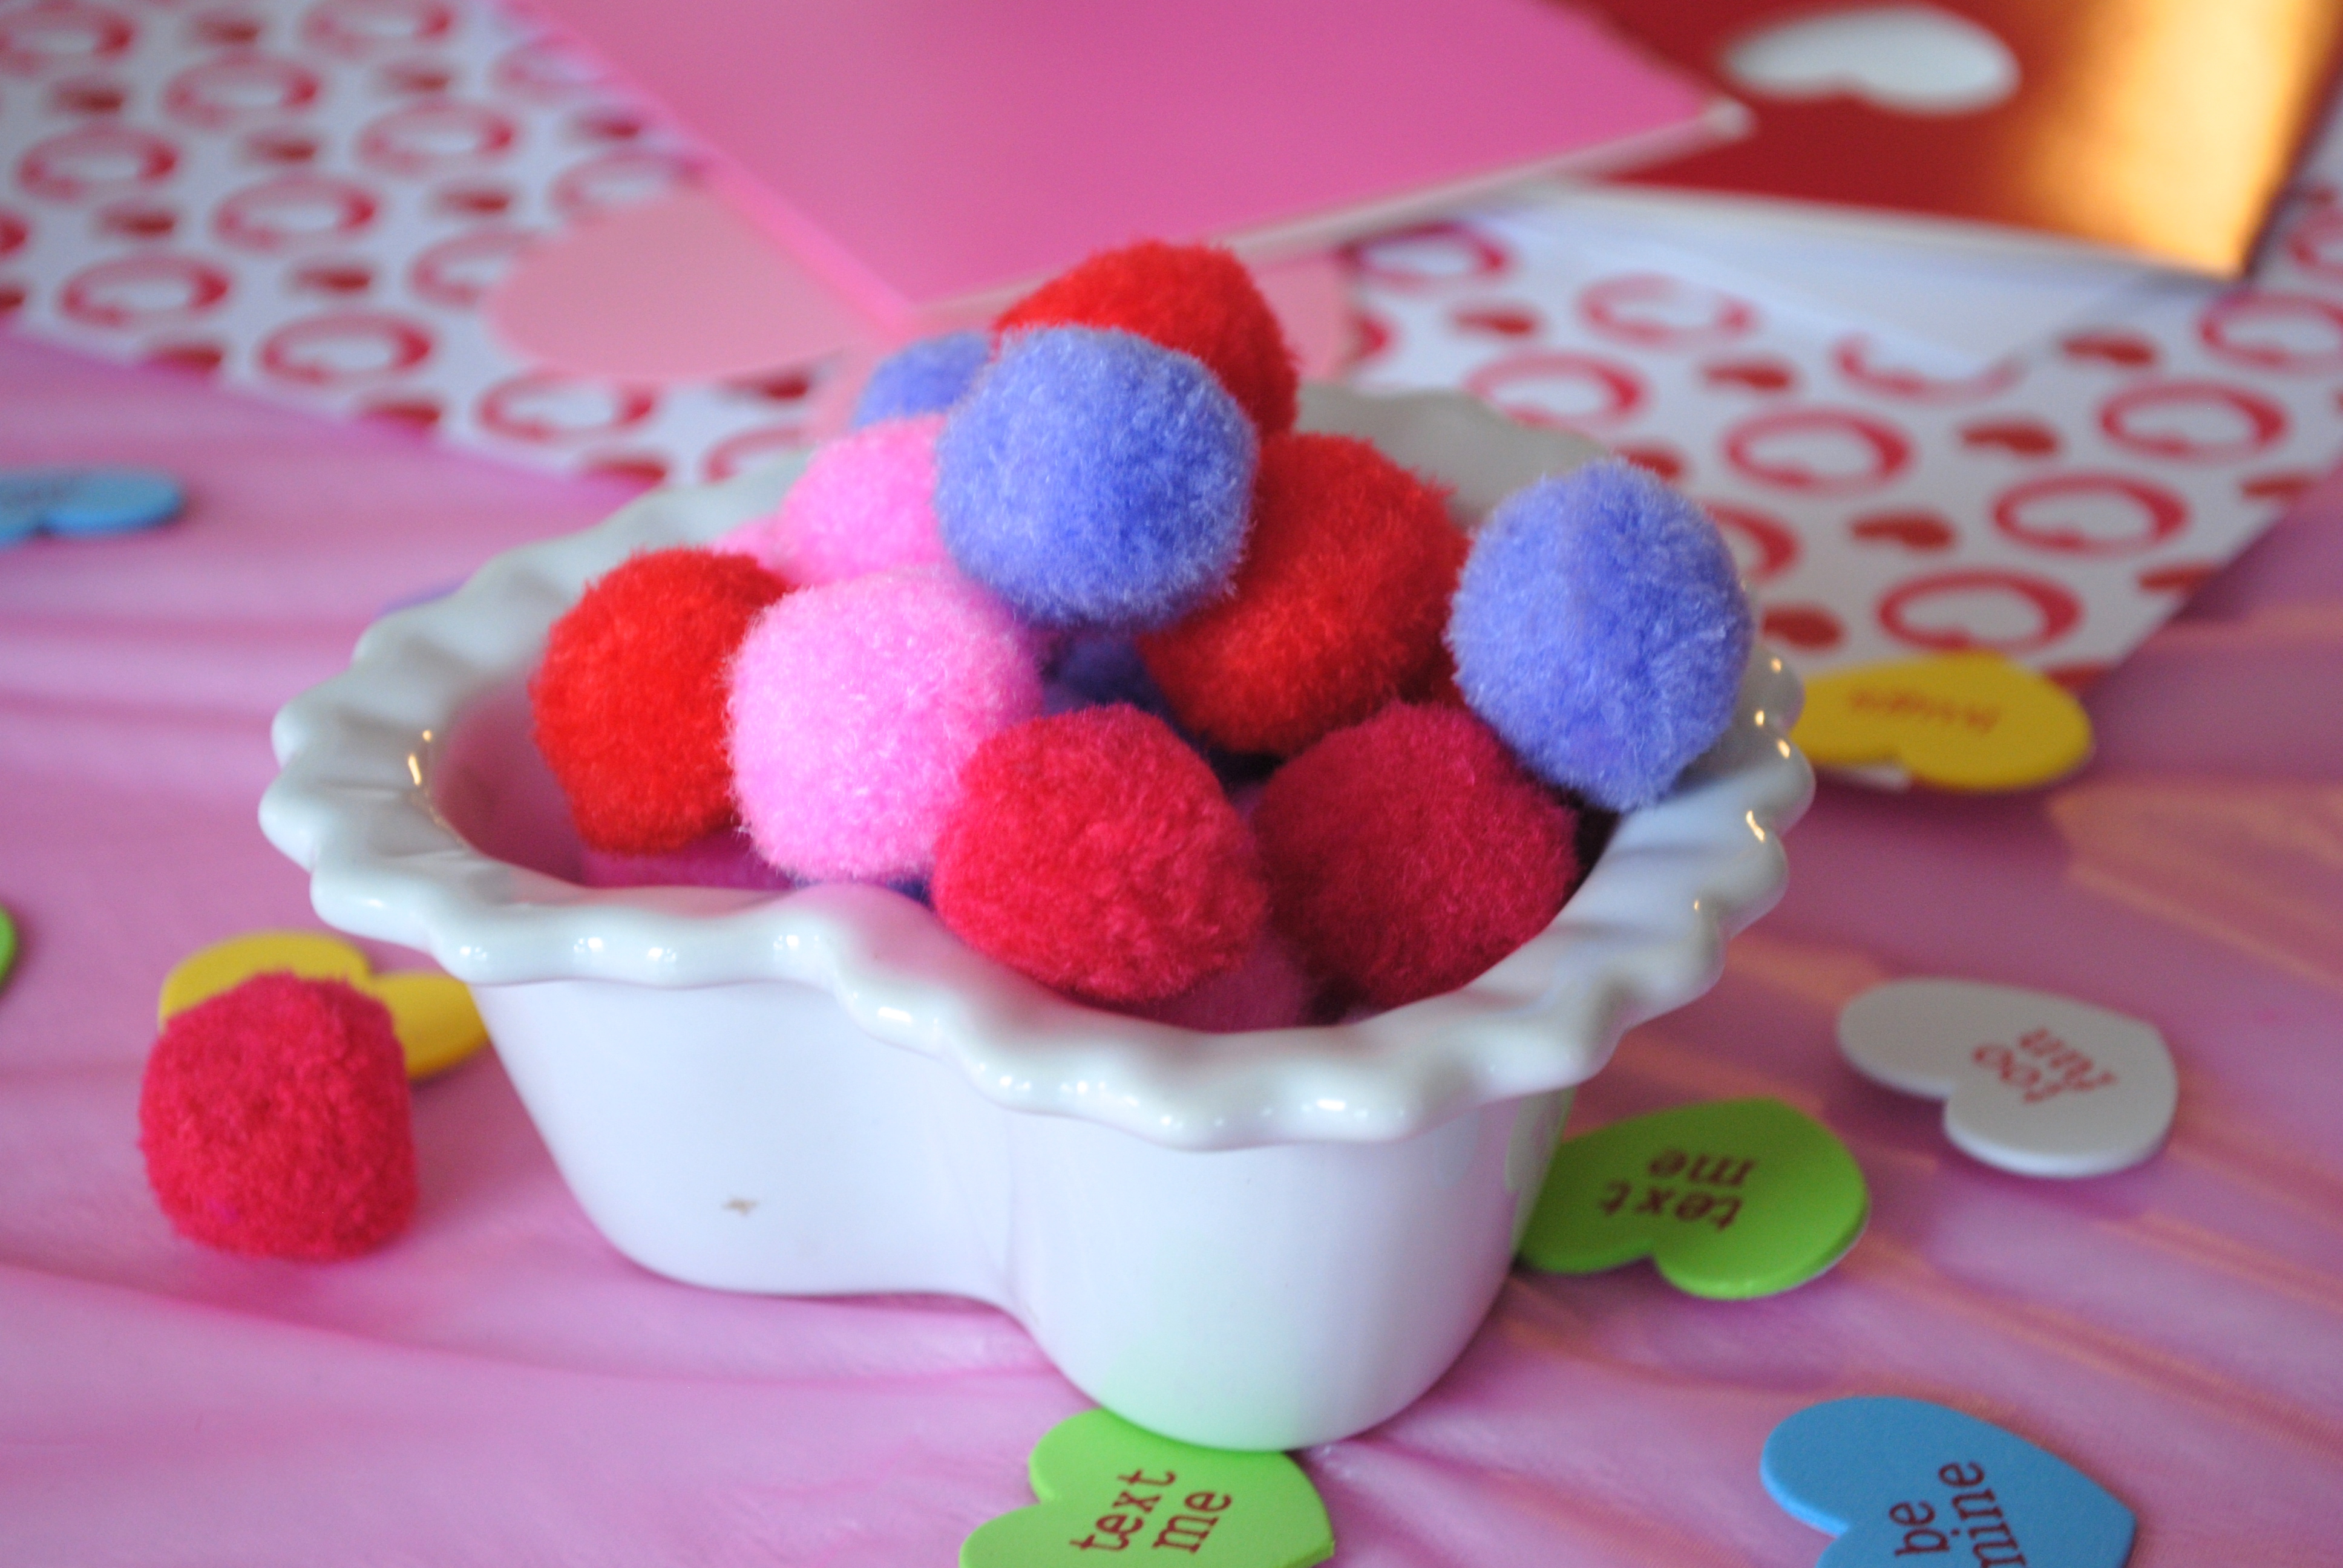
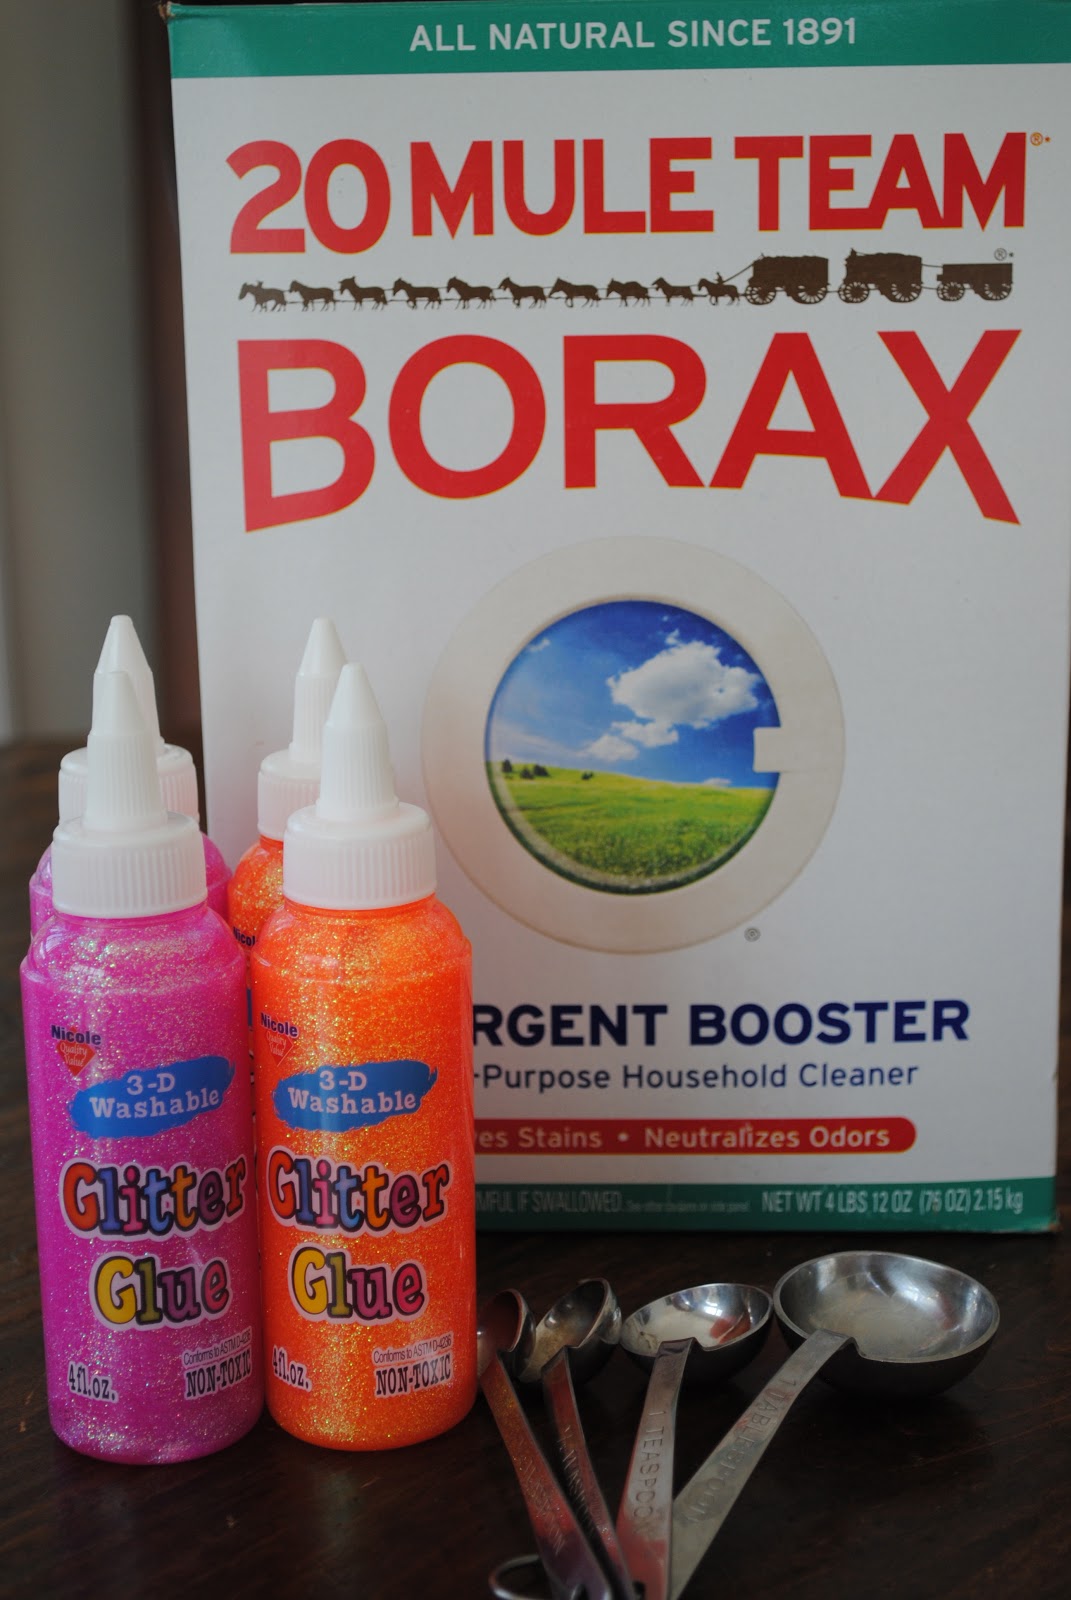
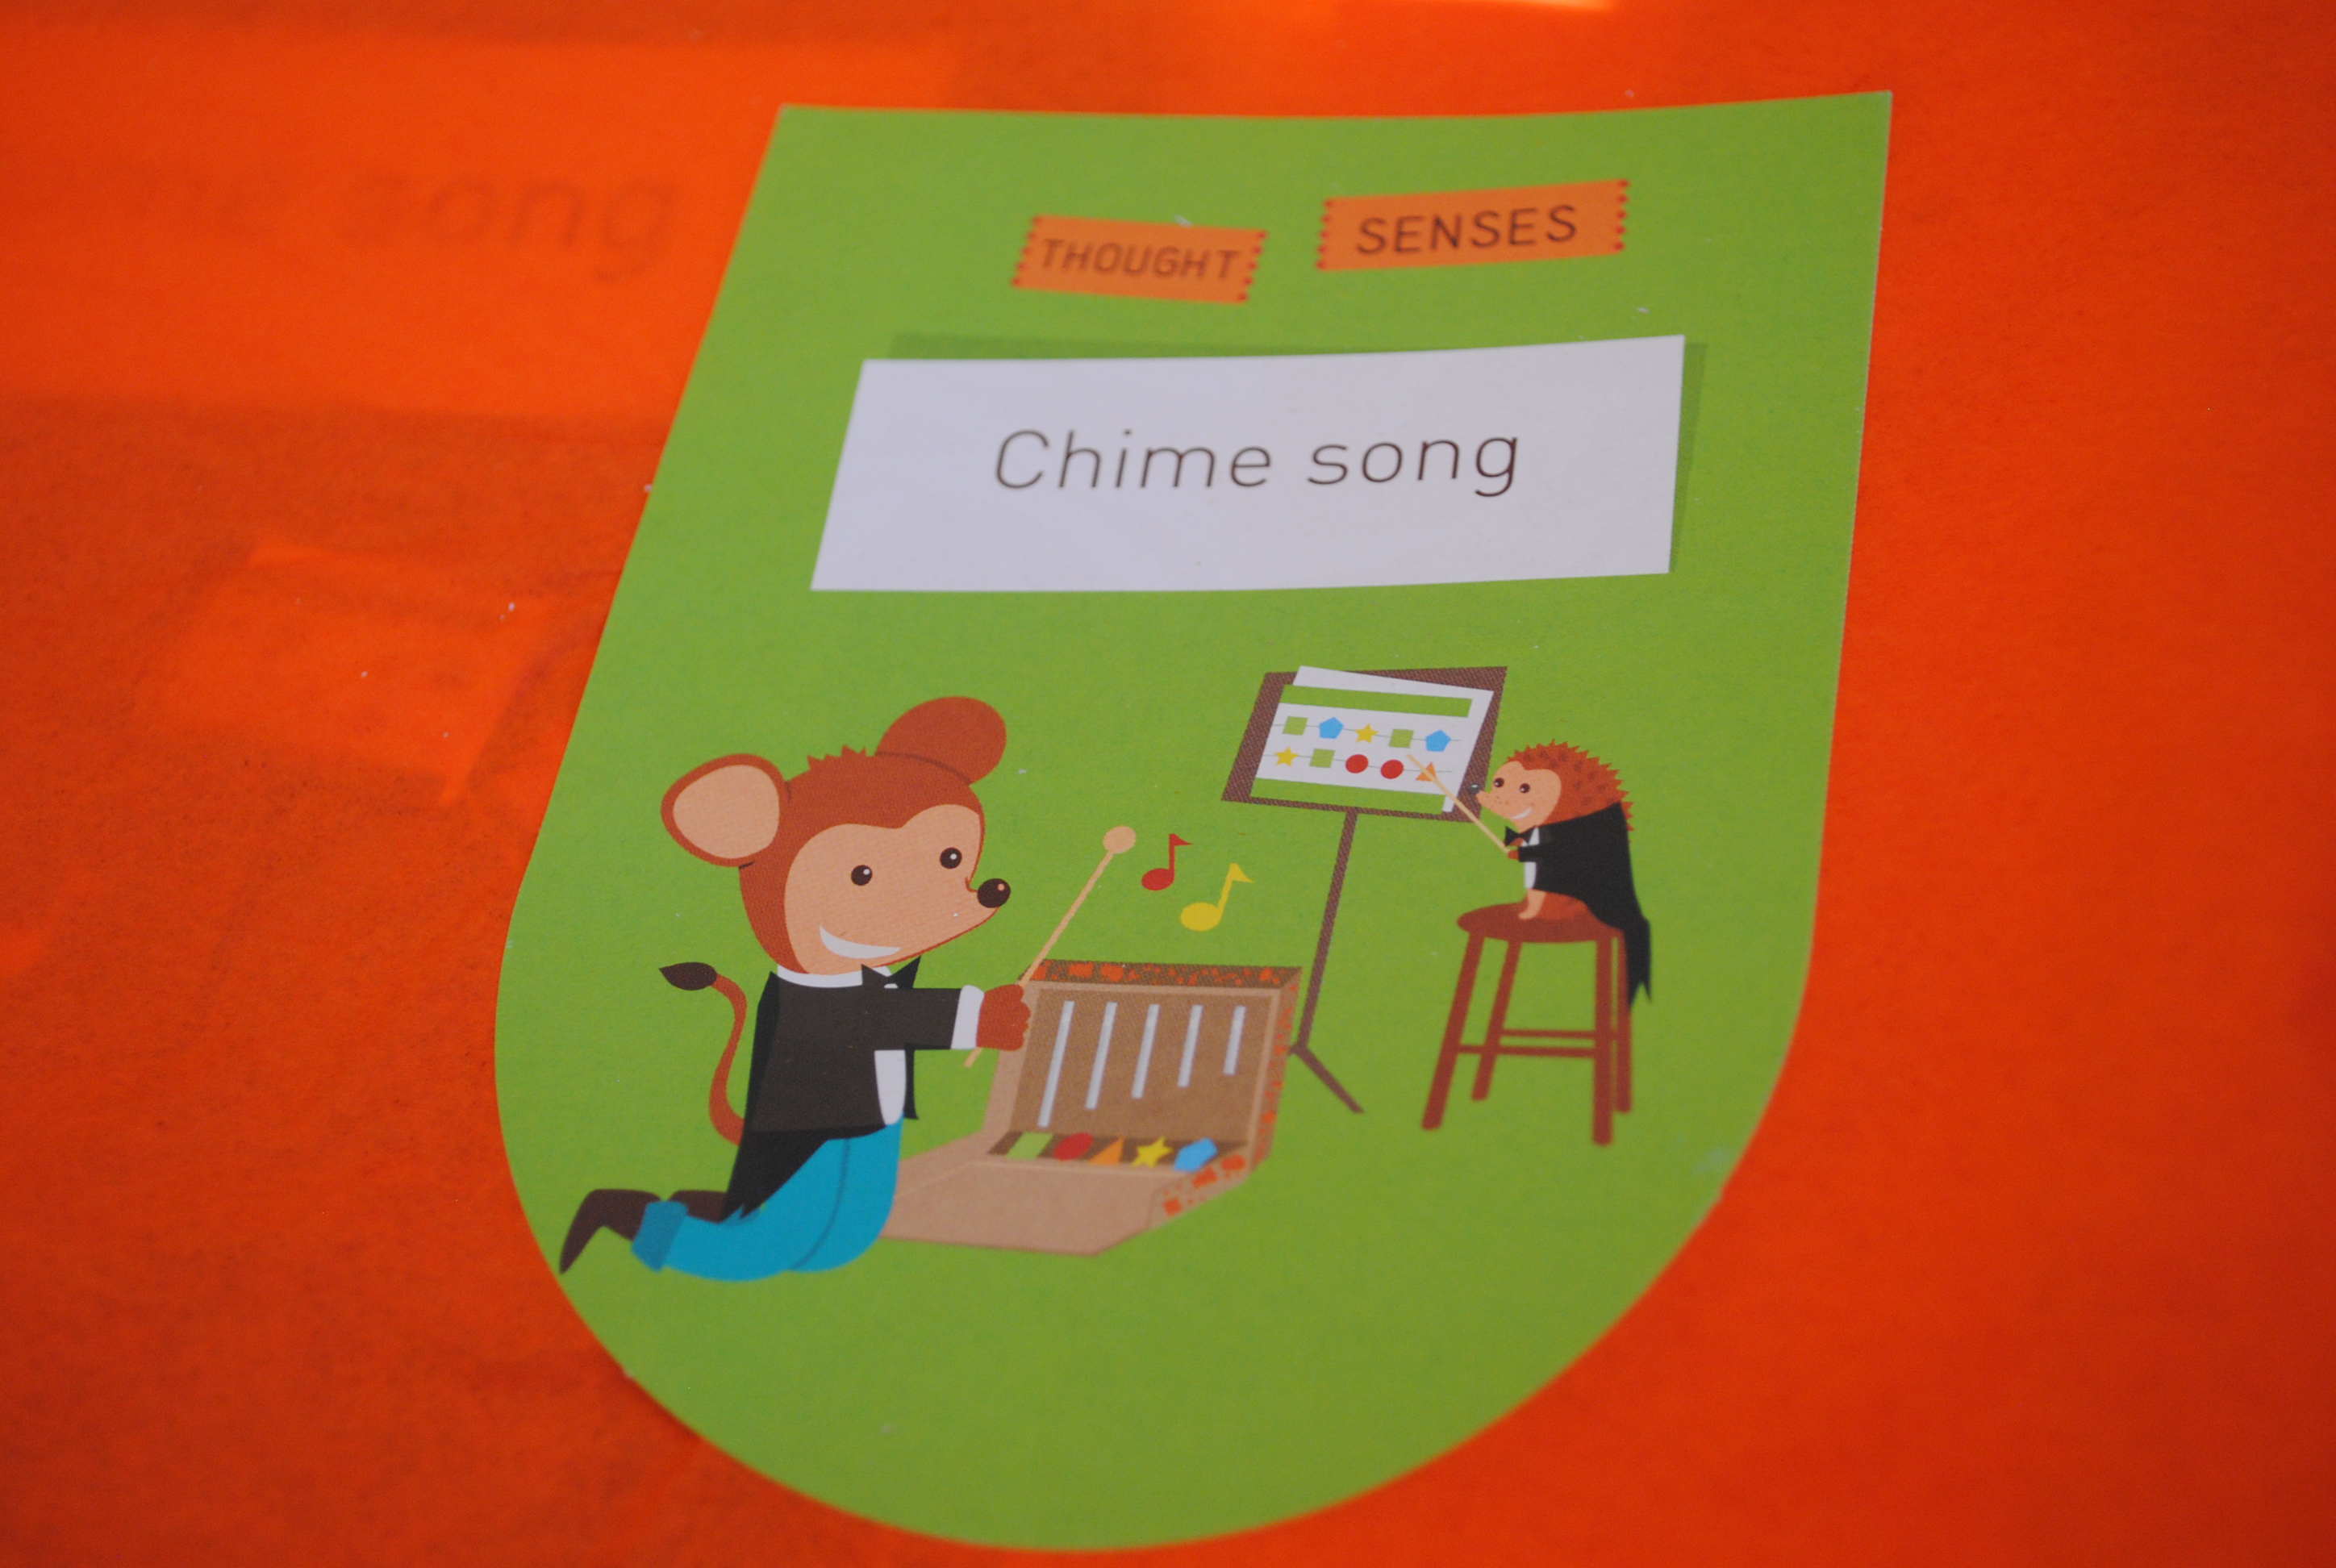
Wummelbox uses eco-friendly materials when appropriate, plus they try to incorporate the packaging into a craft. I like having less waste to deal with during clean-up time. The only negative I found with the first box we reviewed, Music and Sound Box, is the number of small pieces. Not a big deal for the bigger kids, but when I have baby #3 crawling around, I’ll have to be more diligent about keeping the tiny metal balls and mini magnets on the table.

Wummelbox is one of those lovely subscription services where you can sign up for as much or as little as you would like. I think the subscriptions make great gifts, especially from the grandparents.

  • Try a Wummel, 1 month subscription $34.95
  • Little Wummel, 3 month subscription $24.95/month
  • Big Wummel, 12 month subscription $19.95/month

Want to try out the Wummelbox? Enter to win a box that will be delivered to your door. Use the rafflecopter below to enter, giveaway closes on May 20, 2013. Winner will have 48 hours to claim their prize. US residents only.

a Rafflecopter giveaway

Disclosure: I was provided a 3 month subscription to Wummelbox to help facilitate my review here. I look forward to testing out these boxes with the kids once the new baby arrives. It will be great to have an activity project ready to go, especially if we have a rainy summer day and we are stuck inside. All opinions shared here are my own.

Craft Cabinet Project RandomRecycling.com

It’s the first week of Project Simplify and the focus is on shelves and drawers. I decided to put my efforts into creating a craft cabinet that is easily accessible,pretty and organized. Since we have limited storage space on our main level of living, I found the kid’s toys and crafts creeping into every corner. I like having a variety of crafts to play with, but I don’t want them too accessible for the kids. J.J. tends to draw on everything, including the walls and his sister. The elevated cabinet in our half bathroom became a good spot to keep things handy, but out of the reach of little hands.

I had already organized the left side of the cabinet a few months ago and used the Martha Stewart labels so I stuck with the same color story for the right side. The robin’s egg blue color is pretty and the material is pretty durable if I need to wipe off some markers or play dough from a box.

Craft Clean out RandomRecycling.com

The first step is to clean out and take an assessment of what you own. Organize it into like items, purge what you don’t need, move seasonal crafts (i.e. Christmas stickers) to the basement, and then decide the storage system that will work for you. I like the document boxes because I can reuse them long after the kids outgrow this craft organization system.

Budding Blogger RandomRecycling.com

I enlisted some help organizing the crafts. However my helper was quickly distracted by all the fun craft projects she found on the table.

Craft Cabinet Storage RandomRecycling.com

My organizing supplies came from Staples. I got free delivery and it basically came overnight since they are local. Nothing makes like easier than home delivery! I got three document boxes, a desk organizer with drawer and metal book-plate. Everything fit well, except the drawer didn’t quite have enough clearance to make it easy to pull out. I decided to separate the drawer from the box which created a two tier organizer for papers and coloring books, which actually worked out better. The drawer is open storage at the top for larger items like play dough and accessories.

Craft Cabinet Organized RandomRecycling

Part of what works in any organization system is making it easy to use and also making it pretty. I think it’s easier to maintain if both of these factors are met. So far I just love opening the cabinet and not seeing a jumble of crafts and “other” stuff. It’s amazing how many random things were tucked away on the shelves. I finally tossed some scented candles that I just don’t want  in my house any more. I felt guilty throwing out something that worked, but I just don’t want the toxic fumes in my house. I already feel better that the clutter is gone.

Up next week is closets…which one is on your list?  If you are tackling any spring cleaning projects, please share in the comments. I’ll be sharing my post over at SimpleMom each week of Project Simplify.

Craft Cabinet After RandomRecycling.com

 Celebrate dr seuss birthday

This is the week to talk about Green Eggs and Ham and The Lorax with your kids. Why? Well it’s Dr. Seuss’s birthday on March 2nd. Dr. Theodore Geisel’s wonderful story books deserve a special time to celebrate the silliness of them.  Our own collection of Dr. Seuss books are hand-me-downs, some from my own childhood and others from my younger cousins. I love sharing them with my kids and laugh at their questions about all the funny things everywhere. We had a fun Dr. Seuss party and here’s some fun food and decorating ideas.

READ

No question the best way to celebrate Dr. Seuss book’s is to read them. You may be reading aloud with your little ones like us, or you get to listen to young readers work their way through funny phrases. Read Across America Day is this week and there are numerous events to get involved. “Grab Your Hat and Read with the Cat” is the theme of Read Across America week for 2013. Pottery Barn Kids will be hosting a special story time and craft activities to celebrate Dr. Seuss. A “Cat-a-Van” will travel the country stopping at 17 cities to promote literacy and giveaway more than 20,000 books.

Dr. Suess Books RandomRecycling

Be green and borrow Dr. Seuss books from your local library. If you want to fill in your own collection, Toys R Us has a special buy 2 get the 3rd free sale this week. We also have the Dr. Seuss app from the Apple Store. It’s a collection of stories and it has both the read aloud or read to me functions. I love having these books on hand when we travel!

WATCH

My kids are PBS kids and they love watching The Cat in the Hat. My daughter calls Nick and Sally “friends.” This Friday, there will be two new episodes on PBS Kids. THE CAT IN THE HAT KNOWS A LOT ABOUT THAT! will feature two brand new episodes. “Rumbly Tumbly / Planet Name Game” features a super shrunken trip into Thing One’s stomach as well as a whirlwind trip to each of the eight planets, and “Top of the Sky / Jiggle Bones” follows the Cat, Nick and Sally as they travel to Audrey the Astronaut’s space station and visit Dr. Giggles to see why bones are important.

LEARN

Use the books as inspiration to do a project with the kids. Here are a few I came across that look fun!

  • Create silly photo props. Let the kids take some pictures with their Thing 1 and Thing 2 hair. 
  • Make Silly Socks. We may need these for “Wacky Wednesday” at preschool this week.
  • Who-ville hair anyone?
  • Decorate a Lorax door. Talk about the message of The Lorax and share some ways to be green with your kids.
  • Handprints Thing 1 and Thing 2.
  • Did you know Dr. Seuss is a SigEp? My husband reminds me every time we read one of his books. 😉

Happy Dr. Seuss week! Please share any events or happenings in your school.

Fruit Valentine Tags

In light of all the sweets and treats my daughter is going to bring home from school today for Valentine’s Day, I decided to take a different approach. Together we decided to give out healthy apples and oranges as a treat for her preschool friends.

I found the fruit tags on Pinterest and printed them out from Craftaholics on card stock. The tags were cut out using my paper-cutter for the sides and scissors for the top. The heart cellophane bags are from my local party store for $.39/each. Oranges and apples came from Trader Joe’s. I have a giant roll of red baker’s twine and I love any excuse to use it.

Making Fruit Valentines RandomRecycling

My little helper decorated the oranges with a face using a black marker. Then she wrote her name on the back of each tag. It was an exercise in patience for me as I watched her write her name and struggle when she made a mistake. Although I didn’t want to waste tags, I knew it was important for her to take the time to make them just right for her friends.

I know she will come from school today with a goodie bag filled with candy full of artificial ingredients. She will be happy and I will let her have her candy in small doses. (Read why we try to avoid artificial dyes.) At least if my daughter and her friends learn at a young age that there are other fun gifts to give besides candy at Valentine’s Day, there is hope for them to make their own healthy decisions down the road.

Happy Valentine’s Day, from my family to yours!

Kids Valentines RandomRecycling


Prior to the arrival of Blizzard Nemo, our friend Susan hosted a wonderful Valentine’s Day party for some little preschoolers. It was a cute morning filled with craft projects, cupcakes, glitter glue and coloring.

Valentine's Day Cupcake

All he remembers from the party is this cupcake.

Valentine's Day Preschool Card Making Party

Card making craft time for the kids. Stamps, glitter glue and stickers for their special Valentine.

Gingerbread house for Valentine's Day

Who says gingerbread houses are just for Christmas time?

Valentine's Day craft party

Lunch time with heart-shaped peanut butter and jelly sammies.

Pom Pom Crafts

Who can resist using some fun pom poms.

Toddler Valentine's Day craft tableUse paper to cover the table for toddlers, they can decorate it themselves!

Valentine's Day Outfits

They are trying to make hearts with their hands.

Valentine's Day tights

How cute are all those tights!

Janie and Jack bow shirt

One very happy girl!

Heart Felt Valentine's Day BagsAdorable goodie bags!

Personalized coloring page

The perfect parting gift~ a personalized coloring page from Frecklebox.

Thank you Susan for hosting a wonderful party! It was great to watch the girls make some masterpieces, both with their Valentine’s day cards and their cupcakes. Hope everyone has a Happy Valentine’s Day this week! If you still need some inspiration, stop by and see what’s new on my Valentine’s Day Pinterest board.

DIY Finger Paint for Kids Random Recycling

When it’s too cold to go outside, it’s time to get creative inside. Our craft project of the day was to make DIY Finger Paint. One of my goals is to finally make some of the many kid-safe recipes I have found on Pinterest. There are recipes for nearly everything that you buy at the store, except you can make them for a lot less with ingredients you already have in your home. Often times, it’s also less toxic than what is available at the store.

DIY Finger Paint can be made with just 4 ingredients, plus some food coloring. I had a box of unopened food coloring that I have avoided using in our baking. Using it to decorate paint is a perfect way to use it up. The project is actually two steps: 1) Making the paint 2)Finger Paint time.  I made the finger paint with Madison’s help while the little guy took his nap. By late afternoon the paint was cool enough to use and they could get nice and messy playing with the paint.

The messiness level is pretty high on this one so beware. The food coloring stains the hands, but it did wash out fine in the bath. The color will be a lot better on white paper, I used paper bags instead to test it out. The paper is really durable and my kids don’t really care about the “picture” they are making. They just want to swirl it around and make “rainbows.”

Ingredients

2 tablespoons sugar

1/3 cup cornstarch

2 cups water

1/4 cup clear liquid dish soap

food coloring

Instructions

Add sugar and cornstarch to a small sauce pan. Blend together, then add water. Cook on medium heat until the mixture turns into a gel-like substance.

Bring to a boil, then turn off heat and stir in the liquid soap.

Divide the mixture into separate containers that you can add the food coloring too. I would use about 8-10 drops for small containers. Glass baby food jars are great for this. We used larger jars to create the colors, then I transferred smaller amounts to an egg carton to use at the kid’s easel. If you have any leftovers, cover tightly to use later.

DIY Finger paint Random Recycling

Do you have a favorite DIY craft project or recipe to share?


I’m sharing this over at The Tuesday Baby Link Up.

The Butterfly is my favorite Urban Canvas project.

Ever notice how excited kids are to play with a box instead of the toy that came in it? There is just something magical about cardboard boxes and a child’s imagination. Urban Canvas brought these elements together to create a line of design oriented art projects using recycled cardboard. The line of art projects is designed by a mom of three who has a background in interior design and art education. She also had children who loved the cardboard box as much a my two kids. Urban Canvas just launched this year and I love their commitment to using sustainable materials, very little packaging and creating a project that eventually can be recycled.

The train set is appropriate for ages three and up.

Want to try out an Urban Canvas project with your kids? Or maybe give one as a gift? You can get 25% off using the code: COOLTOY. If you buy one now, you can also snap a picture of the finished project and enter it into a contest. All entries will get another Urban Canvas toy. You can also buy these projects in a few local retailers, including Henry Bear in the Boston area.

To celebrate the holidays, Urban Canvas is also going to give a lucky reader their choice of an art project! Take a look and see which one you like; there is also a note about the appropriate age for each project in the details. Contest is open to US residents and runs until midnight 12/22.
a Rafflecopter giveaway

Good luck!

When I first spied glitter slime on Pinterest I was hooked. Such a fun project for the kids with a lasting toy to play with.  This only requires three ingredients: glitter glue, Borax, and water. It’s not too messy and it was easy to make with both a three year old and a one year old.

Ingredients
1 large glitter glue bottle (glitter glue pens are too small)
1 teaspoon Borax
1 cup of water plus 1 tablespoon

Instructions
1. Empty glitter glue bottle into a large bowl.  Add 1 tablespoon of water and swirl around to thin out the glue.

2. Mix 1 cup of water with 1 teaspoon of Borax. Add to glue mixture.

3. Let the kids swirl it all together and it instantly becomes slime!

Madison was really excited to find pink glue to make for her and a friend. It was a great sensory experience for both children.

We are storing our slime in reused glass jars. Large baby food jars are a good size too.

Easy peasy. Here is a cute Google + album sharing pictures of our experience making this project a reality.  Happy Halloween everyone!!

Image and video hosting by TinyPic
I love to hear your feedback and comments. Stop by and visit FacebookPinterest or Twitter for more conversation!  Or get posts delivered via Email or RSS Feed. This post is shared with Green Your Way.

I am in love with holiday decorating. Easter included.  Time to decorate those eggs!  This year I finally took some time to do some egg dying with natural ingredients.  Everything came from what I already had in the house.

I bought generic white eggs.  I went with hard boiled instead of blowing them out because I was wasn’t sure if my kids could handle something so delicate.  Cook for at least 15 mins on a simmer to avoid cracks.

I did some clean out of the fridge/freezer and cabinet to test out a few options.  The blueberries soaked in water for about an hour.  Others were boiled for about 20 minutes to draw out the colors.

Once the liquid was ready, I divided it up into smaller containers and added about one teaspoon of vinegar per one cup of liquid.

Cover the area with a large cloth or newspaper as this got messy when the eggs were dropped in!

We got used the following and let the eggs sit in the mixture overnight.

Spinach~ light green
Cranberries~ light pink…I would strain in a cheese cloth before doing this again.  I got funny bubbles on the eggs
Pomegranate tea~ turned green over night!  Originally was pink
Carrots~ light yellow
Red wine~ brown, almost prehistoric looking.
Beet juice~ (very) light pink
BLUEBERRIES~ dark blue. Favorite of all the eggs by far.

We drained them on a cookie cooling rack.  I didn’t care about little marks as it just adds to their character. This was an easy kids activity when adult can make the natural dyes at the stove ahead of time.  The eggs are safe to eat as long as they are refrigerated.  Find more egg dying ideas on my Pinterest Board.  Next up for me are some chalkboard eggs!

Happy Easter and Passover to all!