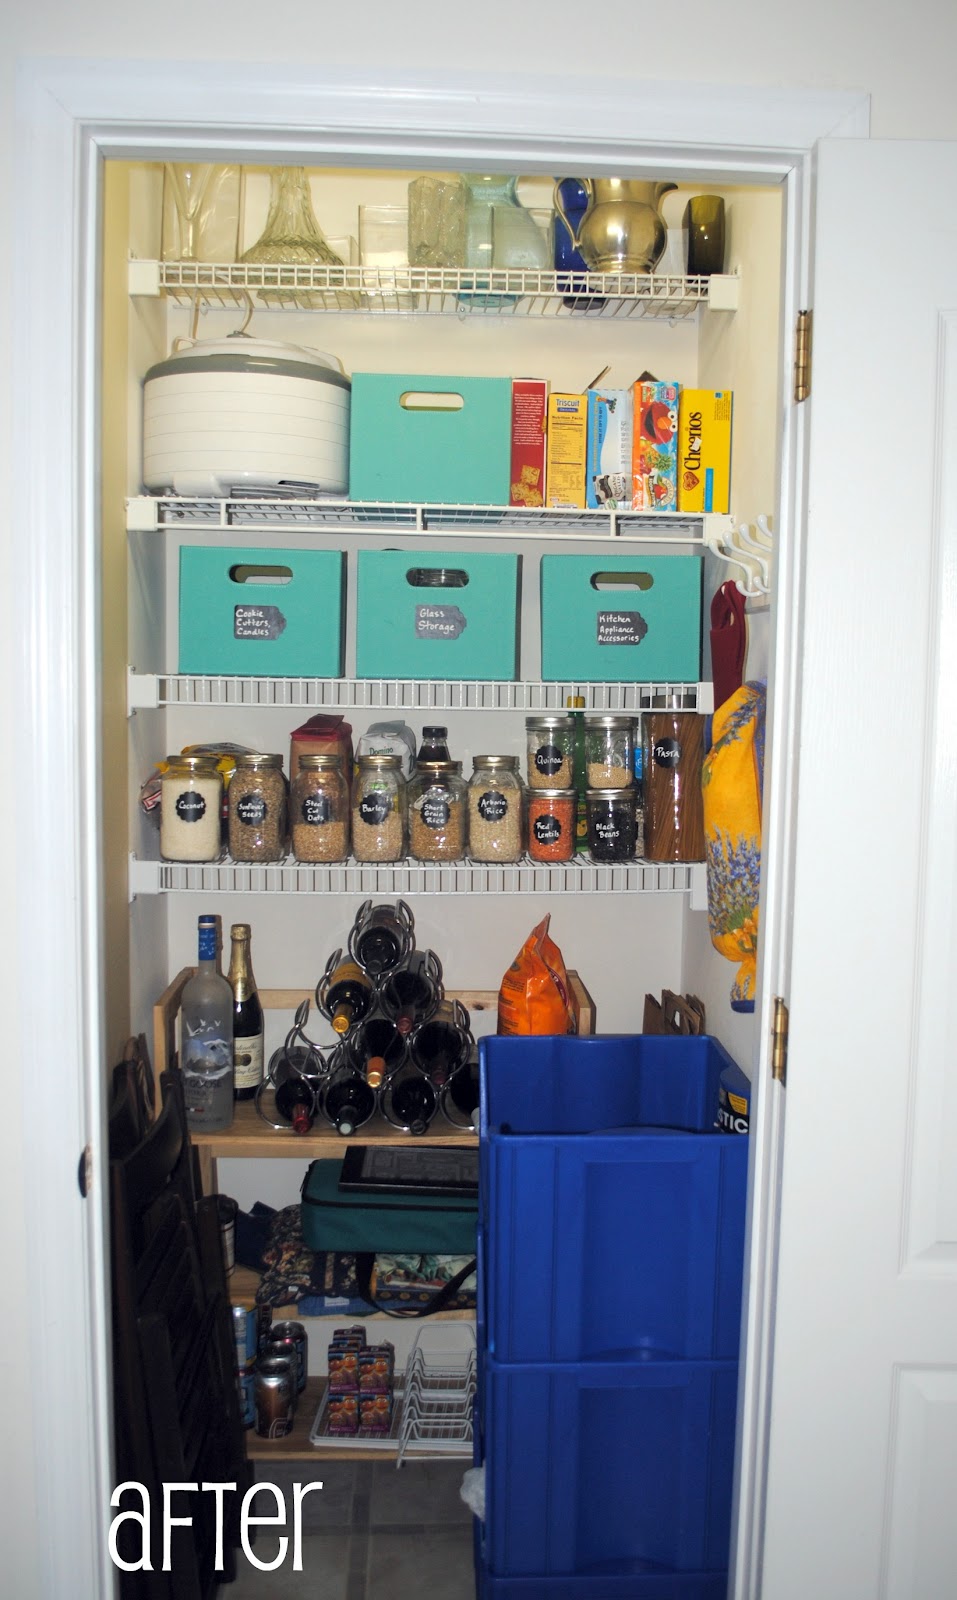
After last week’s pantry project, I had some time to think about how to maintain a healthy, real food pantry. I want to be able to open the pantry door and find things that I will use regularly and will work easily into each week’s meal plan. There will always be some boxes in there of crackers, cereal and possibly Trader Joe’s Cornbread mix. That is our reality as I have yet to see a super easy cracker recipe that I can make with two kids hanging off my leg.
In the meantime, here are my suggestions of how to work on creating a real food pantry. Divide it up into categories and take it one step at a time. This is a list of the items nearly always in the (new) pantry,or main kitchen shelves.
Baking
-Rolled Oats, old-fashioned not the quick variety
-Steel Cut Oats
-Unsweetened Coconut
-Flaxseed
-Sunflower Seeds
-Pepitas (pumpkin seeds)
-Honey
-Agave
-Molasses
-Maple Syrup
-Whole Wheat Flour
-Coconut Oil
-Baking essentials like Baking Soda, Baking Powder, Brown Sugar
Main Dinners & Sides
-Variety of Beans (I have started cooking beans in my pressure cooker)
-Whole Wheat Pastas (& Gluten free pasta for visitors)
-Variety of Rice (I use short grain brown rice and arborio most often)
-Barley
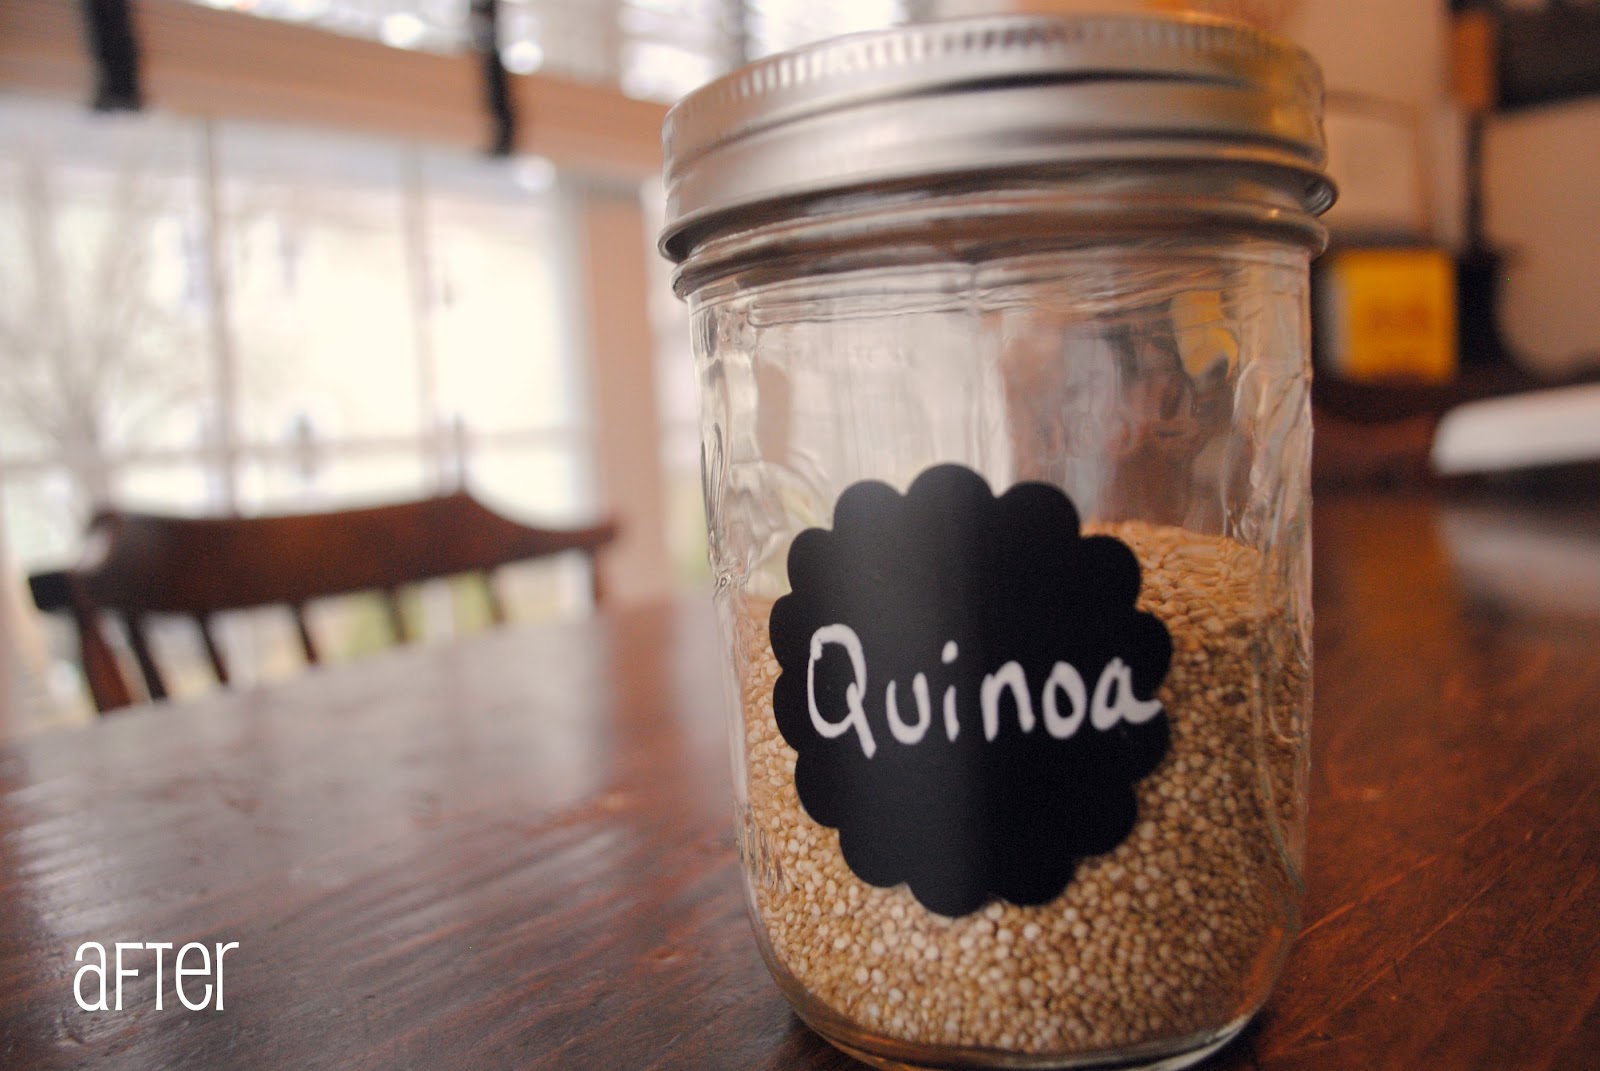
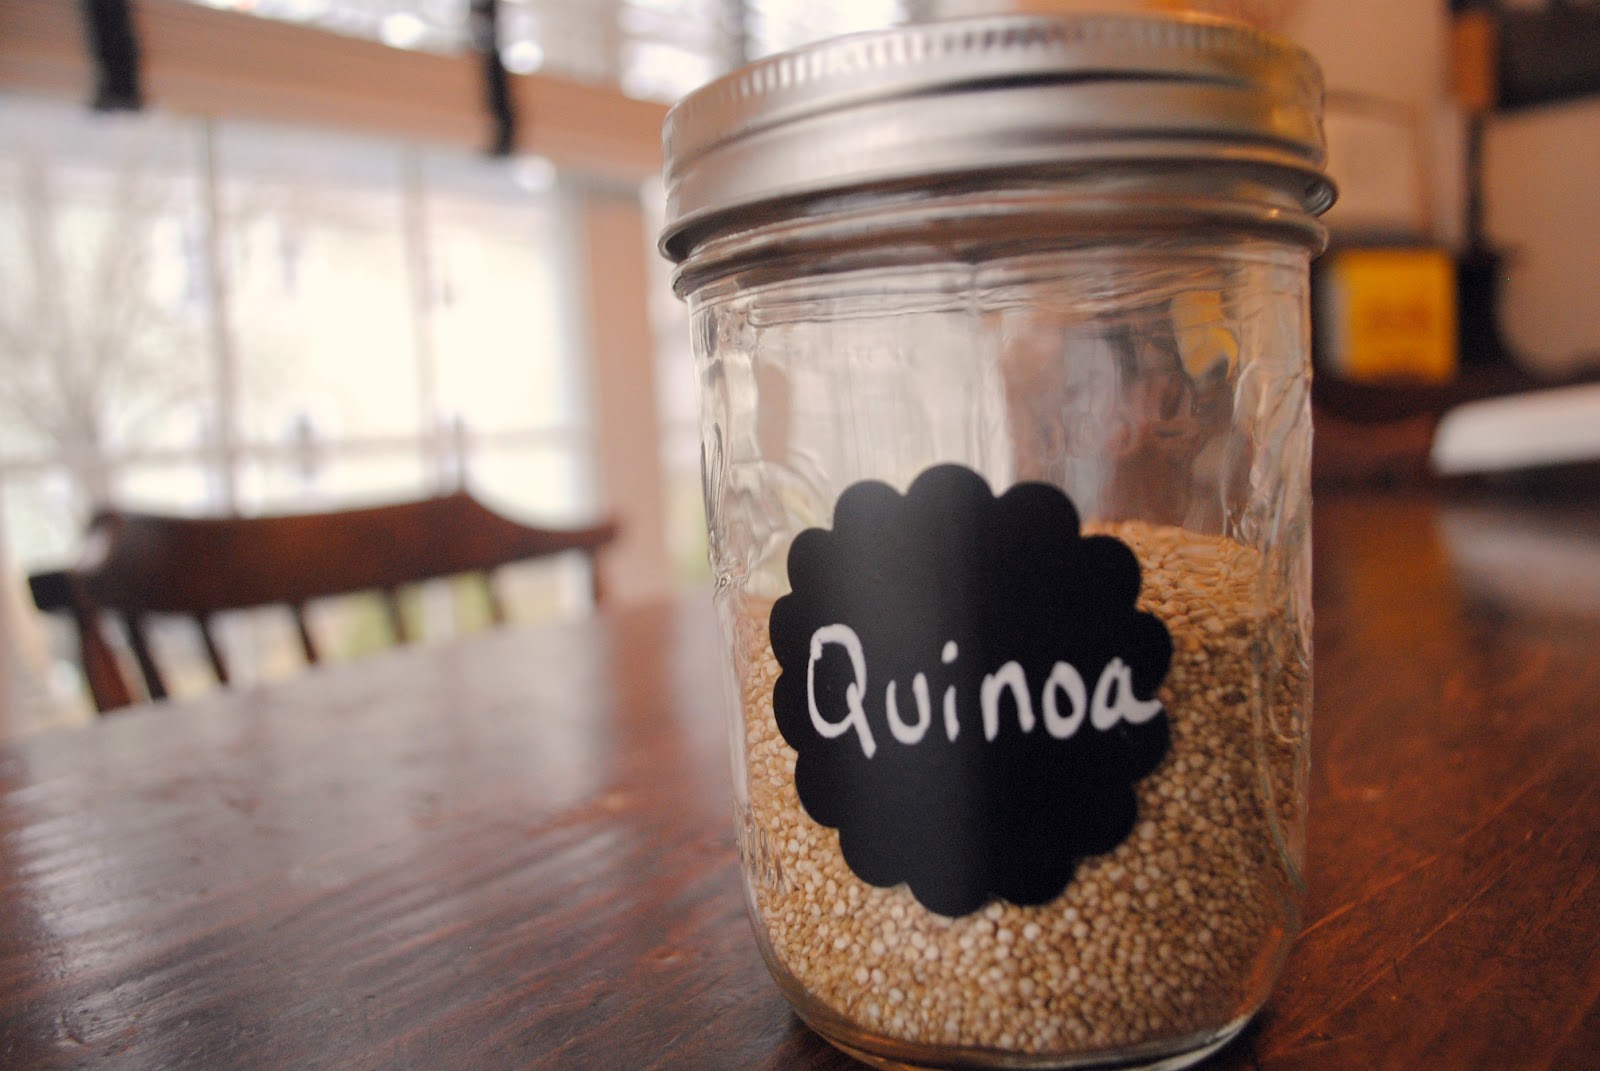
-Quinoa
-Lentils
-Coconut Milk
-Artichokes
-Good Tuna packed in oil
-Olive Oil
-Sesame Oil
-Variety of vinegars (Red Wine, Rice and Champagne)
Nuts are also a big part of our “pantry” storage. However I store them all in the refrigerator to keep them as fresh as possible. Although we go through them fast, I want to keep them as fresh as possible. The oils in the nuts can go rancid if left in the cabinet too long. (Same for Wheat Germ, that is also stored in the fridge.) The nuts we always have on hand are Walnuts, Pecans and Almonds. Peanuts are generally only purchased if I’m making pad thai.
This year I want to try out some recipes using some alternative flours like brown rice flour or coconut flour. We have so many friends, or their children, who have gluten issues and I would like to be able to offer a fun, healthy treat for them at an event or playdate.
 |
| Whole Foods self-serve bulk buying section |
Maintaining a real food pantry doesn’t need to be expensive. I find buying from the Whole Foods self serve bulk section the most affordable option for me. Costco is also where I buy a lot of basics like old fashioned oatmeal, brown sugar, agave and many of the nuts we use. Coconut oil is always purchased online as I tend to find better deals on bulk sizes. Eventually I would love to get really large quantities and organize a co-op, but this project will just have to wait.
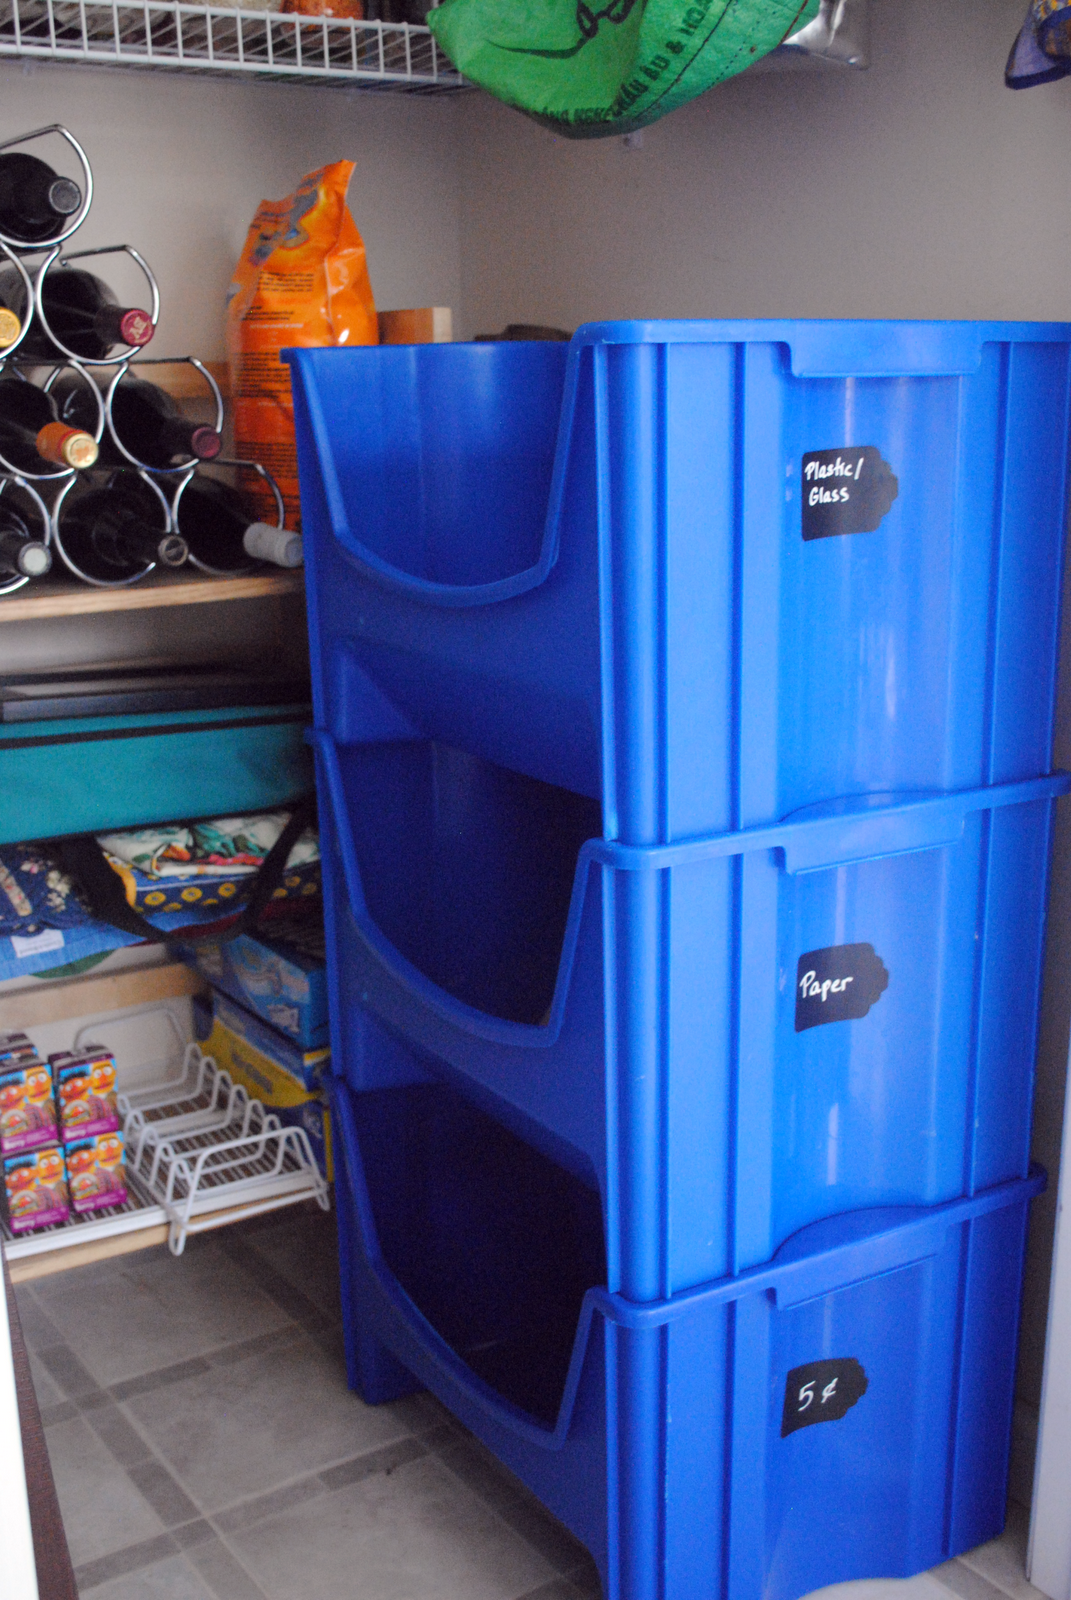
Reuse your tomato sauce jars for your pantry and it’s another way to reduce costs. You don’t need to buy more plastic containers for bulk/pantry items. Use what you are already using. I even use some of our old Tupperware for storage, then I won’t risk putting it in the microwave.
Don’t forget some fun labels…see more in my Creating a Pantry post!
What are your must-have’s for a healthy pantry?