As we look ahead to the final weeks of preparing school lunches, let’s try to keep things fresh and fun. Here’s a little roundup of easy surprises you can add to your child’s lunchbox or after school snack time routine. Who knows, maybe your kid will try a new piece of fruit if presented with a little humor?
Have fun with these adorable lunchbox ideas!
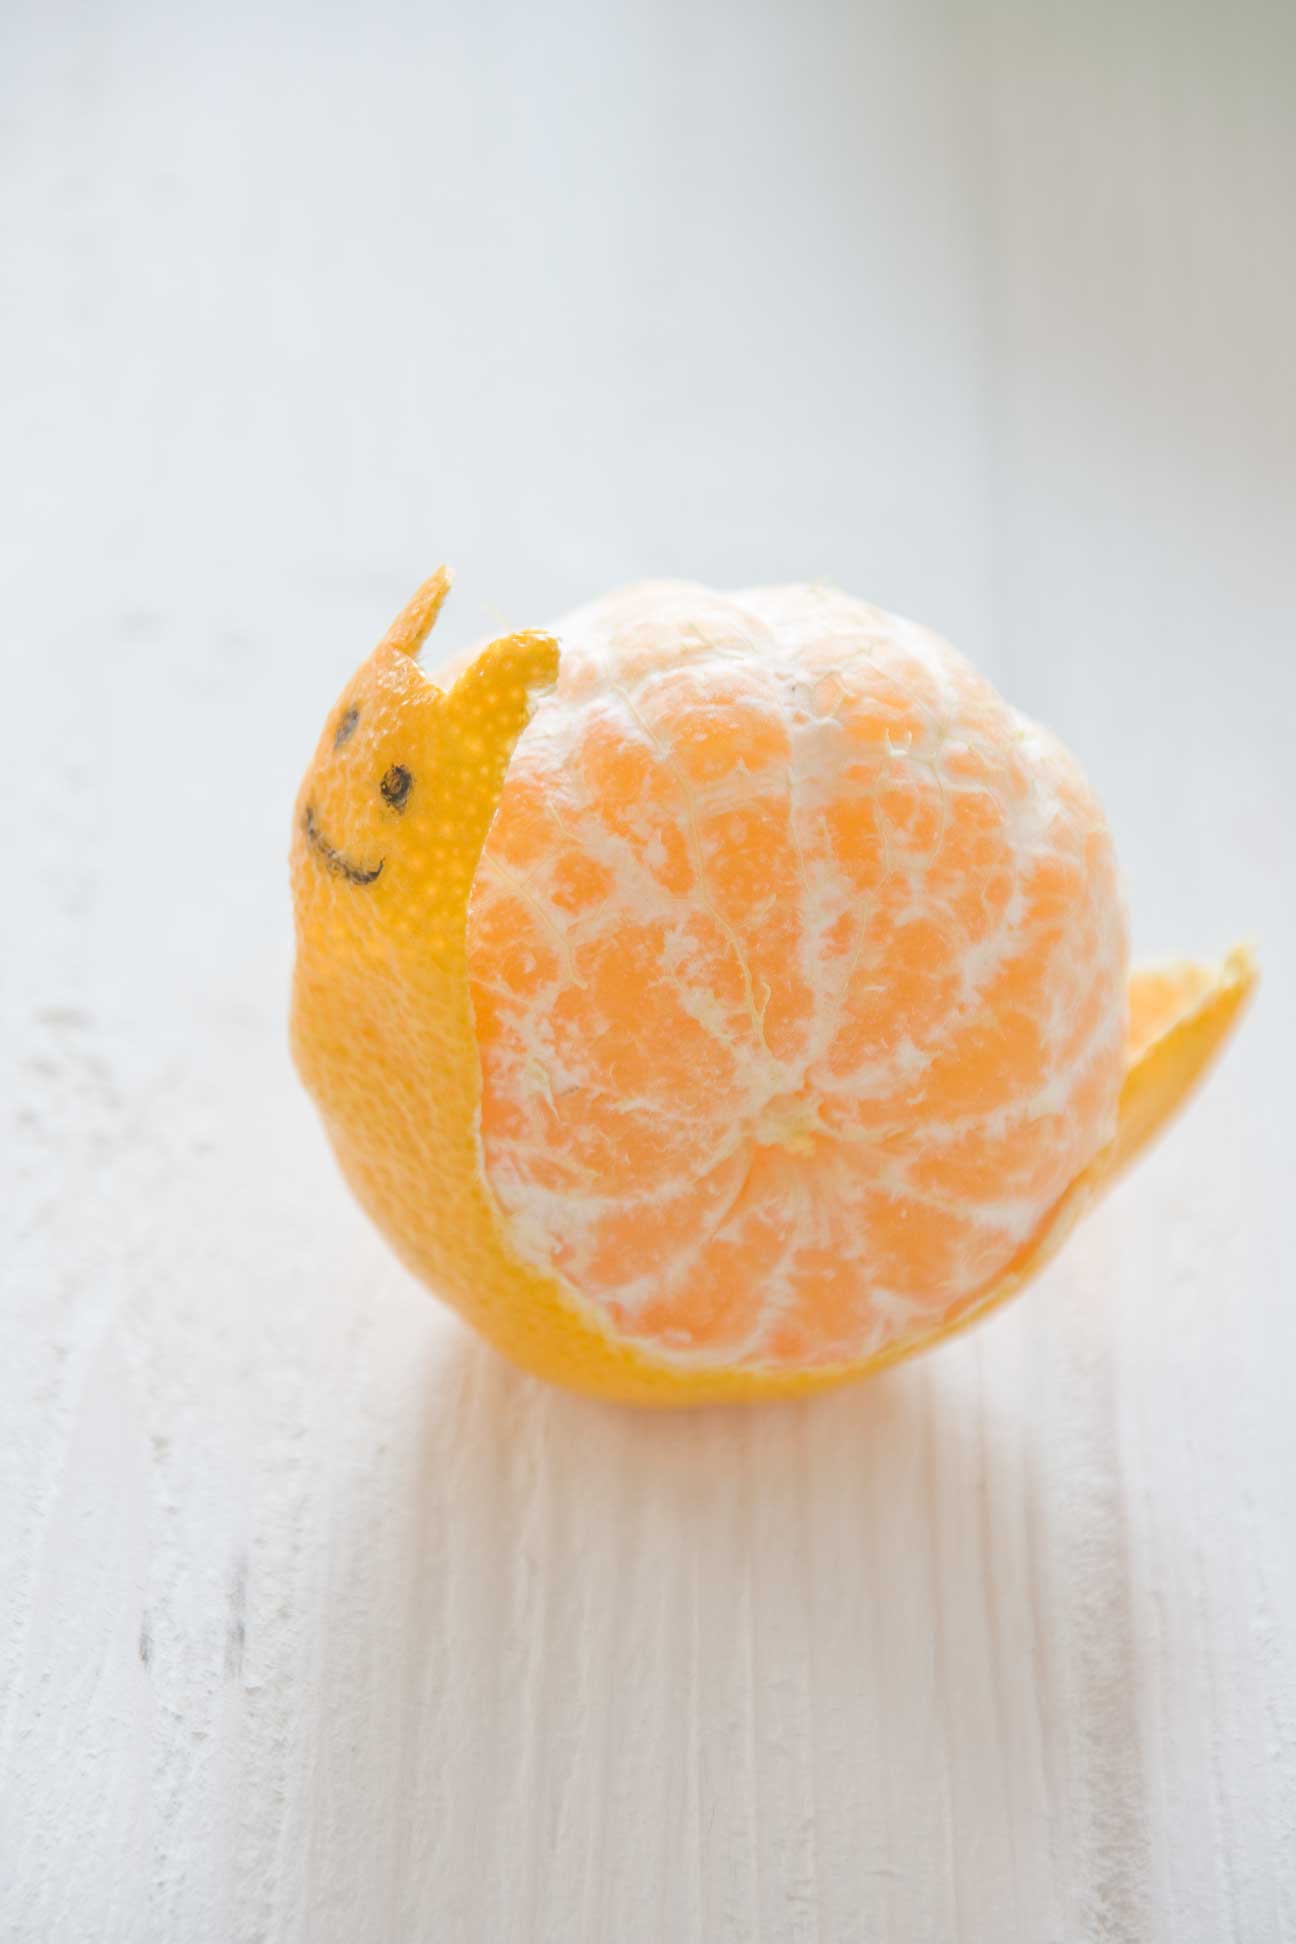
1. Happy little orange snail. (Use a food safe pen.)
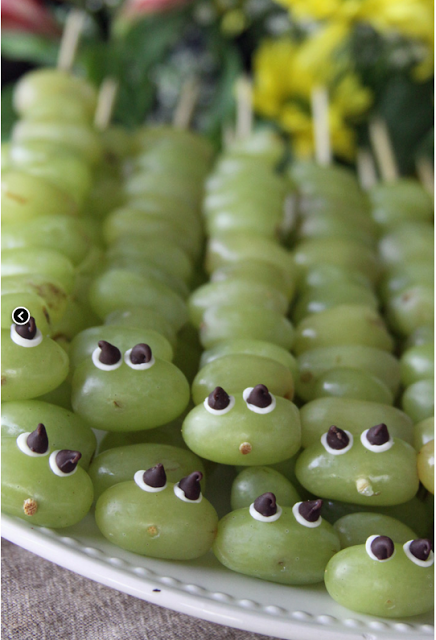
2. Line them up! Grape caterpillars.
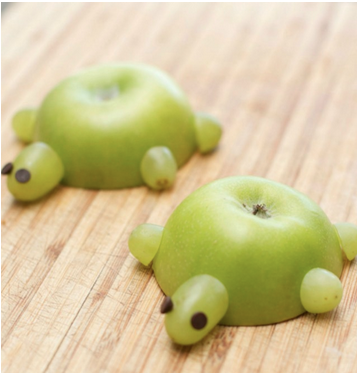
3. Sneak in some apple turtles.
4. What came first? The chicken or the egg?
5. Give a hoot for this fun owl lunch surprise.
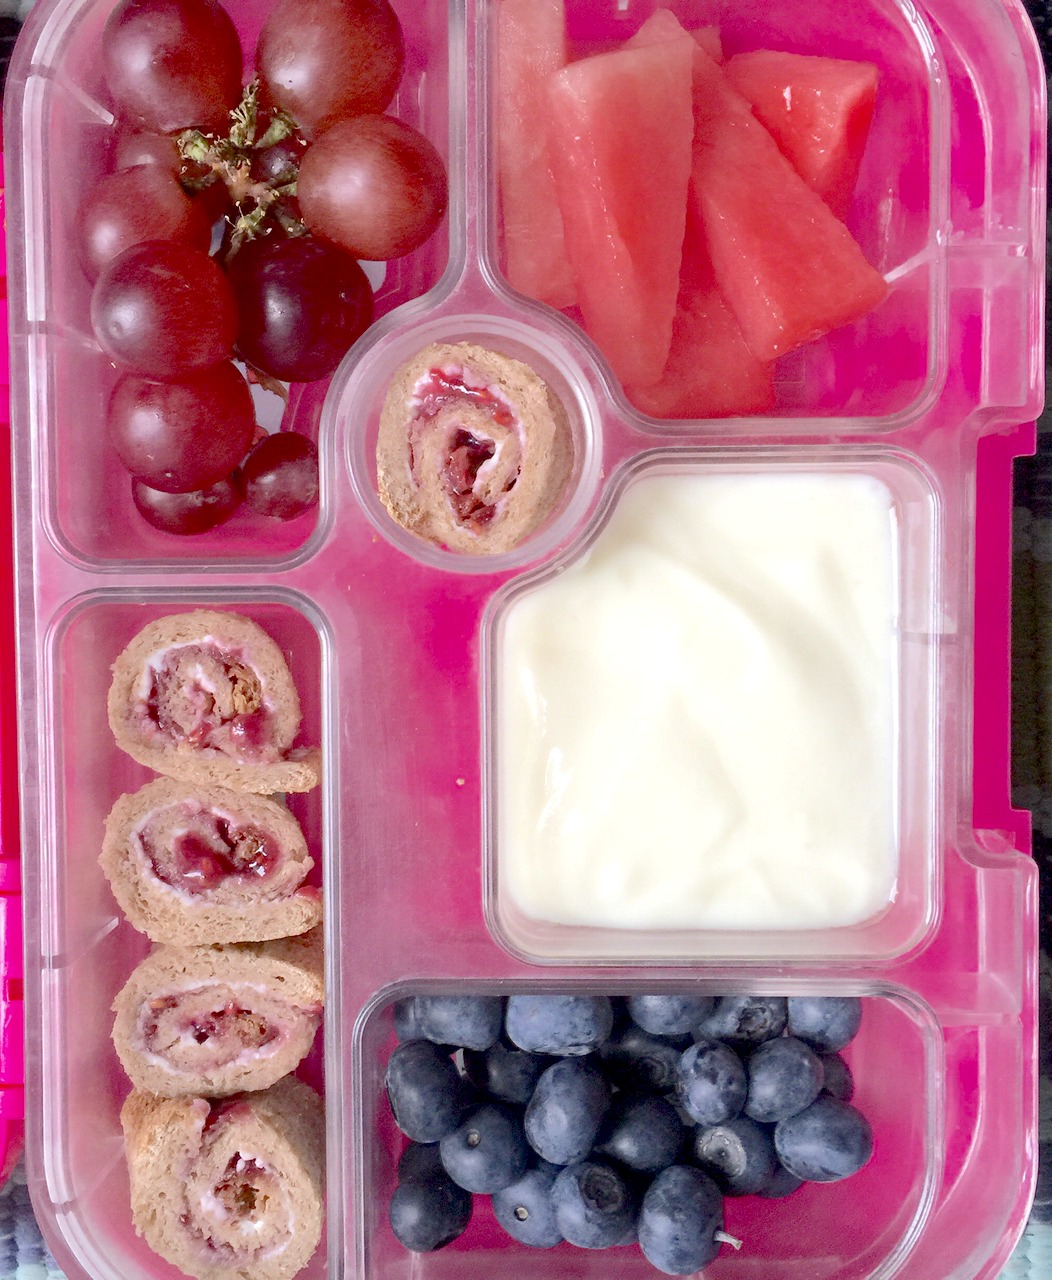
6. Skip the work and just stick with a fun bento box for the kid’s lunch. The Yumbox is still a favorite since it’s lightweight, easy to clean and spill-proof. Pack them for a summer picnic or a car trip. These will make the cut for us on our Toronto road trip in August!
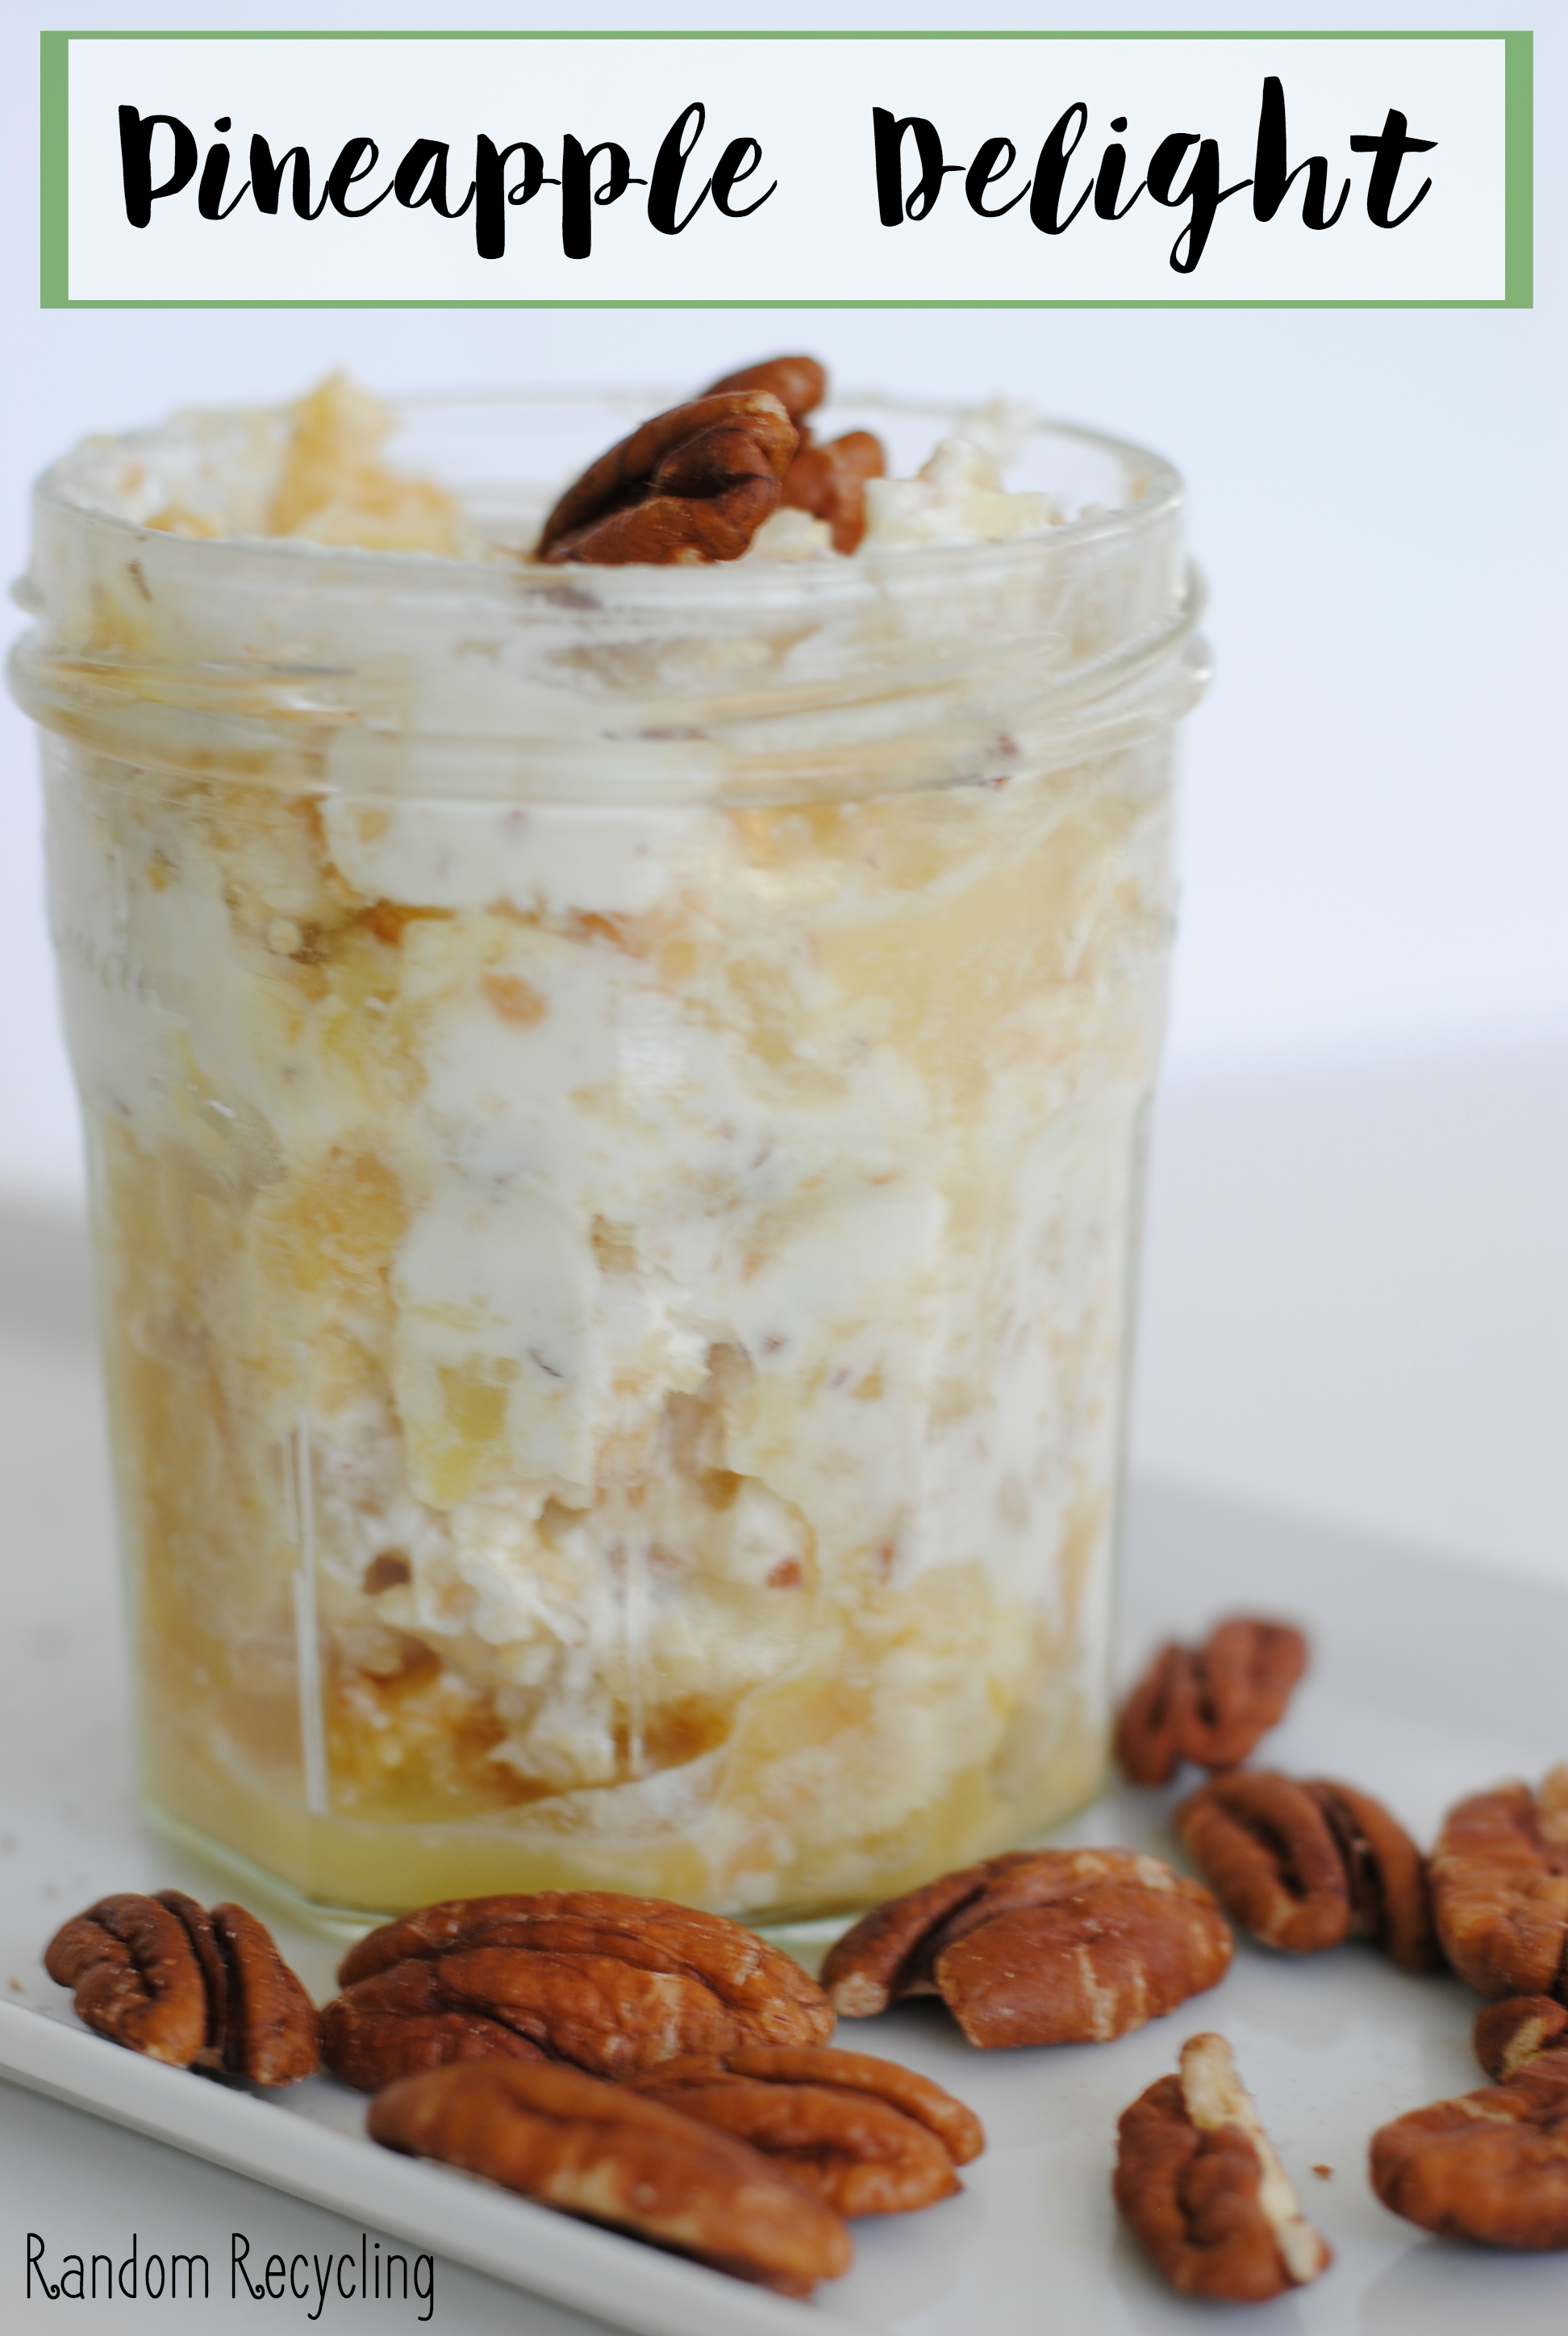
Pineapple Delight is the recipe that always make me think of summer and my Grammy. Summer is often a nostalgic time. People have strong memories of vacations, family gatherings and lazy summer evenings. They want to repeat this pattern year after year. Food often plays an important role in recreating these memories. Both of my parents grew up in large families so I remember going to family parties all the time. Each family had their own favorites and today I’m sharing on of my favorite summer desserts my Grammy would make, Pineapple Delight.
Grammy had eight children. Yes, eight. So you can imagine that our families were always loud and crowded. Grammy didn’t have a lot of free time to spend in the kitchen, but she had a few tricks up her sleeve. This Pineapple Delight is a perfect summer recipe since it’s no-bake, and can be made ahead. I can totally see myself making it this summer at our little red cottage in the morning and having it ready to go for a cookout in evening.
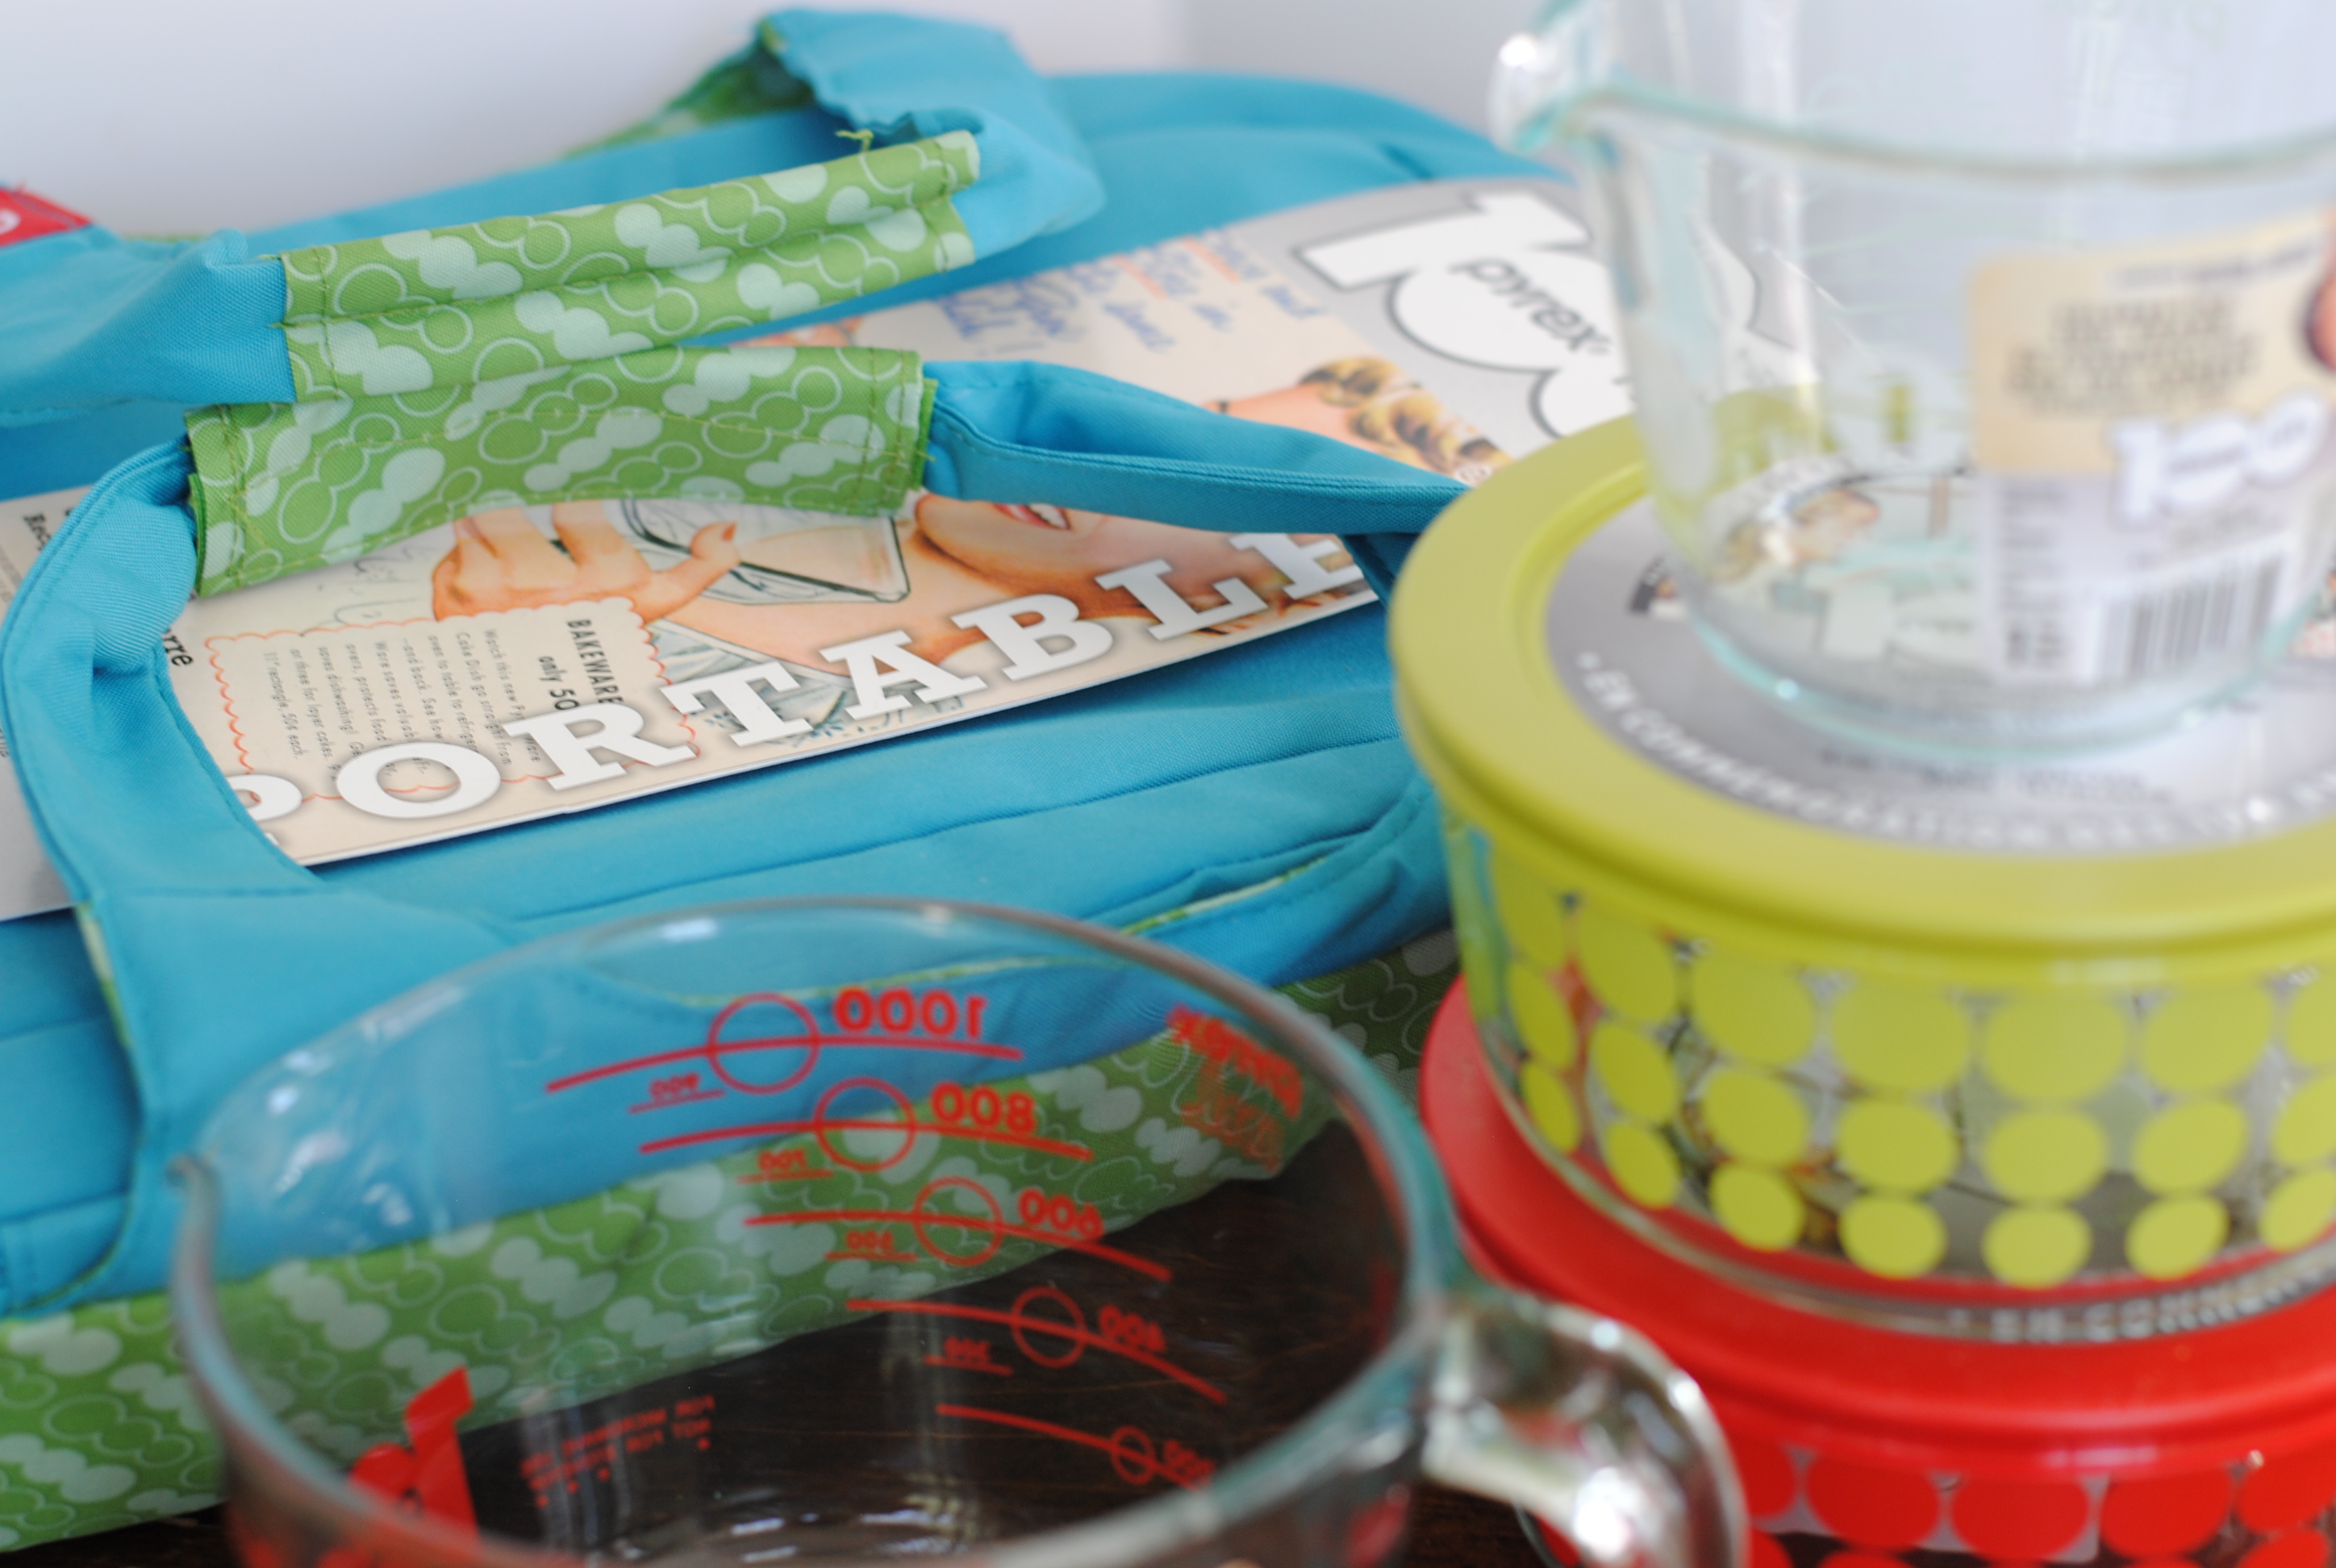
It’s funny how some things never change. Even what my Grammy and I use in our kitchen is mostly the same. We both use our Pyrex®, a World Kitchen brand, measuring cup to put together most of the recipes we make. Pyrex is celebrating it’s 100th anniversary this year. It’s pretty cool to see certain kitchen tools have withstood the test of time.
See the giveaway link below and share your favorite recipe of all time. Win a set of Pyrex 100 classic kitchenware!
I think it’s amusing to see old recipes and how they are written. I had to Google what a #2 can means in today’s world. I updated the recipe to reflect our standard measurements.
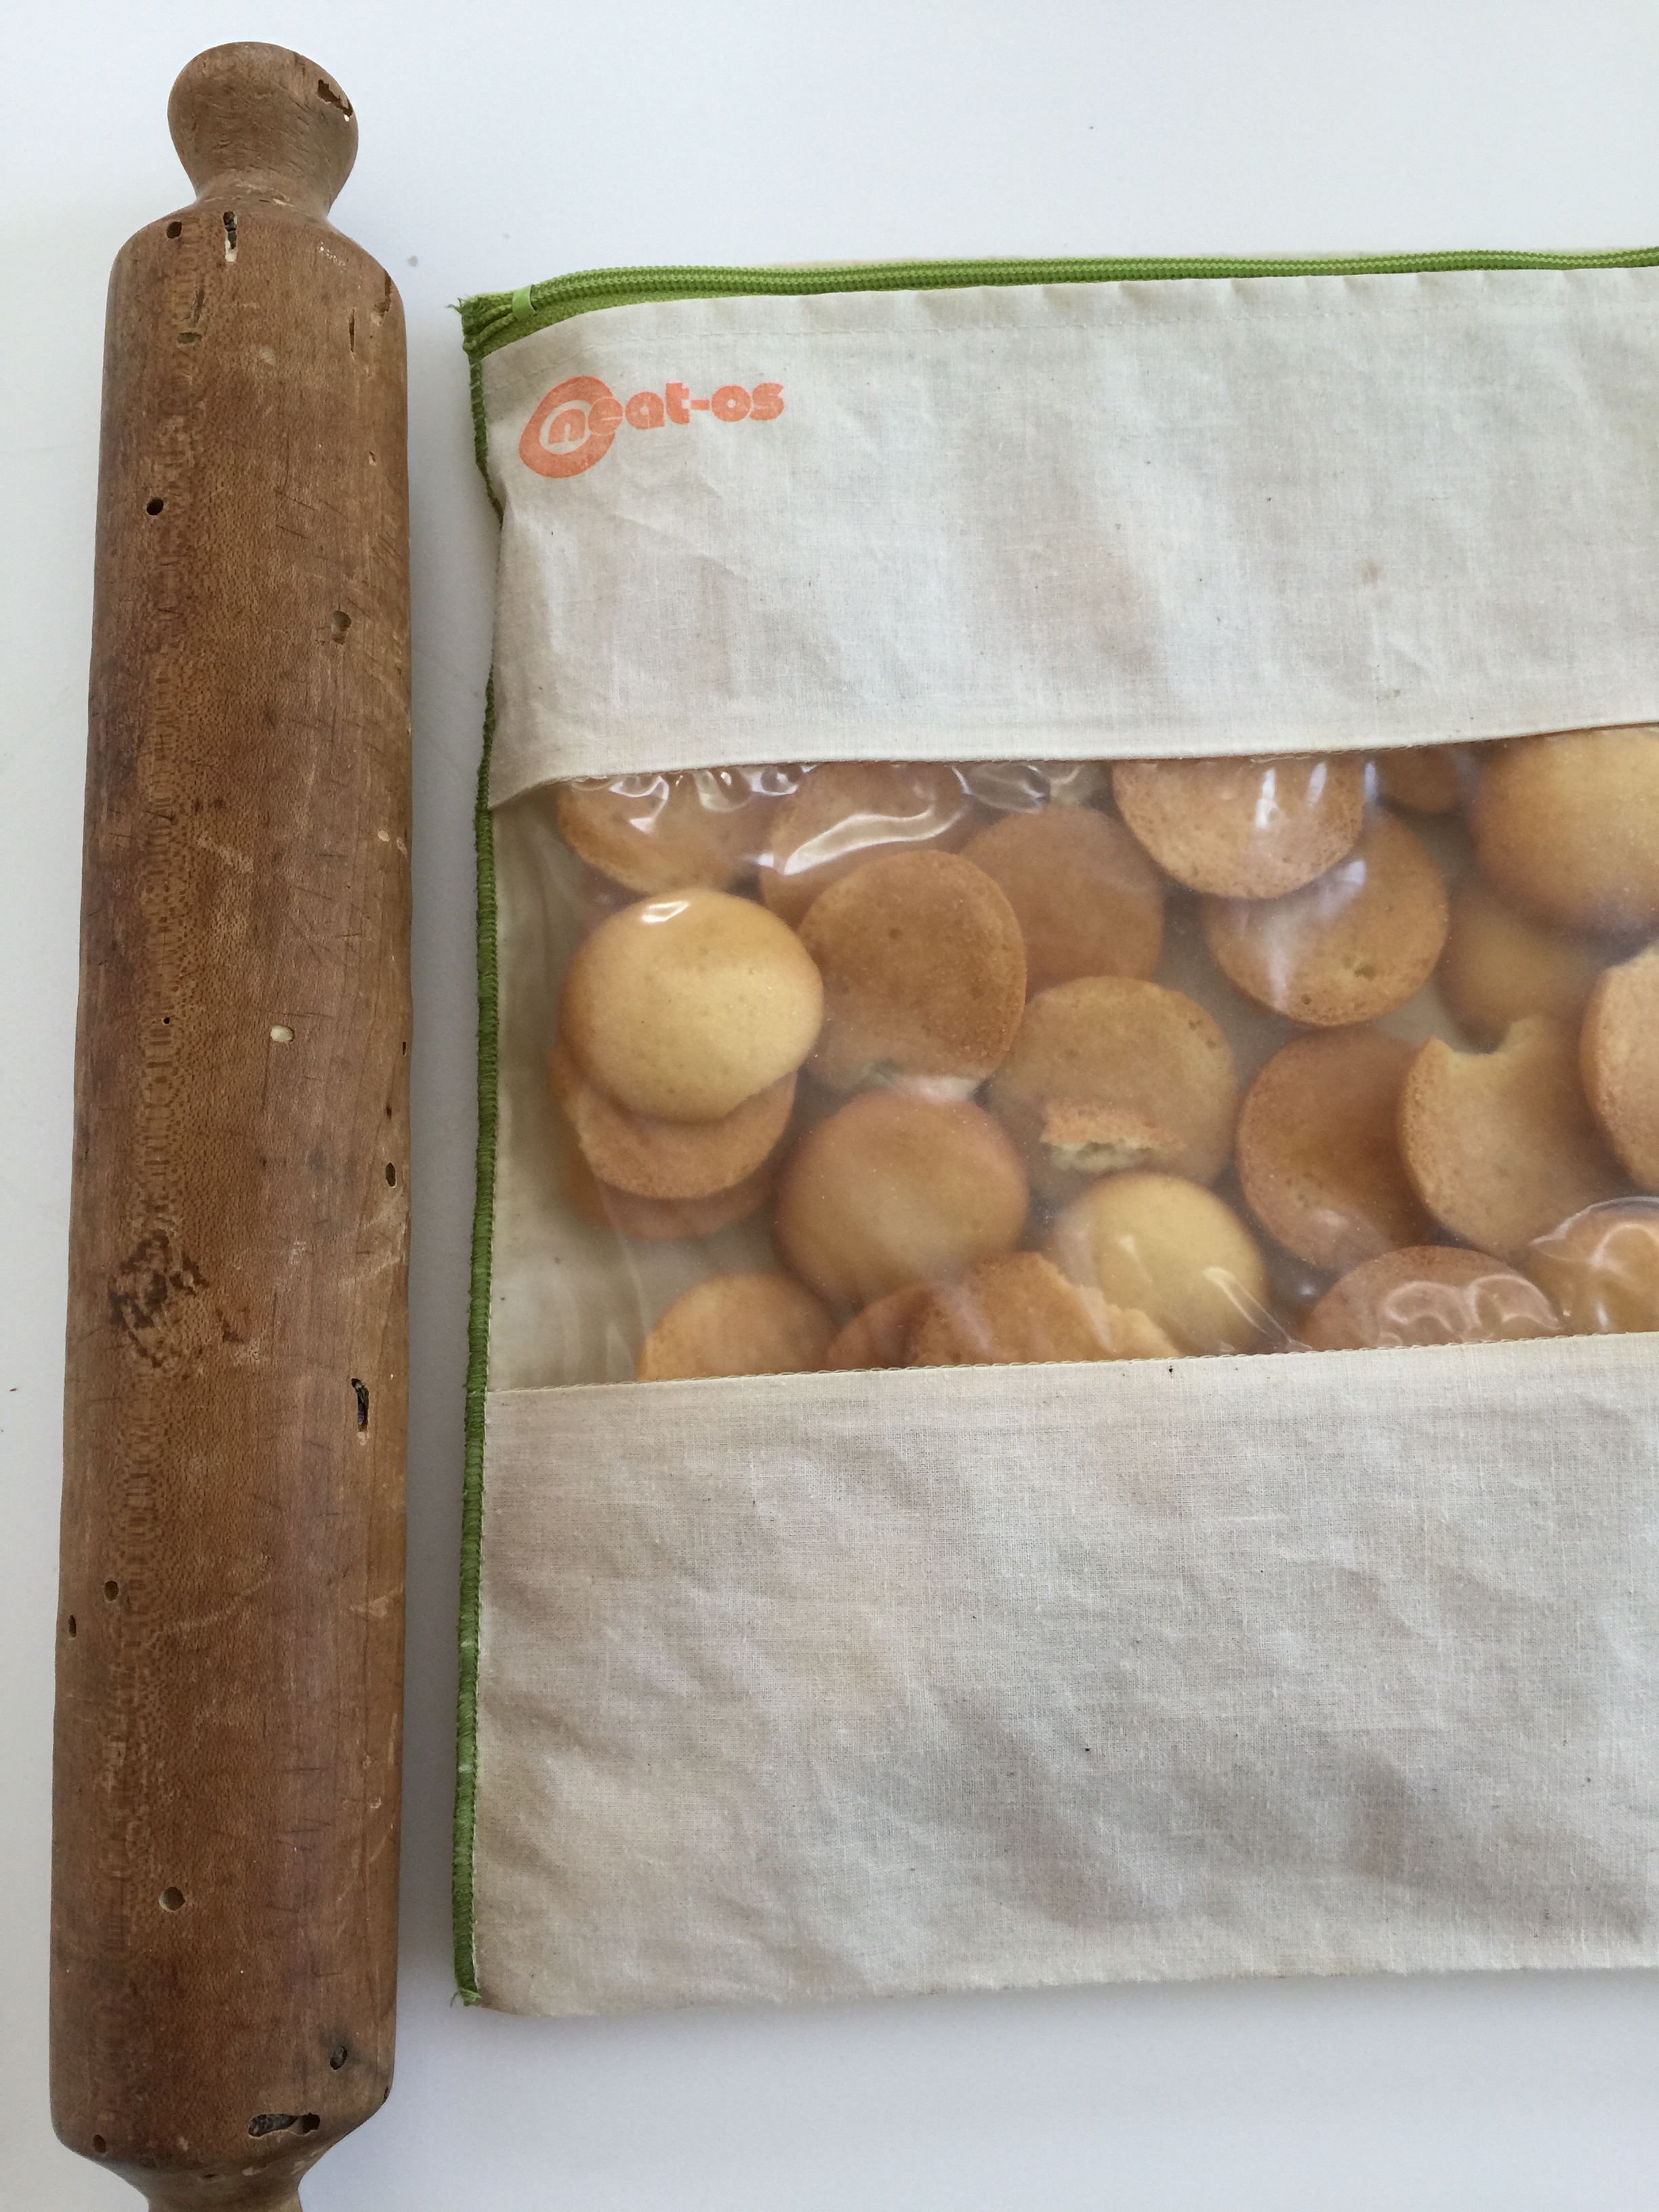
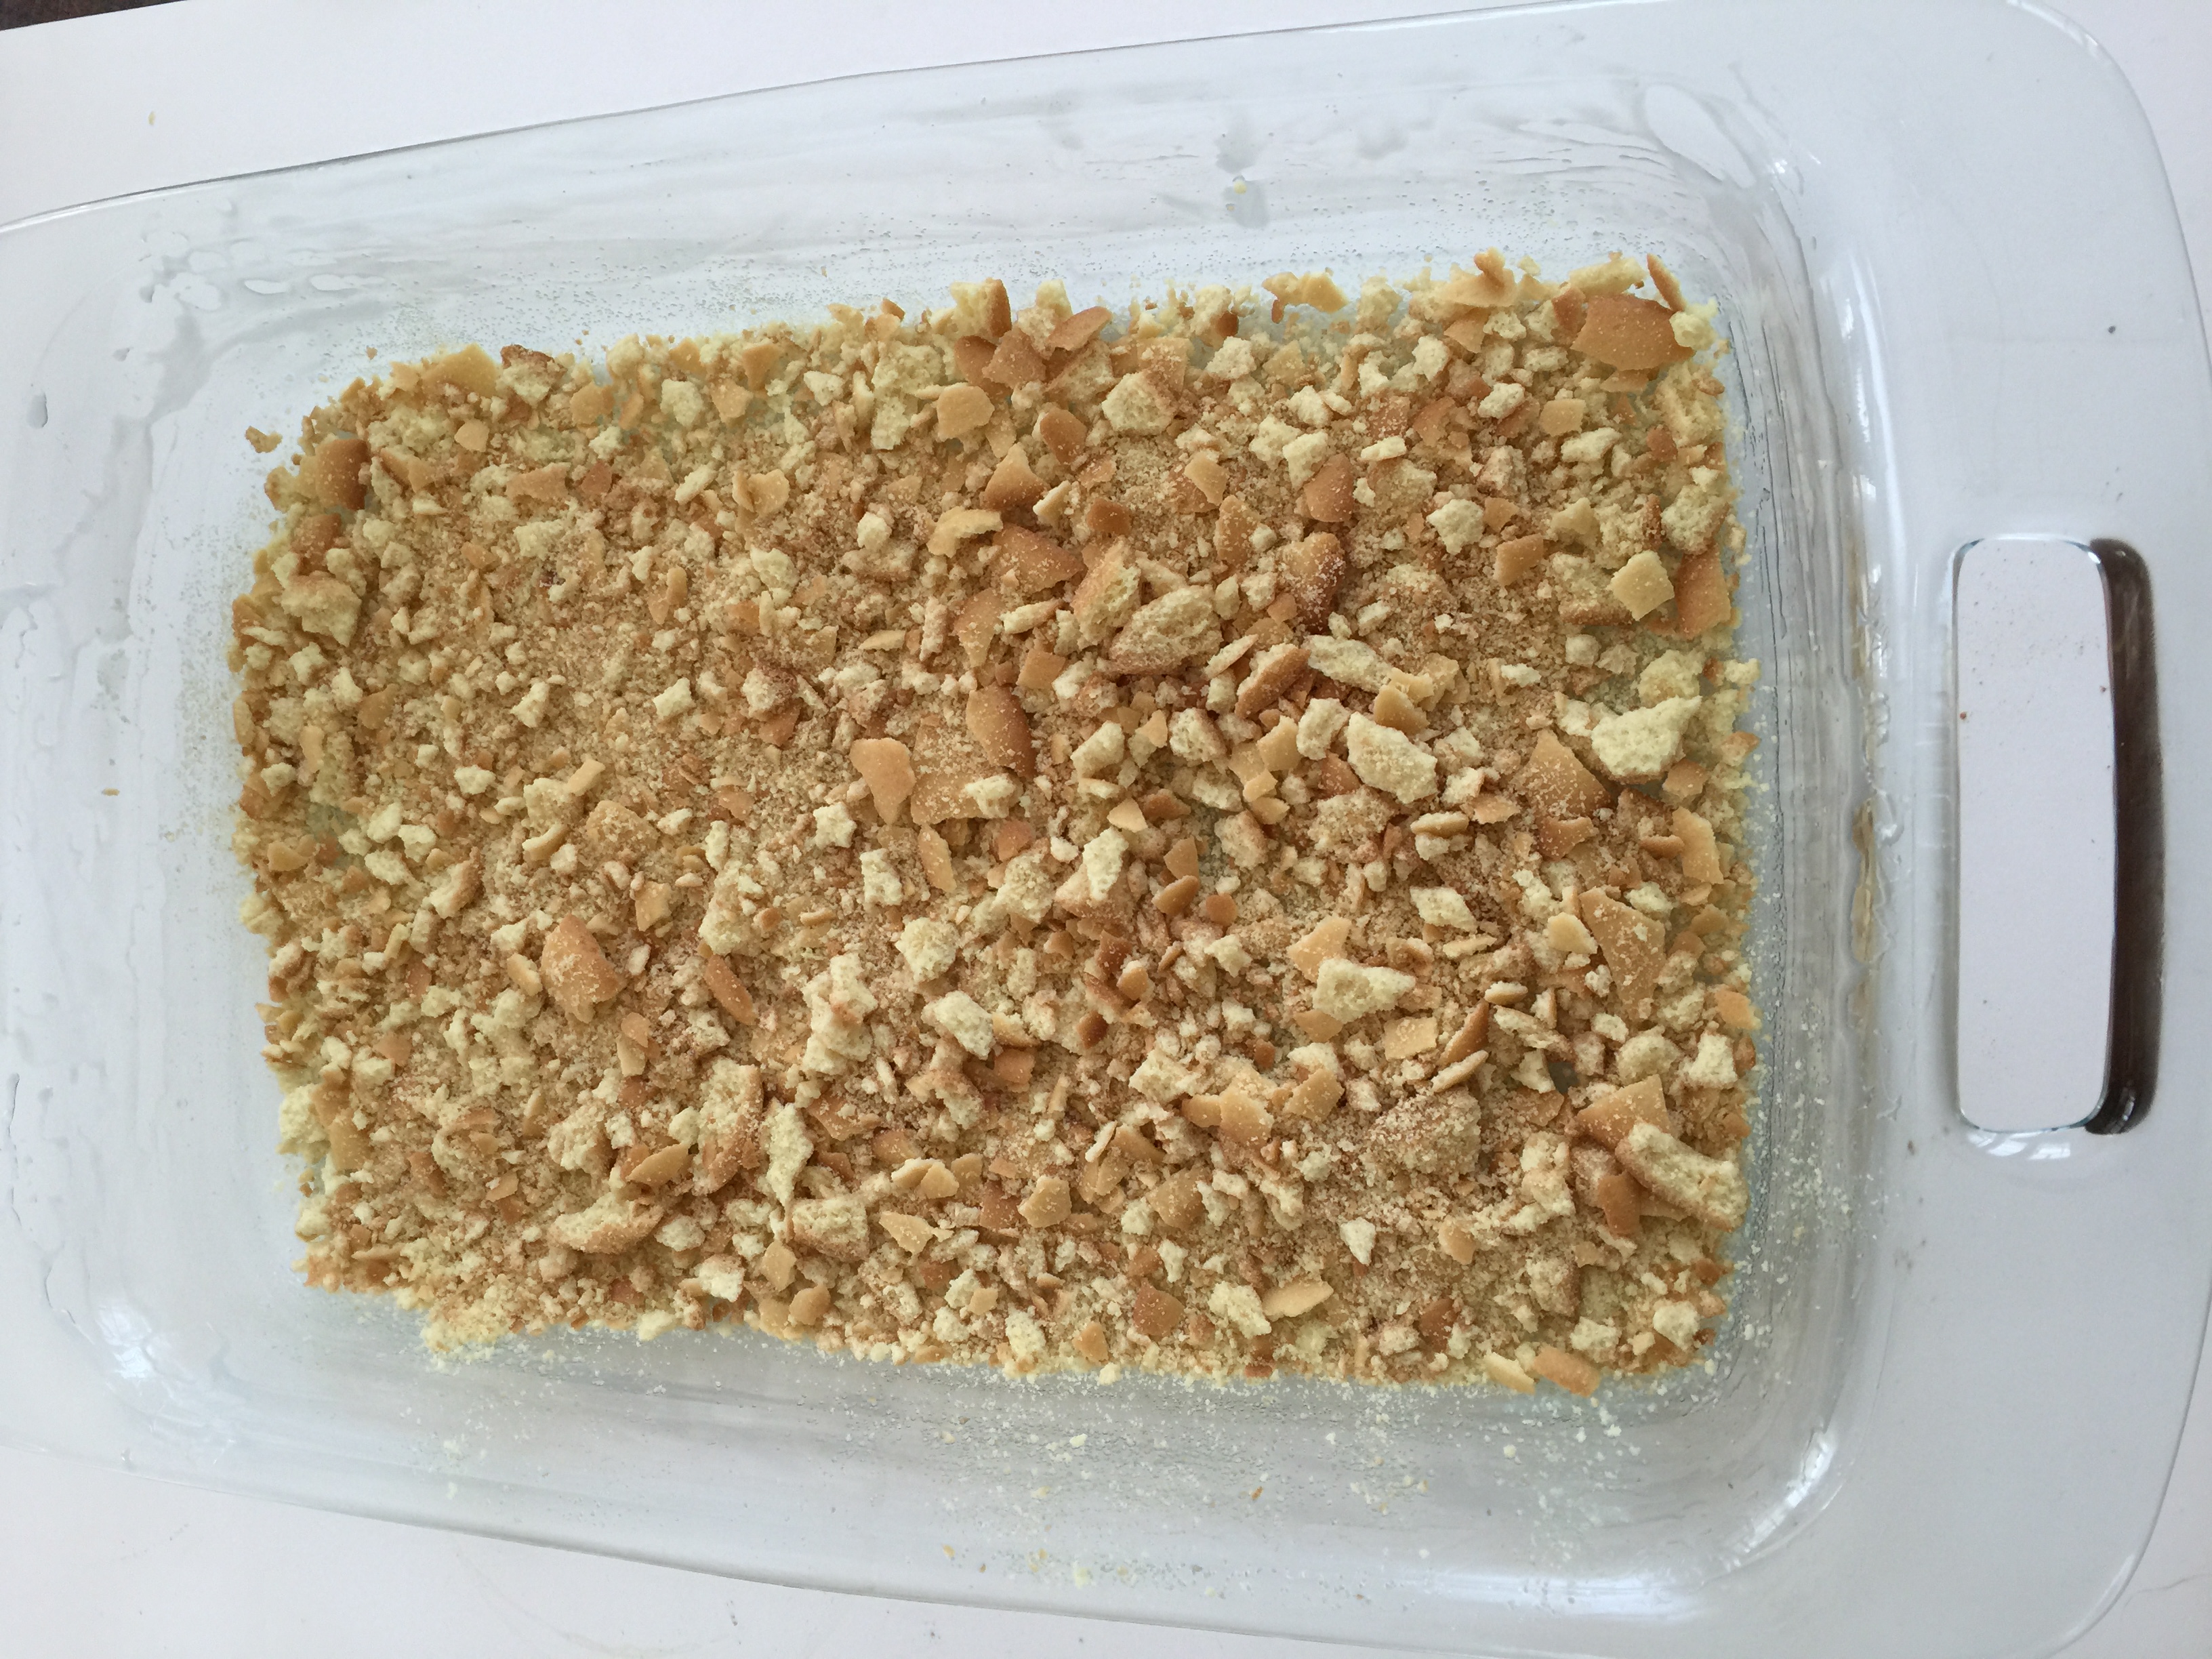
Best way to crush wafers or other crumb toppings? Toss them in a zip top bag and grab your rolling pin. This rolling pin I found in an antique store in Essex. I also love these neat-os bags instead of plastic ones. I’ve been reusing this gallon storage bag for well over a year.
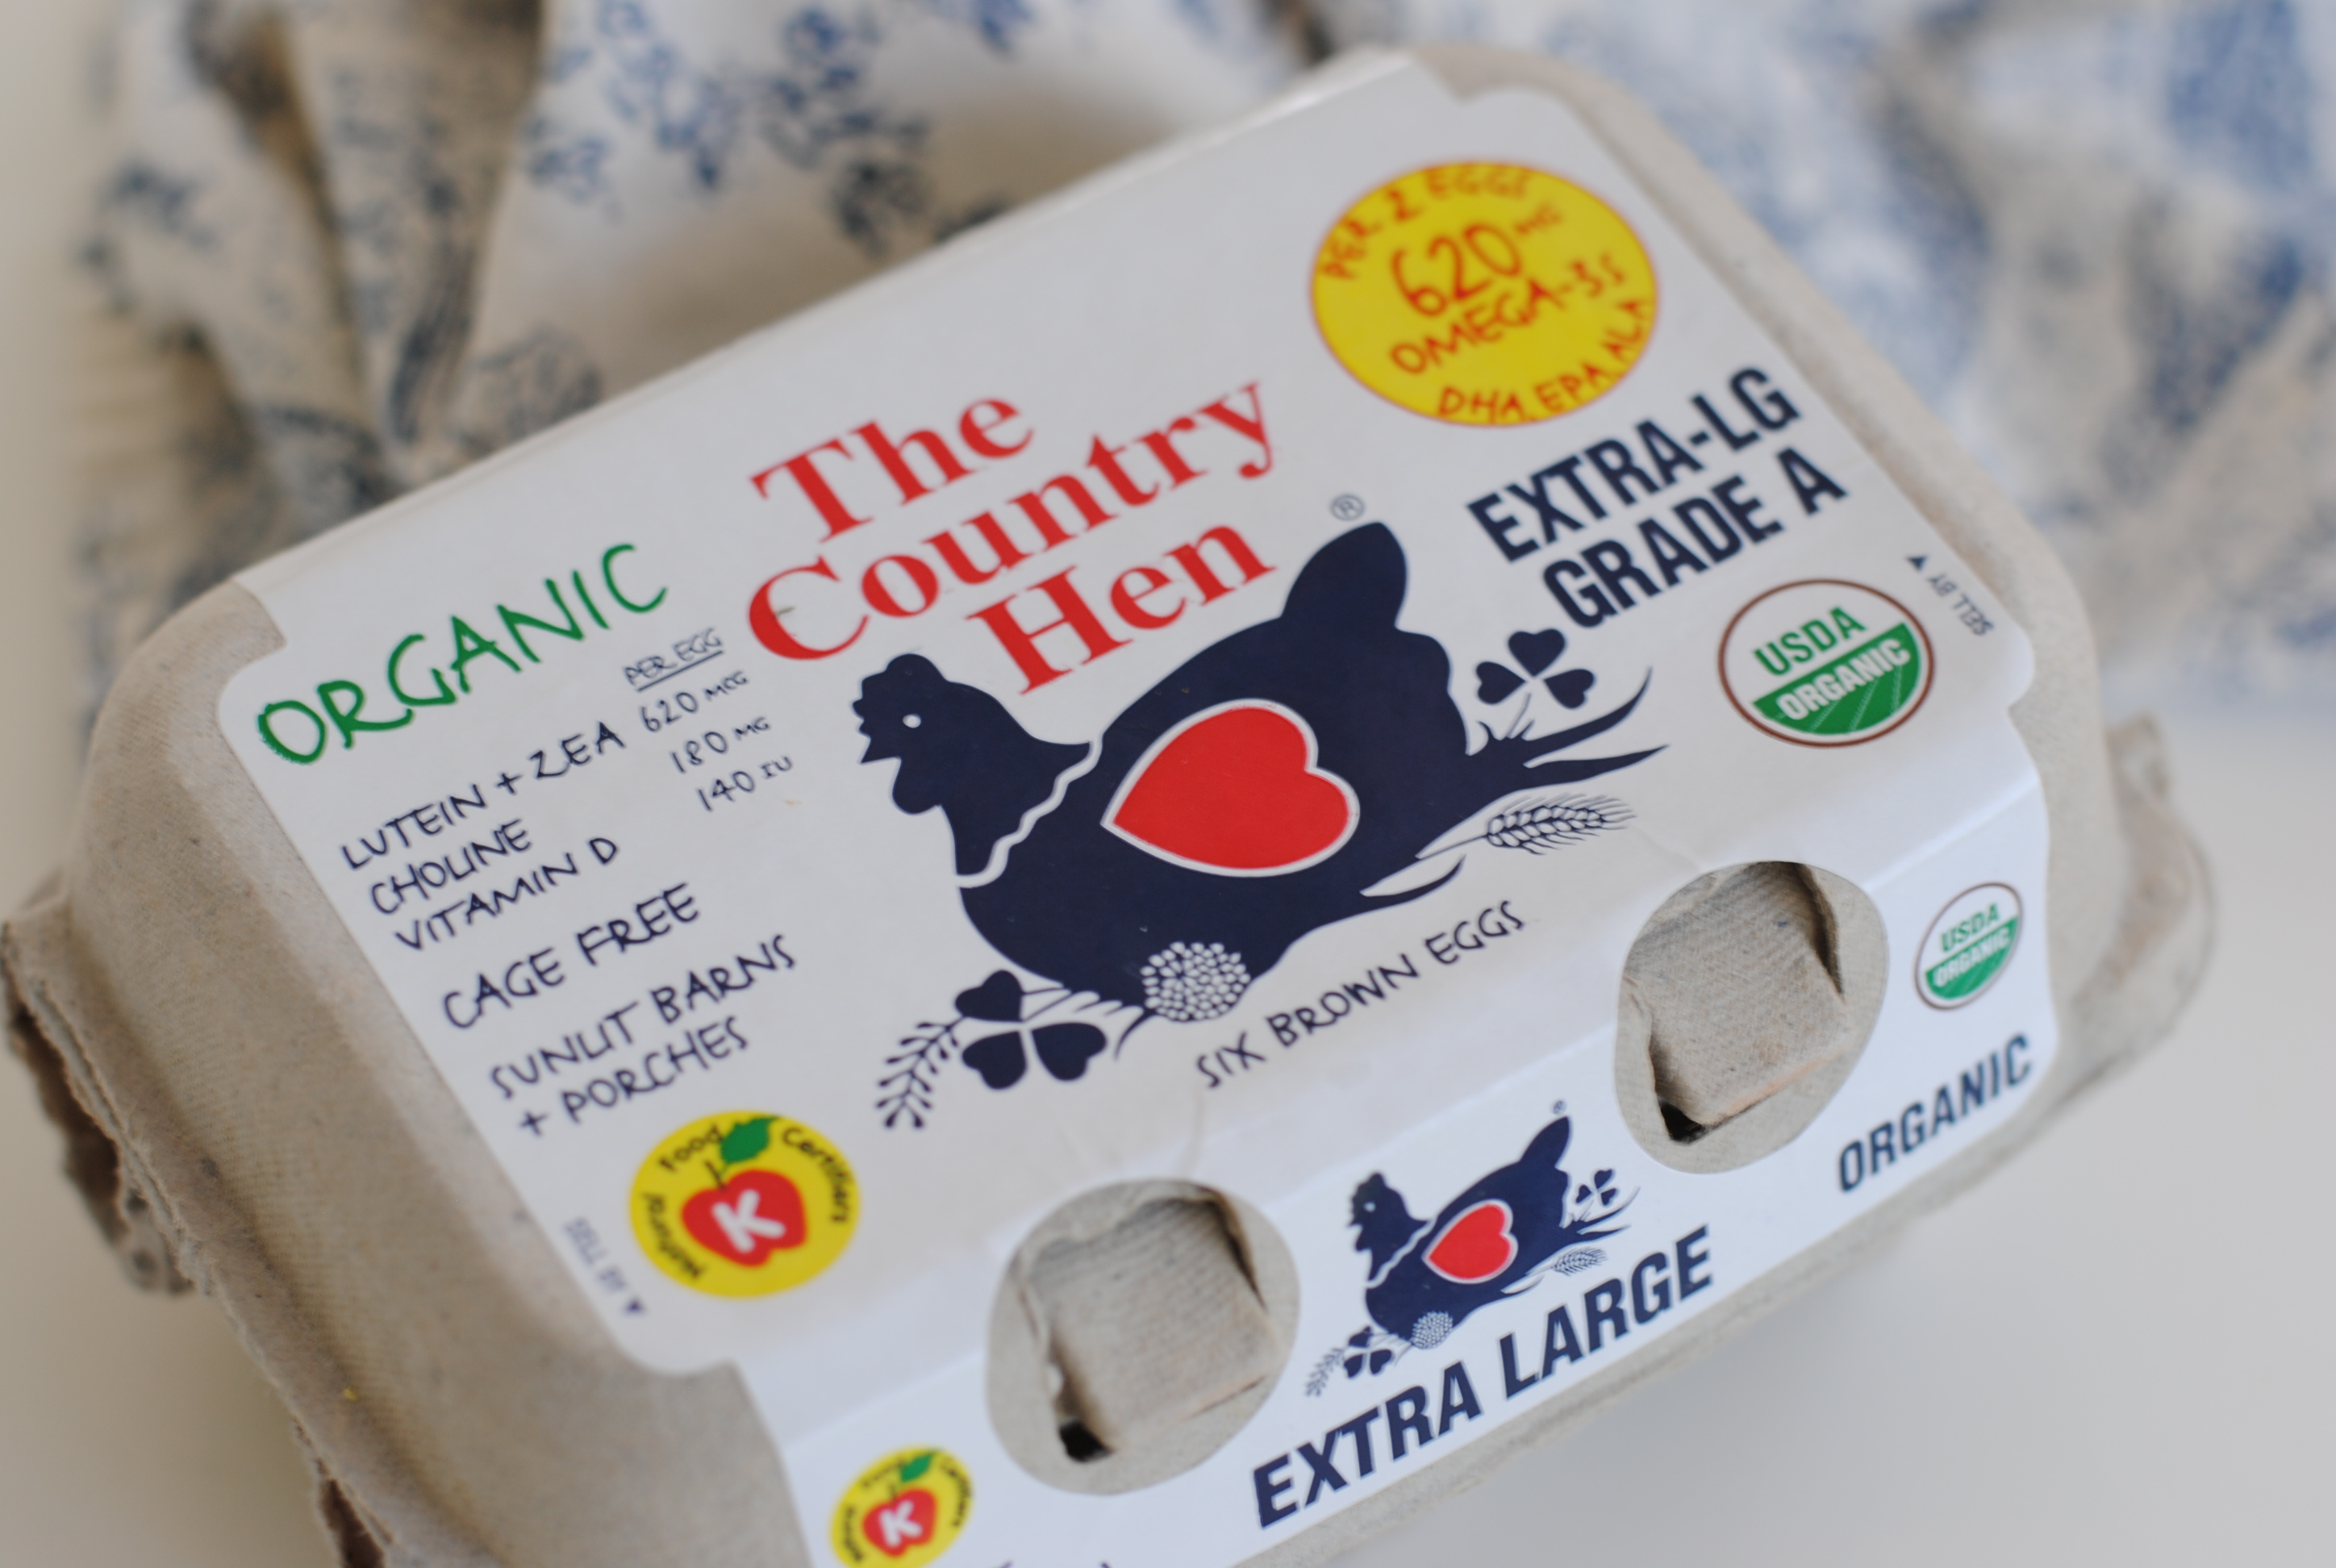
This recipe is a no-bake recipe. Super easy, but it also contains eggs. Choose wisely.
I grease my pans with coconut oil. You can also use butter, coconut oil spray, or ghee.
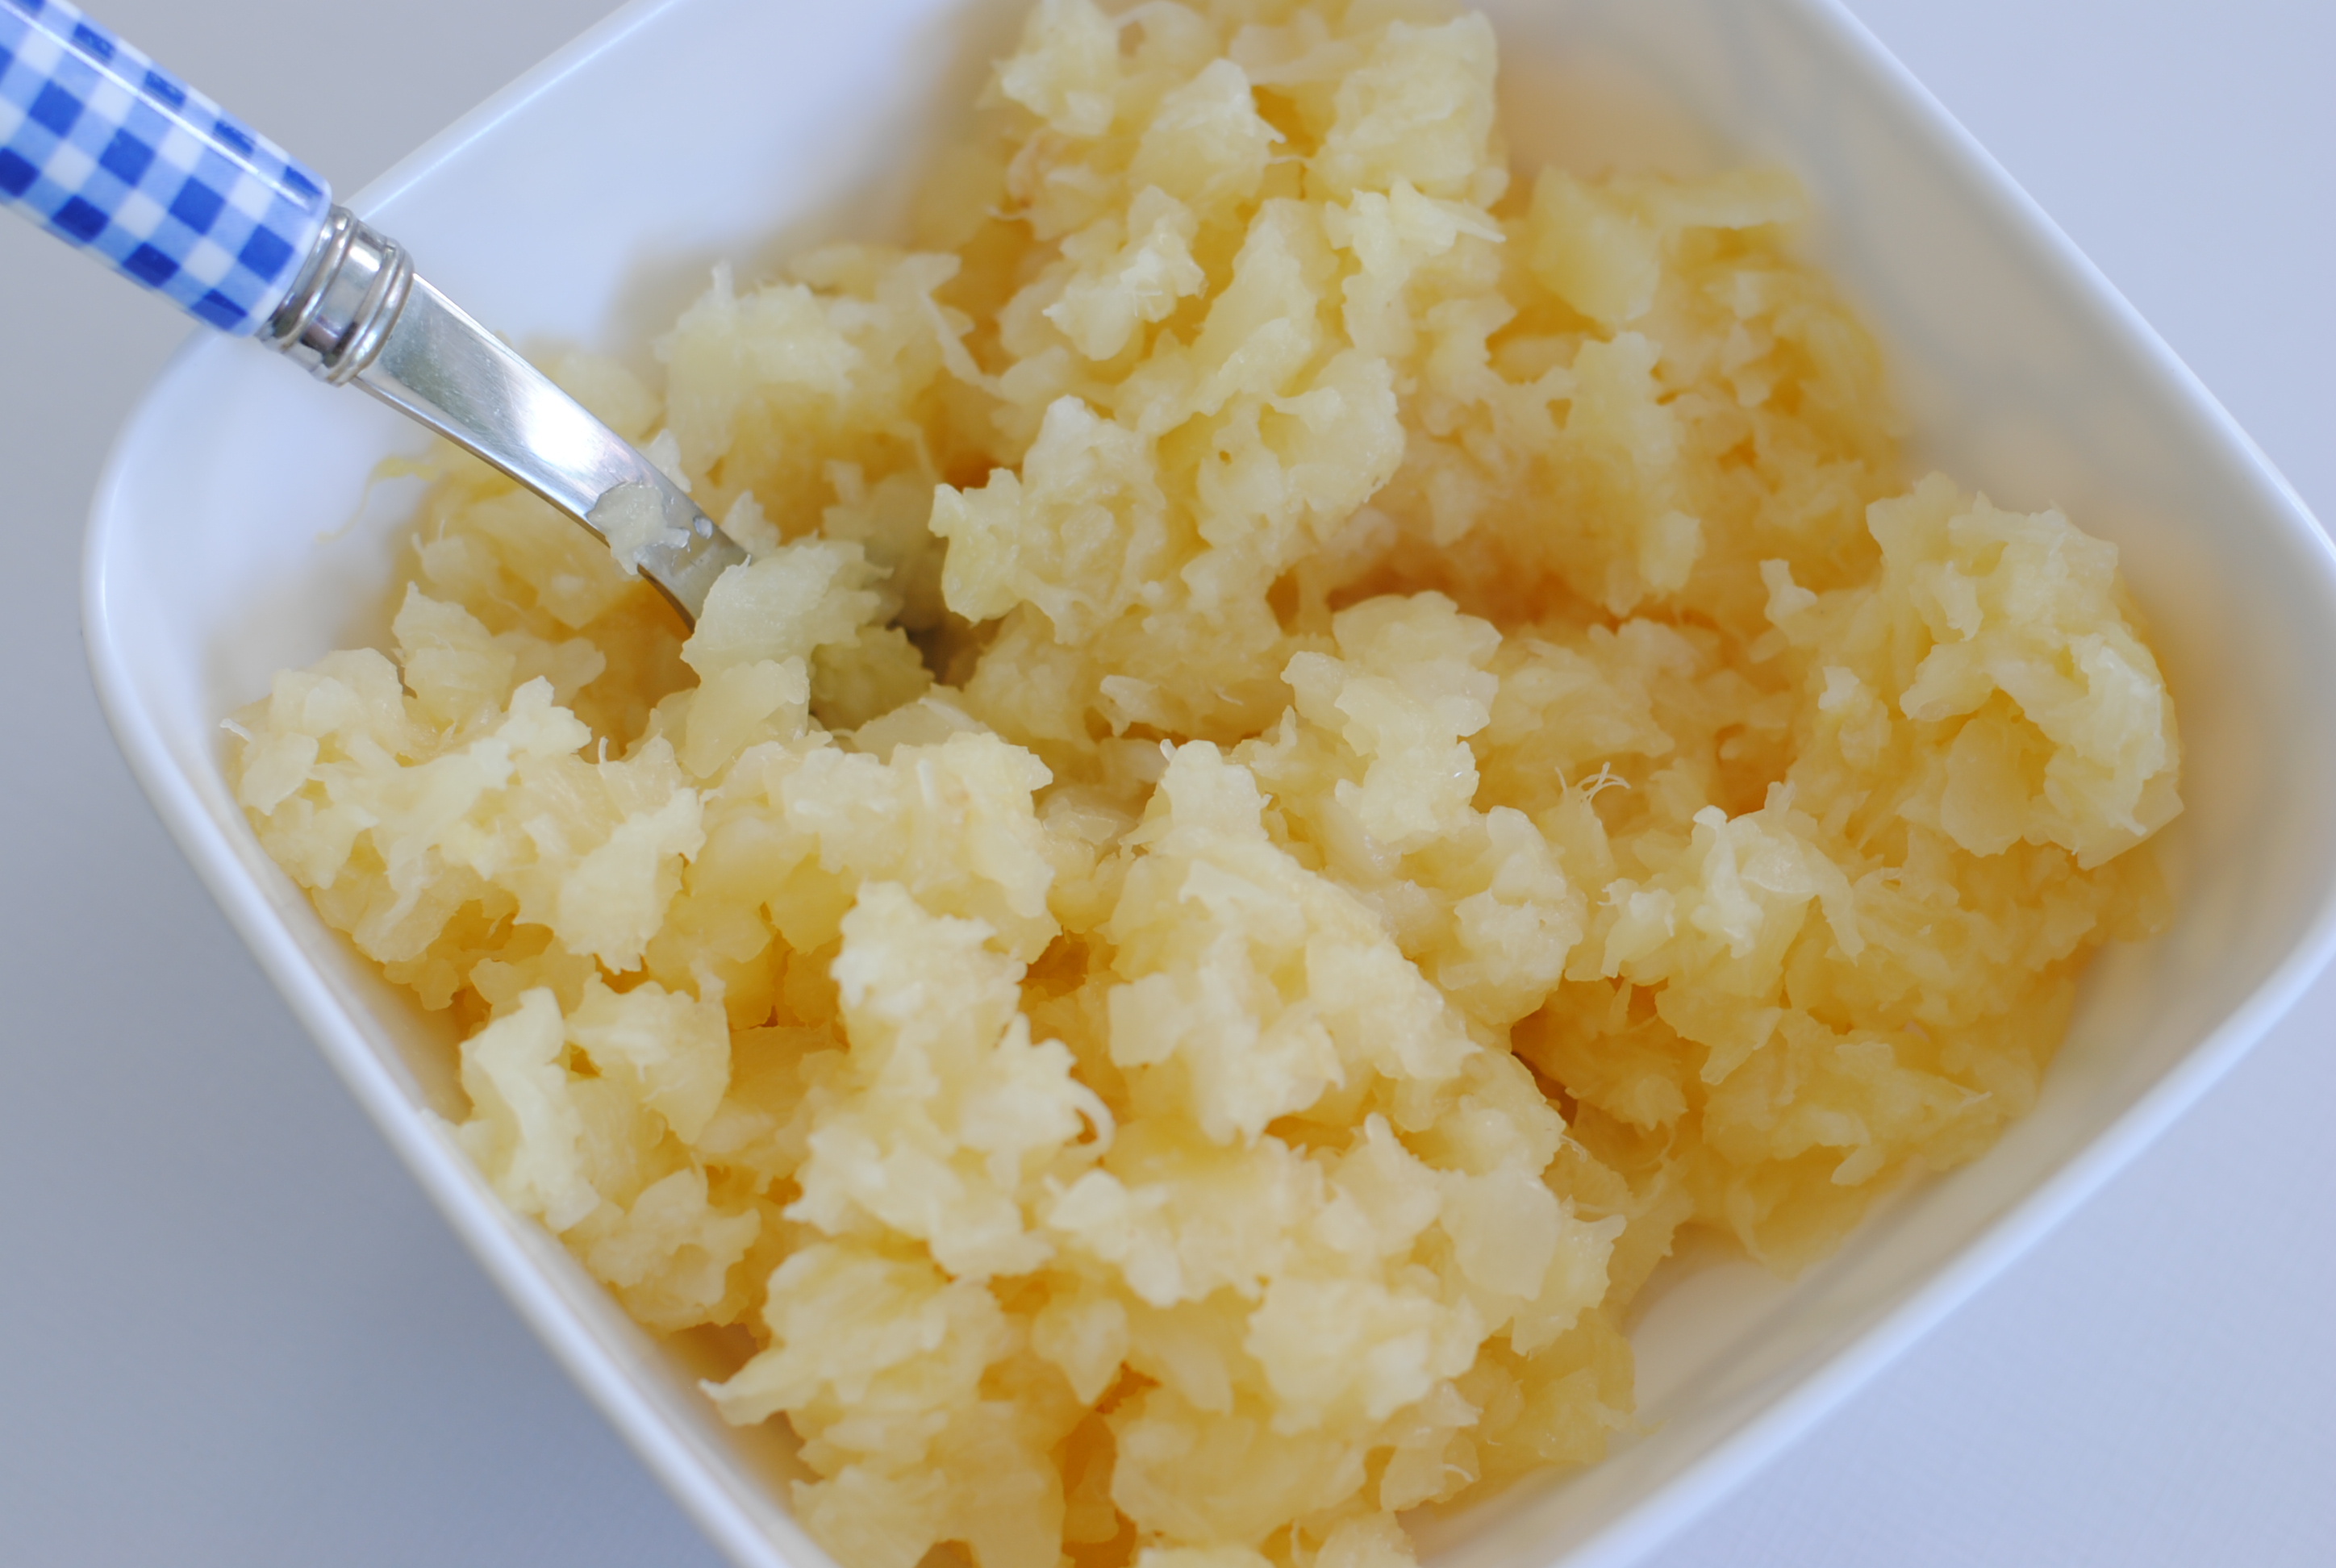
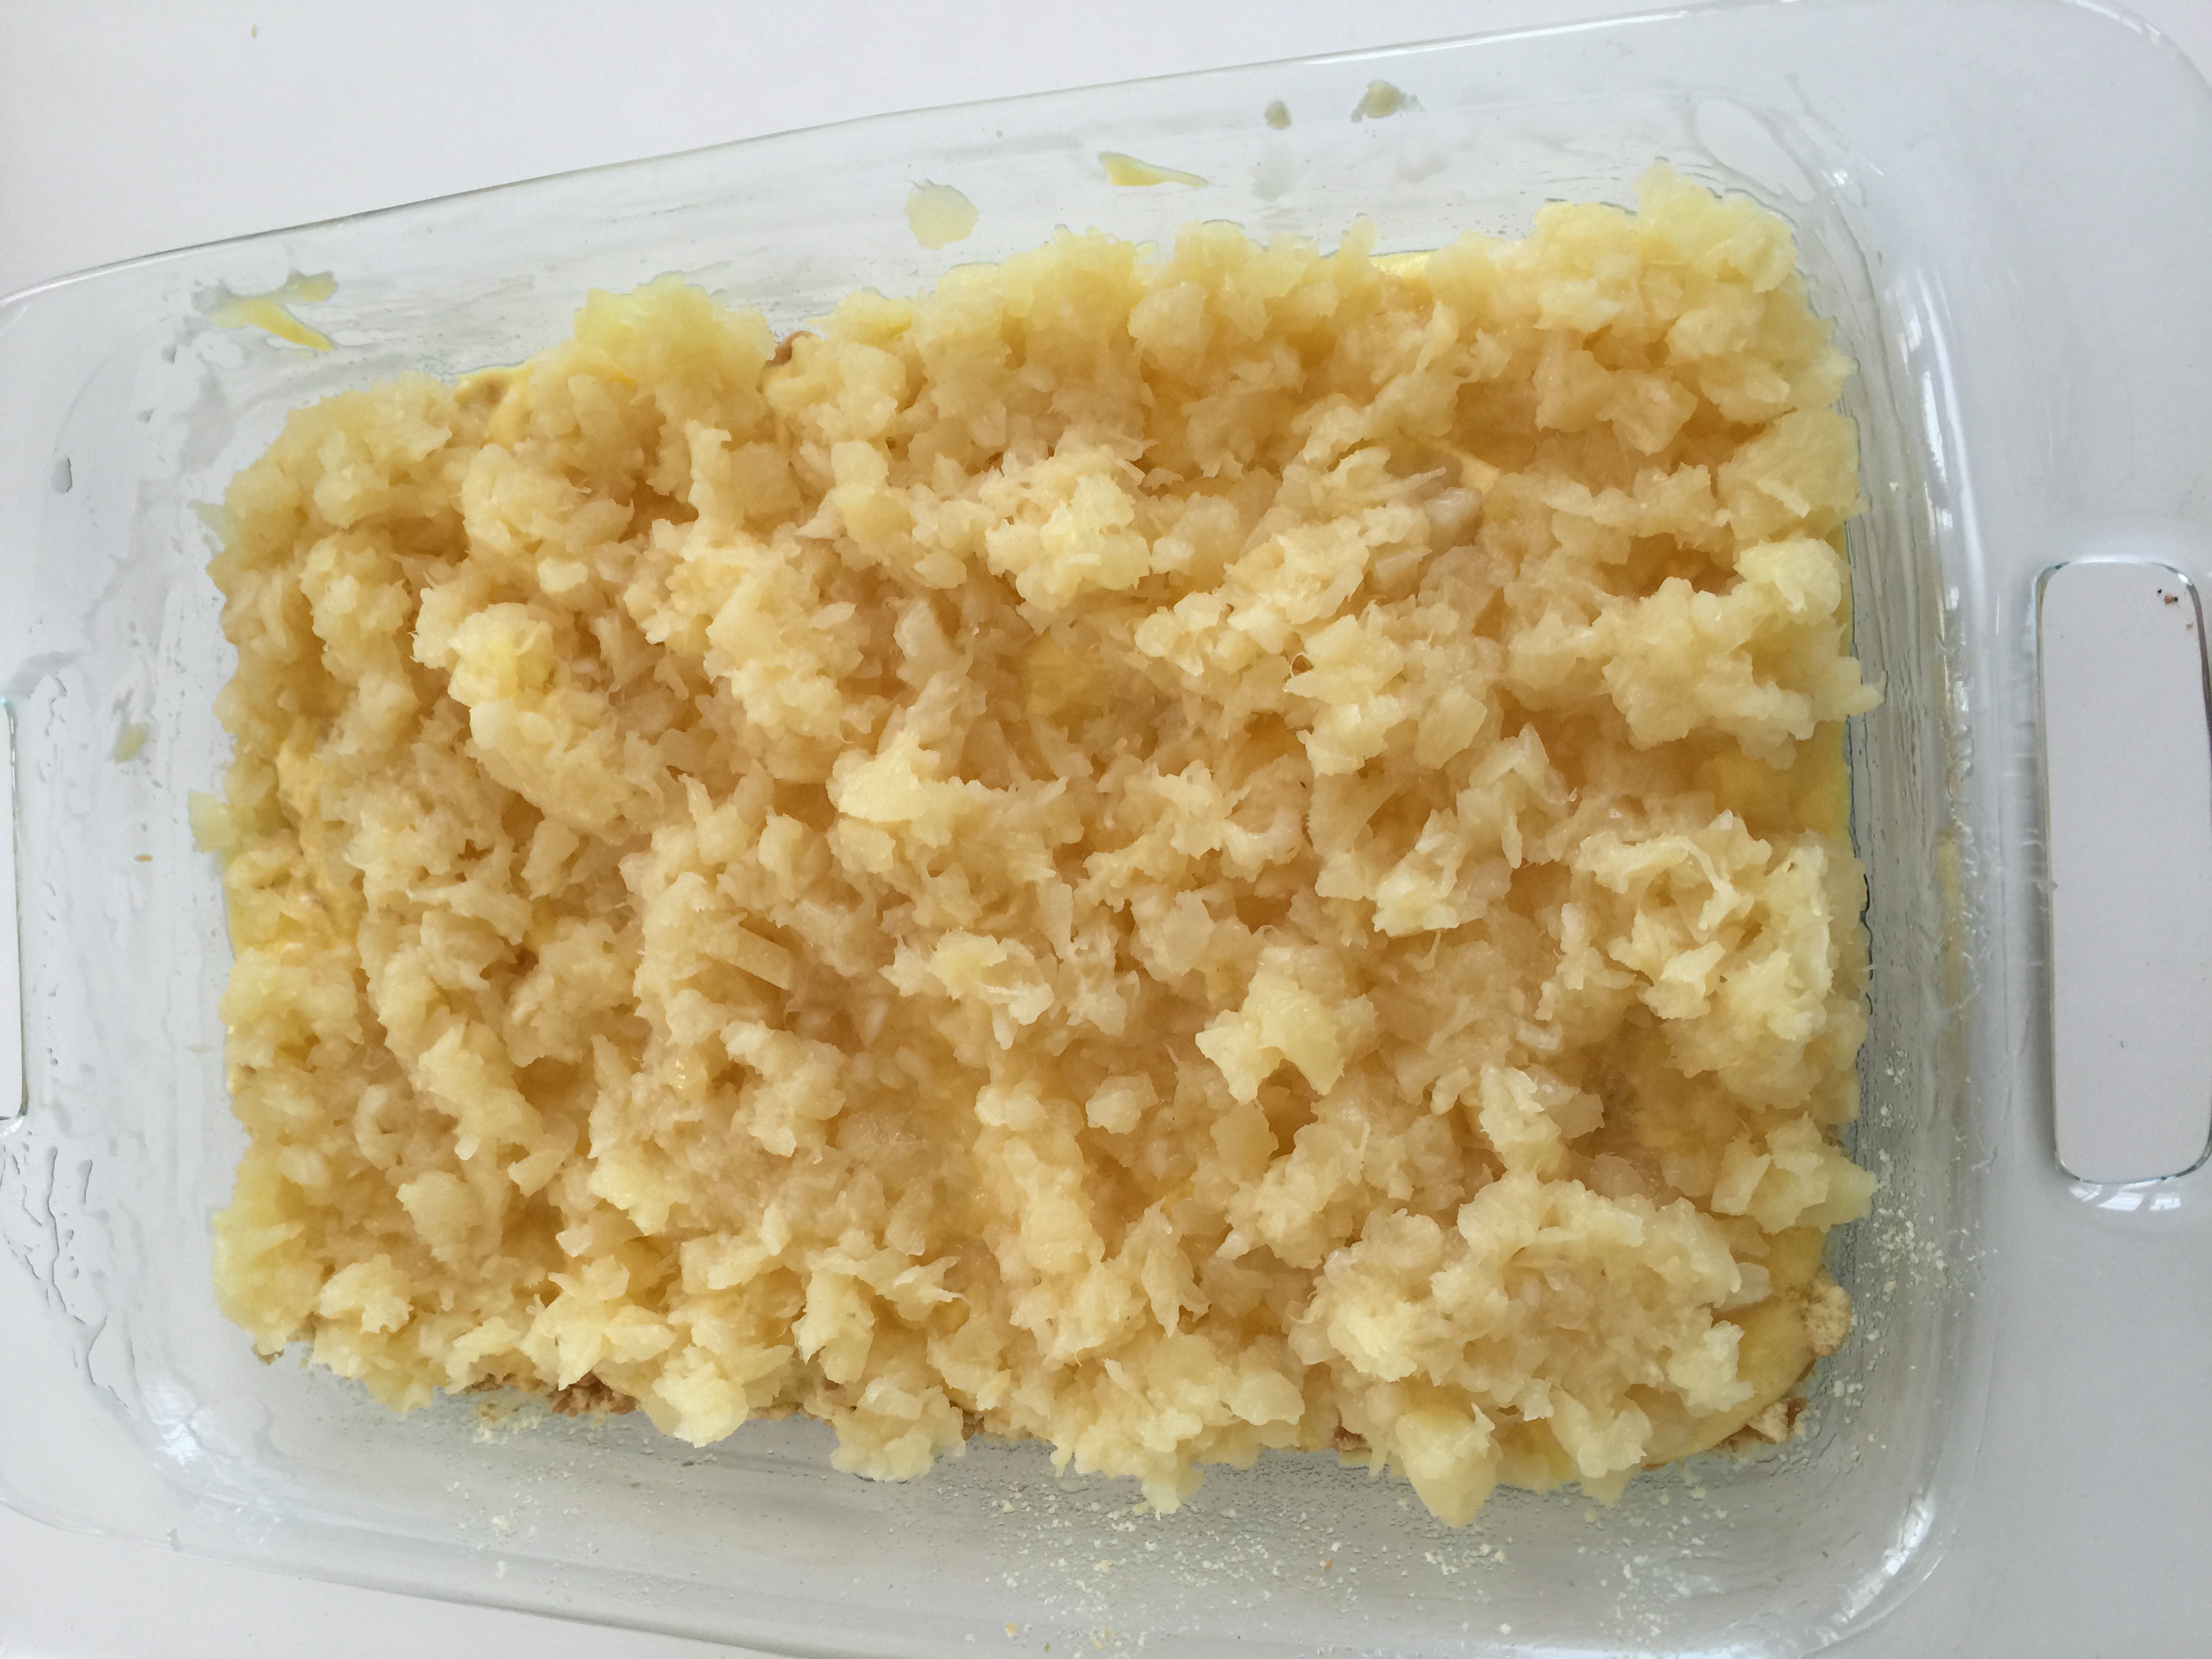
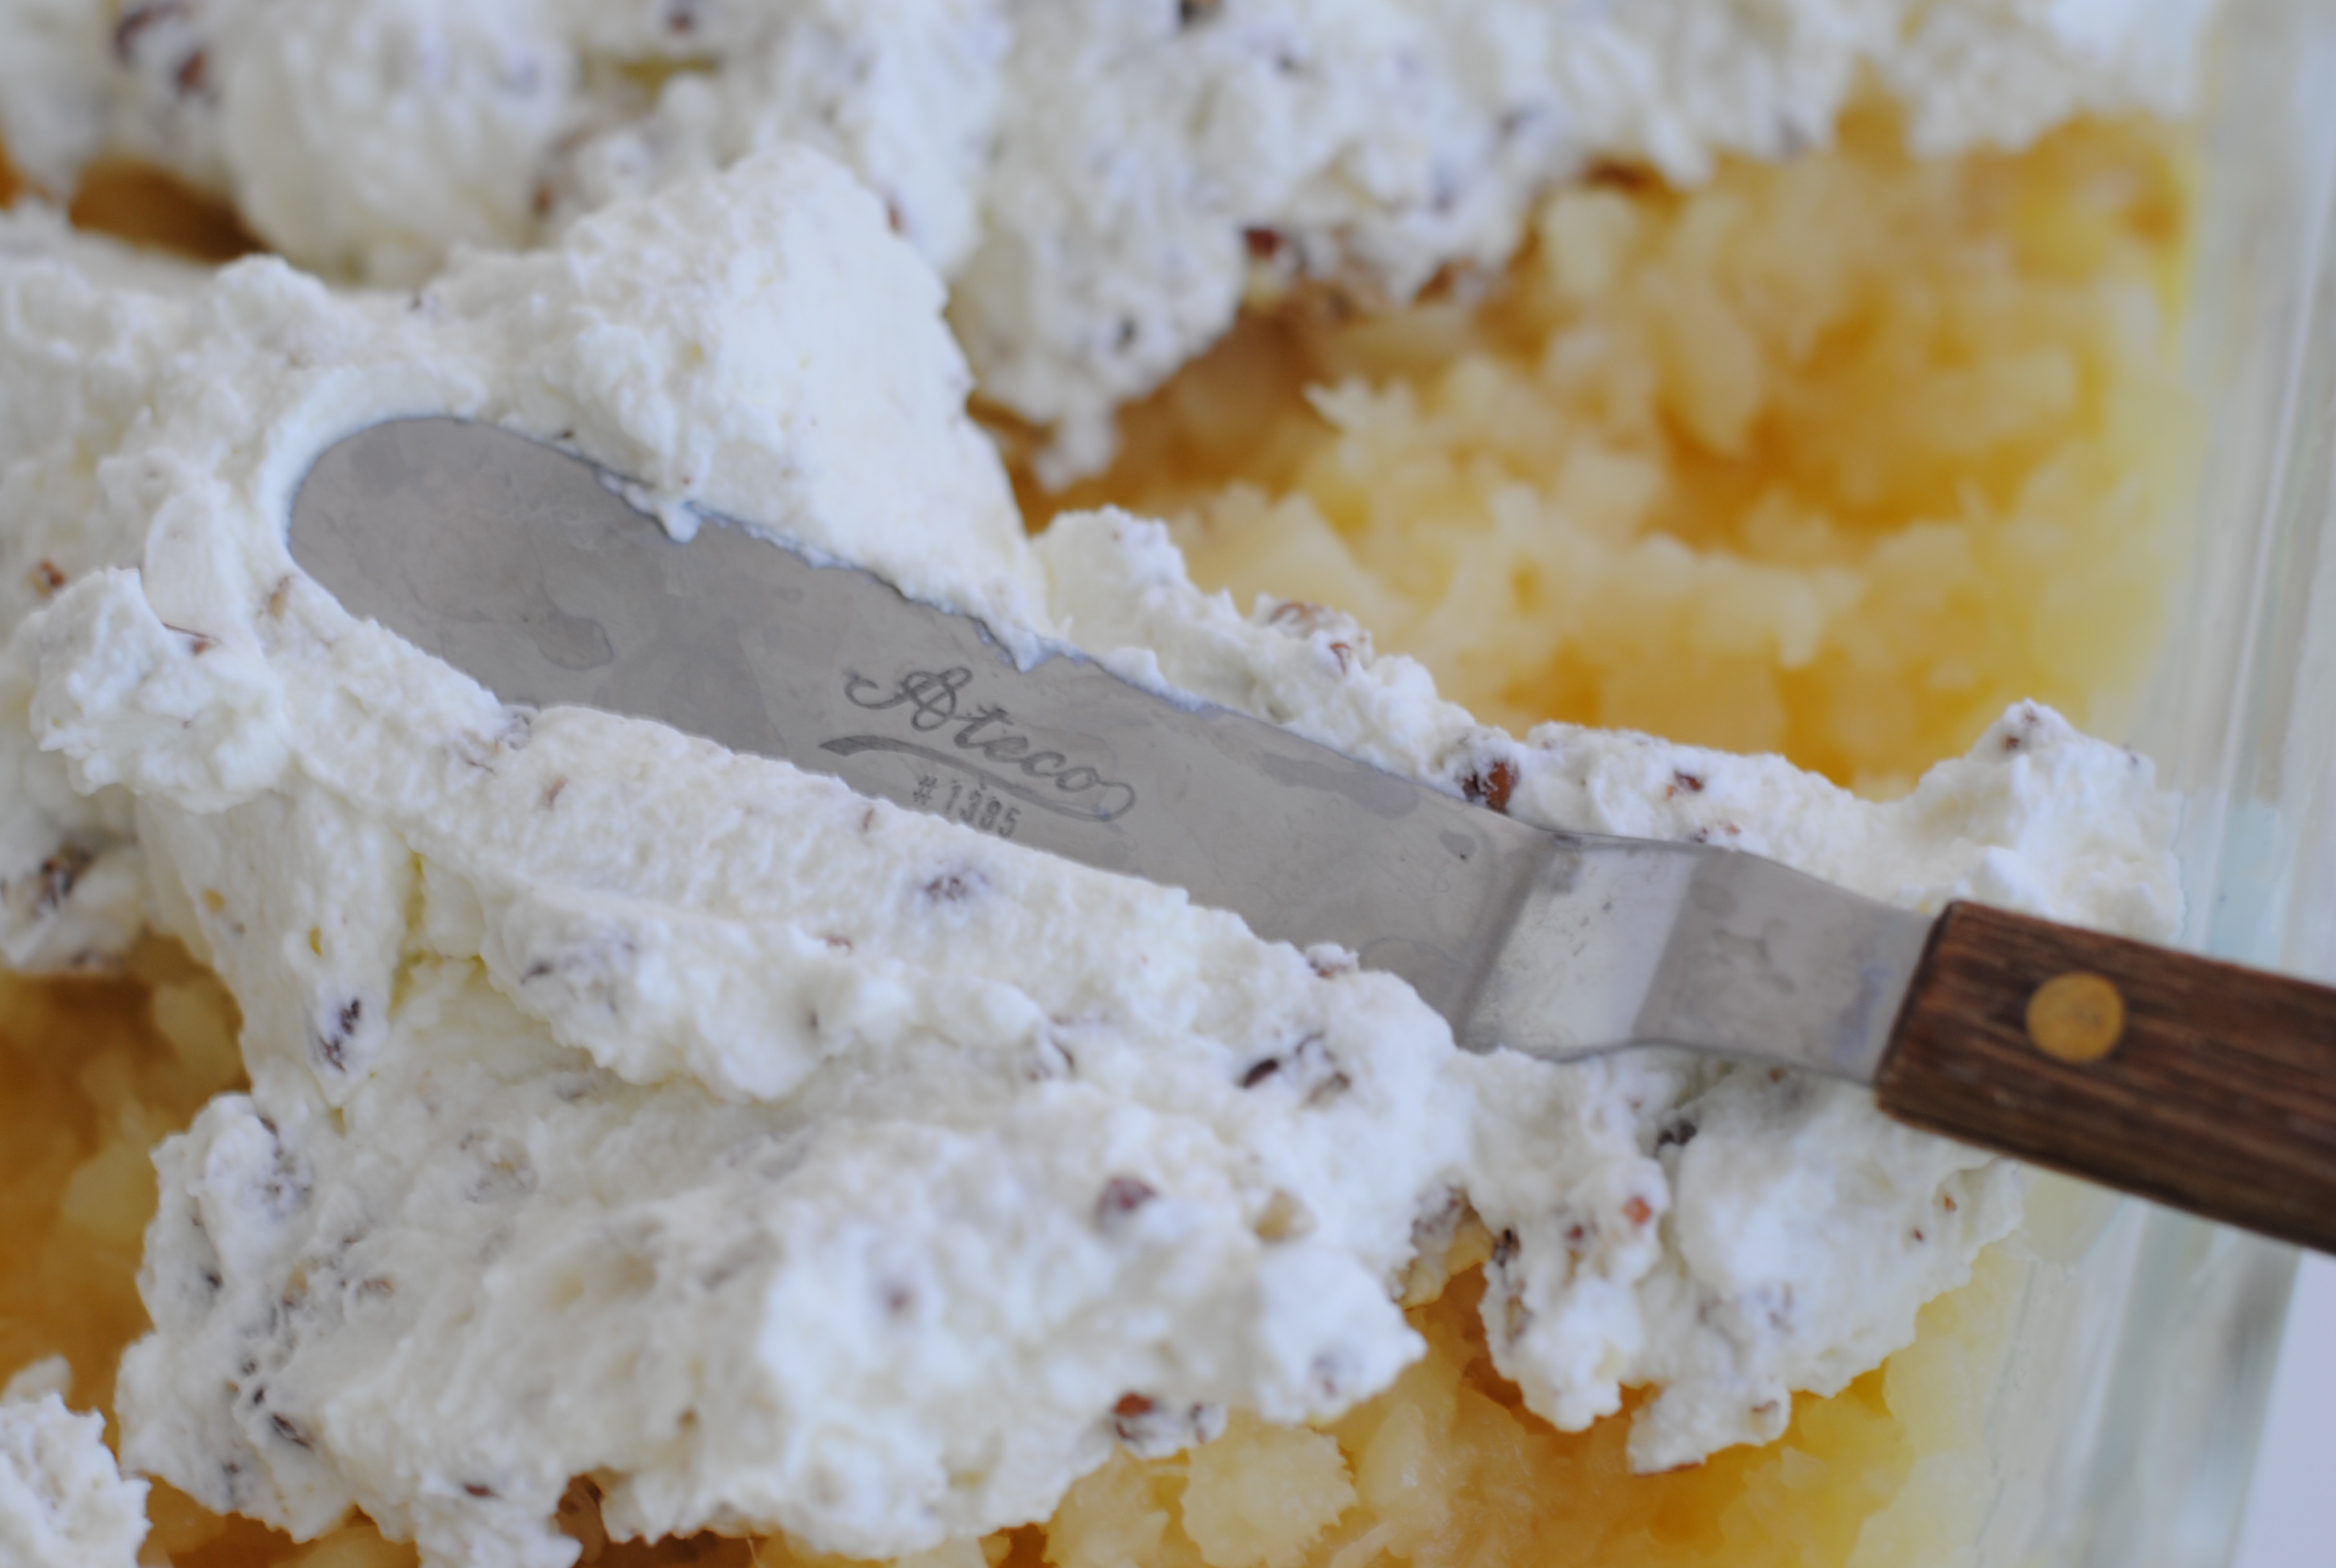
I just love pineapple. Maybe this is why this recipe has stuck in my mind for so many years.
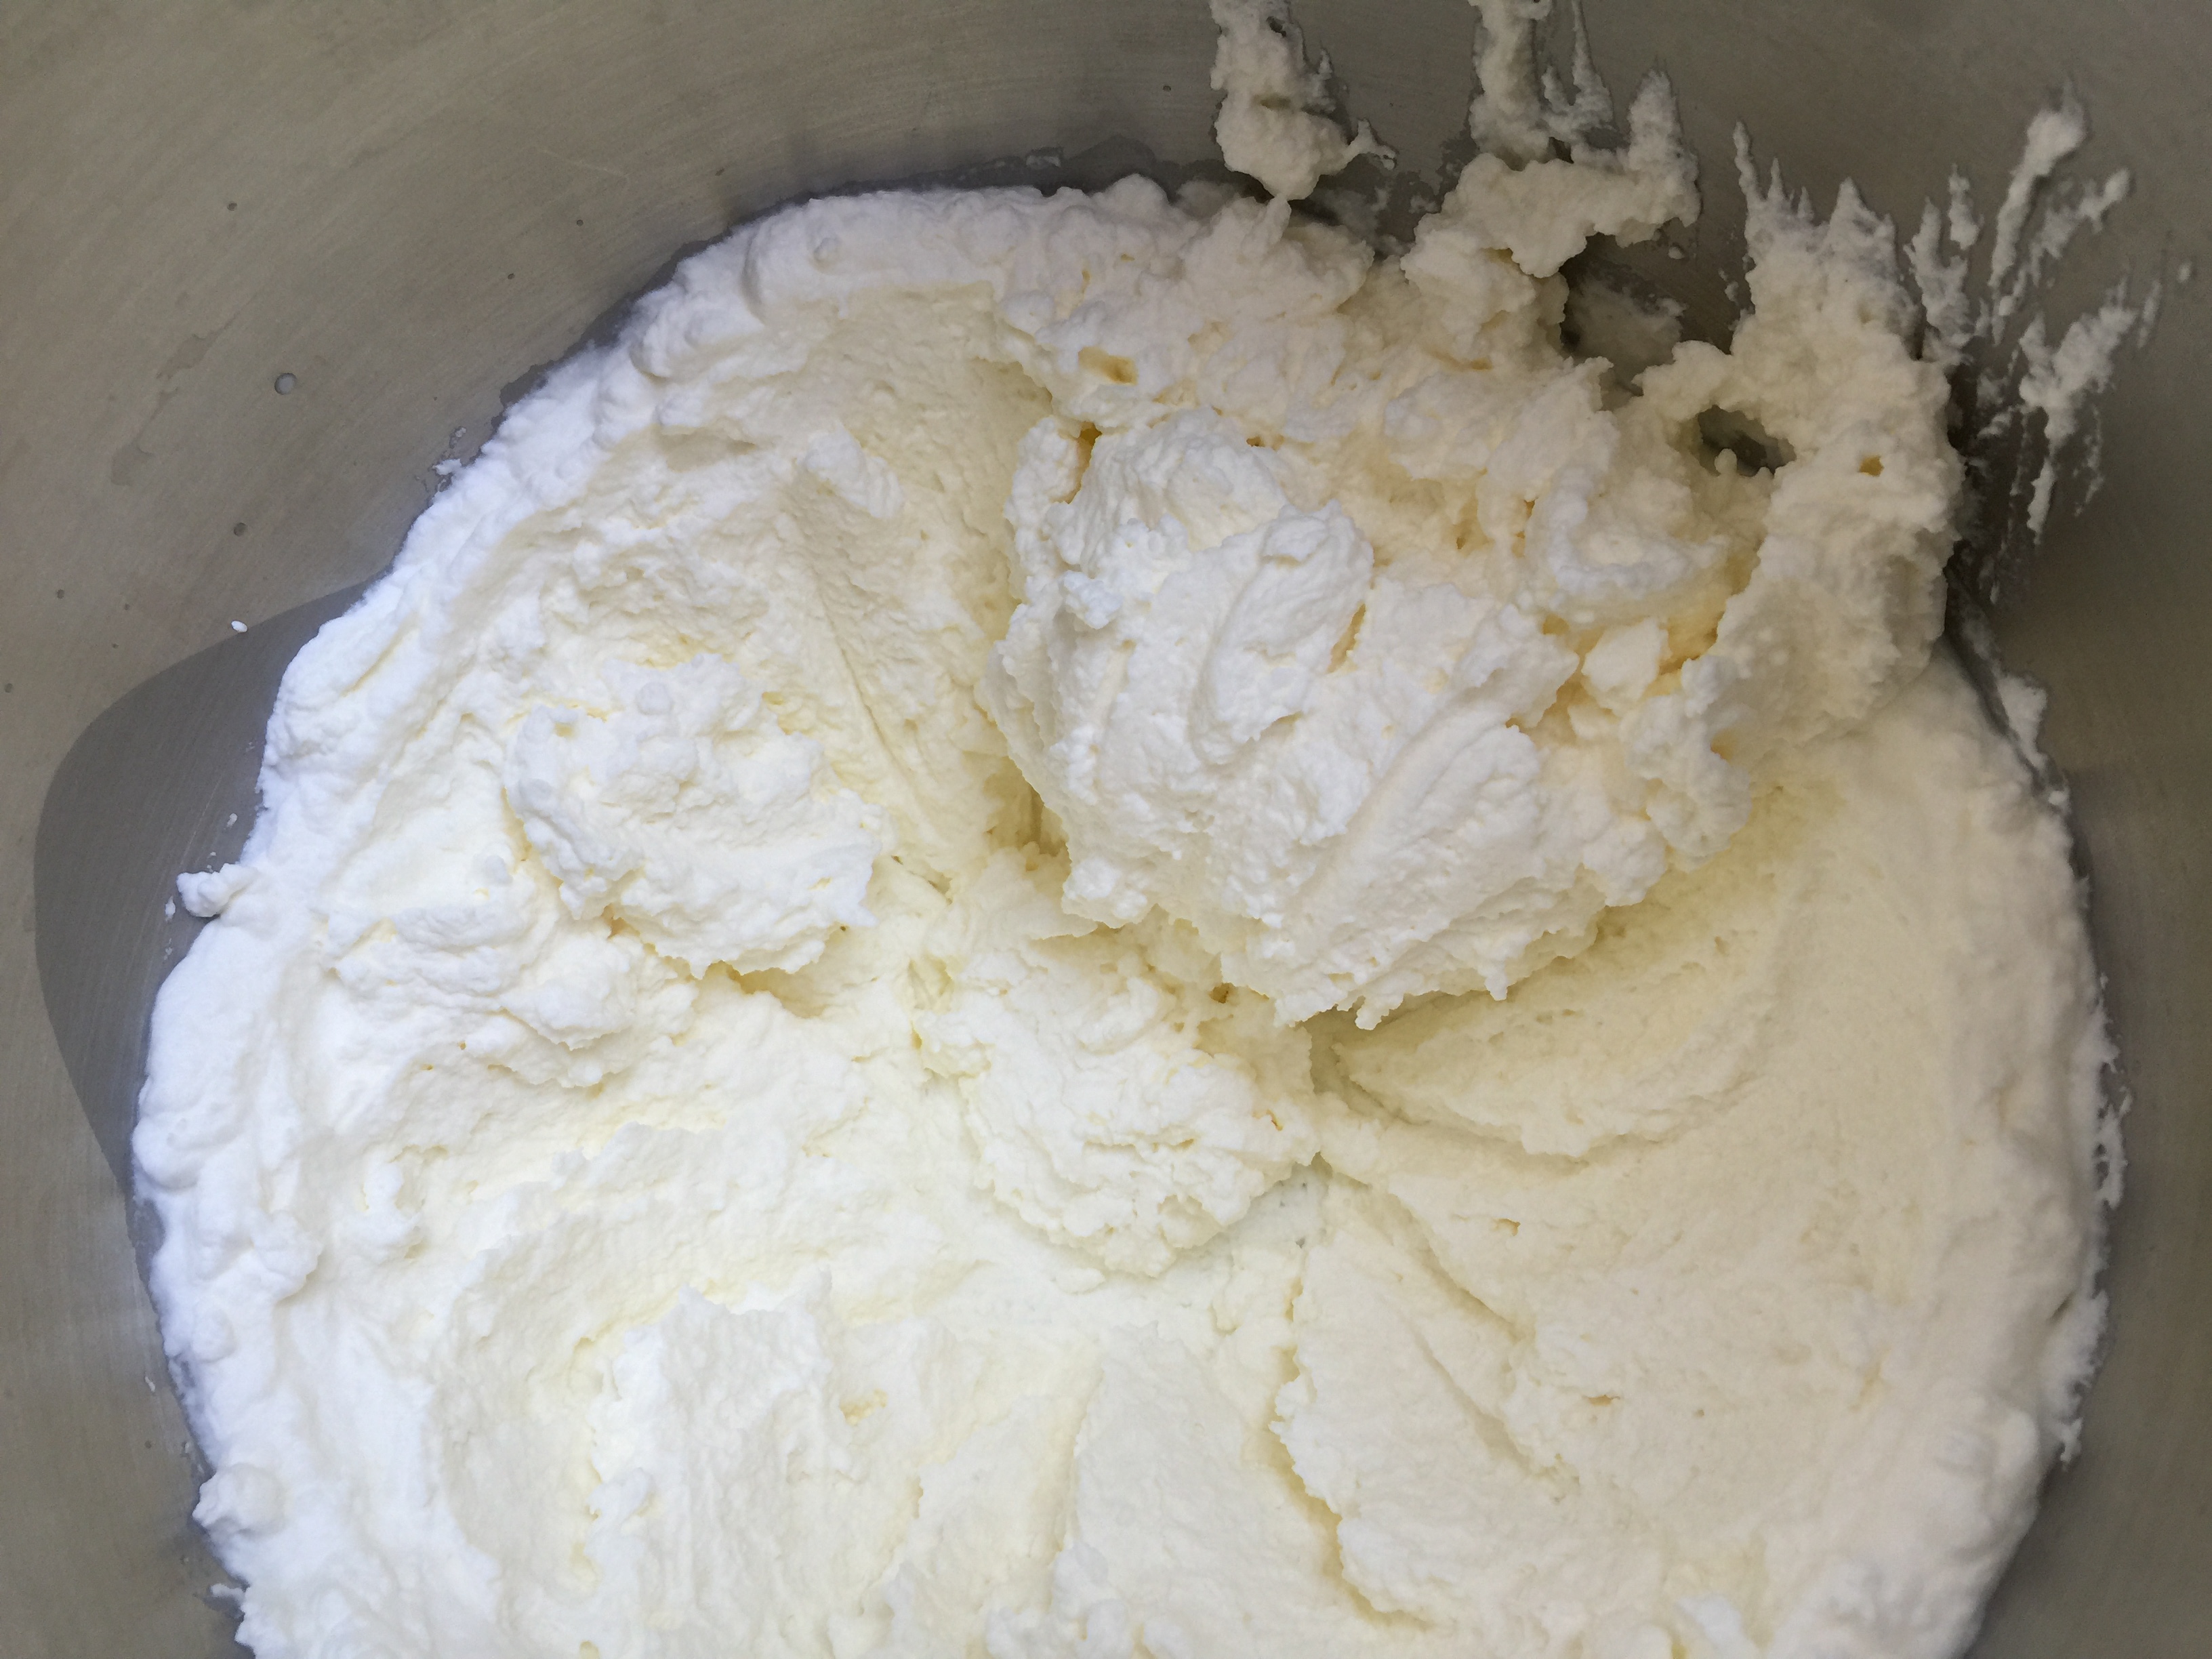
Whipped cream really is easy, if you have the time. Plan on letting it whip for no less than 5 minutes to get it stiff.
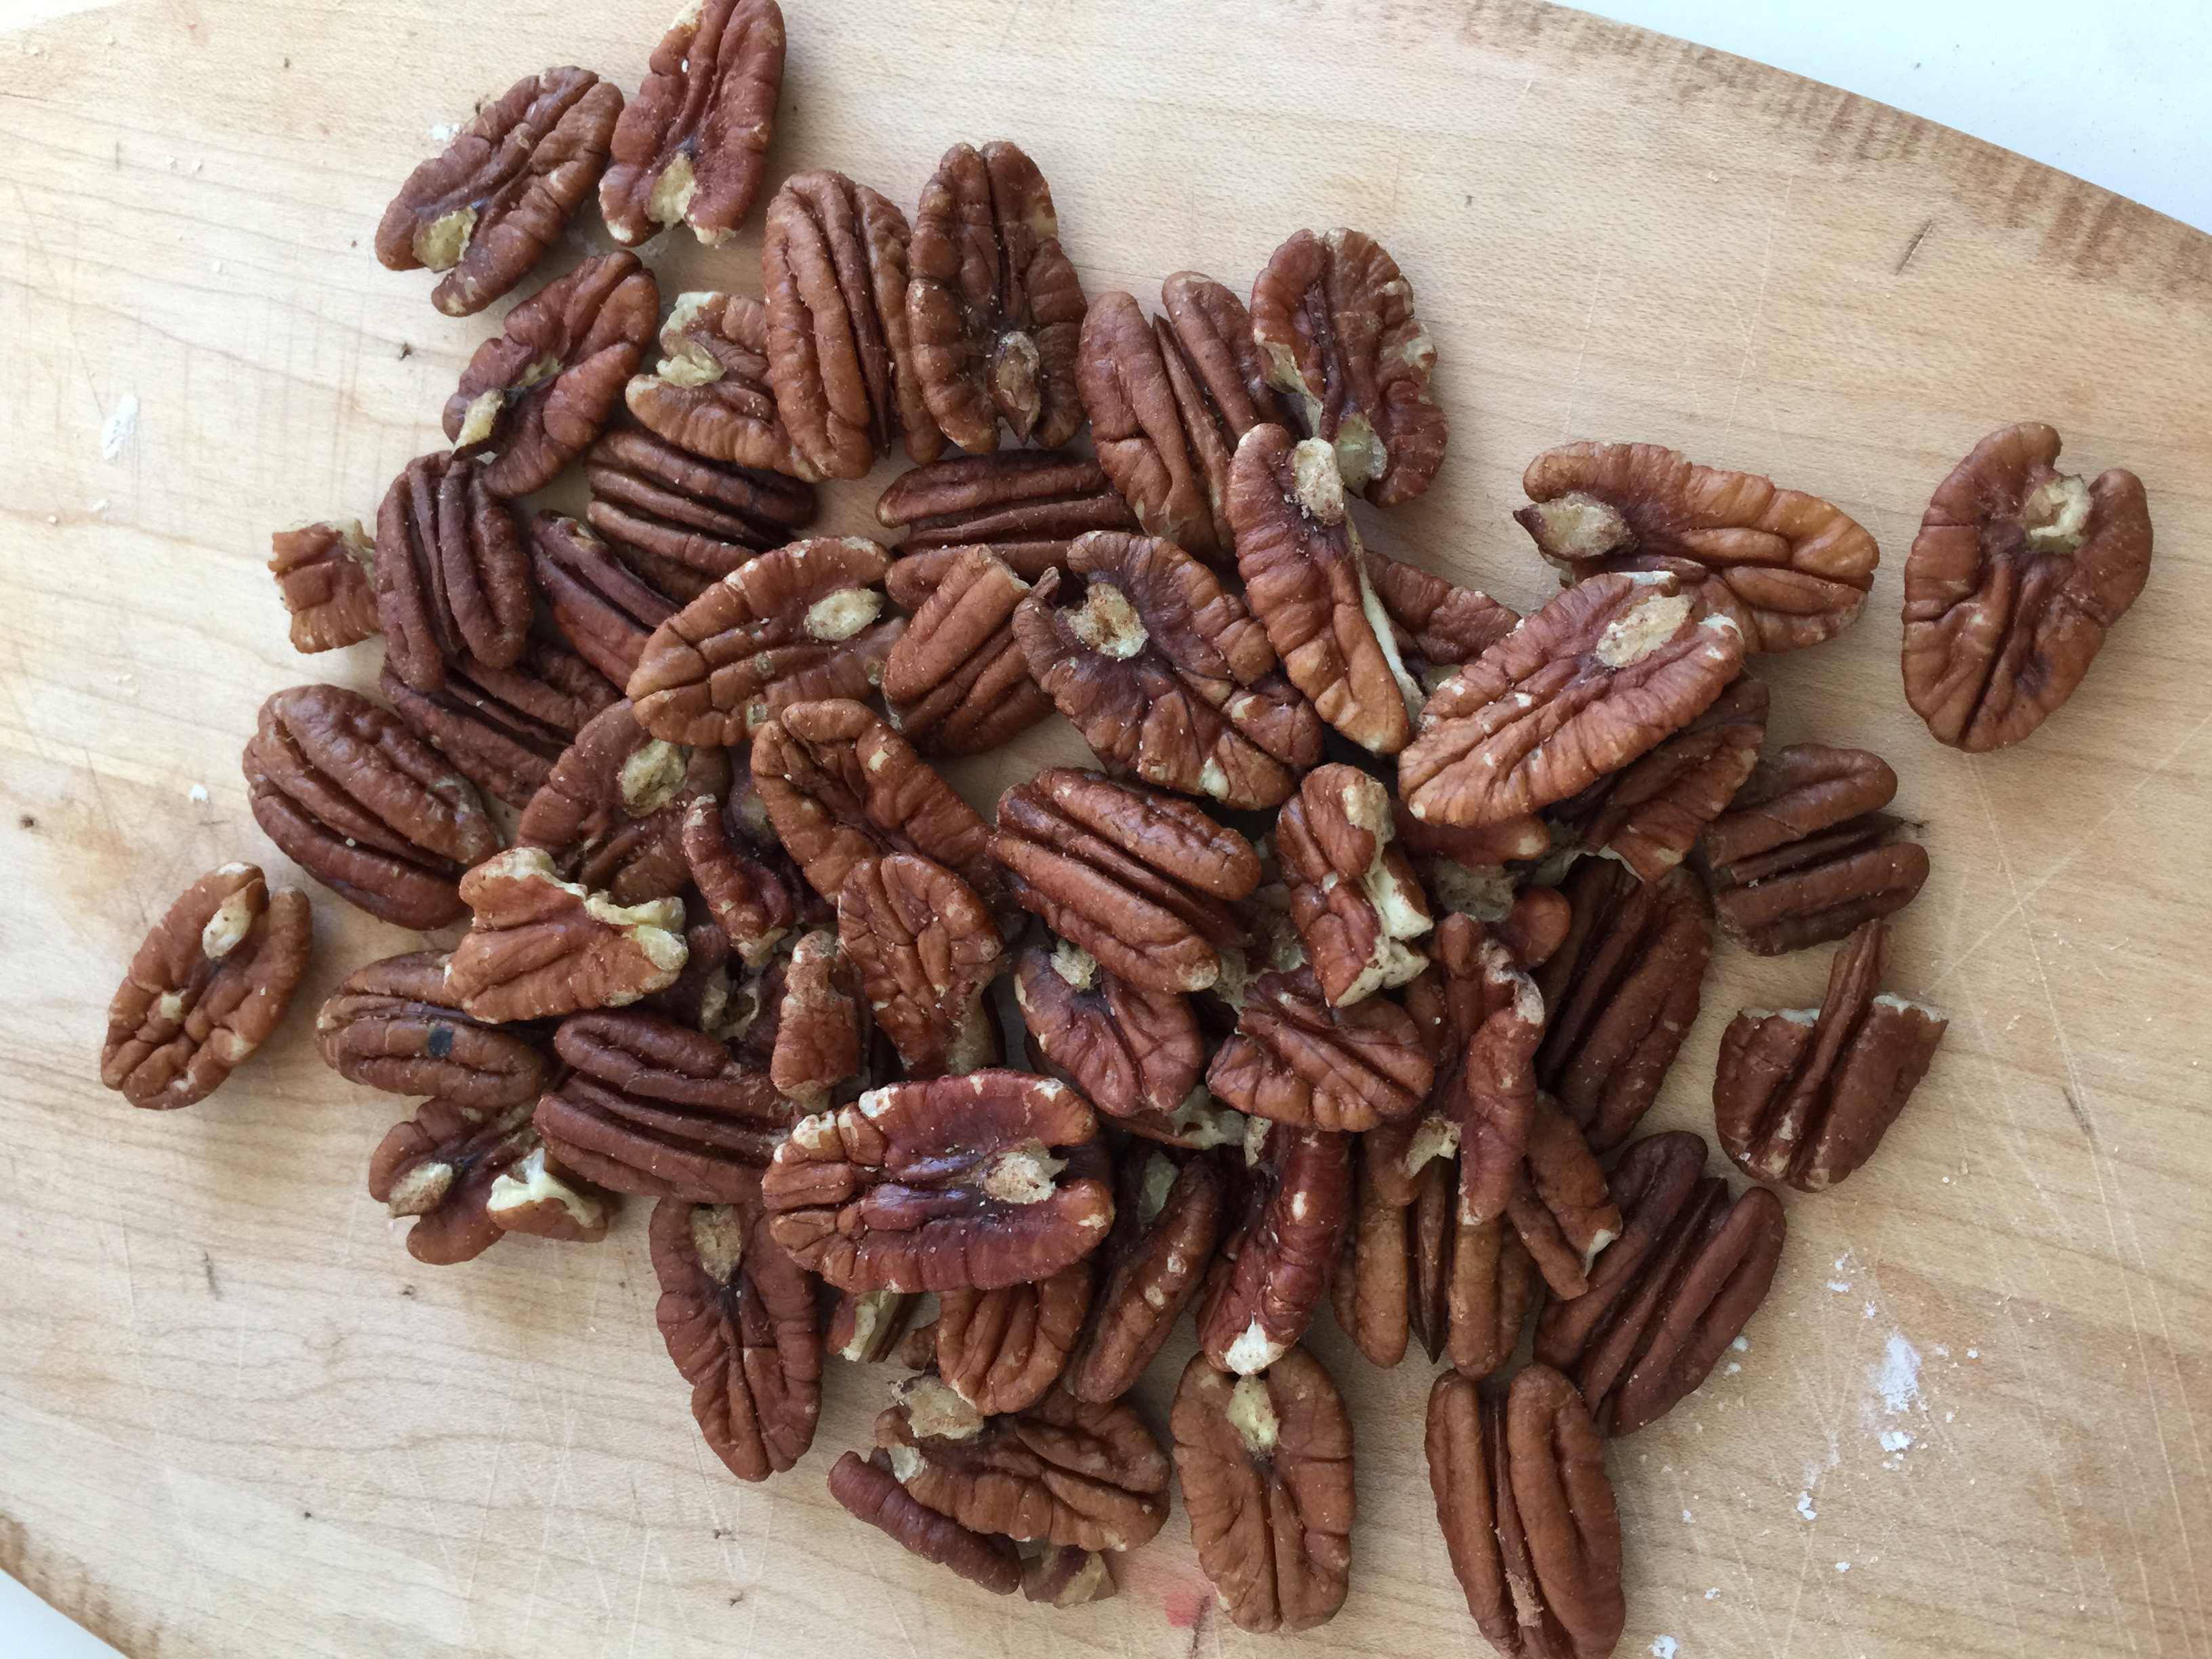
I went for pecans in this recipe. You could also make it with walnuts.
Please arm your kitchen with an offset spatula. It makes spreading or frosting anything so much easier!
Serve this in small glass mason jars to complete the vintage effect. I also love to reuse the Bonne Maman glass jars, they are the perfect size for dessert in jars.
Pineapple Delight
A delicious no-bake summer dessert, perfect to make ahead and bring to a party or BBQ.
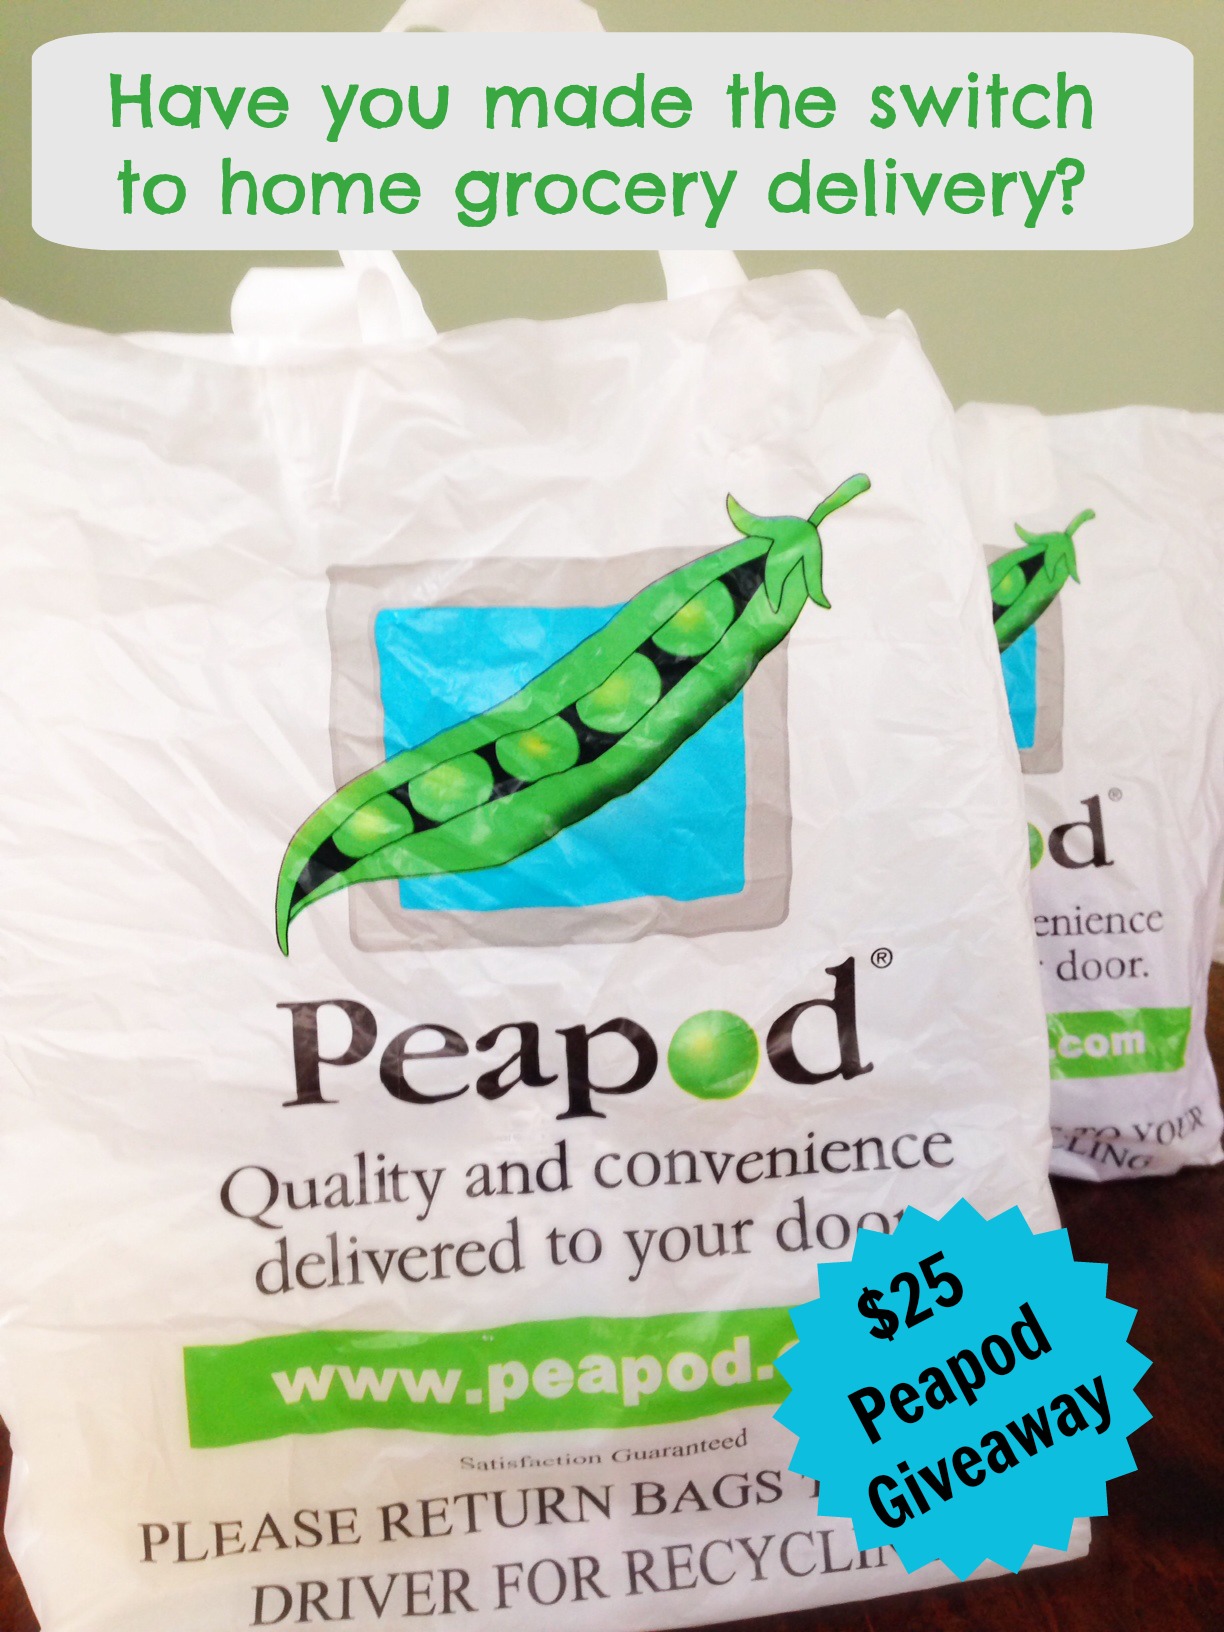
Grocery shopping takes on new meaning once you have a child. You have to plan your trips around naps and you may not be able to go as often as you once did. You also need a lot more stuff. Switching to home delivery of your groceries can free up so much time, and money. No more buying incidental items, no more adding things the kids are asking for. I have used Peapod grocery delivery for a long time, going back to my Boston College days. We had a dorm room with a kitchen, but no one had a car. I still remember getting groceries delivered and I thought it was the coolest thing.
Peapod is actually turning 25 this year. They were ahead of the trend on home delivery. New this year is the expanded Pick-Up Service, which means you can order groceries and pick them up at the store when you are out and about. No need to stay home during the delivery window. You can learn more about my experience with the Stop and Shop/Peapod pick-up service here.
As you head into the holiday baking season, here’s a quick tip. There are huge sales on staple baking ingredients coming up the weeks before Thanksgiving. It’s the best time of year to stock up on flours, sugars and baking supplies. Even spices that never go on sale can be found at a discount. Getting a large ordered delivered is so much easier than trying to do it with multiple children in tow. I also remember to add in other heavy items when I do online orders, like seltzer cans and distilled water.
Want to try out online ordering? Peapod is offering one of my readers a $25 gift card. Who doesn’t like free groceries?! Did you know they have over 15,000 items in their online shopping site?
Please use the Rafflecopter to enter below. Contest will close November 21st at midnight. US Residents only. Winner will be notified via email and have 48 hours to claim their prize. a Rafflecopter giveaway
Happy shopping!
Disclosure: Peapod provided gift cards to me to facilitate this review. All opinions shared here are my own.
https://emilyroachwellness.com/wp-content/uploads/2014/11/Peapod-grocery-delivery-1.jpg16321224eroachwellnesshttps://emilyroachwellness.com/wp-content/uploads/2018/11/Emily-Logo-header-1.pngeroachwellness2014-11-13 12:51:592019-02-22 23:36:55Peapod Celebrates 25 years of Grocery Delivery {Giveaway}
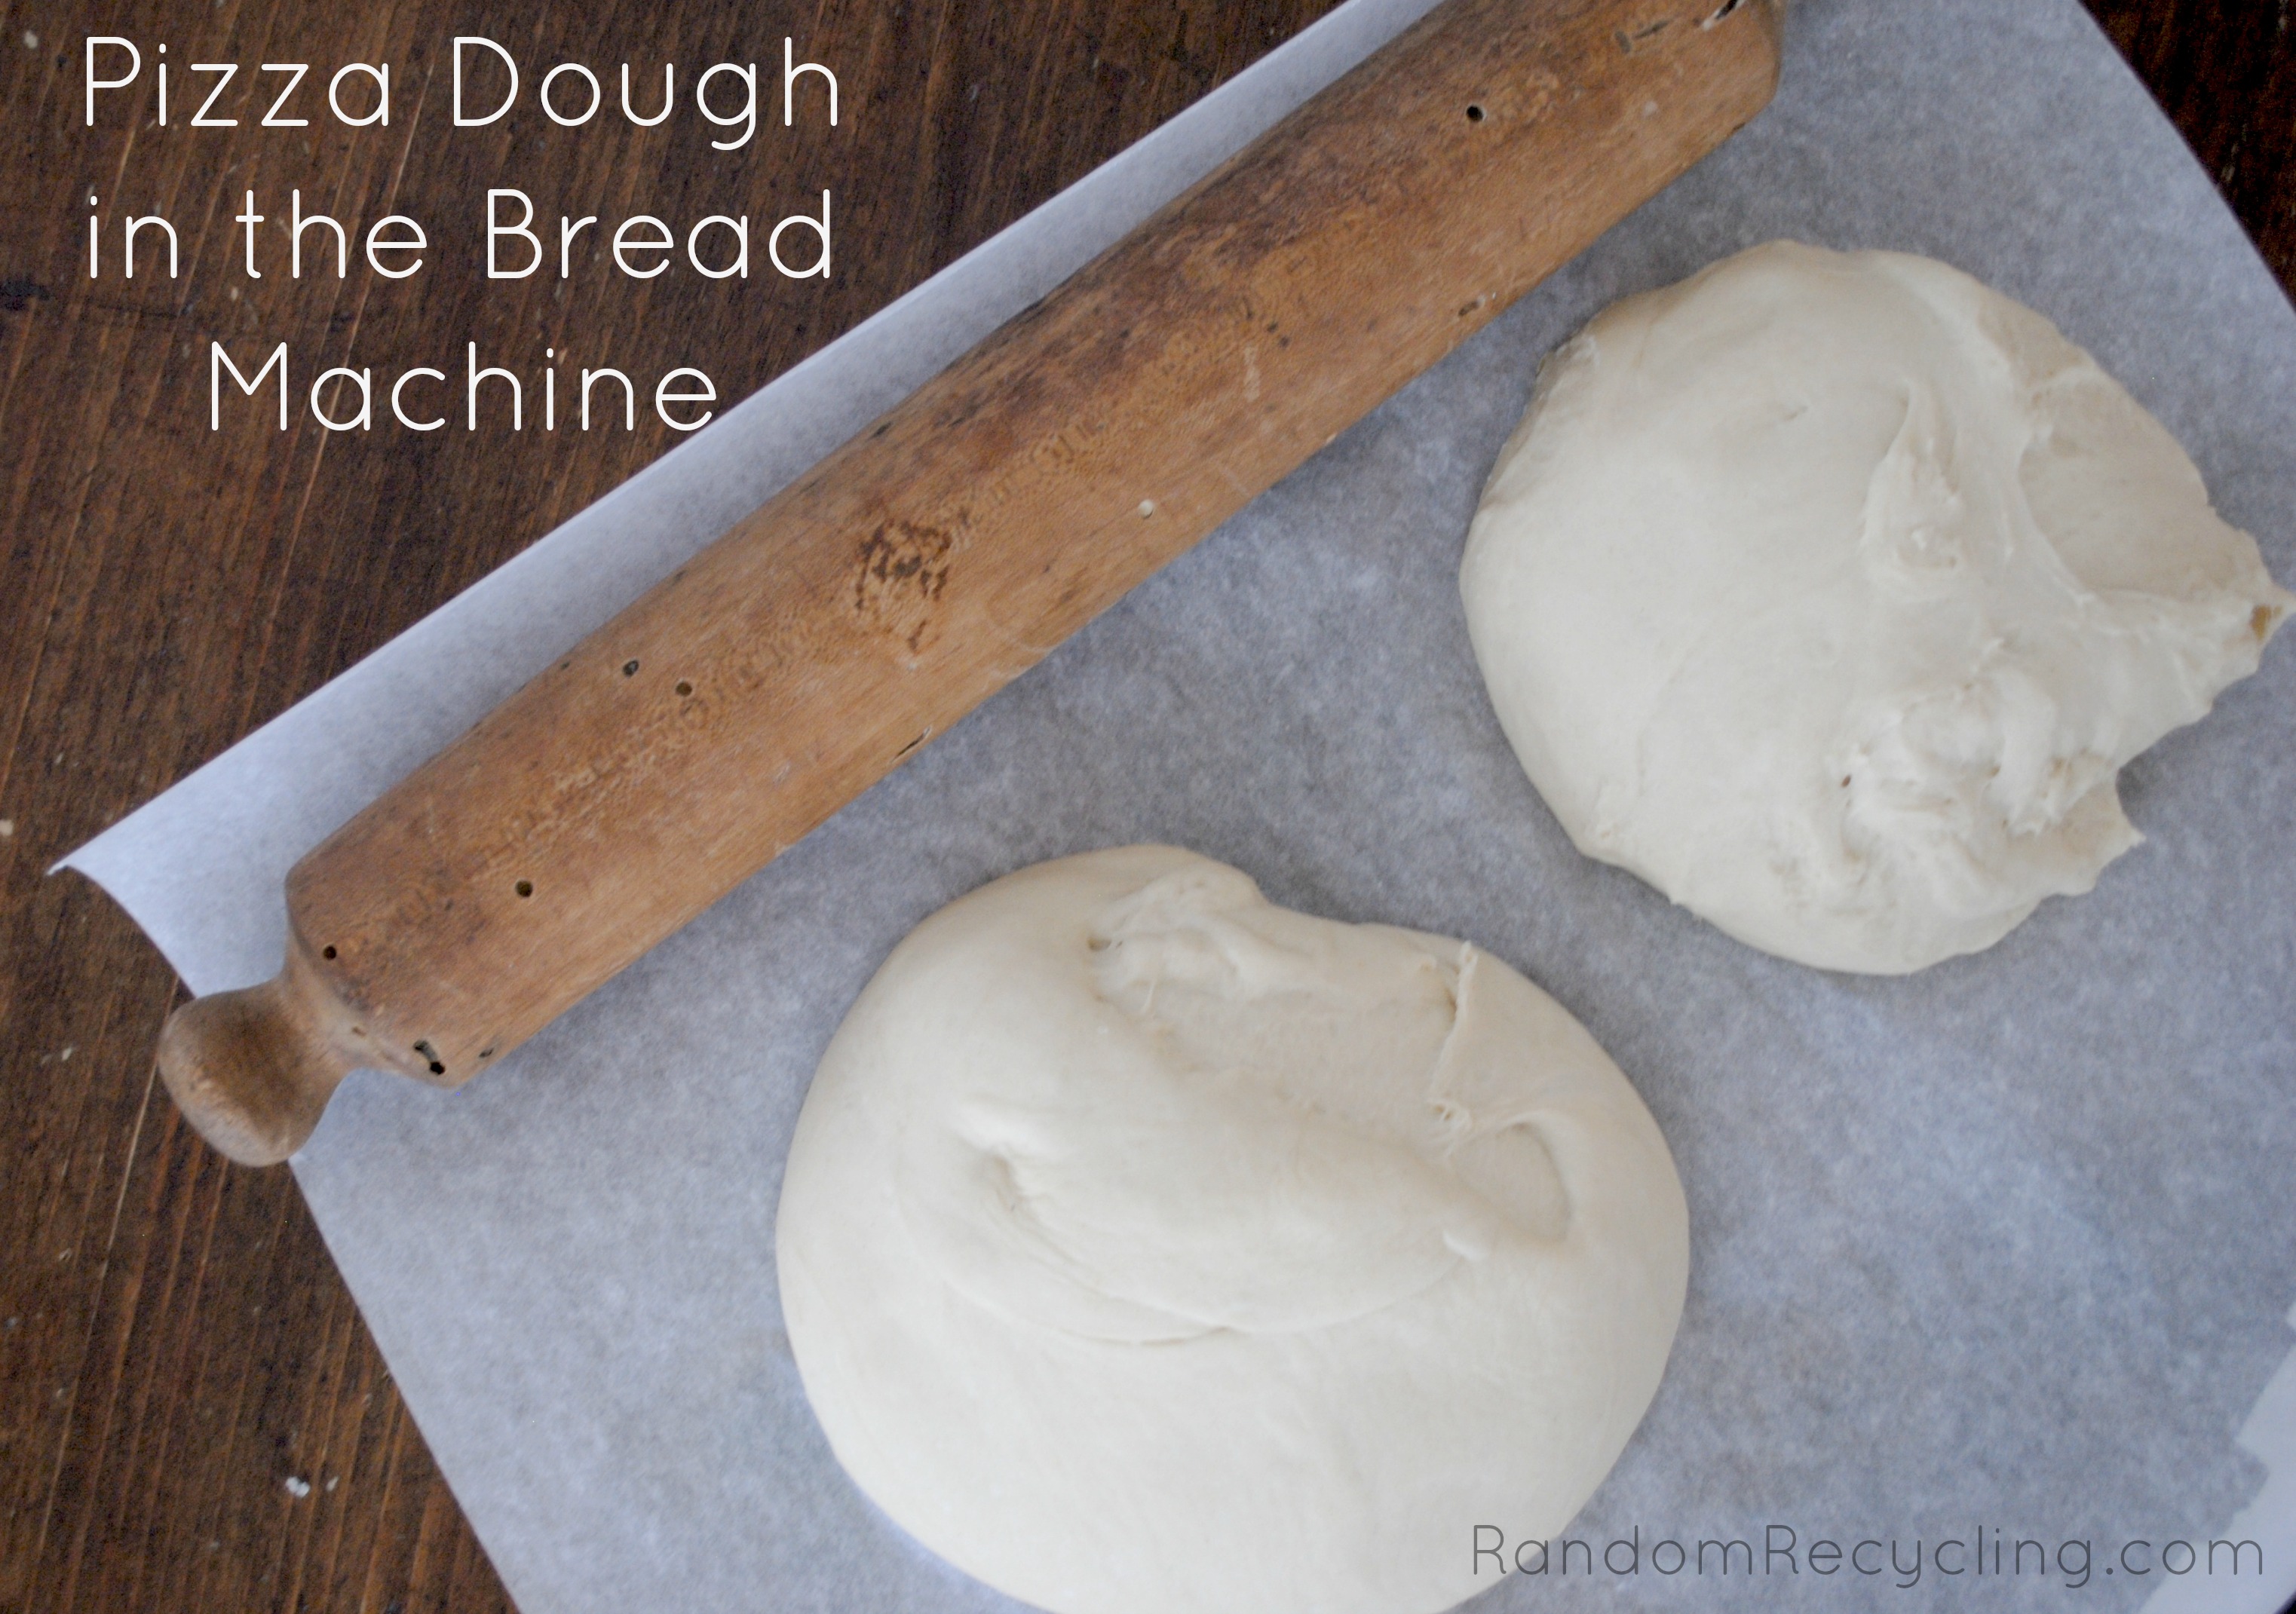
How many of you eat pizza at home at least once a week? Do you tend to make it yourself or buy it? If you are a regular reader here, you know we have pizza every Friday night on our weekly meal plan. For a long time, we made our pizzas at home using the dough from Trader Joe’s. It’s cheap and fairly easy to roll out ourselves. When I got my bread machine this year, I decided to come up with a pizza dough recipe that will make two pizzas. It’s a great way to save some money and the kids like to help out with this easy project.
https://emilyroachwellness.com/wp-content/uploads/2013/05/Pizza-Dough-Bread-Machine-Recipe.jpg21413045eroachwellnesshttps://emilyroachwellness.com/wp-content/uploads/2018/11/Emily-Logo-header-1.pngeroachwellness2013-05-13 21:00:322019-01-03 22:06:25Homemade Pizza Dough With A Bread Machine
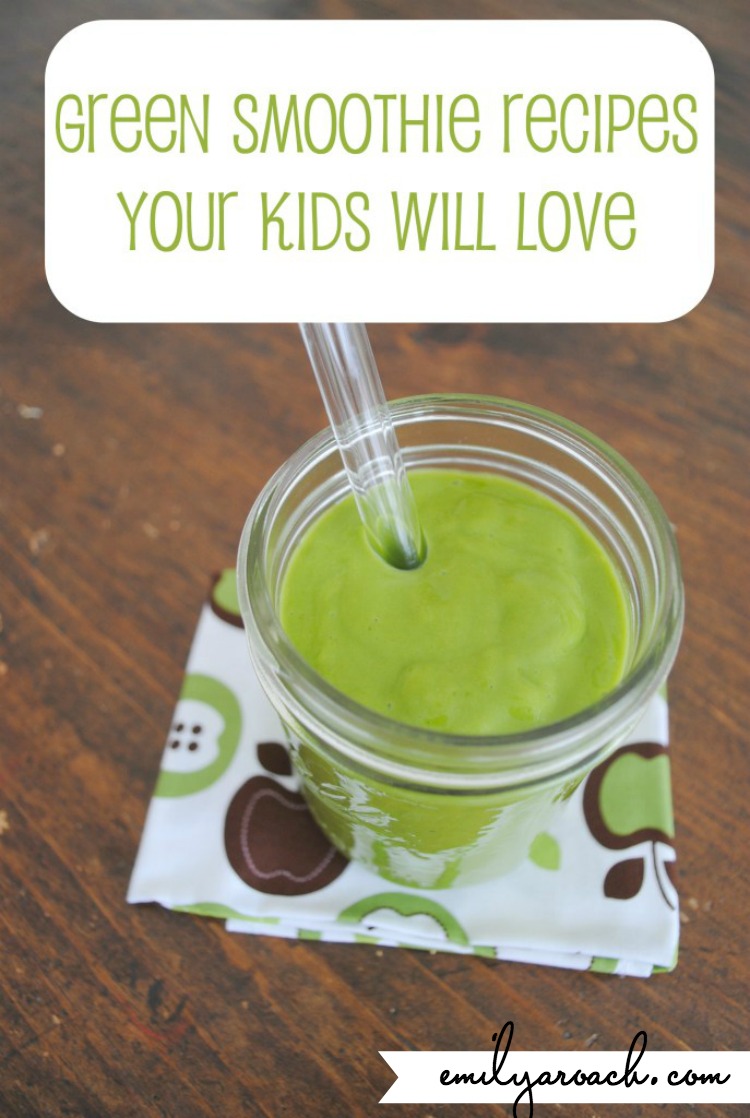
I pulled together our list of green smoothies your kids will love. My kid’s favorite snack lately is a smoothie, always with a dose of greens. My two year old runs into the kitchen saying “moothie” until I make him one. Smoothies are a great way to sneak additional vegetables and fruits into your kids diet, and your own if needed. We usually make one large smoothie and split it up between the three of us in the afternoon. Both kids like the green smoothies and I’ll share today some super simple recipes that are kid-approved.
The good news is both kids drink green smoothies. The bad news is they often want them before I get dinner on the table so I find it can affect how much they eat when we sit at the table. I’m slowly trying to find a balance between offering them healthy vegetable-filled snacks and not take away from eating vegetables on the plate. The fiber isn’t lost when you make a smoothie, but I do think it’s important for kids to continue to experience the different textures of cooked or raw vegetables on their dinner plate.
We are using the Blendtec blender that I received as part of a Stonyfield yogurt campaign. The blender really is amazing and I think I’ll always have one of these high speed blenders from now on. We are using the Wildside Blendtec Blender.
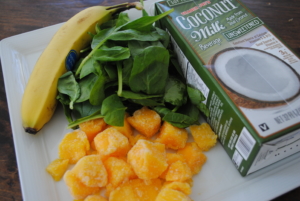
There are a few key ingredients I use when I make smoothies for us:
Spinach
Coconut Milk
Yogurt
Frozen Fruit
Bananas
Oranges
Melon
Chia seeds (optional)
I generally never add any sweetener (like honey or agave) as I don’t want to give the kids a taste of a sweeter option. If something tastes too “green” I can soften the taste with the addition of more citrus or an apple. Yes, there is still sugar in the fruit but there are also a ton of vitamins that are beneficial.
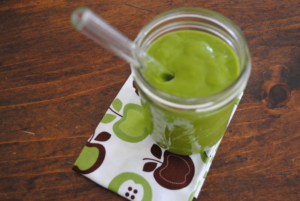
Wondering how we serve our smoothies? I use our pint size mason jars and these glass smoothie straws (only one has broken in 3 years of using glass straws with the little kids). JJ loves his blue one and Madison has pink! If we are on the go, I also serve the smoothie in our favorite reusable squeeze pouch.
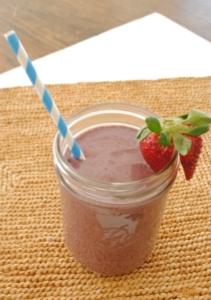
Here are just a few of our favorite recipes. Combine in the order listed and blend well.
If the kids are not into anything green, you can also try my Paleo Pumpkin Pie Smoothie recipe. Happy blending! I hope these green smoothies your kids will love helps make getting more vegetables into them a lot easier for you.
https://emilyroachwellness.com/wp-content/uploads/2013/05/Green-Smoothie-Recipes-Your-Kids-will-Love.jpg27901873eroachwellnesshttps://emilyroachwellness.com/wp-content/uploads/2018/11/Emily-Logo-header-1.pngeroachwellness2013-05-03 09:09:572020-12-18 17:39:32Green Smoothies Your Kids Will Love to Drink
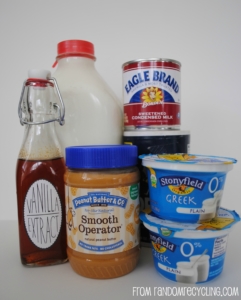
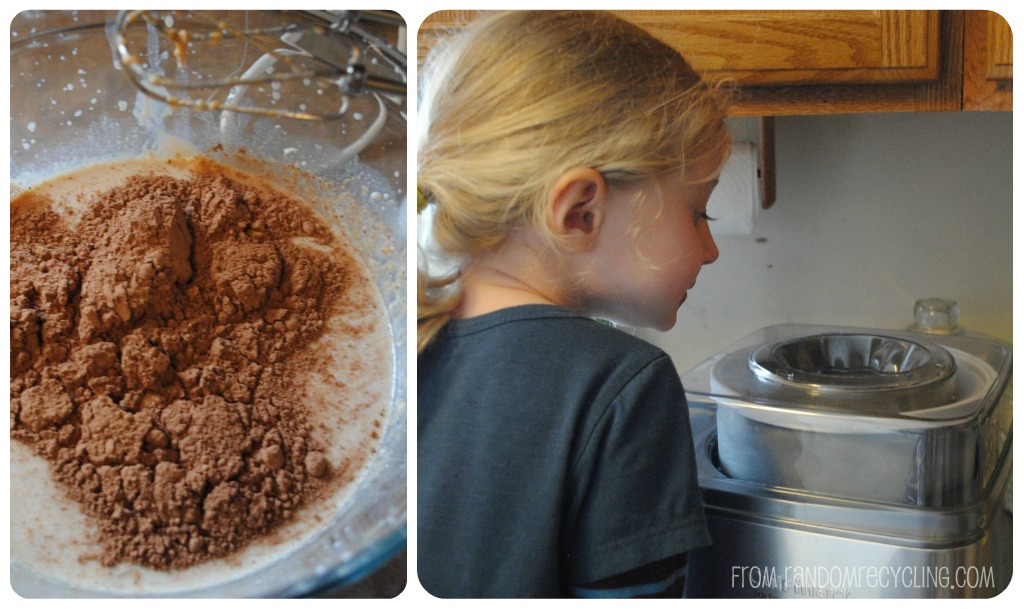
We are big peanut butter fans in our house. We go through tons of it on sandwiches, on bananas, in smoothies or on apples. I’m also a big fan of chocolate so I decided to combine the two and create a Chocolate Peanut Butter Frozen Yogurt recipe. I was given some greek yogurt samples from Stonyfield and peanut butter samples from Peanut Butter & Co. Both are yummy on their own, but even better together.
Disclosure: I am a Stonyfield Clean Plate Club Ambassador and was offered yogurt and peanut butter to help facilitate this project. All opinions shared here are my own. I’m sharing this post with Melt in Your Mouth Monday.
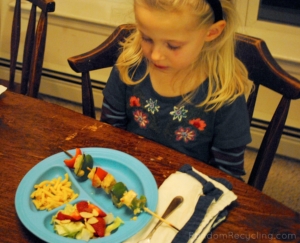
We recently found ourselves in a little eating rut. The kids were being picky, which is a bit unlike them. Time for a secret tool~ the skewer. Both kids are old enough to manage them with some adult supervision. At lunch, we included small bites of a deli roll-ups, fruits, veggies, pastas and beans. Both kids loved it.
She looked at it questioningly, but only for a moment before she polished it off.
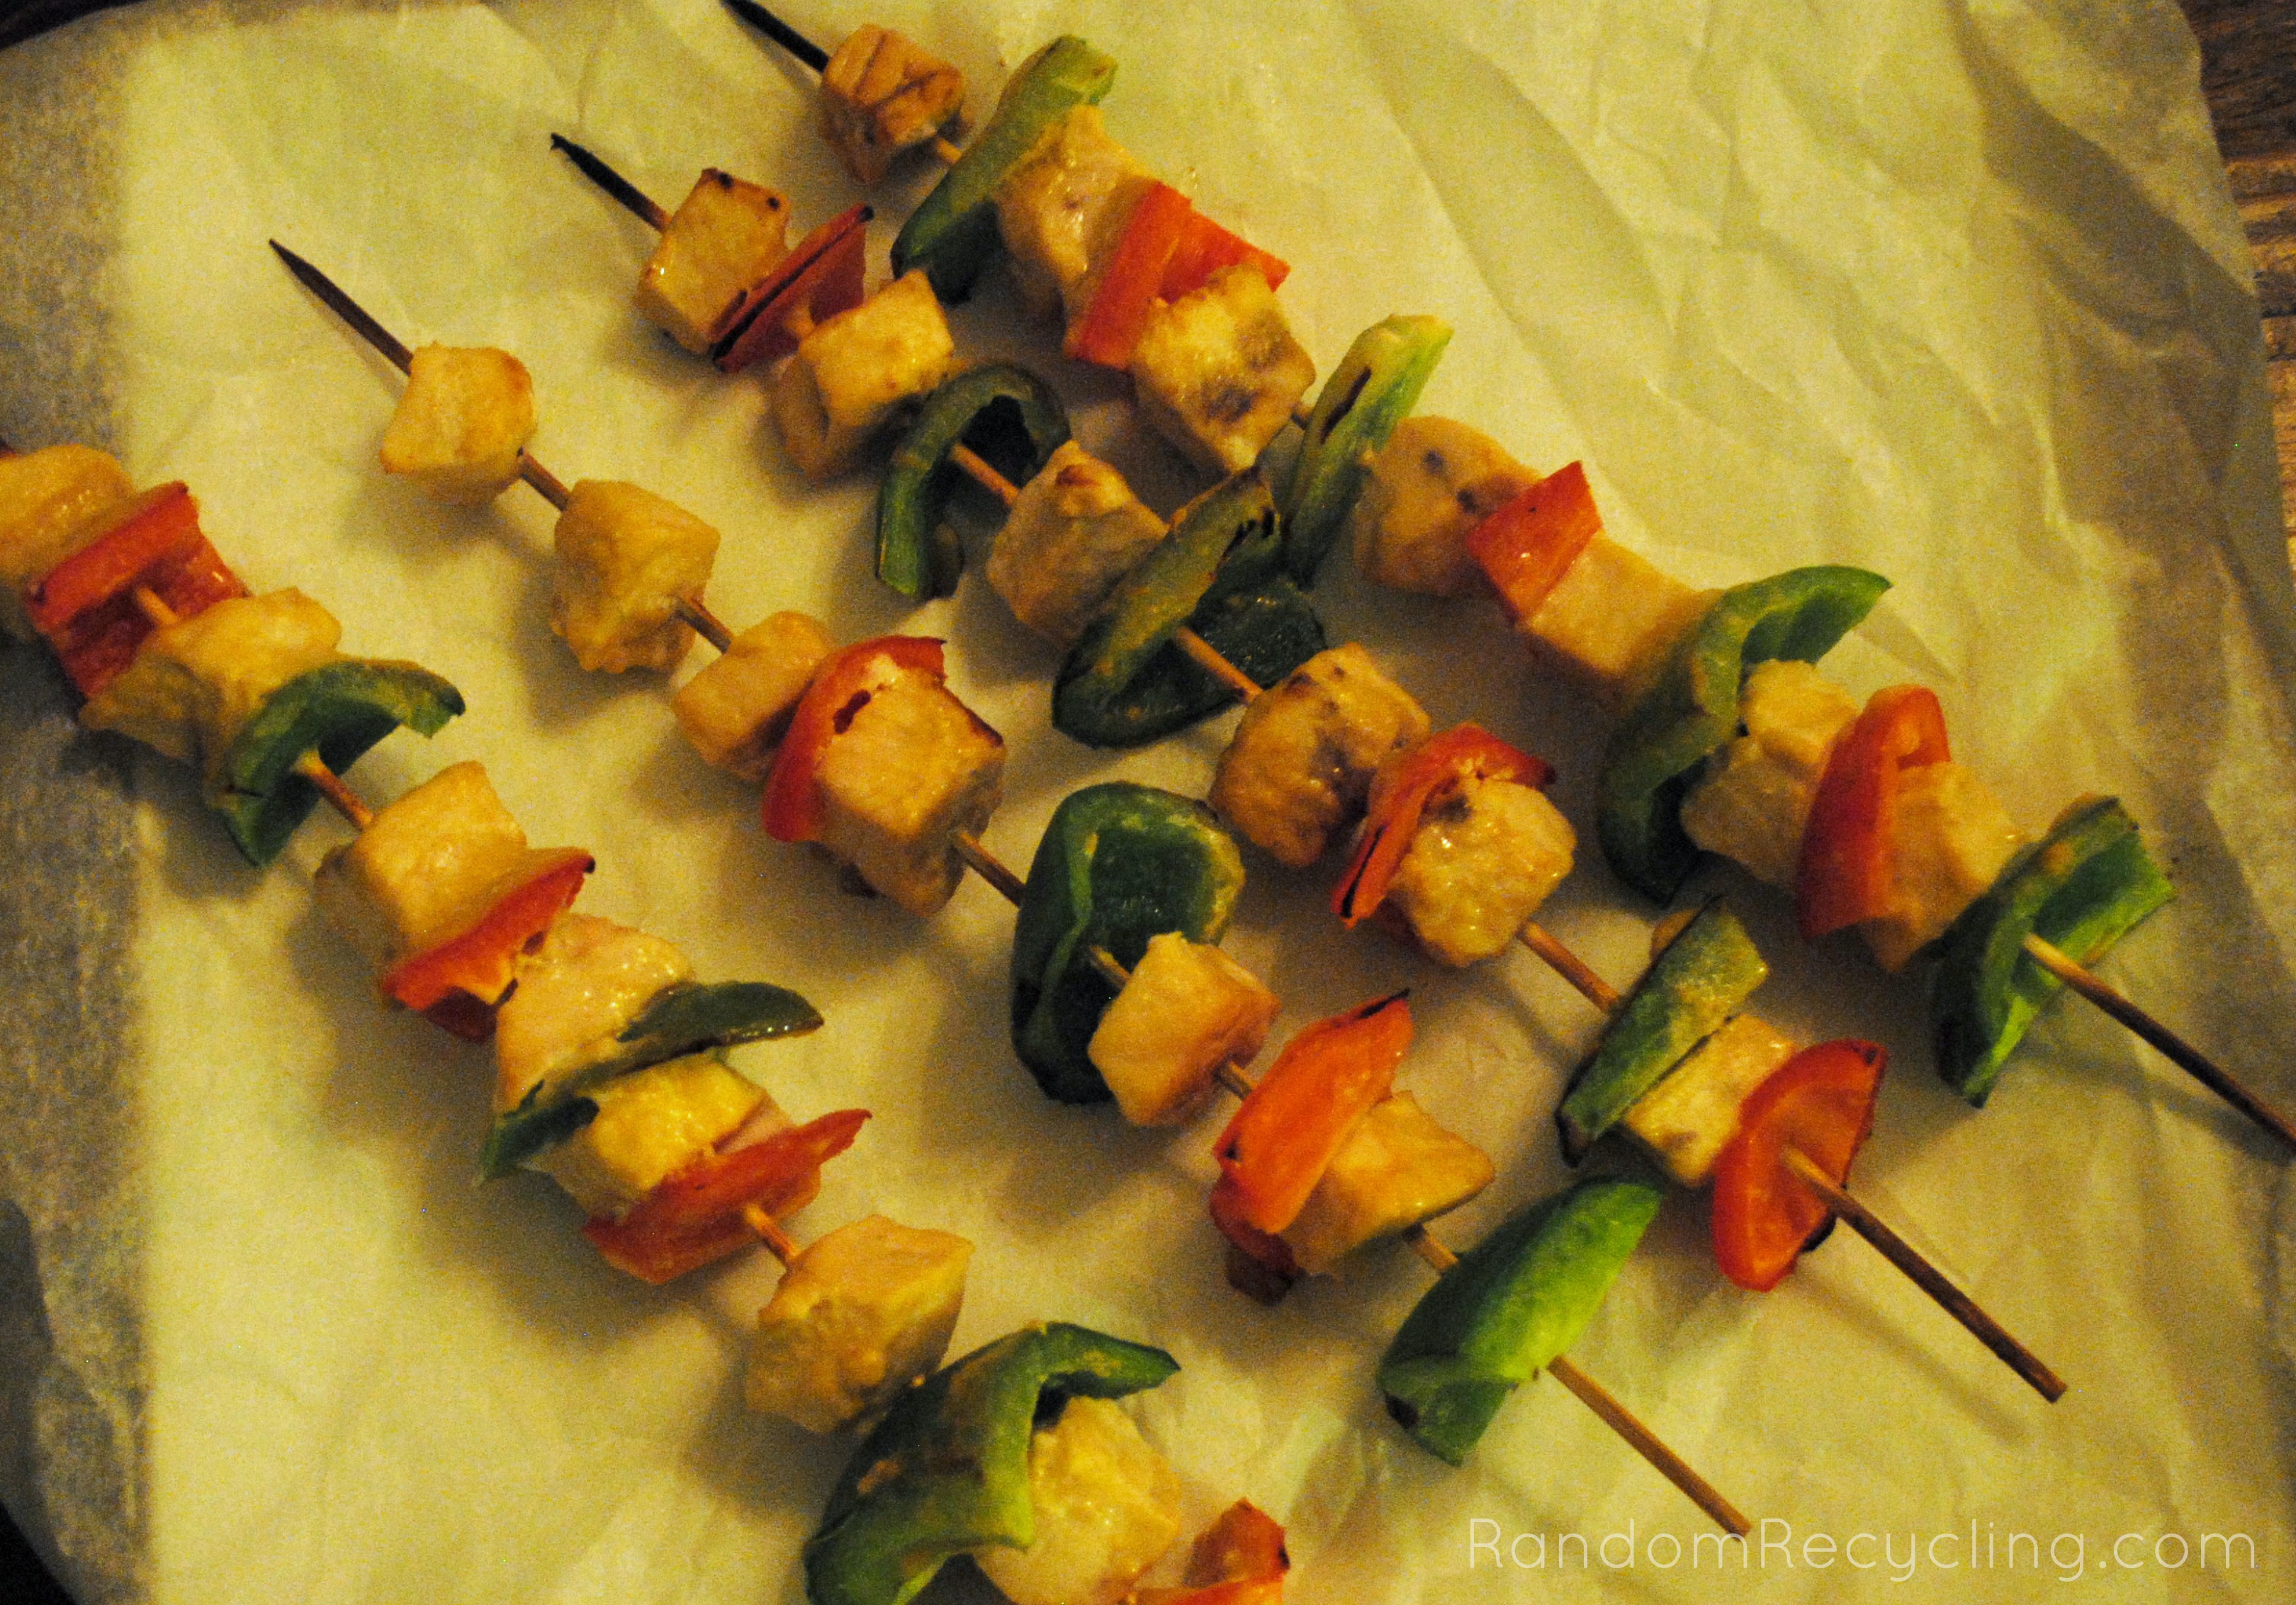
I decided to test out the skewer theory at dinner. We made swordfish kabobs with green and red peppers. It had a mild marinade that pulled it all together. It was a hit. I choose swordfish, a fish that both kids (generally) like. You can also make this recipe with halibut, scrod, salmon or tuna steak.
1poundfresh fishhalibut, swordfish, salmon or tuna steak, cut into 1" pieces
1/2green peppercut into 1" pieces
1/2red peppercut into 1" pieces
Optional: 1/2 red onioncut into 1" wedges
4cherry tomatoes
Instructions
Combine oil, juice and mustard into a small glass baking dish. Stir to combine. Add chopped fish and stir. Marinate fish for about 8-10 minutes in the refrigerator.
Preheat broiler on high. Thread the fish and vegetables on four skewers, alternating with your choice of vegetables. (I soak my wood skewers for at least 10 minutes in water to prevent burning.)
Place skewers on a broiler pan and broil 4" away from the heat for about 3 minutes.
Turn kabobs and brush with remaining marinade. Broil for an additional 4 minutes or until fish is cooked through. (lightly flaky.)
https://emilyroachwellness.com/wp-content/uploads/2013/01/Swordfish-Kabobs-Label.jpg22653240eroachwellnesshttps://emilyroachwellness.com/wp-content/uploads/2018/11/Emily-Logo-header-1.pngeroachwellness2013-01-03 09:51:312019-02-18 21:00:33Why do kids love food served on skewers?
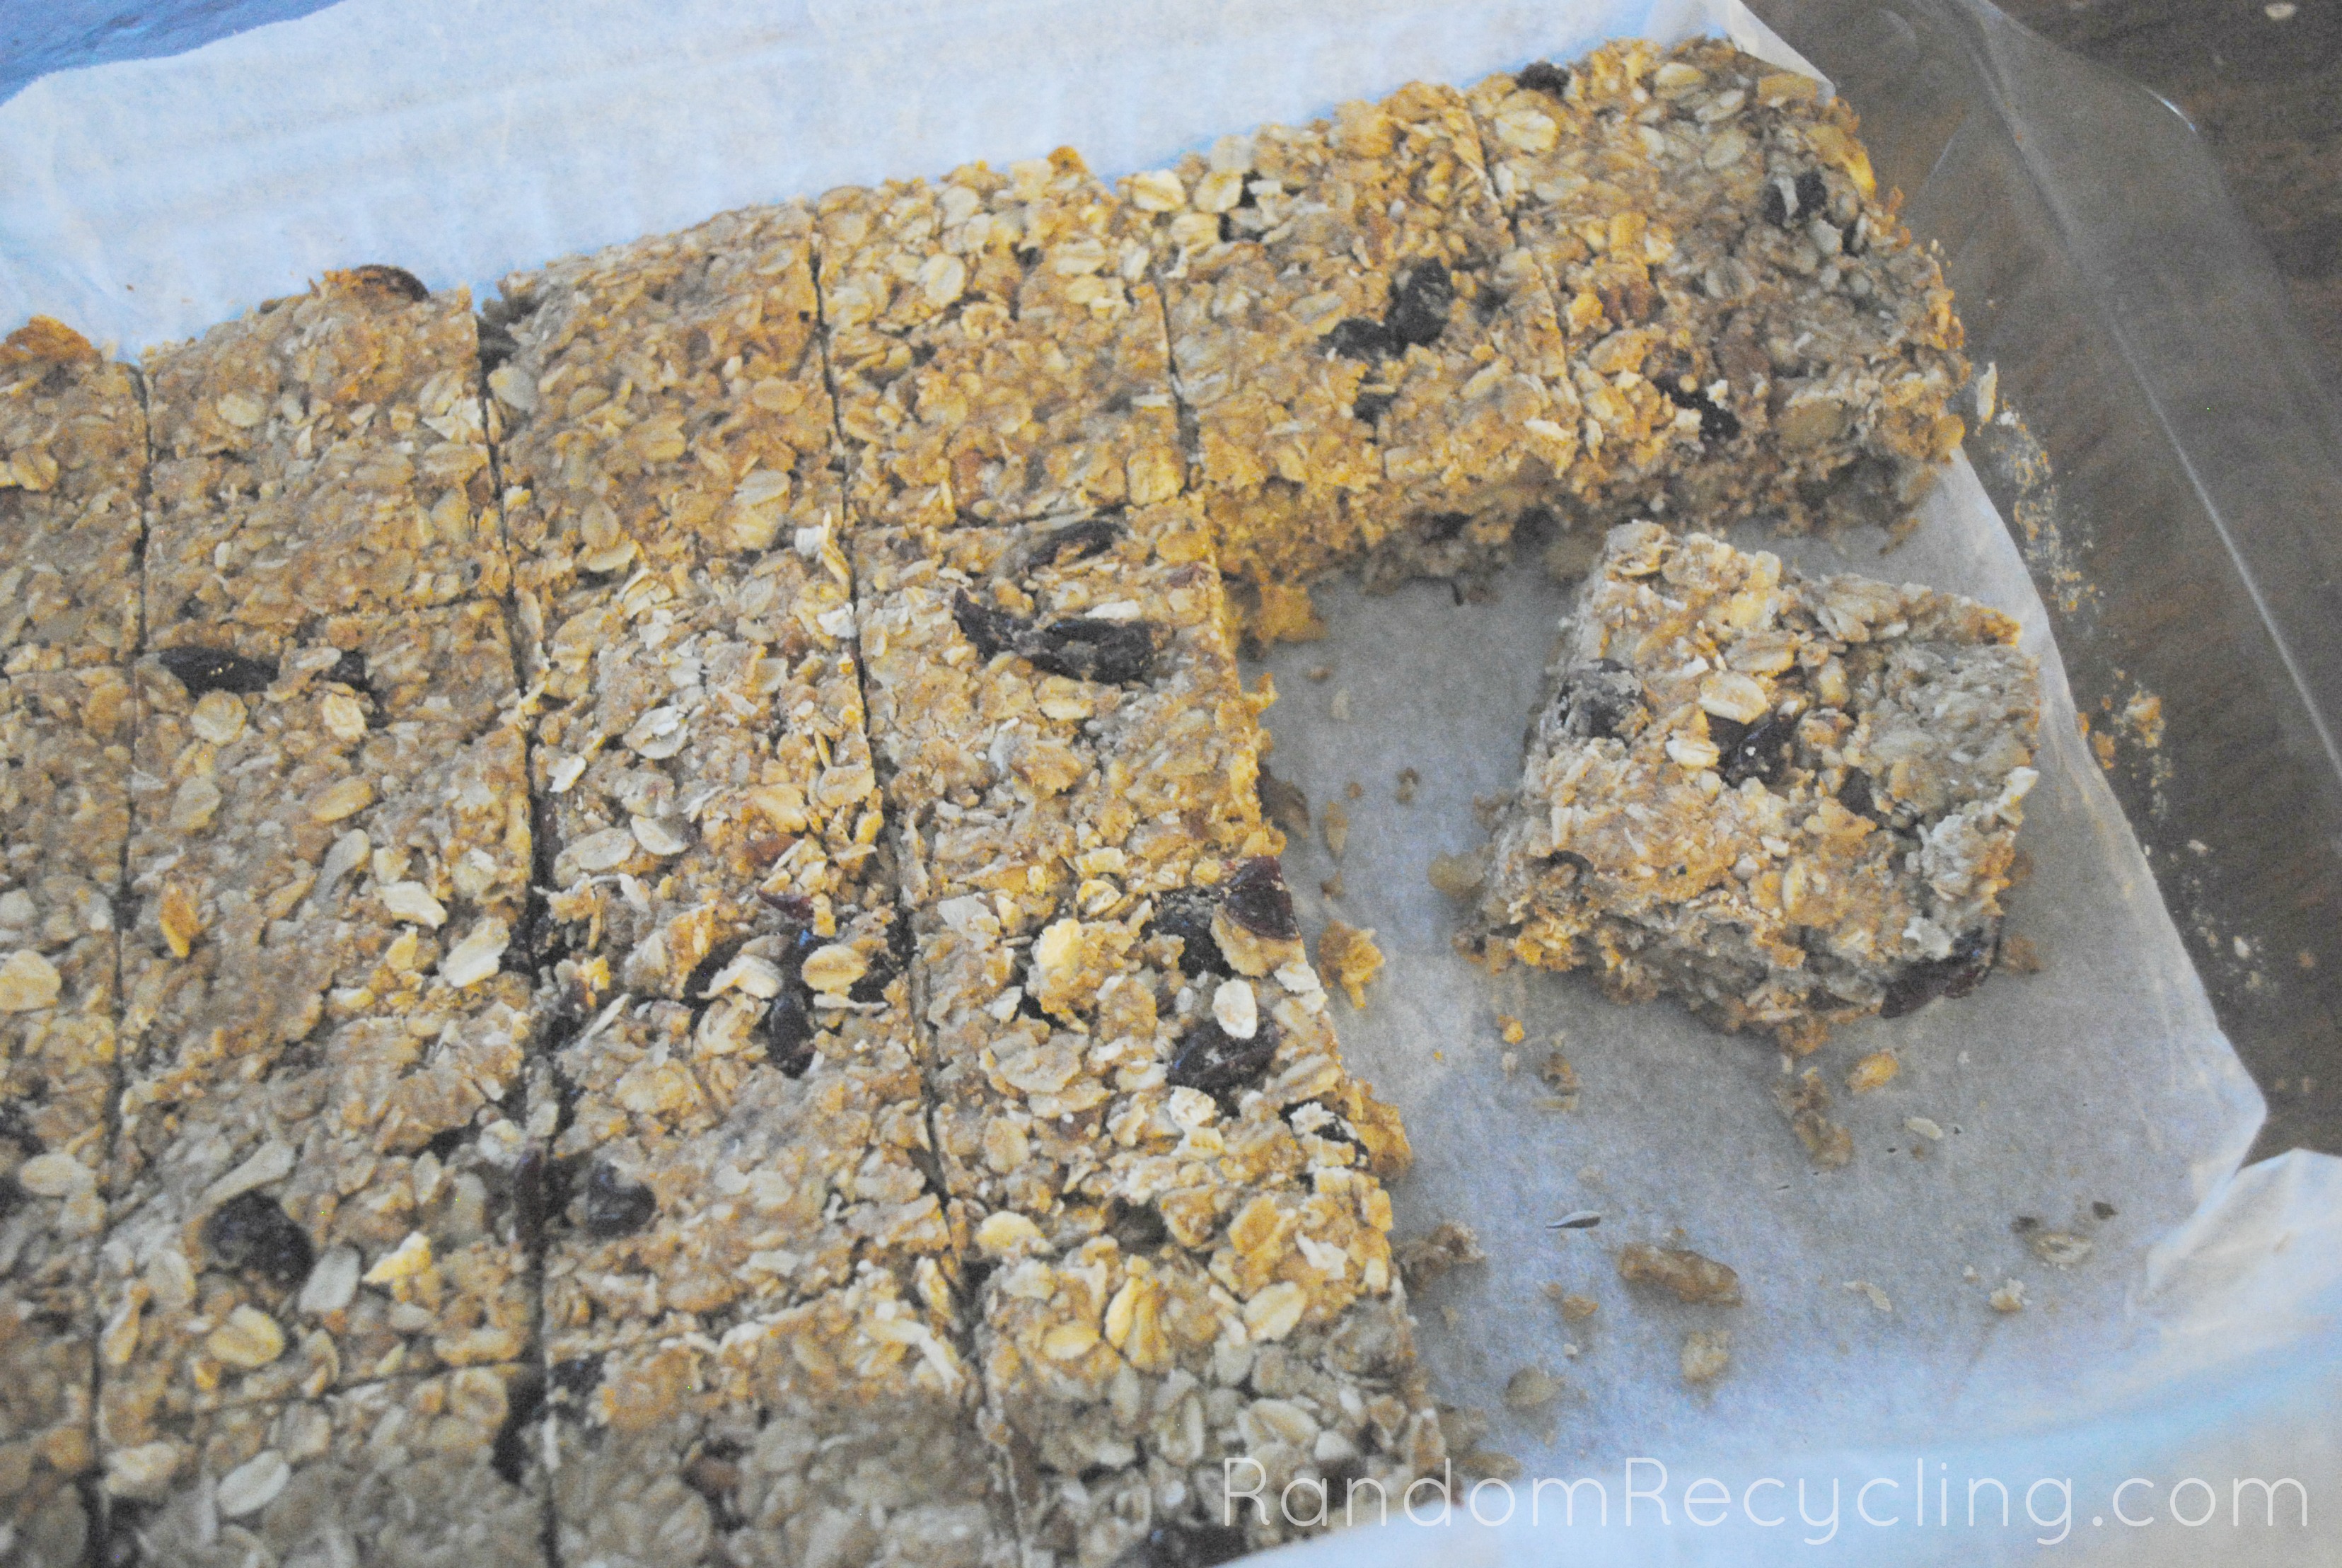
I started making homemade granola bars about a year ago and have been tweaking the original recipe ever since. It’s finally ready to share with all of you. Our whole family enjoys them and it’s a healthy, hearty snack for mid-afternoon to hold us over till dinner. I usually make the granola bars while I’m making my weekly batch of granola. The ingredients are already out so I just need a second large bowl and a couple additional items.
Healthy Homemade Granola Bars
The best part of making granola bars in your own kitchen is you know exactly what inside each one. No scary ingredients you can’t pronounce. No strange preservatives and no high fructose corn syrup. This recipe uses only natural ingredients and you can doctor it up with your favorite add-ins like cranberries (our favorite), nuts, chocolate chips and other dried fruits. We also make them nut free sometimes so I can pack them in school lunches. I’ll add in pepitas instead of nuts to keep it protein heavy.
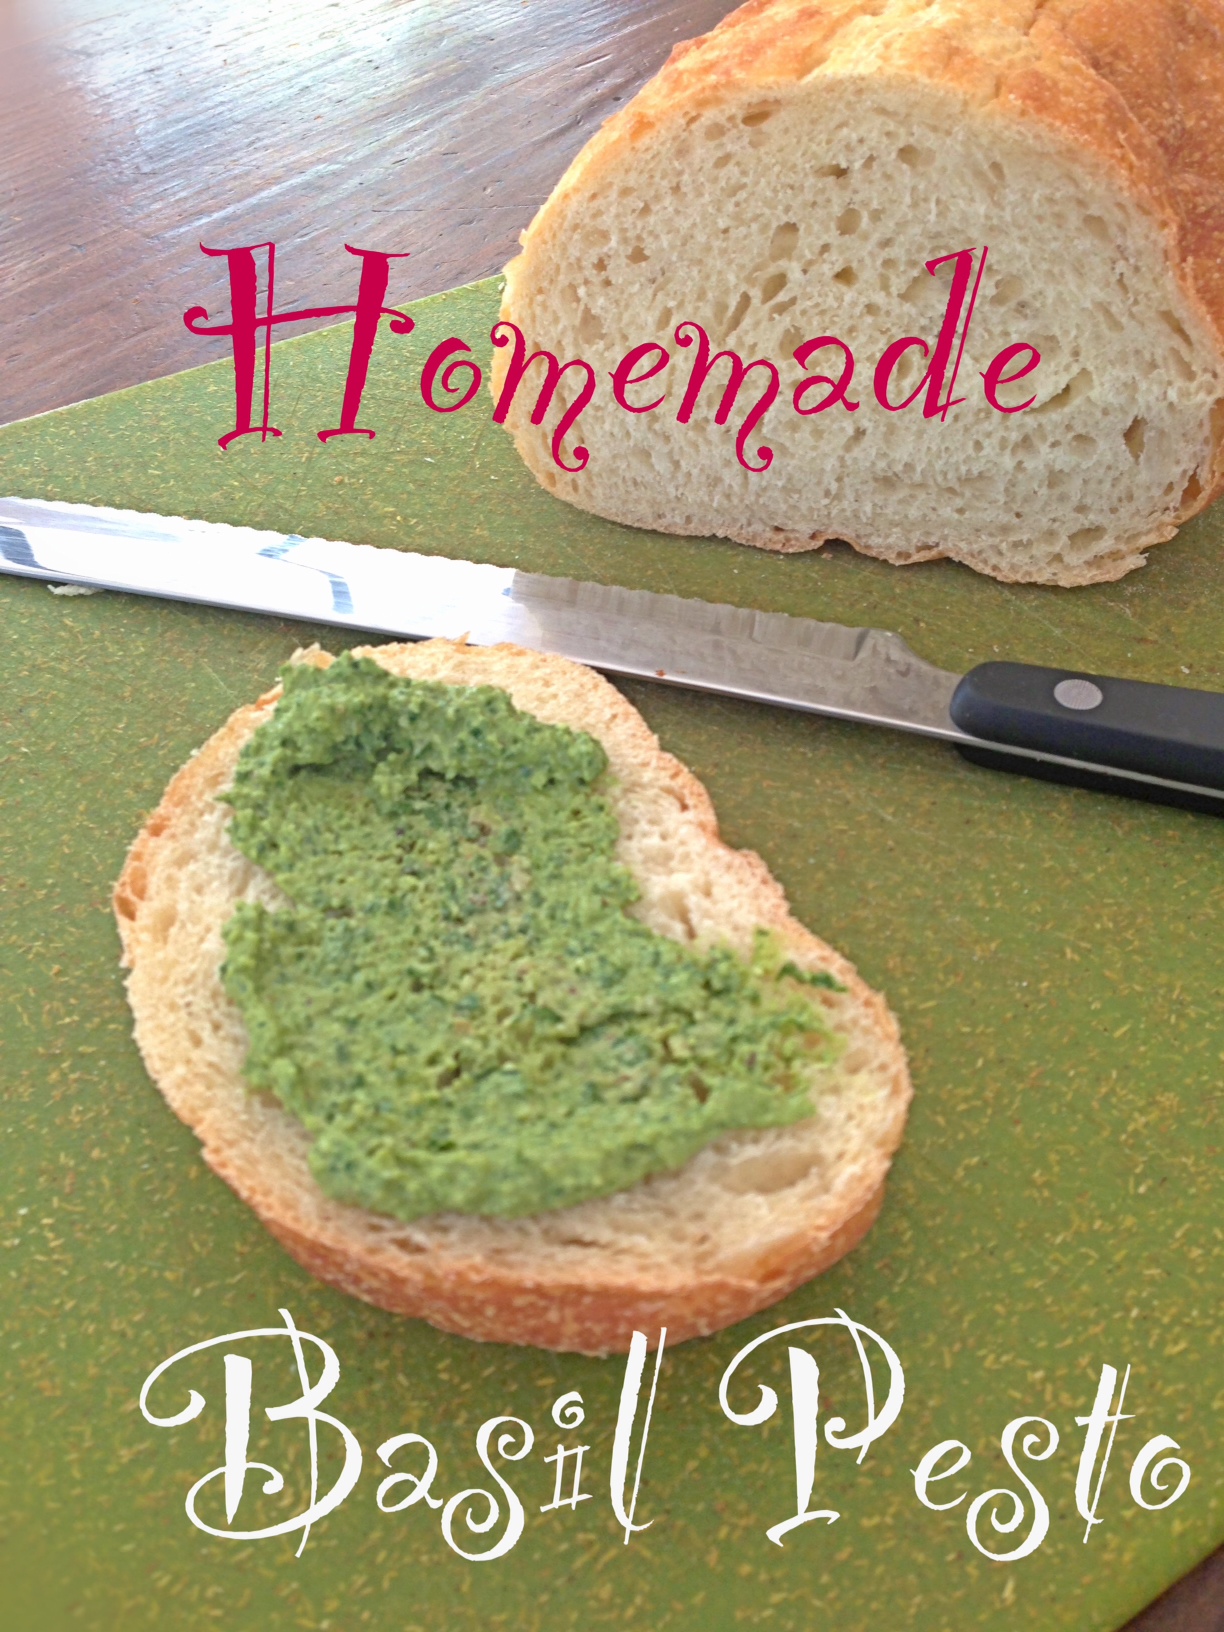
The basil in the garden is growing like crazy. Combined with the rain and the heat everything exploded over the past week. Finally I could make some pesto.
I generally don’t measure anything when I am making it but I’ll assign some easy measurements as a guideline. Usually it’s more like I harvest as much basil that is ready and go from there.
I tend to serve the pesto with fresh bread as an appetizer. Even the kids love it. Once our spinach is in, we can switch out the basil for spinach to encourage more healthy green eating.
The garlic scape was a new addition this week. They come in lots of different varieties and the spiciness varies greatly. Adjust the amount of garlic you add to the pesto if you have very spicy garlic scapes. I used the Keith garlic scape this week and it wasn’t super spicy so I still used about 3 tablespoons of garlic.
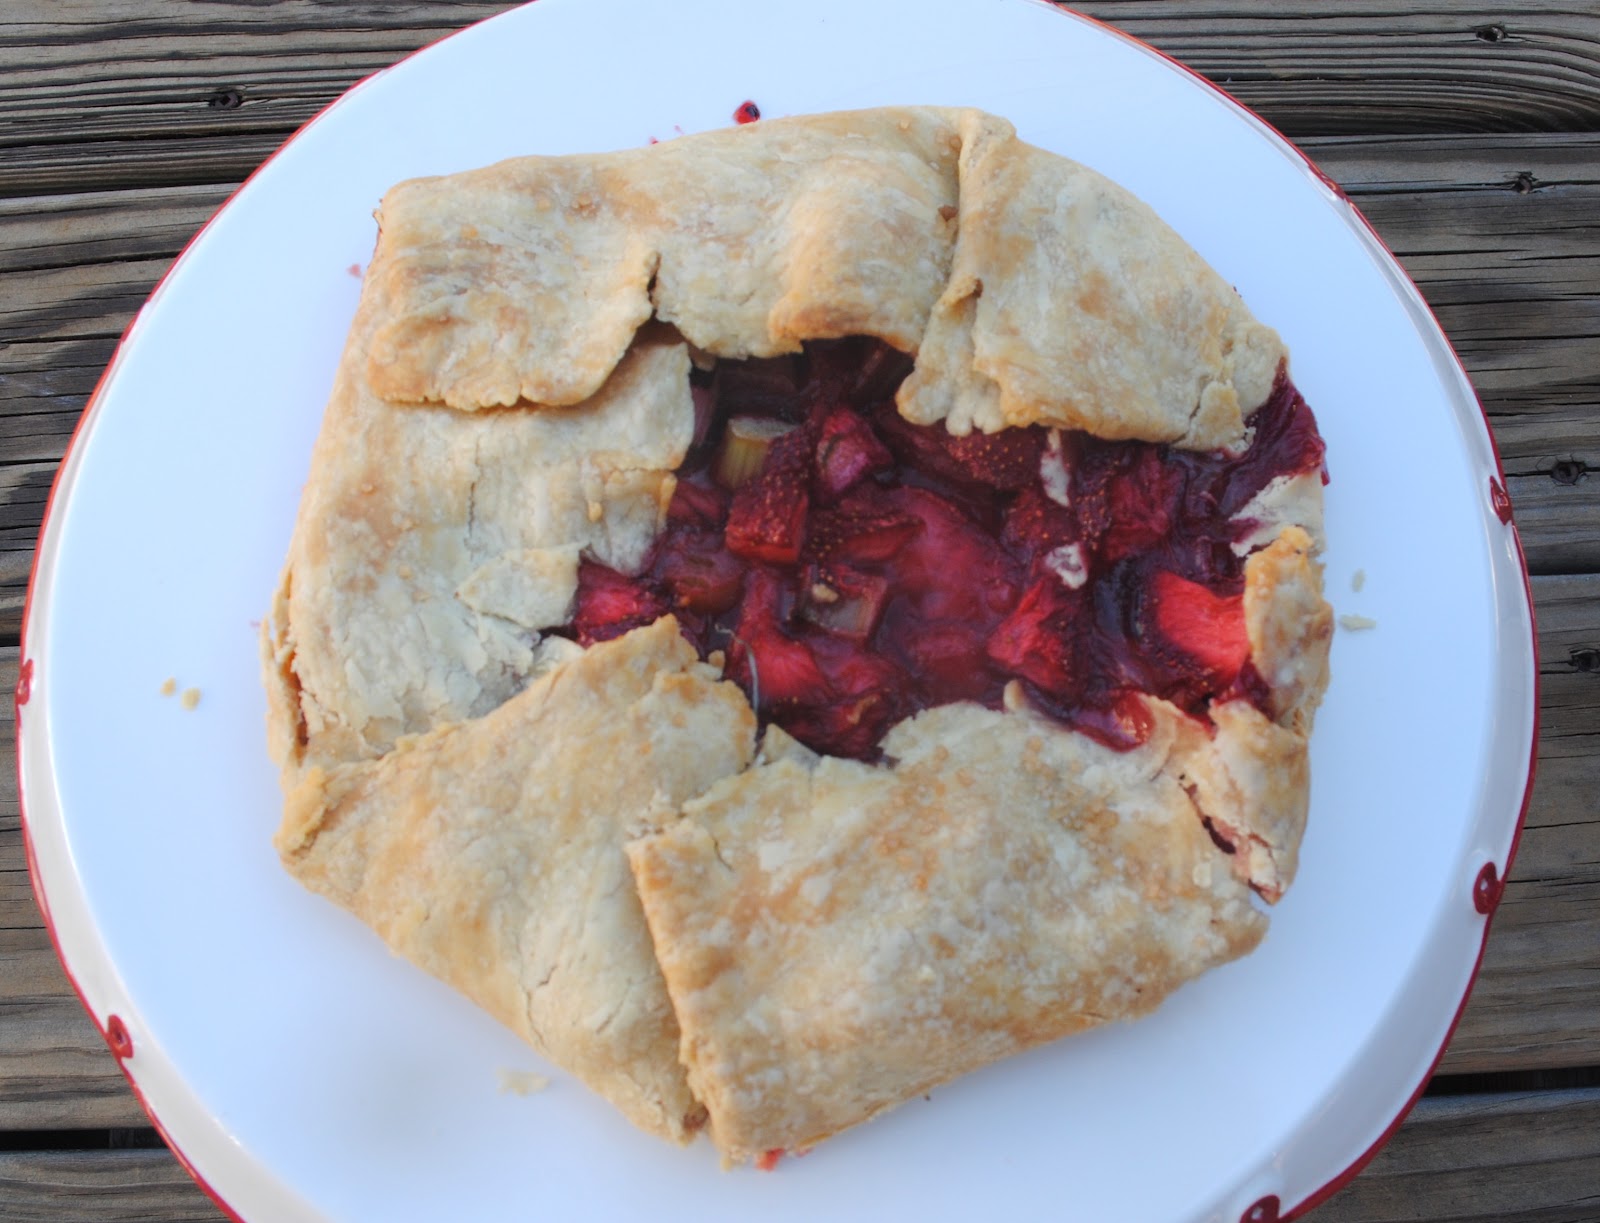
Did you know today is pie day? I thought I would share my Strawberry Rhubarb galette, which is essentially a pie but sounds so much fancier. Shhh, don’t tell anyone it’s even easier to make than a pie.
I have made the Martha Stewart Strawberry Rhubarb Pie, as seen here. Lattice pies are lovely but not something you can whip up in 15 minutes. Yes, you can make pie in 15 minutes. Yes, that includes making your own crust.
I make my pie crust from an old Betty Crocker recipe using flour, milk, vegetable oil (it’s the only thing I still use vegetable oil for!) and a little salt.
For this recipe, I made a 9″ pie shell mixing together 1 1/3 cups flour, 1/2 teaspoon salt, 1/3 cup vegetable oil and 3 tablespoons of milk.
Roll out and transferred to a parchment or silpat lined baking sheet.
For the filling, I used 2 stalks of rhubarb cut 3/4” thick. Add 1/2 cup sugar, 2 cups roughly chopped strawberries, 1/8″ teaspoon of salt, 3 tablespoons of cornstarch and about 1 1/2 tablespoons orange juice. Mix together and pour in the middle of the pie crust.
Fold the sides in towards the middle, overlapping slowly. Bake in a 375 degree oven for about one hour. Let cool and transfer to a cake stand and serve. Goes great with a little strawberry ice cream.