
You are going to learn how to make your own homemade vanilla extract in the steps ahead. I’m going to guess a few of you do a fair amount of baking. Did you have to buy vanilla extract at the store? It’s expensive and it’s not always that healthy for you. Many of the vanilla extracts sold are “imitation” and are really just filled with ethyl alcohol and chemicals. That doesn’t sound like a great way to make your desserts taste extra special now does it. Here is an easy recipe to make your own vanilla extract. I give bottles of it away as hostess gifts, and have one more mason jar saved for myself. Time to make a few more batches.

Ingredients
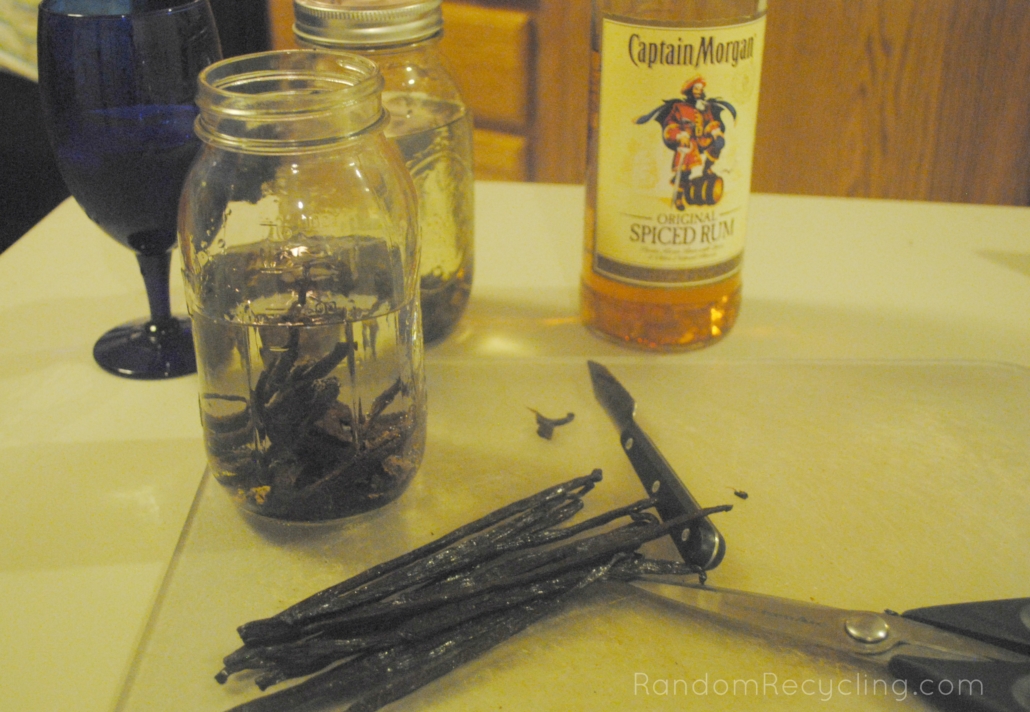
- Alcohol- either vodka rum or bourbon
- 5 vanilla beans I ordered mine from amazon
Instructions
- I cut the vanilla beans in half with scissors, then scraped the vanilla beans out into an sterile quart size glass mason jar. The vanilla beans are also added to the mason jar. Then cover the beans with your alcohol of choice. I used all three alcohols (separately) so I could decide which one is better. The bourbon smelled the best by far, but it is a more expensive choice. The better the alcohol you use, the better the end result. If you choose vodka, skip the plastic bottle bottom shelf vodka and get a mid-level priced option instead. It will create a better end result.
Next, store the jars in a cool, dark place. It has to be handy so it may be easier to just make some room in a kitchen cabinet. Over the next week, give the jars a gentle shake. After a week is up, transfer the jars to a storage area and let them sit for a minimum of six weeks. The longer they sit, the better. For the Christmas gifts I made, I did this in August and let them sit for months. Some say you can do it right away, others agree that longer steeping time is better.
Photo courtesy of Nikki from Days With Us
Once your vanilla is ready, I strained the mixture using a double layer of cheesecloth. I bought adorable swing top bottles from a local store. I used these labels and printed them on sticker paper. I had to create my own sheet of just the vanilla labels, cut and paste into a new document to print just vanilla labels. Once the jars were full, I added in some of the vanilla beans for decoration.
There are tons of different ways to make your own vanilla extract. This article here has links to many other crafters which helped develop my own recipe.
Let me know if you have any questions. Enjoy your homemade vanilla extract!


Yum! I’ve been seeing these recipes all over and have wanted to try them. I love that you used rum! I bet the vanilla is DELISH.
Yum! Yum! Yum! I am currently obsessed with vanilla. This looks like a fun gift idea, hopefully I’ll remember for next winter! Thanks so much for linking it up with the Whip it Up Wednesday party!
Do you remember how many small bottles this recipe made?
I bought a case of bottles and made a couple of mason jars worth of extract. I think it was 8?
Write more, thats all I have to say. Literally, it seems
as though you relied on the video to make your point. You definitely know what
youre talking about, why throw away your intelligence on just posting
videos to your blog when you could be giving us something informative to read?
How many bottles like you have shown did you make with the 750mL of booze? Finally making this year as its the perfect year to have xmas gifts ready in advance!