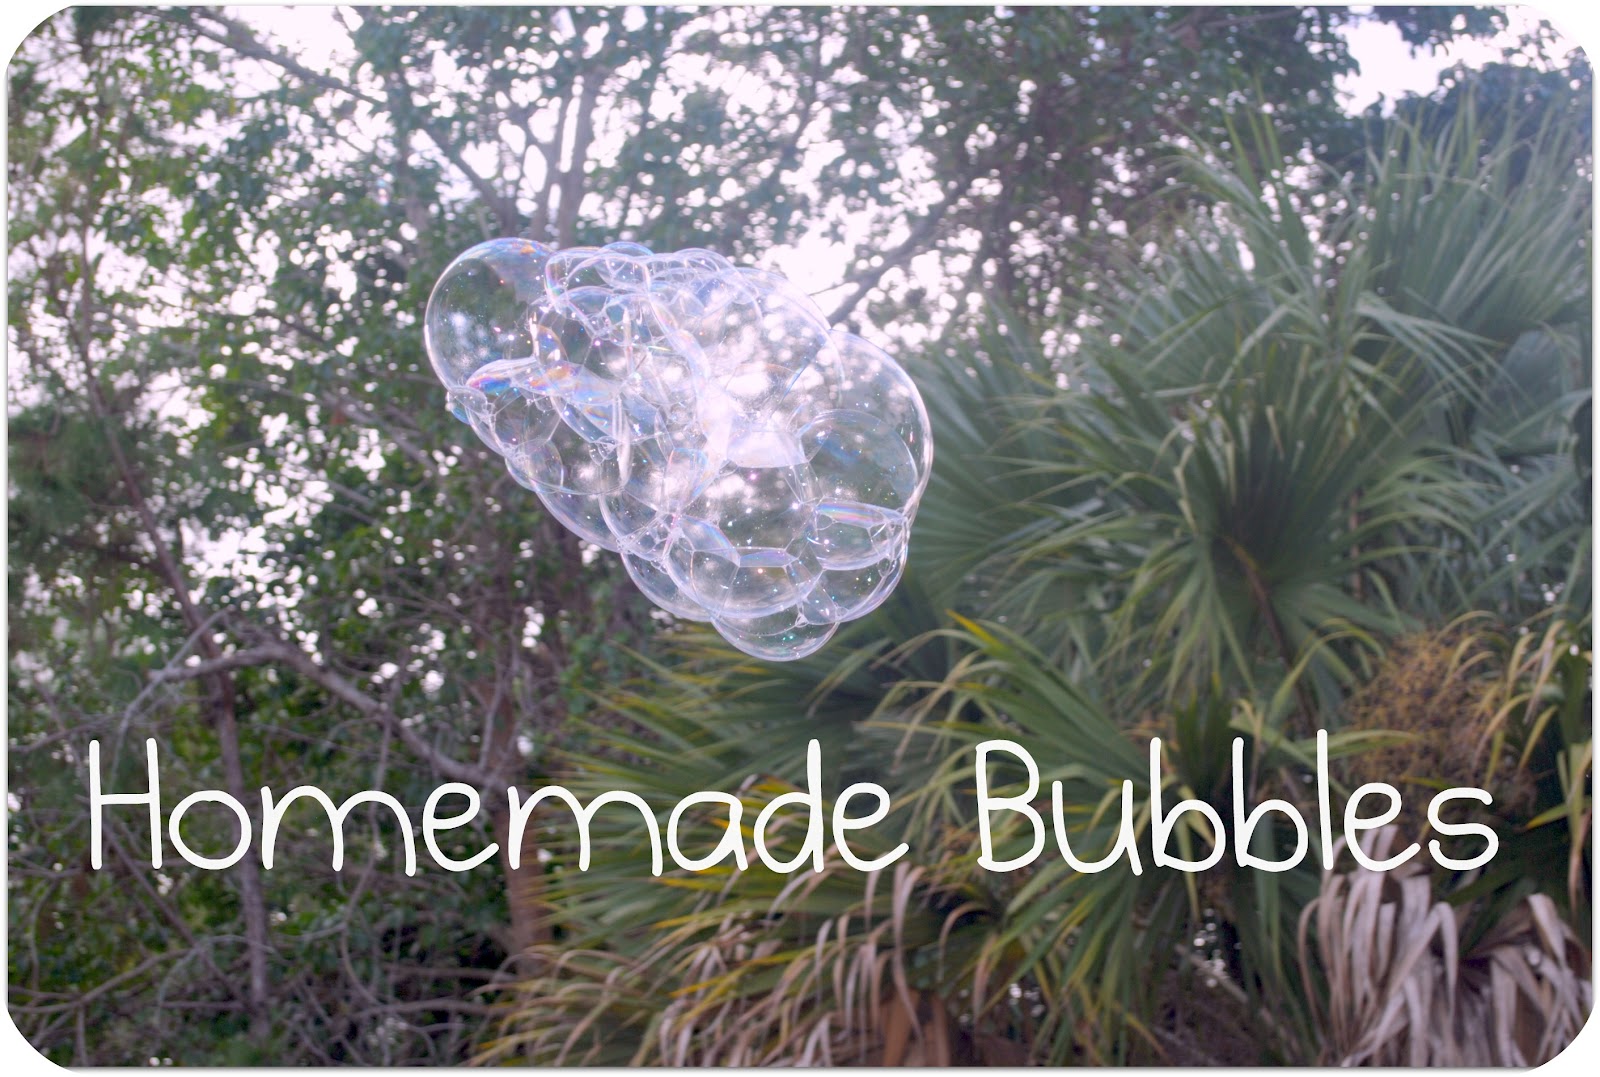
Is there anything better than seeing a child’s face light up when they see bubbles? When it’s nice outside, blowing bubbles is one of my top favorite activities. It can be messy, but it’s always worth it.
Bubbles can get expensive when your kids end up knocking over those little bottles. This recipe for homemade bubble mix is easy and will last for awhile. It actually gets better with age, though you probably won’t have it sitting around for too long once the weather gets really nice out!
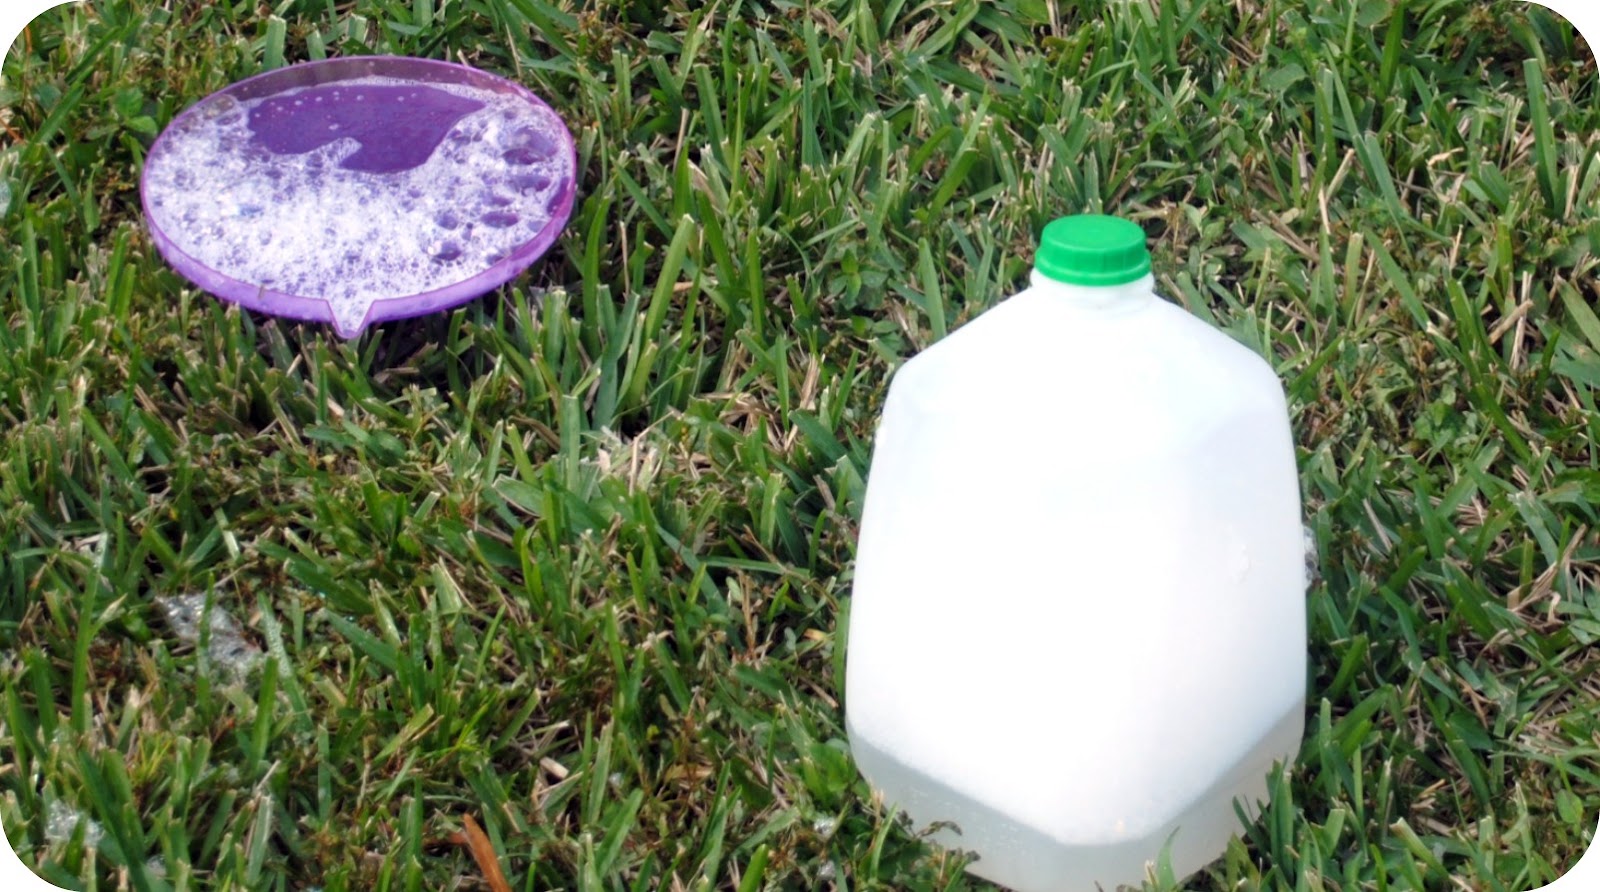
Ingredients 2 cups clear dish-washing liquid 6 cups water 3/4 cup light corn syrup
Instructions Combine in a gallon jug, shake and let settle for 4 hours. This bubble solution works better as it ages.
I love to hear your feedback and comments. Stop by and visit Facebook, Pinterest orTwitter for more conversation! Or get posts delivered via Email or RSS Feed. Thanks!
I’ve been pinning a lot of homemade cleaners as we get ready for spring cleaning. I thought this might be a fun opportunity for other like-minded friends to share their favorite homemade cleaner posts, recipes, Pins, etc. I’ll be adding my favorites to my Pinterest board, DIY Green Cleaners.
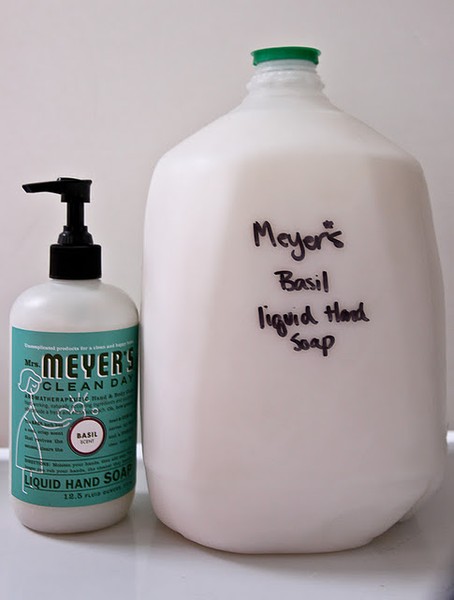
This is my favorite Pin that is on my to do list. We go through a lot of hand soap and I love the Mrs. Meyer’s product line, just not the price. This looks like a great way to cut costs and stretch that little bottle a bit farther.
Do you have some favorite links to DIY green cleaners? Either from your own blog or another site via Pinterest? In the linky, please link the original post for any great finds on Pinterest. If you want to leave a second direct link to your pin, please do so in the comment section.
Please don’t forget to include a link back to Random Recycling at the bottom of your post, as this is proper blog hop etiquette. Thank you! Can’t wait to see what everyone shares.
Leave a comment below telling me what you shared.
I love to hear your feedback and comments. Stop by and visit Facebook, Pinterest orTwitter for more conversation! Or get posts delivered via Email or RSS Feed. Thanks!
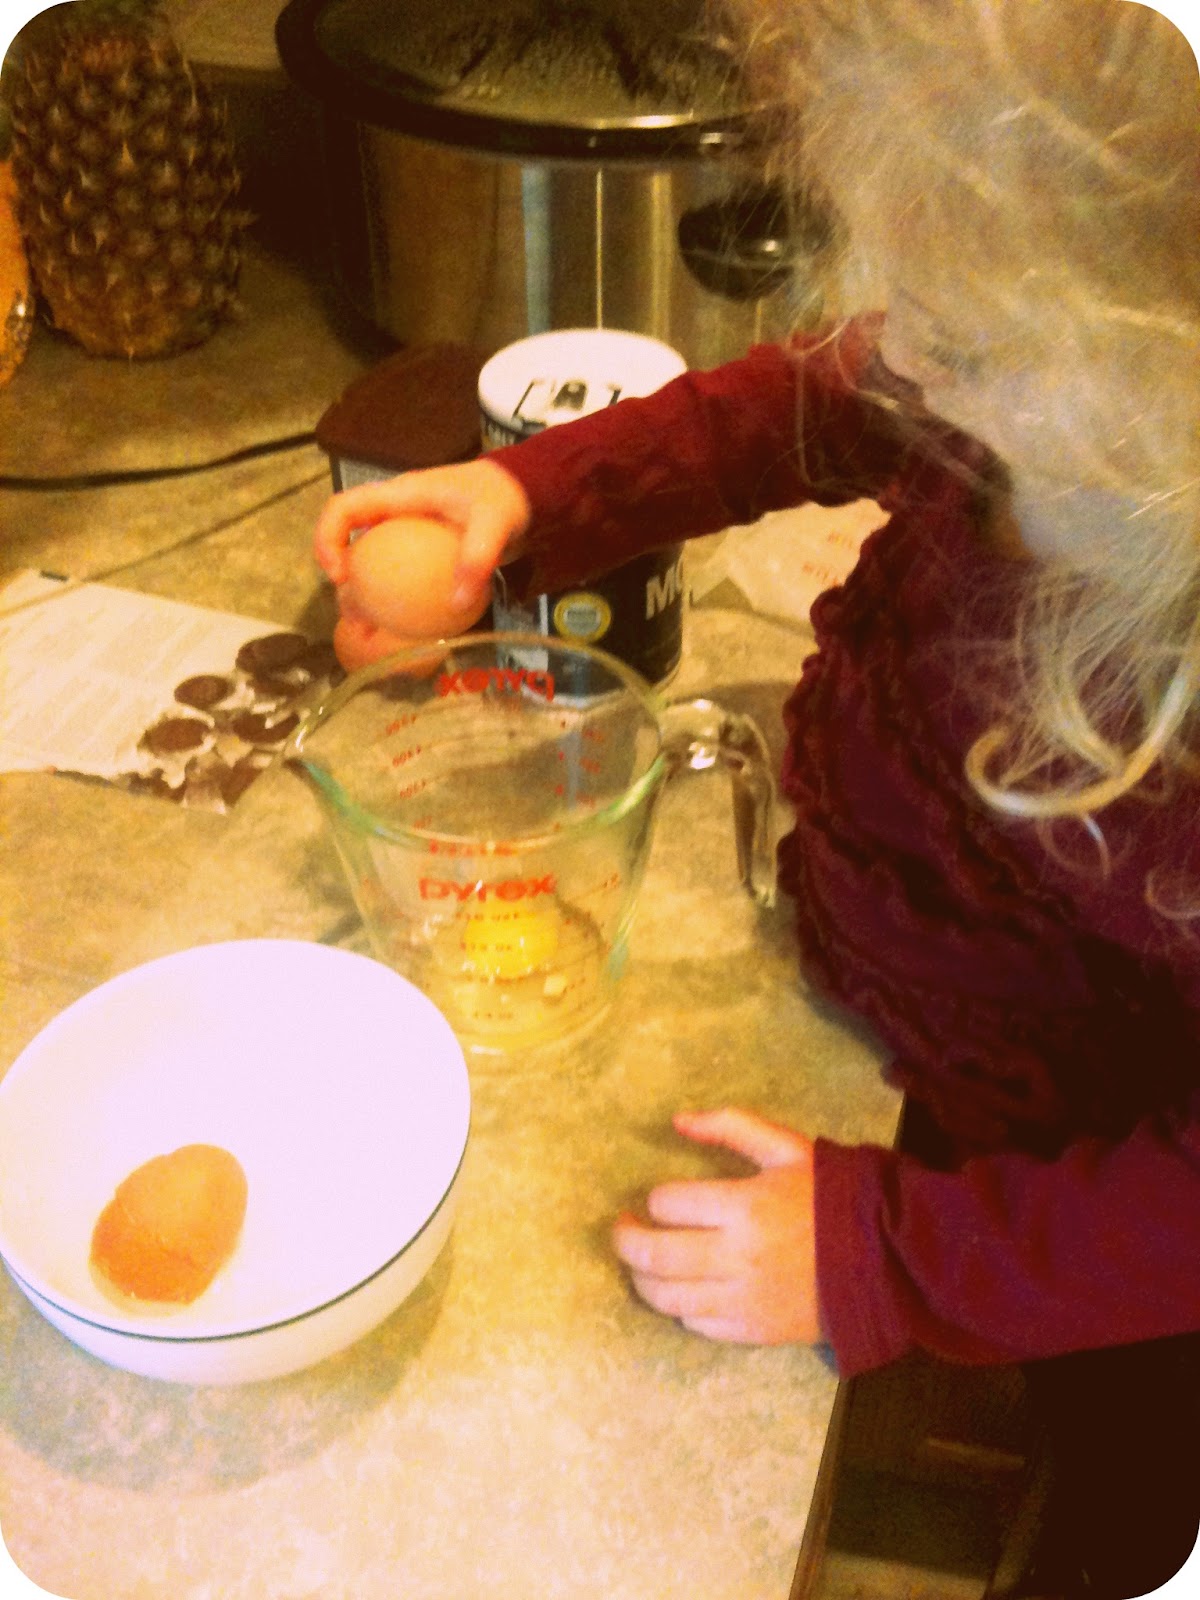
Ever get bored with basic brownies? They may be delicious, but here’s a clever twist to make them even better. Don’t be scared of making brownies from scratch. Trust me when I say it’s worth the couple of extra minutes it takes to make it without the box. Plus tt’s an easy recipe to make with the kids, as noted below by my resident egg breaker.
Mint Chocolate Brownies
Ingredients 8 tablespoons (1 stick) unsalted butter 8 ounces semisweet chocolate (I used semi sweet mini’s, regular morsels are fine too.) 1 cup sugar 3/4 teaspoon salt 3 large eggs 1/2 cup all purpose flour 1/4 cup unsweetened cocoa powder 16 small peppermint patties
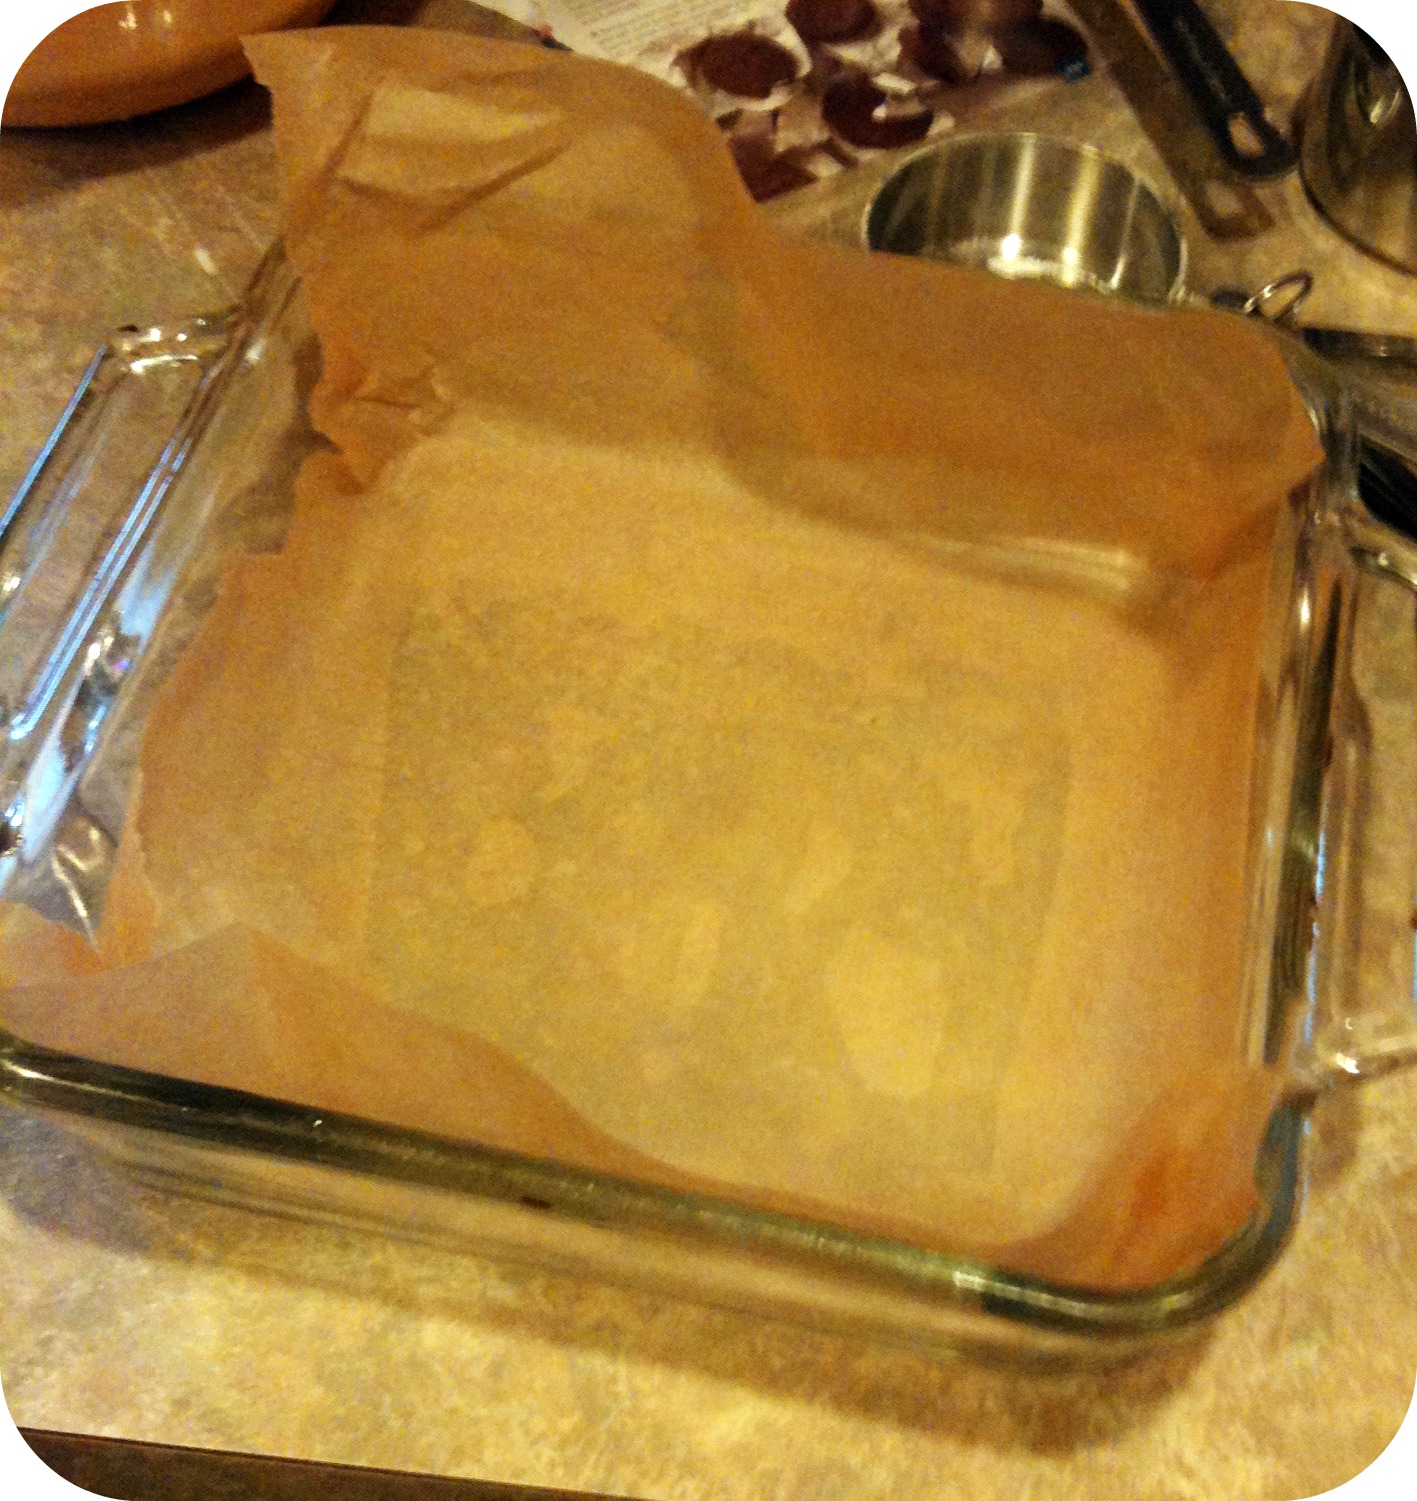
Instructions 1. Preheat oven to 350 degrees. Spray an 8×8 square baking pan with a little cooking spray or rub with coconut oil and then line with parchment paper.
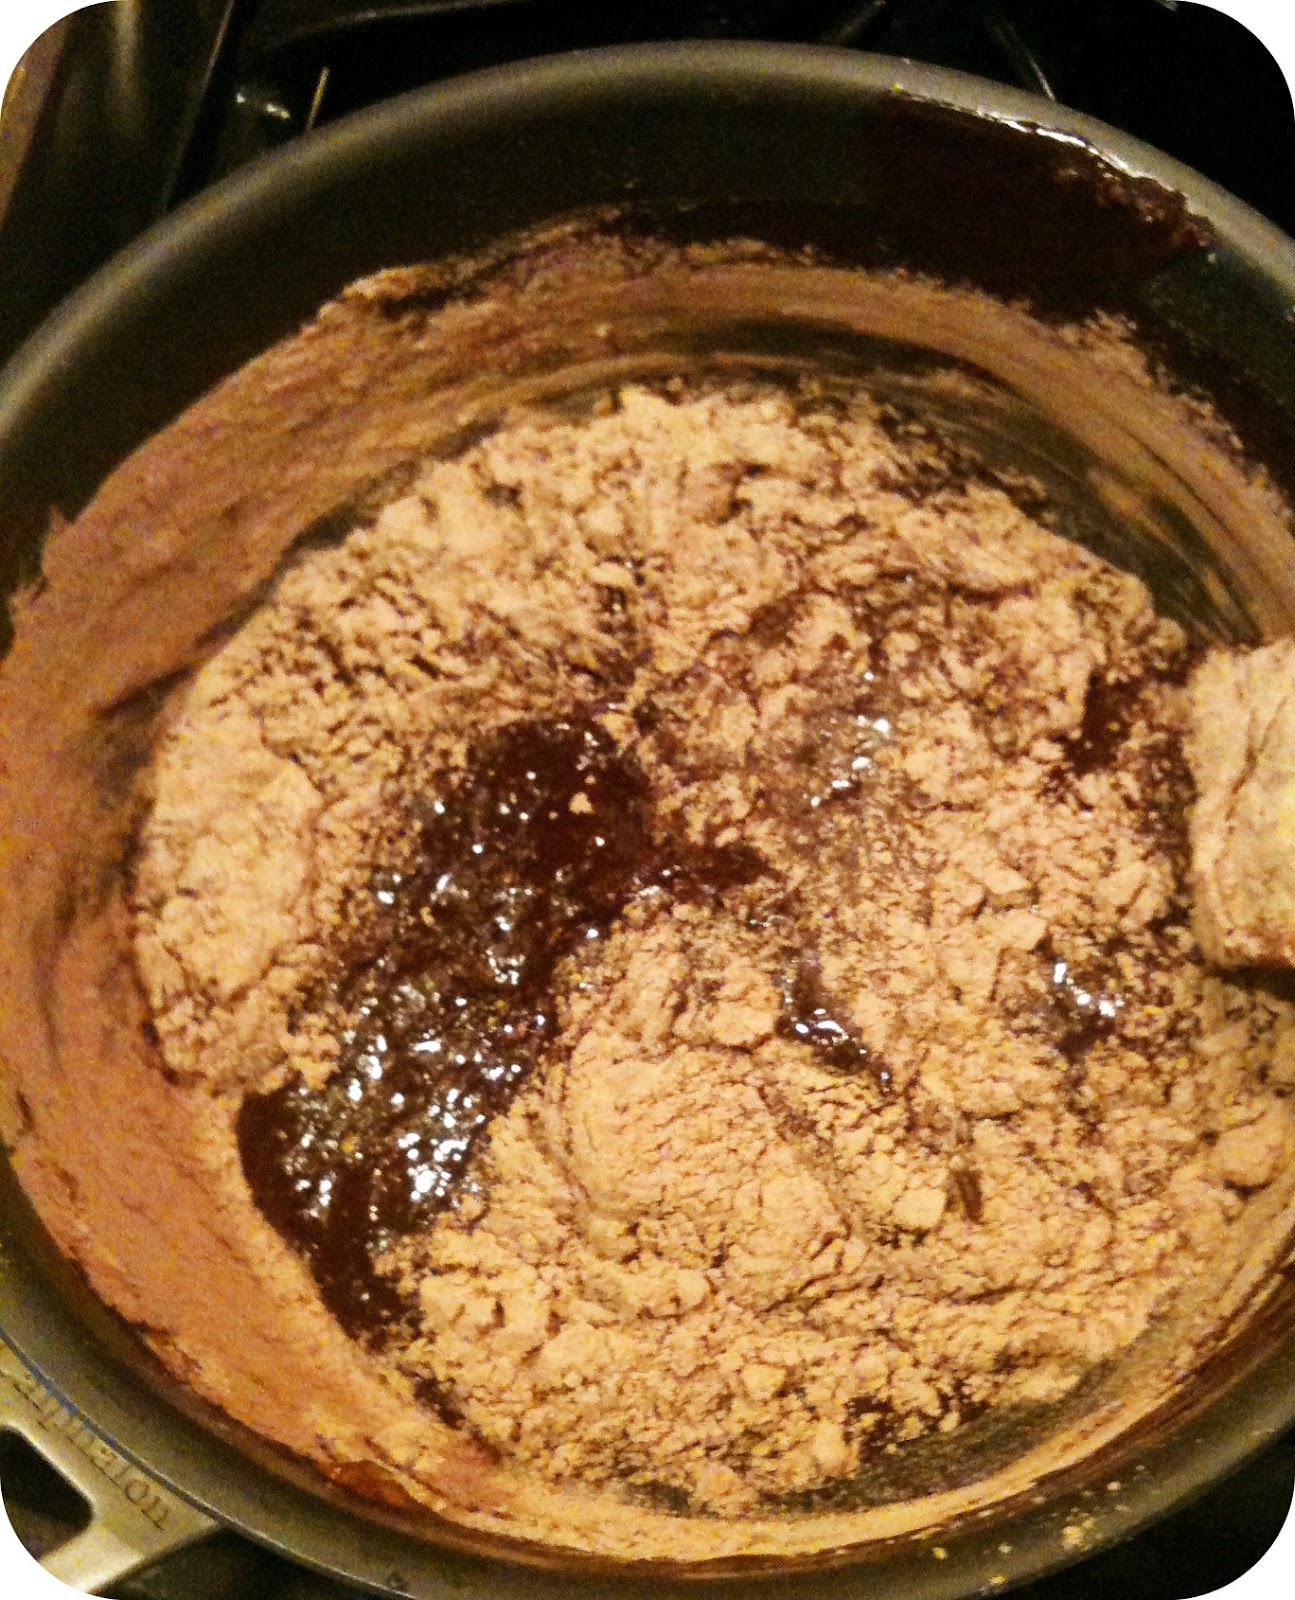
2. Combine chocolate and butter in a medium saucepan set over a second saucepan filled with about 2” of water. (double boiler). Stir until melted.
3. Remove chocolate mixture from heat. Whisk in sugar and salt until smooth. Whisk in eggs. Gently whisk in flour and cocoa powder until smooth.
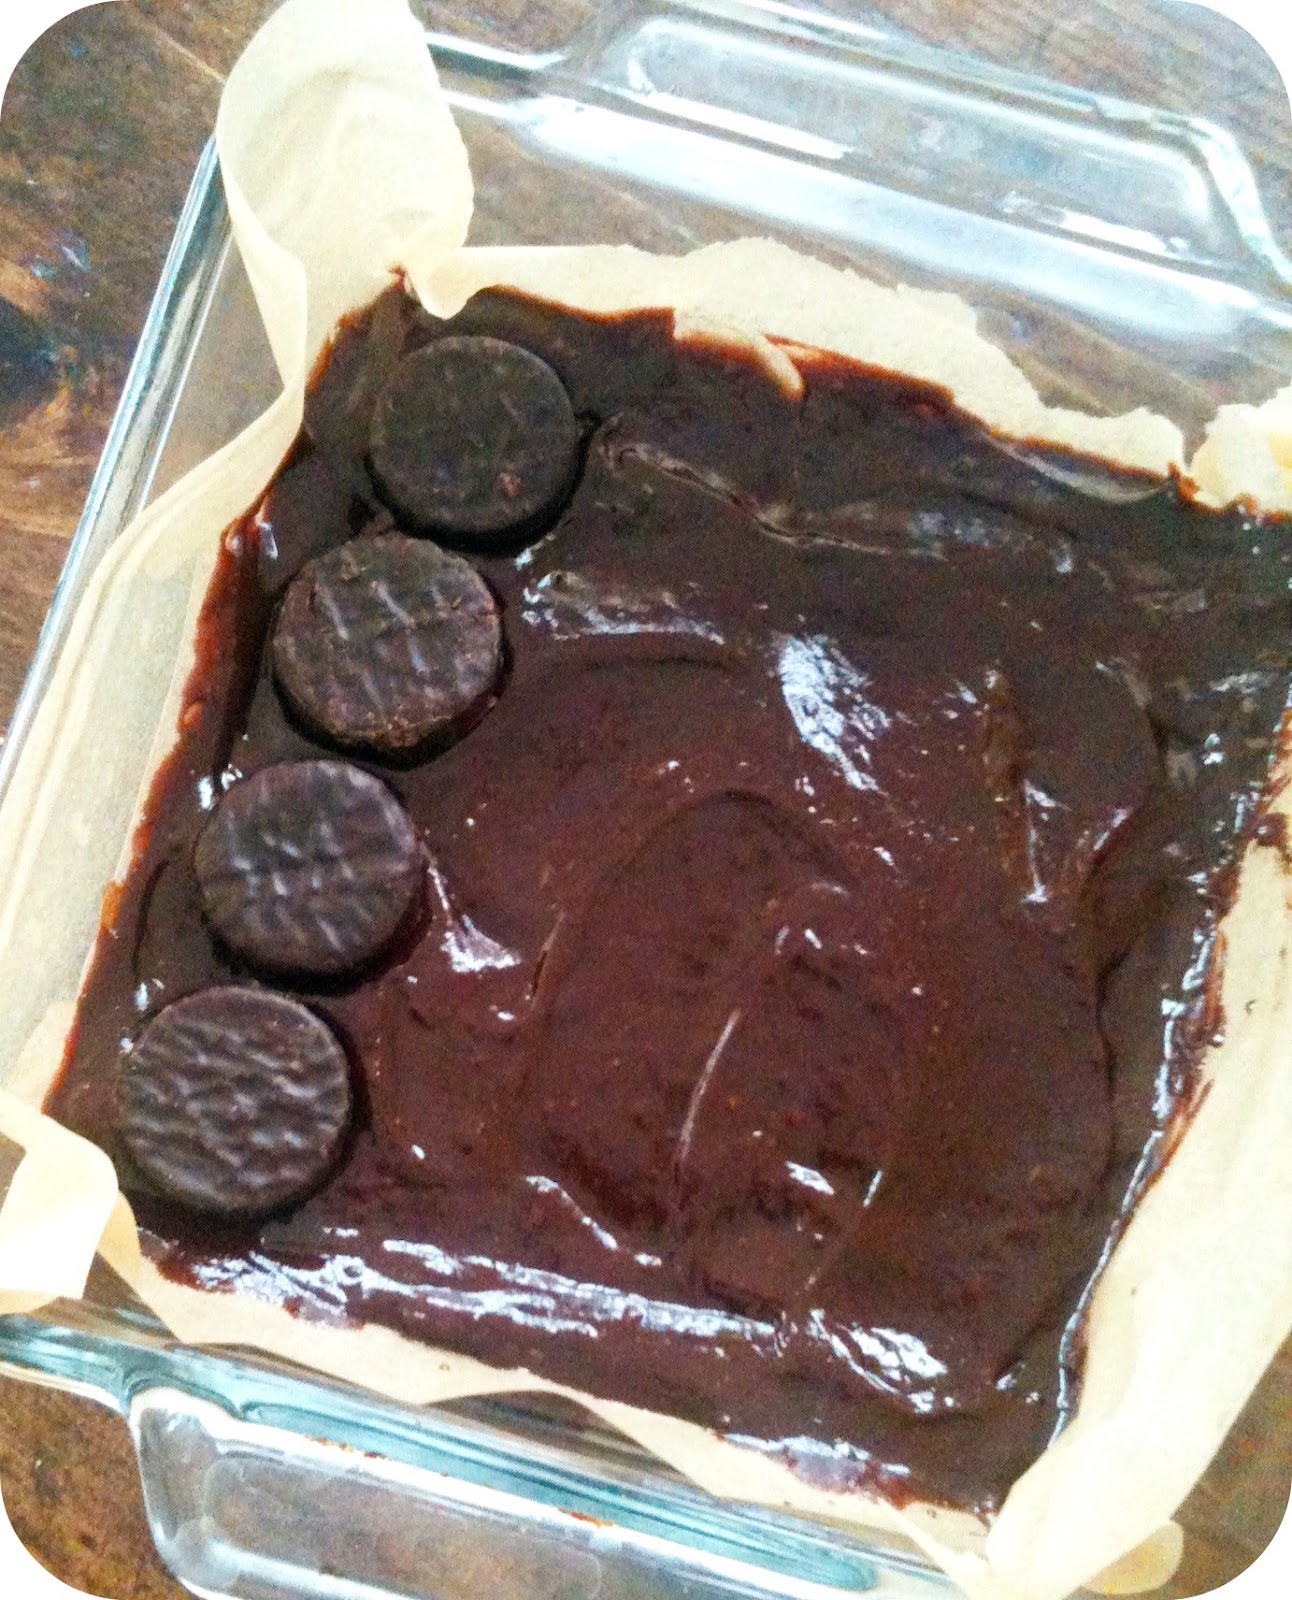
4. Spread about 1/3 of batter into the prepared plan. Arrange peppermint patties, (I know this isn’t the healthiest of options, maybe I’ll look for a high fructose corn syrup free mint pattie!) in a square on top of the batter. Top with remaining batter and spread out to create a smooth surface.
5. Bake for about 45 minutes. Cool completely in pan…this takes at least a couple of hours so plan ahead. Otherwise they are too crumbly. You can place them in the fridge to cool them off a little faster.
Makes 16 squares. Recipe adapted from Everyday Food.
I love to hear your feedback and comments. Stop by and visit Facebook, Pinterest orTwitter for more conversation! Or get posts delivered via Email or RSS Feed. Thanks!
https://emilyroachwellness.com/wp-content/uploads/2018/11/Emily-Logo-header-1.png00eroachwellnesshttps://emilyroachwellness.com/wp-content/uploads/2018/11/Emily-Logo-header-1.pngeroachwellness2012-03-05 14:22:002012-03-05 14:22:00Not Your Average Brownie
Welcome to March! I am excited for some warmer weather heading our way this week so it’s back to the grill. In the meantime, there are lots of crock pot meals on deck.
Sunday~ New beef stew recipe made in the Pressure Cooker. It was from the Boston Globe Magazine this weekend, Asian-style beef stew. I followed the star anise and ginger recipe, however I couldn’t find star anise at my local grocery store. Even without the star anise, the stew had a wonderful flavor to it that was a nice departure from beef/carrots/celery/onion mix. In the pressure cooker, I just adjusted the cooking time to 10 minutes at high pressure. Use quick release, then add the carrots, and I also added potatoes and cooked on high pressure for another 7 minutes. Use natural pressure release and dinner is done. It was a little thinner than your typical beef stew, but you can thicken it up with a little butter and flour, beurre blanc.
Monday~ Coconut and Garlic Chicken in the Crock Pot. This is from Aimee at Simple Bites and it’s amazing. We have made it before and it got five stars all around. The kids like the little baby corn in the recipe.
Coconut Ginger Chicken and Vegetables via Pinterest
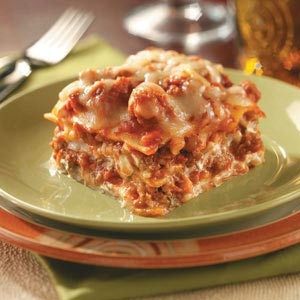
Tuesday~ Crock Pot Lasagna. My friend Caren tested this out after I didn’t get to make it from another menu plan. It came out great and she recommends adding in fresh basil.
Wednesday~ C.O.R.N. = Clean out refrigerator night. With all these big meals I want to make sure we eat the leftovers. Plus we are working on Project Night Night in the afternoon and don’t want to worry about making dinner when we are done.
Thursday~ Grilled Chicken and Asparagus. Hopefully we really do get 60 degree weather.
Friday ~ Veggie Pizza.
Saturday ~ Date night, dinner out!
What are you making this week? Any new recipes? Feel free to share your meal plan links in the comments below.
I love to hear your feedback and comments. Stop by and visit Facebook, Pinterest orTwitter for more conversation! Or get posts delivered via Email or RSS Feed. Thanks!
This meal plan is shared with Org Junkie. If you want your menu plans ready to go, check out Plan It, Don’t Panic e-book.
https://emilyroachwellness.com/wp-content/uploads/2018/11/Emily-Logo-header-1.png00eroachwellnesshttps://emilyroachwellness.com/wp-content/uploads/2018/11/Emily-Logo-header-1.pngeroachwellness2012-03-04 20:22:002012-03-04 20:22:00Menu Plan Monday March 5
It’s that time again. Spring clean-out is around the corner. If you want a little motivation to get moving, I highly suggest checking out Project Simplify from Simple Mom. Over four weeks, you get a little kick in the pants to target an area that needs some TLC. I did this project last year and still remember the bags of clothes to donate coming out of my closet. It was refreshing. But I also had an infant so I was also just a wee bit sleep deprived. This time around I have all my favorite pins in my Organization Board all ready to go for inspiration.
Although the sleep deprivation hasn’t totally changed this go round, I am pleased to see Tsh is sharing the “hot spots” ahead of time so I can plan accordingly. I’ll be sharing my progress at the end of each week and then there will be a link up of similar posts on the Simple Mom site where you can get loads of other organizing idea. It will be a major “pinning” party over there.
Here is the schedule of hot spots if you want to play along
Week of March 5: Kids’ stuff- toys, clothes and the like
Week of March 12: Kitchen and/or pantry
Week of March 19: Closets, countertops and drawers
Week of March 26: Choose your own adventure- you pick your most-needed hot spot.
I’m reading Tsh’s book Organized Simplicityto get some new ideas for the kids’ toy area. I need to figure out a better strategy for our basement set of toys. (This is the link to theKindleversion which is free for Amazon Prime members)
If you are in an organizing mood, you may want to check out Tsh from Simple Mom’s One Bite at a Time. I’m reading this weekly and enjoying tackling some manageable challenges each week.
I ordered some chalkboard contact paper today to work on a new label idea. There will also be a giveaway for Naked Binders during the course of Project Simplify to help inspire you to get organized.
What’s your Hot Spot you want to see on this list?
I love to hear your feedback and comments. Stop by and visit Facebook, Pinterest orTwitter for more conversation! Or get posts delivered via Email or RSS Feed. Thanks!
Snacks are a lifeline with the little ones in tow. Cheerios, fruit, apple squeezies and so on. I don’t walk out the door without a snack sack in the diaper bag. However, I was getting tired of offering the same old thing so I went searching for a little inspiration.
One of my all time favorite recipes to make is Pumpkin Muffins from Kitchen Stewardship. I have made them probably 30 times in the past two years since I first found the recipe. I’ve also been reading Katie’s blog since then and found loads more “green” stories that were new to my world. I had my eye on her Healthy Snacks to Go e-book for awhile and when the updated version came out, I finally ordered it.
I am a fan of the e-book now as they are easy to download to my Ipad and it allows me to browse through recipes before bed. Yes, that’s right. I read cookbooks before I go to sleep. Helps me slow down I guess. I also have wireless printing so I can print a recipe to try in the morning Since I usually let Madison bake with me, I don’t want the Ipad anywhere in the vicinity of the kitchen when we get started.
The pumpkin muffin recipe is in there with four different variations I’m excited to test out, including Banana Nut, Banana-Cran, Applesauce Spice and Blueberry. I do love muffins so expect to see these at a future playgroup date. (You can also follow my Muffin Pinterest board too). The Honey Whole Wheat Pumpkin Muffin recipe is listed below.
Last week we tested out the Butternut Spice Bars. I wanted something with protein in it as my little guy doesn’t always feel like eating dinner. A protein rich snack at 4:00 though will rarely be turned down. The spice bars didn’t disappoint as everyone is giving them a thumbs up. They don’t crumble so it’s also portable as they passed the church and playground snack bags this week. Again, there are notes about variations and substitutions so you can use canned pumpkin if you don’t have butternut squash on hand.
The next challenge is to make the power bars, though I may never make them all. There are 15 variations in this cookbook. No more spending a $1/bar. One batch probably costs around a $1 to make and will give you 5-6 bars, or a dozen 1/2-inch balls which I’m curious to serve to the kids.
To order the book, click here to access the Kitchen Stewardship ebook collection. (Full disclosure, I am an affiliate of the book and get a small percentage of the sale if you purchase the book. Thanks!) The book is currently $8.95 and includes 45 recipes. Add the book to your cart and you can check out easily with paypal. You will get an email with the link to download your book. I download my link to both my laptop and Ipad so I can access it whenever I want it. You never know when you will need a little snack inspiration for a long road trip.
Happy Snacking!
Honey Whole Wheat Pumpkin Muffins from Healthy Snacks to Go
Ingredients 3/4 cup honey 2 eggs 1 tablespoon molasses (optional) 1/2 cup melted butter or coconut oil (I’ve tried both and they are equally good) 1/4 cup cold water 1 cup can pumpkin (1/2 a can) 1 2/3 cups whole wheat flour (100% w.w. flour or white whole wheat flour both work) 1/4 teaspoon baking powder 1 teaspoon baking soda 3/4 teaspoon salt 1/2 teaspoon ground cloves 1/2 teaspoon cinnamon 1/2 teaspoon nutmeg
Method Mix all dry ingredients together, whisk to combine. Add balance of wet ingredients to large bowl and mix completely. Pour in greased loaf pan or muffin tin. Bake at 325 degrees:
Bread = 75-90 minutes
12 Muffins = 35 minutes
24-30 Mini muffins = 25 minutes
24 Muffin Tops = 20 minutes (my own personal add on, they came out great!)
https://emilyroachwellness.com/wp-content/uploads/2018/11/Emily-Logo-header-1.png00eroachwellnesshttps://emilyroachwellness.com/wp-content/uploads/2018/11/Emily-Logo-header-1.pngeroachwellness2012-02-27 20:48:002012-02-27 20:48:00A Little Love for the all important Snack
Making the switch to whole wheat is easy in some cases, like bread and pasta. Making the switch when baking is not always so simple. Whole wheat flour acts differently than the all-purpose white flour because it has a lower amount of gluten. This can cause baked goods to not rise properly. Often times, I do a mix of both flours so I make them a little healthier, but still get a light and fluffy result.
This recipe I found for Whole Wheat Chocolate Chip Cookies uses 100% whole wheat flour and it comes out perfect. I have made them for a number of different people and so far everyone likes them and is surprised when I tell them they are made with whole wheat. These are not the healthiest of cookies (2 sticks of butter!) but I like that there are no preservatives in them, the ingredient list is simple, and there are no refined flours involved.
The recipe is originally from Parenting magazine, Feb 2011.
Whole Wheat Chocolate Chip Cookies
Ingredients 2 cups whole wheat flour 1/4 cup oatmeal (old fashioned) 1 teaspoon baking soda 1/2 tsp salt 1 cup unsalted butter, softened 1 1/2 cups packed light-brown sugar 2 large eggs 1 teaspoon vanilla 1 1/4 cups semi-sweet chocolate chips
Instructions 1. Mix flour, oats, baking soda and salt in a bowl and stir with a whisk. Set aside. 2. Soften the butter. I leave it in the paper wrapper and place on a plate in the microwave and heat for about 15 seconds. Totally depends on your microwave but you want to make sure it doesn’t melt. 3. In a mixer, beat the butter on high speed until creamy. Add brown sugar and beat on medium speed. Add eggs one at a time, blending well after each addition. Last, add in the vanilla. 4. Slowly add in the dry ingredients and mix on low speed. Mix until mostly blended. 5. Stir in the chocolate chips. 6. Chill batter for at least 30 minutes. A chilled dough helps the cookie bake more evenly and doesn’t flatten out.
7. Drop rounded tablespoons of batter on ungreased baking sheets. 12 per sheet. Bake 12-14 minutes or until lightly golden at the edges in a 350 degree oven. Cool on wire racks. Made about 30 generous sized cookies. Pin It
I love to hear your feedback and comments. Stop by and visit the Facebook page or Twitter for updates! Or get posts delivered via Email or RSS Feed. Thanks!
It feels like spring is nearly around the corner! I can’t believe it’s the last week of February and the next meal plan will be for March. Time to start thinking about some cold weather crops…spinach and broccoli are on my list for this spring.
Last week’s plan got a little off track as we maneuvered through some off stomachs, etc. Plus we decided not to eat meat on Friday for Lent so we have two recipes that got bumped to this week. Good thing we are all happy with pasta and meat sauce when a spicy chili wouldn’t fit the bill last week.
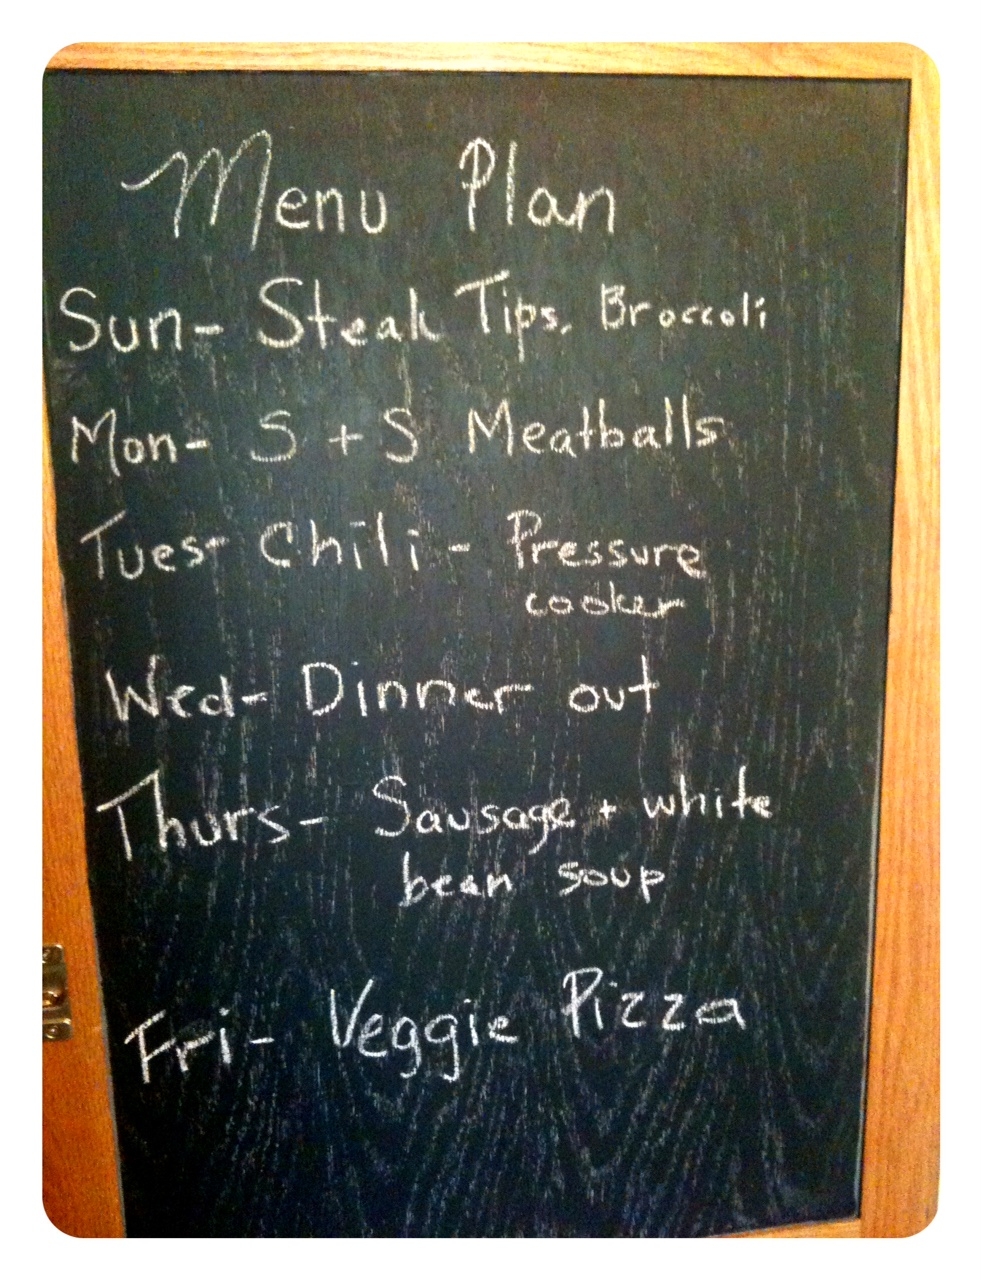
Sunday~ I made my own teriyaki marinade for steak tips and put it together quickly before church this morning. Despite the crazy wind, we are going to attempt grilling outside tonight.
Monday~ take 2 on the Sweet & Sour Turkey Meatballs from Simple Bites. I’ll serve it over mashed red potatoes that need to be used up.
Tuesday~ take 2 on chili in the pressure cooker. I have browned meat already in the freezer ready to go so this will save me an extra step and make it a quick meal.
Wednesday~ hopefully going to a potluck dinner out with our daughter’s preschool parents. I do need to make a dessert…
Thursday~ Sausage and white bean soup. Still a favorite that was originally in Cooking Light circa Nov 2007! I think I’ll post my own teaks on this recipe in a future post.
Friday~ Veggie Pizza
Any new meal favorites lately? Leave a comment with a blog post, pinterest pin or recipe link for other’s to enjoy. For more meal plan ideas, stop by OrgJunkieand Stephanie Langford’s e-book Plan It, Don’t Panic for meal planning strategies.
https://emilyroachwellness.com/wp-content/uploads/2018/11/Emily-Logo-header-1.png00eroachwellnesshttps://emilyroachwellness.com/wp-content/uploads/2018/11/Emily-Logo-header-1.pngeroachwellness2012-02-26 12:02:002012-02-26 12:02:00Menu Plan Monday Feb 26
If you have a baby that loved all the purees you ever gave him and suddenly with the shift to chunkier textures he is super picky, then I feel your pain. My little guy is almost 13 months and we are in that funny time period where he won’t let you feed him, he is struggling to grasp the idea of a spoon and he wants to try everything we eat. I’m all for sharing, but lately he is throwing more food off his high chair than eating it. Oh, and did I mention I’m trying to wean him from nursing? Let’s just say meal time has not been the most relaxing experience lately.
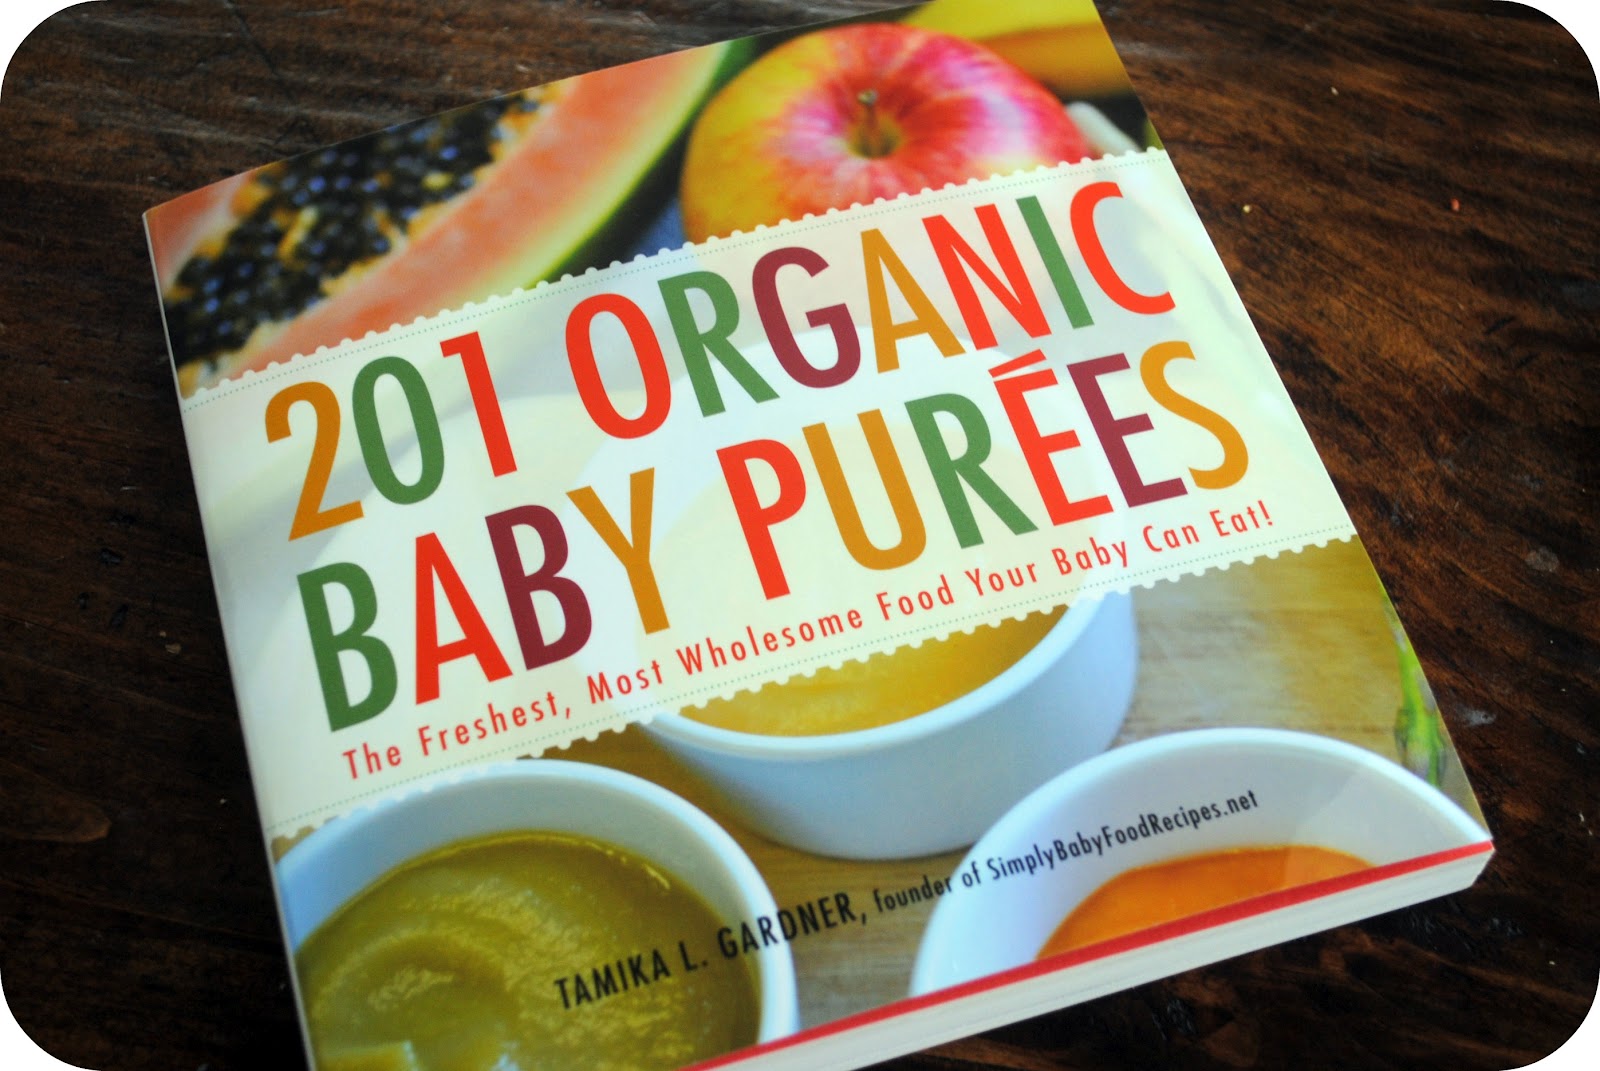
I got the chance to review the new 201 Organic Baby Pureescookbook by Tamika Gardner, the author behind the Simply Baby Food Recipes blog. Certainly good timing as we were moving into this transition stage of eating. Plus I had used a number of her recipes already when we were in the early food stages. Think Stage 1 and 2 of store bought baby food.
The cookbook is divided into age appropriate recipes, with a push towards a broader flavor offering as the child grows. One of the cool ideas I liked is the menu plans for little ones. Sometimes I find it easier to make new recipes when I see the different ways I can reuse later in the week.
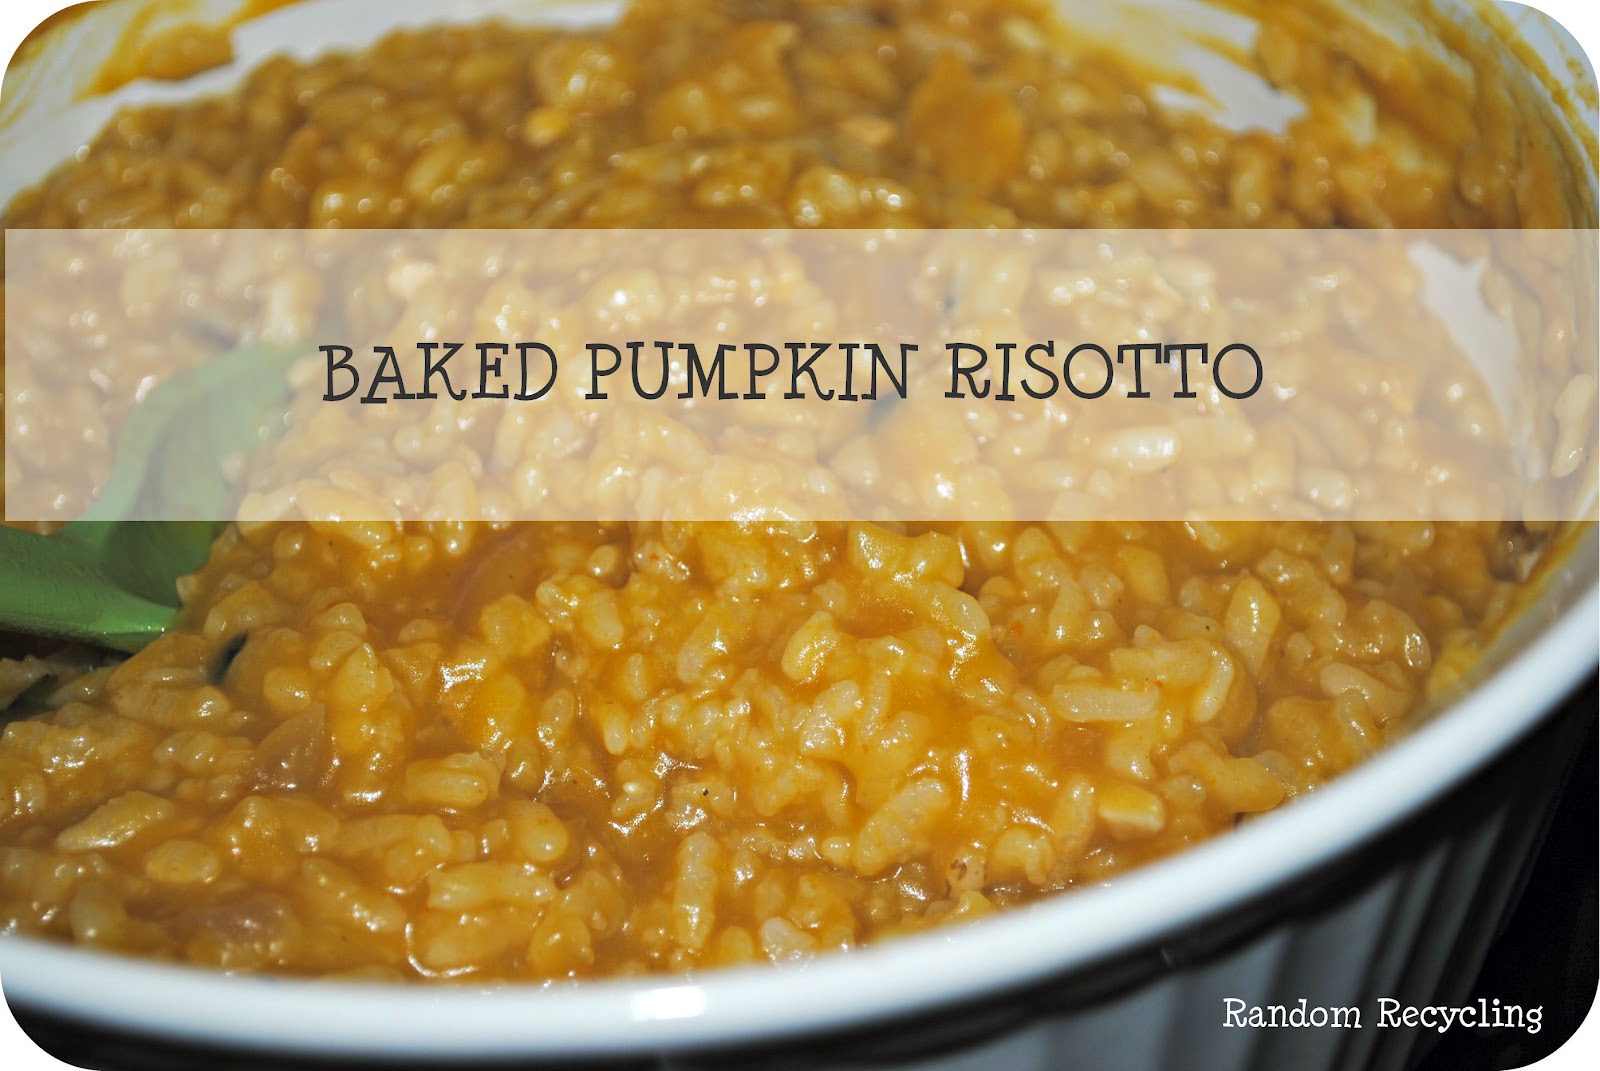
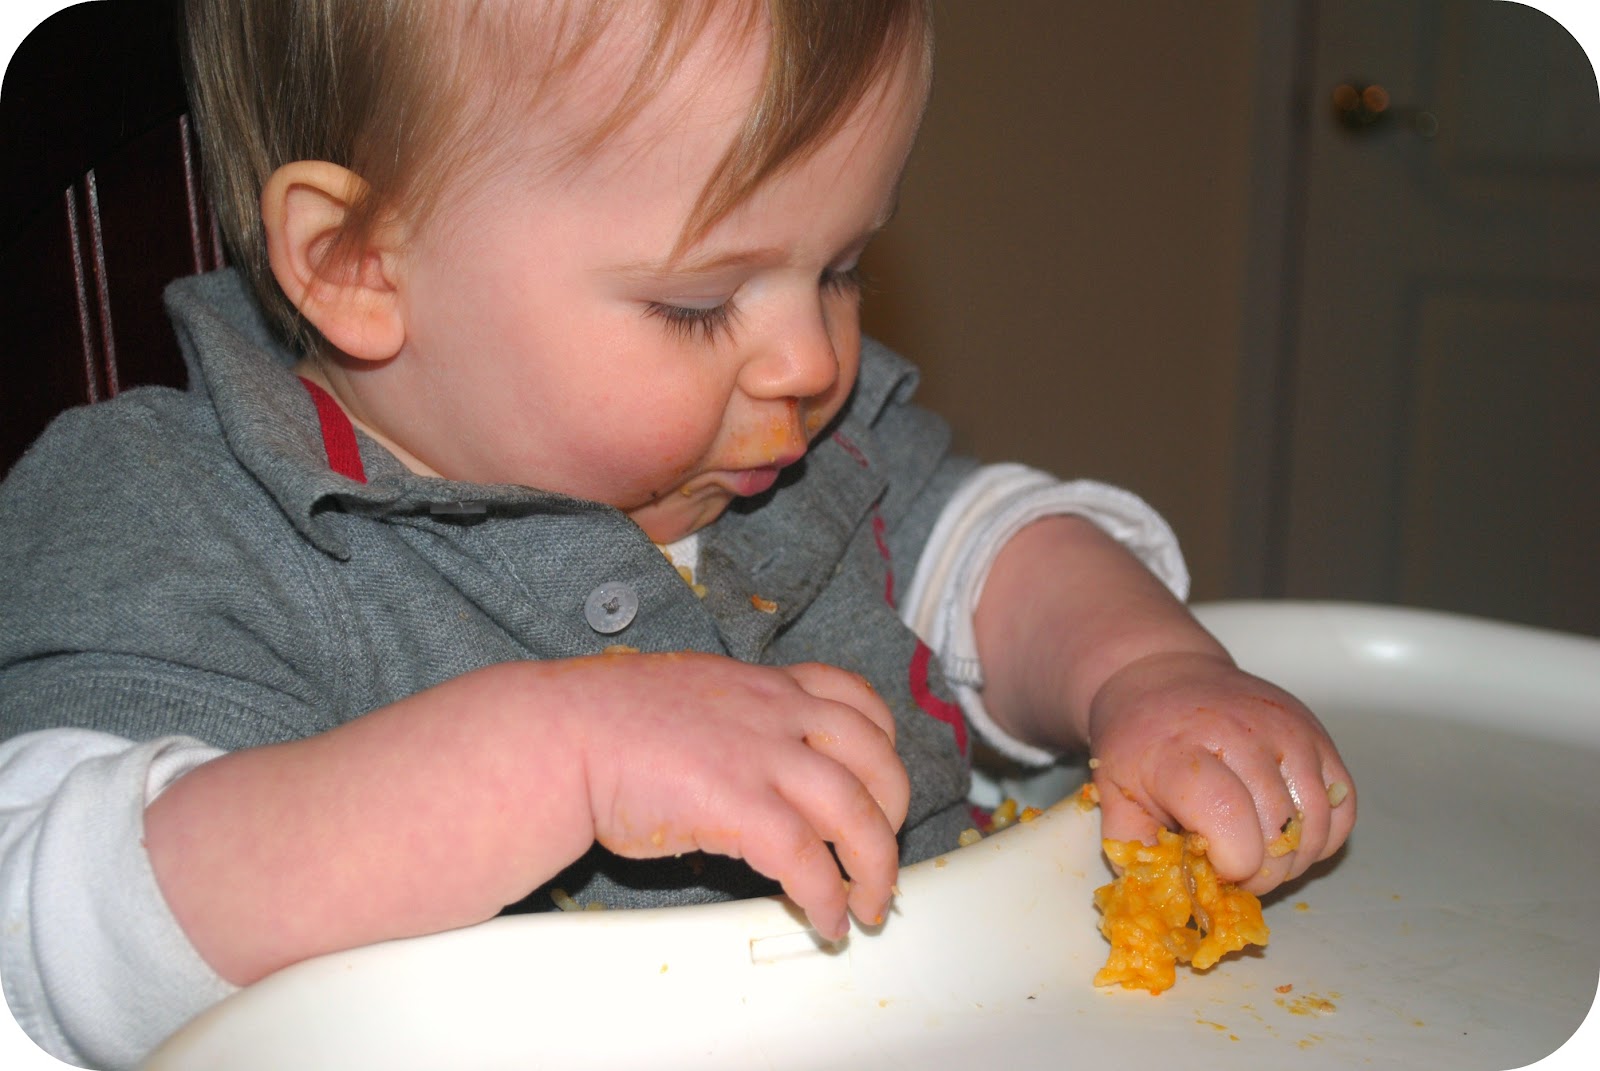
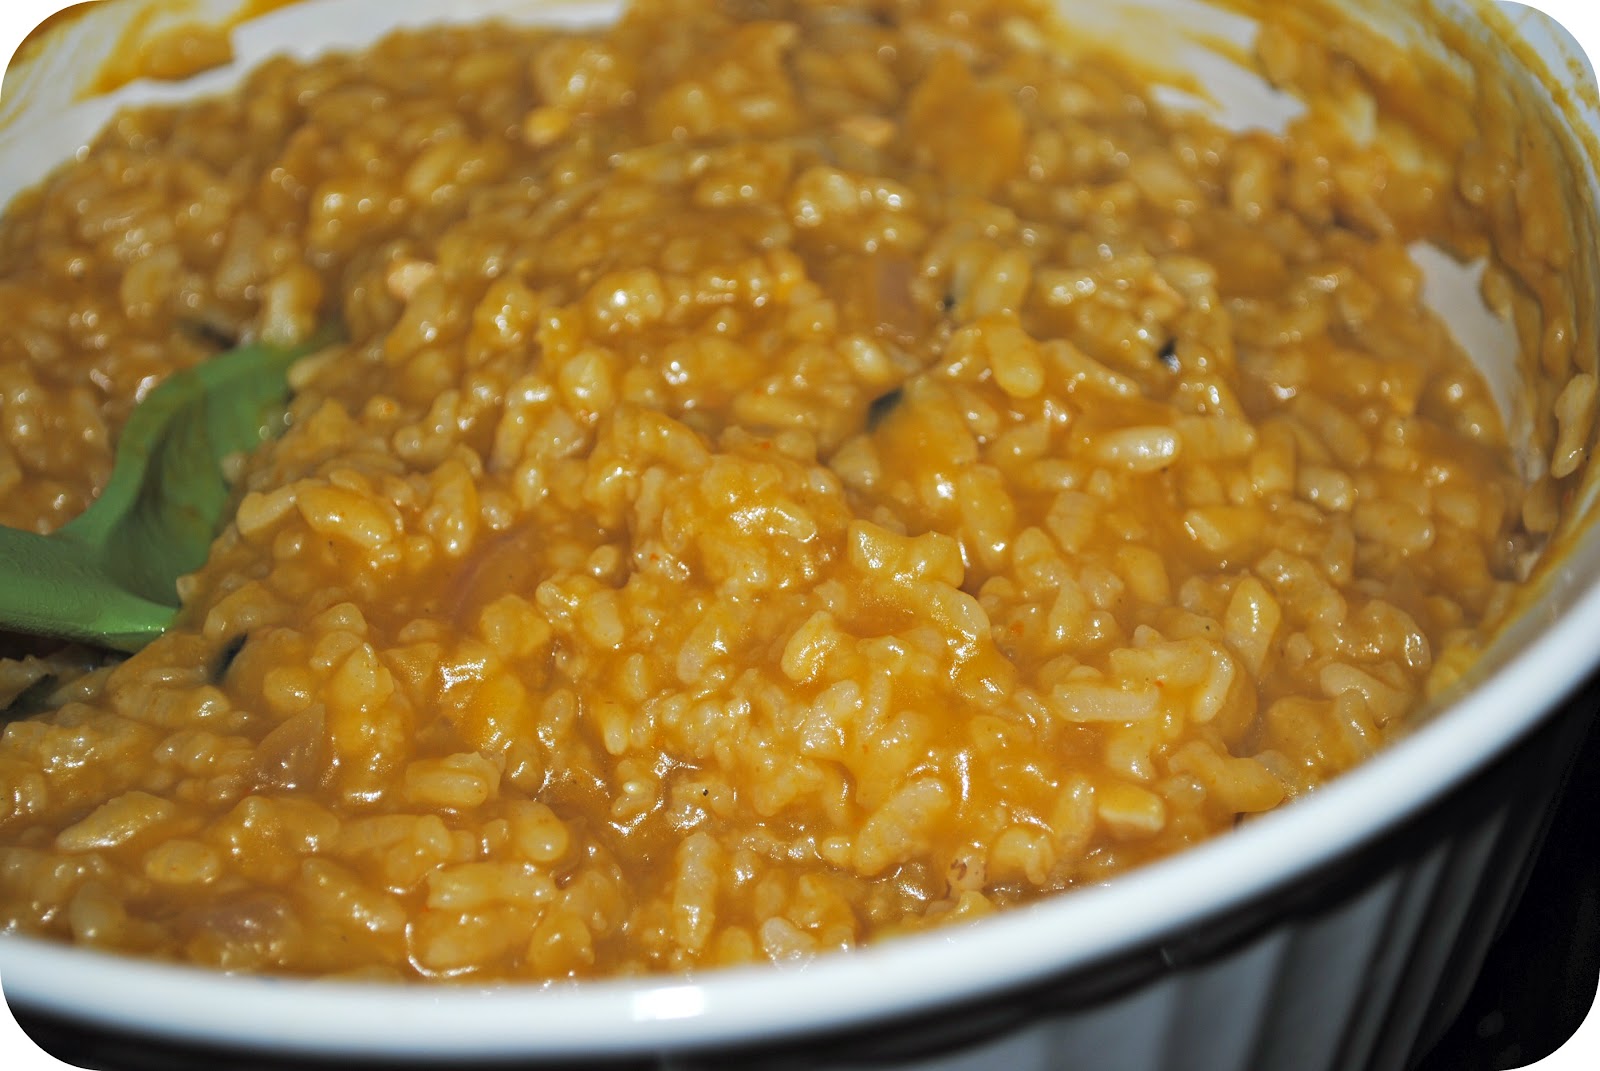
The big winner in all the recipes I tested was the Pumpkin Risotto. It’s noted to be both freezer friendly and parent friendly, both winners in my book. I LOVE risotto and yet I had never baked it before. Guess what, it works. Easier than standing at the stove for a half hour stirring, sort of like when I made risotto in the pressure cooker. What was even better is that the little guy LOVED his risotto too. He ate it so fast I nearly forgot to get a picture. Very little ended up on the floor. 😉
PUMPKIN RISOTTO from 201 Organic Baby Food Purees Ingredients
1 tablespoon extra virgin olive oil
1 tablespoon butter
1 tablespoon fresh sage
1 garlic clove minced
1/4 cup chopped onion (I used red)
1 cup arborio rice
1 cup canned pumpkin
3 cups vegetable broth
Risotto ready for the oven
Instructions
1. Preheat oven to 350 degrees.
2. In a small skillet, heat olive oil and butter on medium heat.
3. Once butter is melted and mixture is starting to sizzle, add sage and garlic. Saute for about one minute.
4. Transfer herb mixture to a 3 quart casserole.
5. Add remaining ingredients and cover.
6. Bake 1 hour. Stir before serving.
Want a copy of this cookbook?! Enter for yourself or a friend, this book would make a nice unexpected shower gift for a lucky mom. Contest will be open until midnight on March 2st., US residents only please.
https://emilyroachwellness.com/wp-content/uploads/2018/11/Emily-Logo-header-1.png00eroachwellnesshttps://emilyroachwellness.com/wp-content/uploads/2018/11/Emily-Logo-header-1.pngeroachwellness2012-02-23 21:16:002019-01-22 20:38:43Baked Pumpkin Risotto plus a Giveaway!


