One of the questions I get the most is “where did you buy that?” I decided to pull together a list of some of my favorite eco-friendly shopping sites, plus some of my favorite books for further reading. This will always be available as a page in the menu bar. Please let me know if you have any questions about the products/companies listed on this page.
~Emily

Babies/Toddlers/Mama’s to Be
ecomom® Official Site. Featuring a Huge Selection of Eco Friendly and Organic Products
Ecomom is one of my favorite sites. You can buy safe toys, BPA free dishes, toddler snacks and more from this shopping site dedicated to healthy living. I love it!
Isis Parenting (favorite local shop, but you can order online)
 Earth Mama Angel Baby covers all your needs when pregnant, post partum and for your little one. Everything from special teas to diaper rash cream.
 Kiwi Crates come delivered right to your door. Awesome craft projects for ages 4+.
 Abe’s Market has a wide range of natural products. Groceries, beauty products and more.
 My favorite hand sanitizer comes from CleanWell. It’s safe for the kids and their wipes are awesome after an afternoon at the playground.
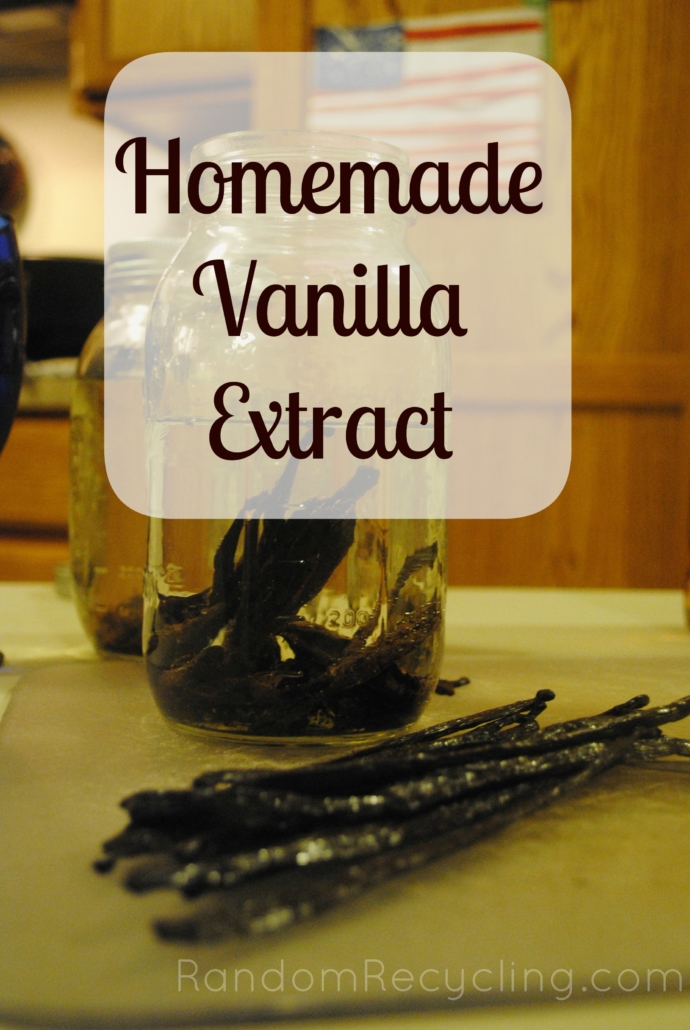
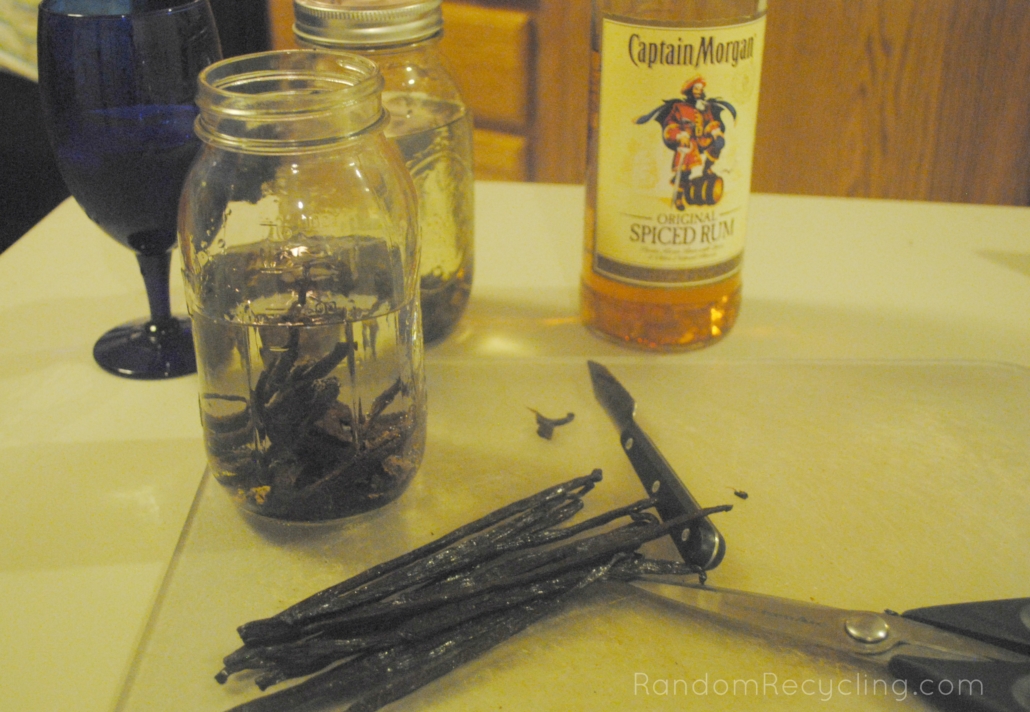
 This is where I order my vanilla beans from.
Favorite Blogs
~this is where I learn of the newest eco-friendly products/ideas.
- Simple Mom Network (SimpleMom, SimpleBites are not to be missed.)
- Weelicious
- SortaCrunchy
- Groovy Green Livin
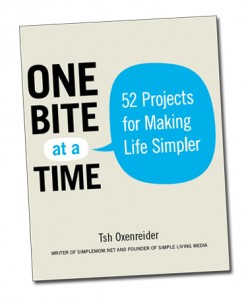
Books
(click on the cover to see more details)


E-books


Some favorites from Kitchen Stewardship that helped me learn about cooking with real food.
Click here to visit Simple Mom.