Experience Gift Ideas for Kids

Both of my kids have birthdays shortly after the Christmas holidays. For anyone else in the same boat, you may share my hesitation to see any new toys come into the house. As we are committed to decluttering our home, one option that needs more attention is giving the gift of an experience, instead of another item from a store. Whether your kids are 2 or 20, there are so many options for them to enjoy that are outside the box.

Here are some of my favorite experience gifts for kids.
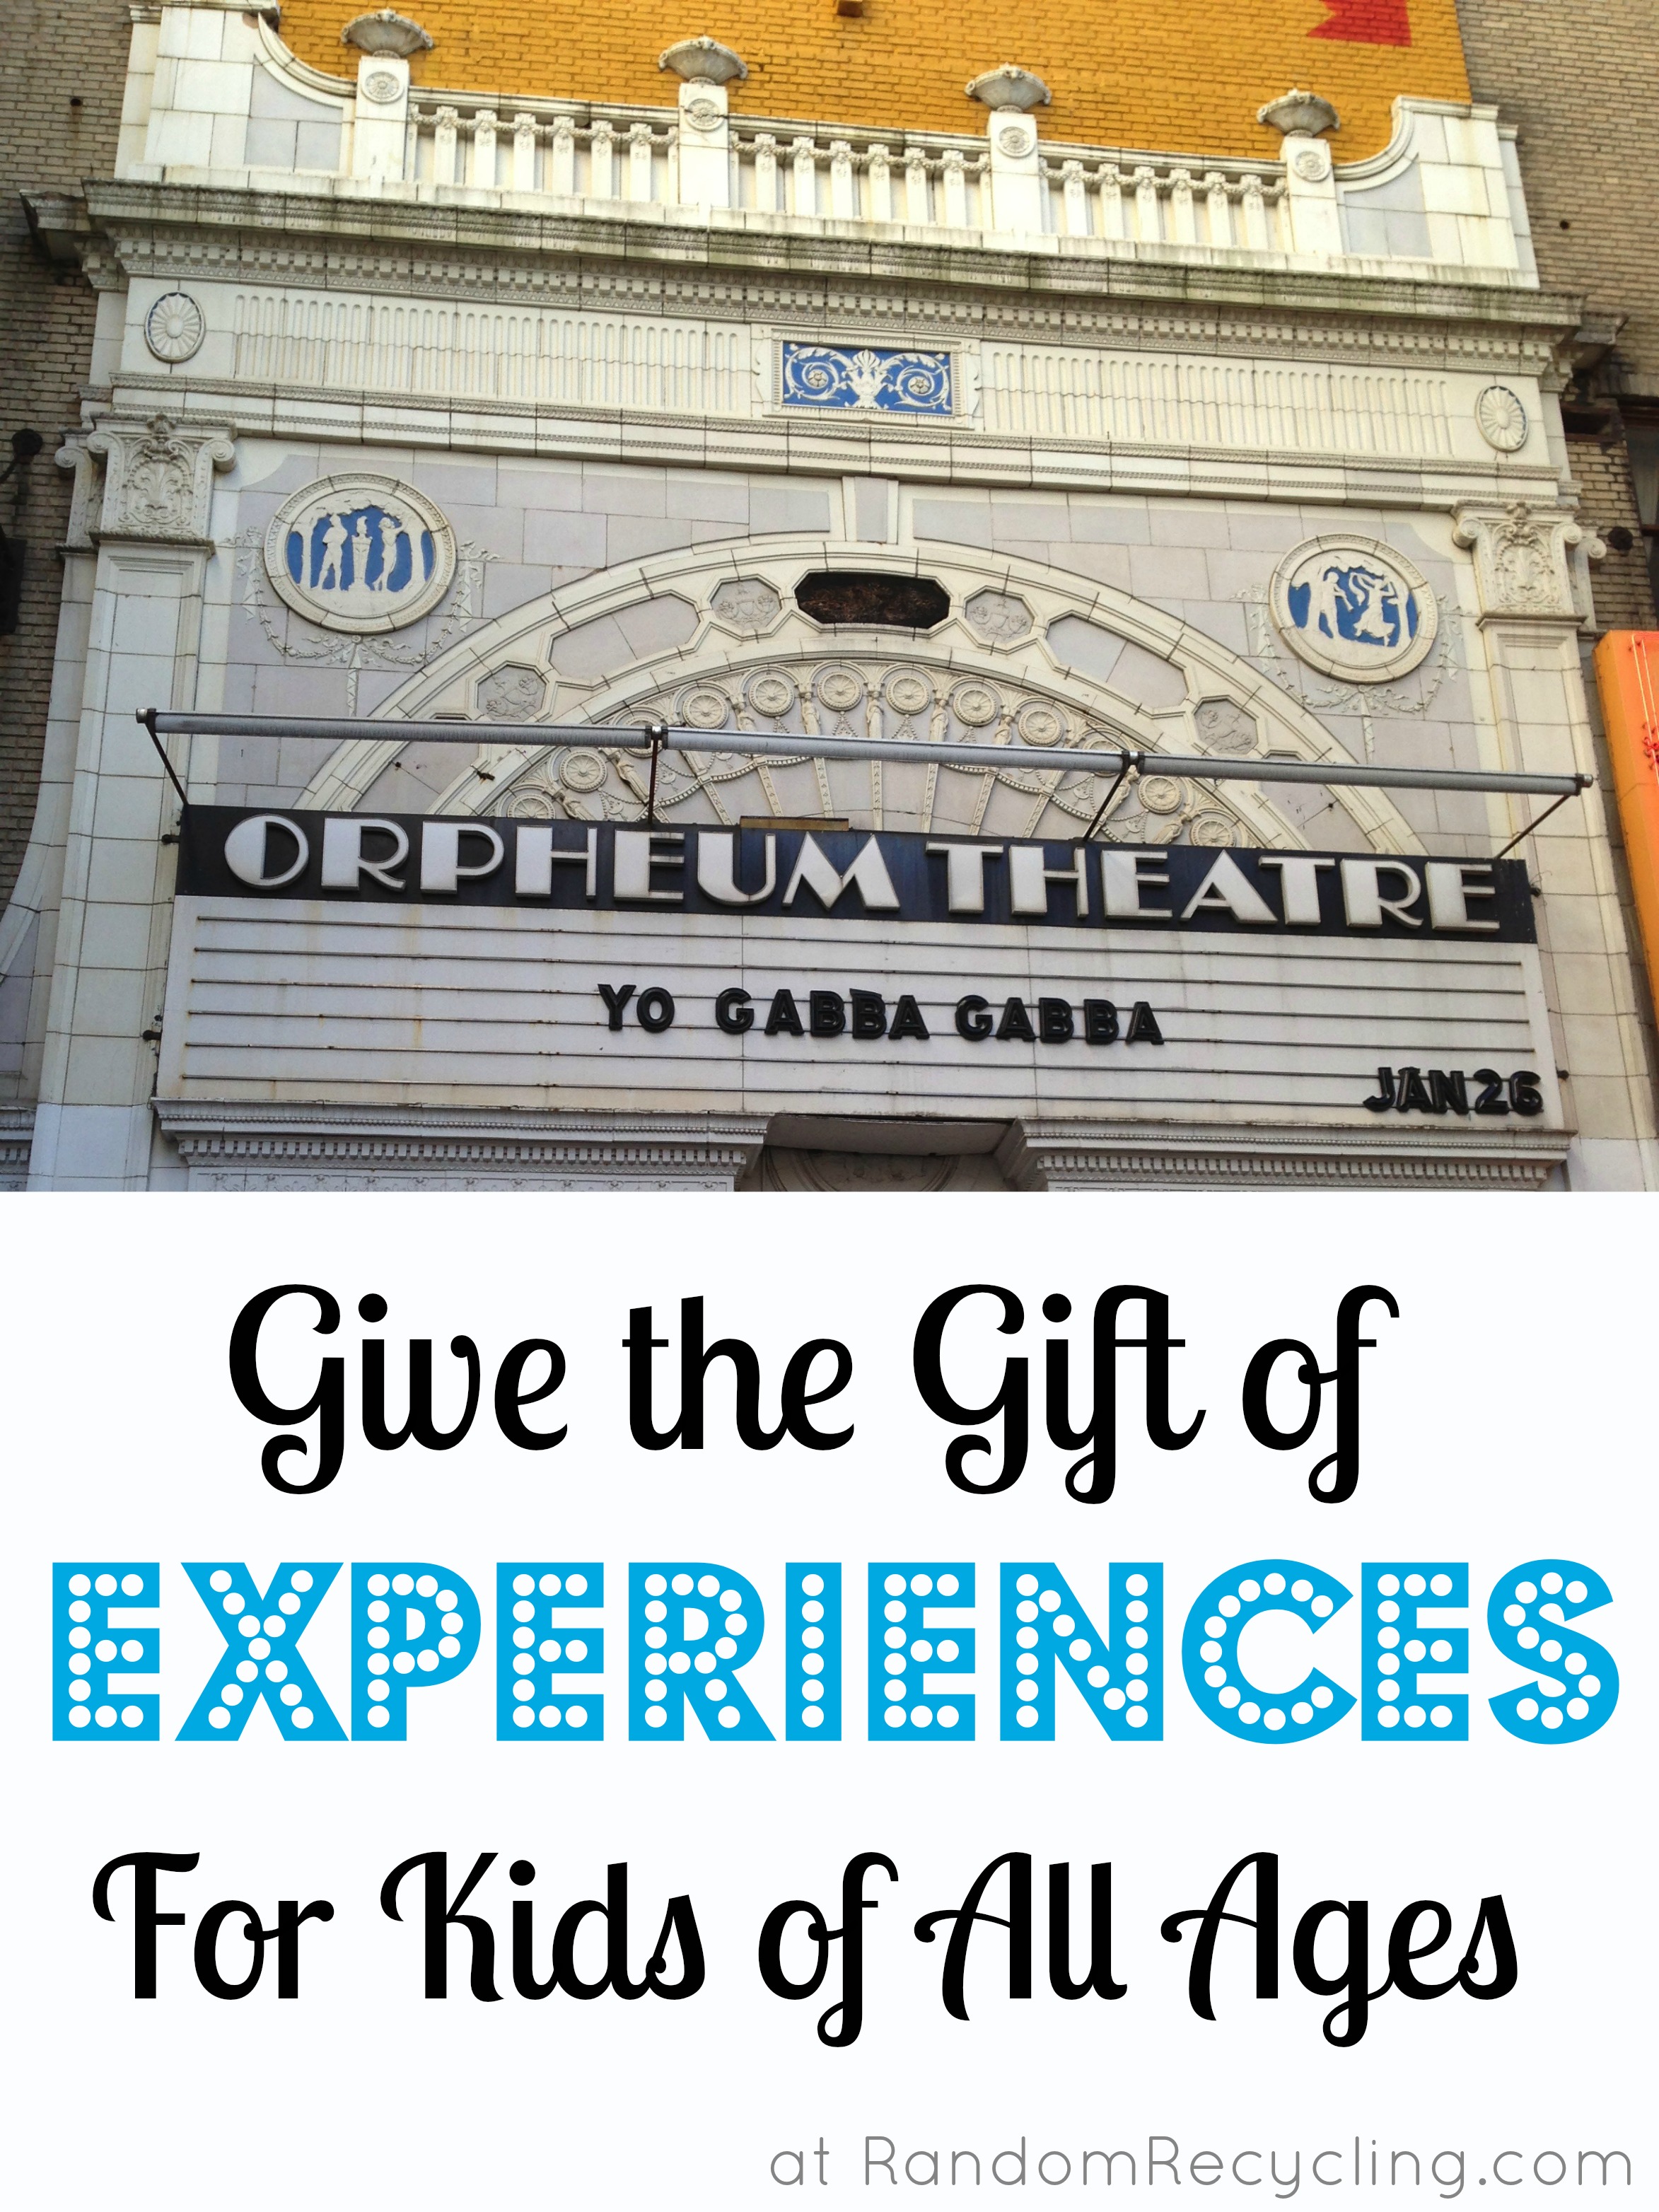
  • Trip to a show
  • Children’s museum visit, or a specialty museum that ties into your kid’s favorite hobby
  • Visit the zoo or aquarium
  • Spend the day at a local theme park
  • Let your child pick their favorite restaurant for a special birthday dinner
  • Attend a concert
  • Spend the day in the city, be a tourist even if you don’t live that far away
  • Sporting event. From basketball games to a gymnastics tour, there are many different options.
  • Movie tickets
  • Tour a local farm or orchard
  • Cooking or art classes
  • A session of classes: music, sports, dance, etc.

Yo Gabba Gabba Live! Boston

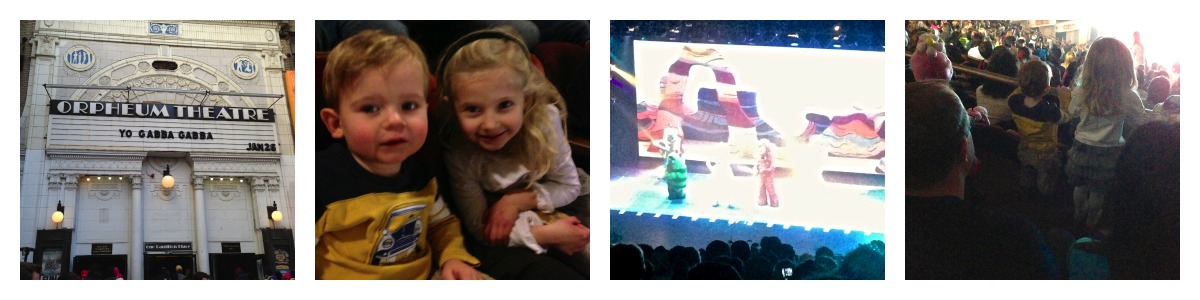
Giving the gift of experiences is also a great suggestion for the grandparents and extended family looking to do something special for a birthday or holiday. We recently took a trip as a family to see the Yo Gabba Gabba! LIVE!: Get the Sillies Out! event in Boston. It was just a delight to watch the kids get excited for the show. They danced, twirled, clapped and laughed the entire time. It made me realize that we are at the point where the kids are old enough to enjoy these type of experiences together now. (Although JJ is still saying “Loud” and covering his ears when Madison starts talking about the show!) I consider it a success when both Mom and Dad are happy coming out of the show and the kids are both singing on the car ride home.

As one of my readers said, “Making memories is better then a toy that will be obsolete sooner, then later.”

What are some other experience gifts you would add to this list?

Disclosure: We attended the Yo Gabba Gabba! LIVE!: Get the Sillies Out! event to help facilitate this review and story. It in no way influenced my opinions shared here. I’m sharing this with the Tuesday Baby Link Up , Frugal Days and Your Green Resource.

It’s not just another Monday in our house. A little someone is turning 4 today! How did she get so grown up already?

Madison turn 4 collage

This week is happily filled with birthday parties, class cupcakes and her choice of pizza for dinner. Can’t argue with the birthday girl. For her class cupcakes, I made mini pumpkin muffins (nut-free) with cream cheese frosting. The birthday girl requested pink frosting so I used a recipe from Weelicious that colors the frosting with some beet puree. You can hardly taste the sneaky addition of a veggie in the fun frosting.

Monday Meal Plan Jan 28 Random Recycling

On our menu plan this week…

Sunday: Italian spaghetti, sautéed zucchini in garlic grape seed oil

Monday: Birthday pizza along with cake and ice cream

Tuesday: Sandwich and Soup night, this mommy is going out with friends.

Wednesday: Beef Stew (if timing is tight, I’ll make it in the pressure cooker)

Thursday: Slow Cooker Coconut Ginger Chicken and Vegetables. One of my all time favorites. It makes a lot so it’s great when you have company, or save half for leftovers.

Friday: Pizza night or CORN if we have too many leftovers by the end of the week.

  Congrats to Sandra L. for winning the Kids in the Kitchen Giveaway this weekend!! Happy cooking.

For more menu planning ideas, head over to OrgJunkie’s Meal Plan Monday post.

DIY Finger Paint for Kids Random Recycling

When it’s too cold to go outside, it’s time to get creative inside. Our craft project of the day was to make DIY Finger Paint. One of my goals is to finally make some of the many kid-safe recipes I have found on Pinterest. There are recipes for nearly everything that you buy at the store, except you can make them for a lot less with ingredients you already have in your home. Often times, it’s also less toxic than what is available at the store.

DIY Finger Paint can be made with just 4 ingredients, plus some food coloring. I had a box of unopened food coloring that I have avoided using in our baking. Using it to decorate paint is a perfect way to use it up. The project is actually two steps: 1) Making the paint 2)Finger Paint time.  I made the finger paint with Madison’s help while the little guy took his nap. By late afternoon the paint was cool enough to use and they could get nice and messy playing with the paint.

The messiness level is pretty high on this one so beware. The food coloring stains the hands, but it did wash out fine in the bath. The color will be a lot better on white paper, I used paper bags instead to test it out. The paper is really durable and my kids don’t really care about the “picture” they are making. They just want to swirl it around and make “rainbows.”

Ingredients

2 tablespoons sugar

1/3 cup cornstarch

2 cups water

1/4 cup clear liquid dish soap

food coloring

Instructions

Add sugar and cornstarch to a small sauce pan. Blend together, then add water. Cook on medium heat until the mixture turns into a gel-like substance.

Bring to a boil, then turn off heat and stir in the liquid soap.

Divide the mixture into separate containers that you can add the food coloring too. I would use about 8-10 drops for small containers. Glass baby food jars are great for this. We used larger jars to create the colors, then I transferred smaller amounts to an egg carton to use at the kid’s easel. If you have any leftovers, cover tightly to use later.

DIY Finger paint Random Recycling

Do you have a favorite DIY craft project or recipe to share?


I’m sharing this over at The Tuesday Baby Link Up.

The Butterfly is my favorite Urban Canvas project.

Ever notice how excited kids are to play with a box instead of the toy that came in it? There is just something magical about cardboard boxes and a child’s imagination. Urban Canvas brought these elements together to create a line of design oriented art projects using recycled cardboard. The line of art projects is designed by a mom of three who has a background in interior design and art education. She also had children who loved the cardboard box as much a my two kids. Urban Canvas just launched this year and I love their commitment to using sustainable materials, very little packaging and creating a project that eventually can be recycled.

The train set is appropriate for ages three and up.

Want to try out an Urban Canvas project with your kids? Or maybe give one as a gift? You can get 25% off using the code: COOLTOY. If you buy one now, you can also snap a picture of the finished project and enter it into a contest. All entries will get another Urban Canvas toy. You can also buy these projects in a few local retailers, including Henry Bear in the Boston area.

To celebrate the holidays, Urban Canvas is also going to give a lucky reader their choice of an art project! Take a look and see which one you like; there is also a note about the appropriate age for each project in the details. Contest is open to US residents and runs until midnight 12/22.
a Rafflecopter giveaway

Good luck!

As you work through your holiday shopping list, here is something for the tech savvy kids in your house to check out.  My tech savvy kids are little, but they do love playing around with my iPhone and iPad.  We use it as a treat but careful to make sure what they are doing is educational in some way. When I got the chance to review the new Cypher Kids Club Augmented Reality Cards, I was curious to see if my (nearly) four year old would enjoy them.

Cypher Kids Augmented Reality Cards

My daughter is learning how to identify her numbers so we started off with the interactive Numbers learning cards.  We downloaded the app from the iTunes store quickly and got started. (The app is free.) It’s easy to find if you have a QR scanner on your phone. The front of the box has a code that will direct you to the right app in the Apple App Store.

QR code to scan for the app

I played with the program first, which I always recommend when you are going to let your kids use a computer program. Also, I turn the phone to the airplane setting.  This reduces any possible radiation exposure to the kids using a phone.

She had fun testing out the numbers cards.

The flashcards themselves are bright and colorful. The application allows you to scroll through and pick the numbers you want to find. I mixed up the cards 10 and under for Madison to work on. Once we matched the number on the screen to the number on the flashcard we flipped it over so my phone’s camera could identify it. It’s like a kid’s version of a QR code on the back. Then the fun starts with an animated 3D-like experience where you can count the number of items from the card and watch them in action.

Screen shot from Numbers

It took me a few tries to get the hang of seeing the 3D images.  The trick is to hold the card a little further away until the entire image fills the screen.  When Madison tried it, she often held the card too close so we worked together on it so she could see the “reward” image once she was able to match her numbers.

She figured it out pretty fast.

The other cards we have are the Wild Animal Adventures and Letters. My little guy had some fun flipping through all the flash cards of the animal set without using the phone. Making the animal sounds is all he needs to practice!

Cypher Kids Augmented Reality Cards

The cards are available at Target and Best Buy. They would make a unique present for kids ages 3 and up. You can learn more about the Cypher Kids Club by visiting their Facebook or Twitter pages. Remember, any time kids are on a phone or tablet, this counts towards their daily screen time.  The American Academy of Pediatrics (AAP) recommends that children 2 years old and younger be exposed to no screen time. For older children, the AAP suggests limiting screen time — including TV, video games and computer use — to one to two hours a day of active viewing time. (source)

Disclosure: I am a member of the Collective Bias™ Social Fabric® Community.  This shop has been compensated as part of a social shopper insights study for Collective Bias™ and  Cypher Kids Club #CypherKidsClub #CBias #SocialFabric  All opinions shared here are my own.

When I first spied glitter slime on Pinterest I was hooked. Such a fun project for the kids with a lasting toy to play with.  This only requires three ingredients: glitter glue, Borax, and water. It’s not too messy and it was easy to make with both a three year old and a one year old.

Ingredients
1 large glitter glue bottle (glitter glue pens are too small)
1 teaspoon Borax
1 cup of water plus 1 tablespoon

Instructions
1. Empty glitter glue bottle into a large bowl.  Add 1 tablespoon of water and swirl around to thin out the glue.

2. Mix 1 cup of water with 1 teaspoon of Borax. Add to glue mixture.

3. Let the kids swirl it all together and it instantly becomes slime!

Madison was really excited to find pink glue to make for her and a friend. It was a great sensory experience for both children.

We are storing our slime in reused glass jars. Large baby food jars are a good size too.

Easy peasy. Here is a cute Google + album sharing pictures of our experience making this project a reality.  Happy Halloween everyone!!

Image and video hosting by TinyPic
I love to hear your feedback and comments. Stop by and visit FacebookPinterest or Twitter for more conversation!  Or get posts delivered via Email or RSS Feed. This post is shared with Green Your Way.

Ready for a no-waste lunch! How cute are these lunch boxes for kids. They were not this cute when I was little.  Best part, they are all eco-friendly.  Which one is your favorite?
Eco Friendly Lunch Boxes for Kids

My kids are popsicle crazy.  Morning, noon and night they want to make popsicles.  In my quest to avoid unnatural food dyes and excess sugar, we started making our own popsicles.  Welcome Zoku to the family.

Zoku makes popsicles super fast.  10 minutes fast.  If you have kids, you know fast is good.  They have no patience for waiting for a treat and this is just long enough.  Plus it becomes a fun project when you start “decorating” your popsicles.

Lemonade and local strawberries

Dress up the everyday popsicle with strawberry slices.  Or go with a sweeter option and add in mini chocolate chips!

Our go to popsicle is yellow or pink lemonade.  I like the Newman’s Own Organic Lemonade which has no high fructose corn syrup or artificial colors or flavors.  Both kids love it.

Watermelon and lemonade popsicle

There are all sorts of special accessories for the Zoku.  We have a basic model with 2 moldsand if our family grows, we will be in the market for a larger option down the road.  I love the idea for making a bunch of popsicles for the kids and their playmates when they get older. They all already get excited about clicking in their “drip trays.”

I picked up my Zoku at Williams and Sonoma, plus the Zoku Quick Pops Recipe Book.  You can also find them on Amazon.

And yes, the Zoku is also good for making boozy popsicles for the grown-ups too.  Shhh…don’t tell the littles.

Image and video hosting by TinyPic


strawberry lemonade popsicles (1)

Reusable Squeeze Pouch

We are big fans of the applesauce squeeze pouches.  They are awesome for travel, church and the playground.  However, I’m not a big fan of the waste they create, and also the price tag.  So I asked around and discovered a reusable squeeze pouch.  My friend Amanda at The LittleLilyPad said her friend tested out five different options and this was the best one, the BEABA Babypote.

I don’t understand the name, but I do know that it works.  It’s easy to fill, easy to clean and both kids can work it.  For the little guy, I do have to help him get the last bit out, but that is no different from the applesauce squeezes sold in the store.  Plus, I discovered my choice in apple squeeze pouches  got a C+ rating from Fooducate. (an awesome iPhone app if you are interested) Turns out there is a lot of hidden sugar in each pouch.

I have only put in my homemade applesauce recipe, but I expect it would work great for traveling with your own homemade baby food.  I plan to make some mixes with fresh summer fruits, like banana blueberry or a raspberry apple blend.

Happy travels!

Image and video hosting by TinyPic
Disclosure: I bought this product on my own and was not compensated for this post. Affiliate links are included in this post. I’m sharing this post with Sustainable Ways & Your Green Resource, and Tuesday Baby Link Up.

Could the weather be any better?! I love walking around the neighborhood and seeing how far along everyone is with their spring yard work and gardening plans.  The crazy warm weather makes me think I should be putting seedlings in the ground, but this is New England so patience is key.

My budding gardener got a new set of toolsfrom her Grammy for Easter. She was so excited to put them to good use and get planting. Get your kids excited about growing things and watch their eyes grow wide.

We set up a variety of containers to plant seeds, which is always a cheaper option than buying a flat of seedlings.  The herbs went in first, Basil, Dill and Oregano.  The little gardener planted her own pickling cucumbers that she picked out at the garden store.

Source: Design Sponge

When it comes to containers for seedlings, there are lots of eco friendly options.  I use leftover ones from past seasons and this year I’m trying the egg carton which can go right into the ground.  The newspaper cup above is from an old post at Design Sponge but I love how simple it is.  Plus it can go right into the ground too.  If you have yogurt containers, those will be a perfect size for seedlings but take the plastic off before putting them in the ground.

My husband had fun with the circular saw and whipped together some raised beds.  Plus we are getting one big one made from red cedar installed by Soil and Seed. When you choose wood for raised beds, skip the pressure treated ones and opt for red cedar or old wood that is still in good shape.  Avoid chemicals in the wood that will eventually seep into your soil and your food.

One of the reasons we choose to get the raised bed installed is that it will also be filled with organic soil.  Despite having our own compost, it won’t be enough to fill a 4×8′ bed.  I also had a hard time finding organic soil at the big box stores last year.  Doable, but we realize that totting little toddlers around to pick up lumber, soil and build the whole thing just doesn’t make sense.  We would rather spend the time doing the plantings.

I love the new plant-a-grams from Williams-Sonoma.  I’ll be bringing these to the local farm stand to pick out the balance of seedlings to get our garden growing. They also have one for a vegetable garden and a salad garden, yum!

Next step will be getting the raised bed installed and making a plan.  Look for that post mid-May!  In the meantime, check out Part 1: Getting Organized, and Part 2: What to Plant and When.

What are you looking forward to growing this year? Anything new?

Image and video hosting by TinyPic
I love to hear your feedback and comments. Stop by and visit FacebookPinterest or Twitter for more conversation!  Or get posts delivered via Email or RSS Feed. Thanks! I’m sharing this with Simple Lives Thursday   


Visit the Amazon Earth Day Store

Post is shared with Sustainable Ways, Your Green Resource, The Homesteader Blog Carnival