Tips to get your garden ready for planting season

Time to get planting!  Or at least planning.  Outside of Boston, we got a surprise hint of warm weather last month. We used the opportunity to take stock of our containers, compost inventory and get a few vegetables started.  This is Part One of a Three Part Gardening Series.

First thing was to pull every container we owned out of the garage and storage area.  We washed them out and decided if any needed to be trashed or recycled.  Many of the plastic ones are #5 plastic.  We do a lot of container gardening and have a mix of starter pots, windowsill boxes and large containers for tomatoes and peppers.

Daddy is in charge of turning over the two compost piles and getting out the good stuff.  We manage two bins, one for all the household scraps (veggies, eggshells, coffee filter and grounds, etc.)  The second large one collects mainly grass clippings and some household waste.  It’s not as organic as we would like, but it’s great to use for flowering plants in the yard.  We need to buy another compost bin and on the look out for a good deal since our DPW said the town ran out of money and won’t order any more.

Both kids loved playing with the dirt!  I think there are some studies out there that kids who play in the dirt are healthier.  Certainly happier.  We took the compost and created a container mix of one part compost to one part potting soil.  This allows for a lighter soil in the container.  Straight compost is too heavy.

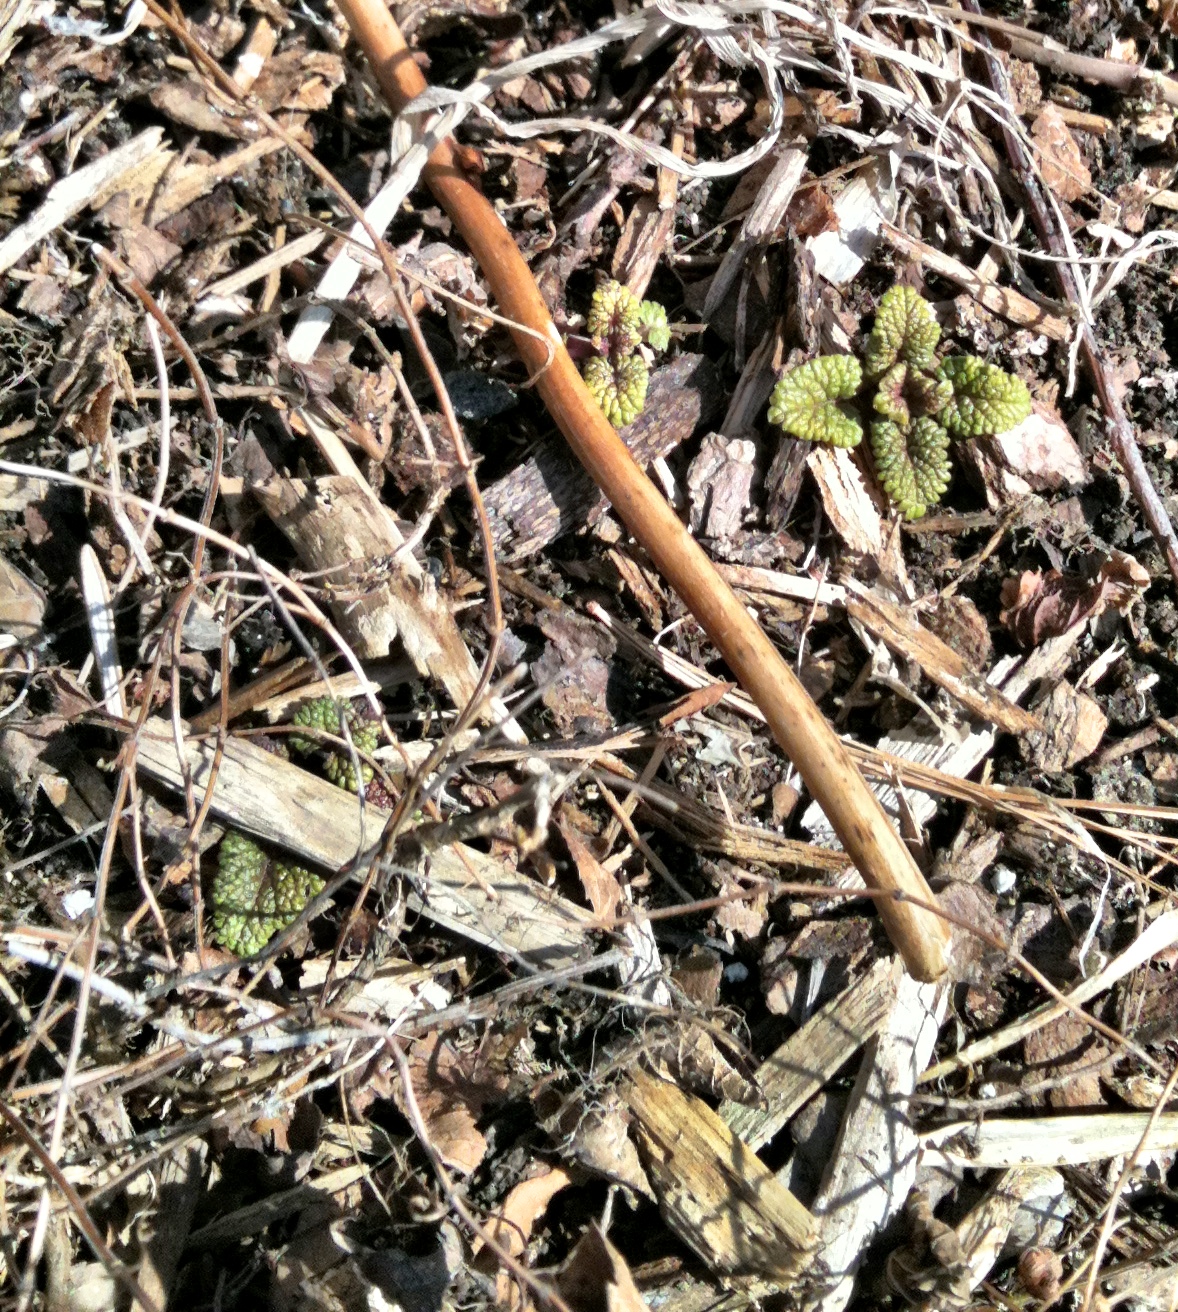
My favorite part of our garden are the herbs that come back every year.  It saves money and time!  The lemon balm is already growing in the picture above.  The thyme and chives also are already in good shape, about a month ahead of schedule.

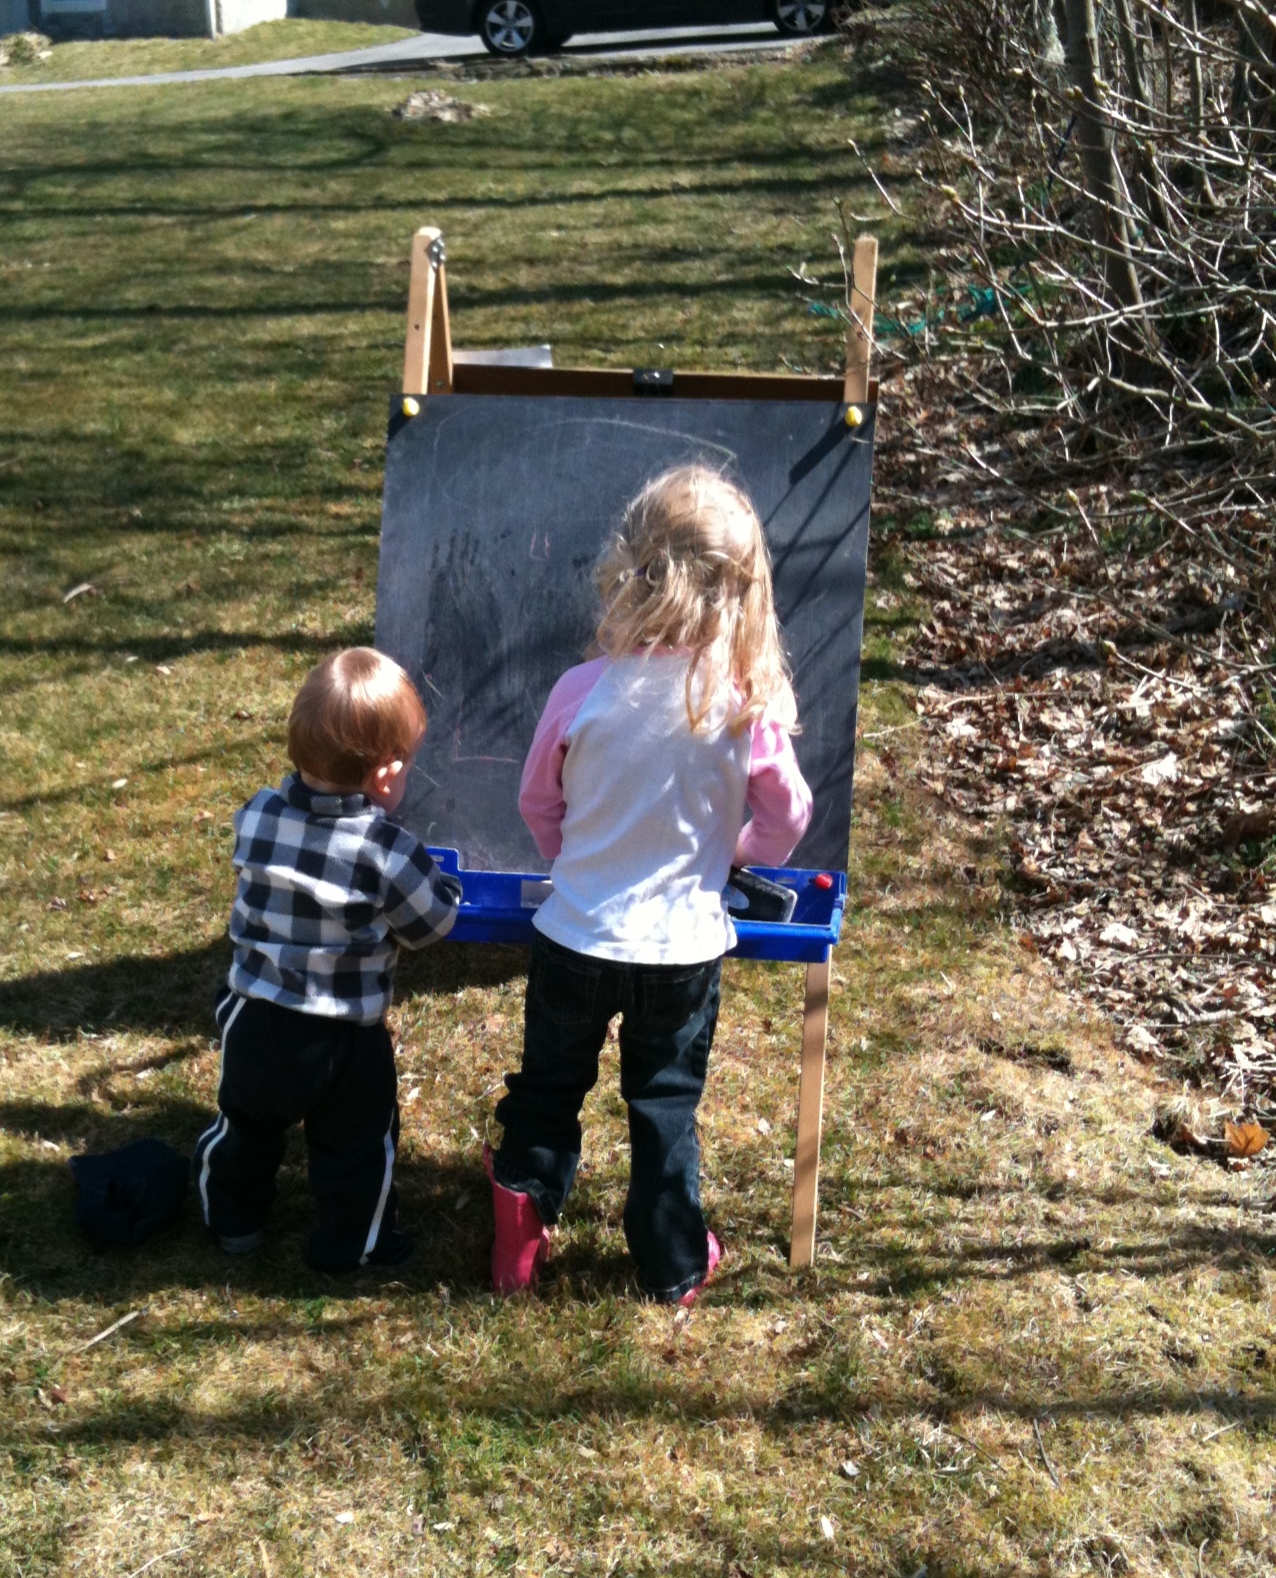
How do you get a project like this done with little kids underfoot?  Just bring out their independent play activities outside.  The easel outside was a huge hit with both of the kids.  It gave us at least 10 minutes of uninterrupted time to get things organized.

Next post will detail what we are planting when, plus our plan to get a raised bed installed!

What are you planting this year? How do you get your kids involved?


Check out Part 2: What to Plant and When?

I am in love with holiday decorating. Easter included.  Time to decorate those eggs!  This year I finally took some time to do some egg dying with natural ingredients.  Everything came from what I already had in the house.

I bought generic white eggs.  I went with hard boiled instead of blowing them out because I was wasn’t sure if my kids could handle something so delicate.  Cook for at least 15 mins on a simmer to avoid cracks.

I did some clean out of the fridge/freezer and cabinet to test out a few options.  The blueberries soaked in water for about an hour.  Others were boiled for about 20 minutes to draw out the colors.

Once the liquid was ready, I divided it up into smaller containers and added about one teaspoon of vinegar per one cup of liquid.

Cover the area with a large cloth or newspaper as this got messy when the eggs were dropped in!

We got used the following and let the eggs sit in the mixture overnight.

Spinach~ light green
Cranberries~ light pink…I would strain in a cheese cloth before doing this again.  I got funny bubbles on the eggs
Pomegranate tea~ turned green over night!  Originally was pink
Carrots~ light yellow
Red wine~ brown, almost prehistoric looking.
Beet juice~ (very) light pink
BLUEBERRIES~ dark blue. Favorite of all the eggs by far.

We drained them on a cookie cooling rack.  I didn’t care about little marks as it just adds to their character. This was an easy kids activity when adult can make the natural dyes at the stove ahead of time.  The eggs are safe to eat as long as they are refrigerated.  Find more egg dying ideas on my Pinterest Board.  Next up for me are some chalkboard eggs!

Happy Easter and Passover to all!

After last week’s pantry project, I had some time to think about how to maintain a healthy, real food pantry.  I want to be able to open the pantry door and find things that I will use regularly and will work easily into each week’s meal plan.  There will always be some boxes in there of crackers, cereal and possibly Trader Joe’s Cornbread mix.  That is our reality as I have yet to see a super easy cracker recipe that I can make with two kids hanging off my leg.

In the meantime, here are my suggestions of how to work on creating a real food pantry.  Divide it up into categories and take it one step at a time.  This is a list of the items nearly always in the (new) pantry,or main kitchen shelves.

Baking
-Rolled Oats, old-fashioned not the quick variety
-Steel Cut Oats
-Unsweetened Coconut
-Flaxseed
-Sunflower Seeds
-Pepitas (pumpkin seeds)
-Honey
-Agave
-Molasses
-Maple Syrup
-Whole Wheat Flour
-Coconut Oil
-Baking essentials like Baking Soda, Baking Powder, Brown Sugar

Main Dinners & Sides
-Variety of Beans (I have started cooking beans in my pressure cooker)
-Whole Wheat Pastas (& Gluten free pasta for visitors)
-Variety of Rice (I use short grain brown rice and arborio most often)
-Barley
-Quinoa
-Lentils
-Coconut Milk
-Artichokes
-Good Tuna packed in oil
-Olive Oil
-Sesame Oil
-Variety of vinegars (Red Wine, Rice and Champagne)

Nuts are also a big part of our “pantry” storage.  However I store them all in the refrigerator to keep them as fresh as possible.  Although we go through them fast, I want to keep them as fresh as possible.  The oils in the nuts can go rancid if left in the cabinet too long.  (Same for Wheat Germ, that is also stored in the fridge.)  The nuts we always have on hand are Walnuts, Pecans and Almonds.  Peanuts are generally only purchased if I’m making pad thai.

This year I want to try out some recipes using some alternative flours like brown rice flour or coconut flour.  We have so many friends, or their children, who have gluten issues and I would like to be able to offer a fun, healthy treat for them at an event or playdate.

Whole Foods self-serve bulk buying section

Maintaining a real food pantry doesn’t need to be expensive.  I find buying from the Whole Foods self serve bulk section the most affordable option for me.  Costco is also where I buy a lot of basics like old fashioned oatmeal, brown sugar, agave and many of the nuts we use.  Coconut oil is always purchased online as I tend to find better deals on bulk sizes.  Eventually I would love to get really large quantities and organize a co-op, but this project will just have to wait.

Reuse your tomato sauce jars for your pantry and it’s another way to reduce costs.  You don’t need to buy more plastic containers for bulk/pantry items.  Use what you are already using.  I even use some of our old Tupperware for storage, then I won’t risk putting it in the microwave.

Don’t forget some fun labels…see more in my Creating a Pantry post!

What are your must-have’s for a healthy pantry?

10 Non-Candy Valentines Day Ideas

Guess what.  Valentine’s Day is coming upPe.  You may not make a big deal about it, but your kids classroom might.  That means getting an updated class list, making sure you have enough Valentine’s Day cards that work for the boys and the girls.  Then you have to decide if you are going to give candy in a cute little gift bag.

As I try to limit my kids exposure to the synthetic food dyes, I’ve tried to come up with a fun list of candy alternatives for the classroom.  This list is geared to the preschool/elementary age.  If you have other suggestions, I would love for you to share them in the comment section.

  • Stickers~ get a couple of packages and give a sheet for each child on your list.  We go through stickers so fast in our house, I’m always happy to get something new to decorate paper (or people.)
  • Craft supplies~ new Crayons, Markers, Chalk.
  • Bubbles~ spring is just around the corner!
  • Temporary Tattoos
  • Bouncy Balls
  • Musical trinkets~ little kazoo?
  • Healthy Snacks~ Annie’s fruit snacks come in fun-size packages, or pretzels. (better than candy!)
  • Homemade Cookies or Granola Bars 
  • Play dough
  • Pencils. (love this cute printable!)

At my daughter’s school, the choice was made easy this year.  There are so many food allergies that there is no candy allowed.  The kids will celebrate with a big party on Tuesday and pass out Valentine’s Day cards. (see my Pin for the card I’m going to make.)  I will be making sugar cookies, and I think I’ll just pass on the Red Dye #40 sprinkles. 😉

If you have a little free time and $2.50 to spend, this owl printable sheet is adorable! Print on sticker paper and cut out using a circle punch.  So cute!!

Source: Etsy via CherryClipArt


Do your kids pass around Valentine’s Day cards?  

Creative uses for excess wrapping paper ideas
As the holidays come to a close, do you have piles of random wrapping paper scraps? Maybe it’s time to create some storage space in the attic and use up some of the random pieces you have been saving.

There is a great picture gallery on the now defunct Whole Living.com full of ideas of what else you can do with the leftovers. It also serves as an inspiration to buy prettier wrapping paper that is less holiday specific so you can get more life from it, and use it year round. Some other easy ideas are:
  • Cover your table with the opposite side of the holiday wrapping paper and let the kids go to town coloring such a giant canvas
  • Laminate some flat pieces and create cute placemats for the kids
  • Create a banner to use in the winter or save for the next holiday season
  • Line your drawers
  • Shred for packing needs
  • Build a Christmas cone pine tree
  • Celebrate holiday photos and use wrapping paper as a mat
If you need ideas of how to organize your gift wrap and tissue paper, I shared an easy project of how to sort through it all and make it so much easier to quickly wrap a gift before the next party.