After I mentioned making our own foaming hand soap in yesterday’s post about household cleaners, more than a couple people have asked how to make it.

Here is the super easy recipe I use to make the foaming hand soap. I use Dr. Bronner’s Magic Soaps Pure-Castile Soap as the base.  This product got an A from the EWG Healthy Cleaning Guide. Tea tree oil is also a great addition because it has antibacterial, antiviral, antifungal and antiseptic qualities.

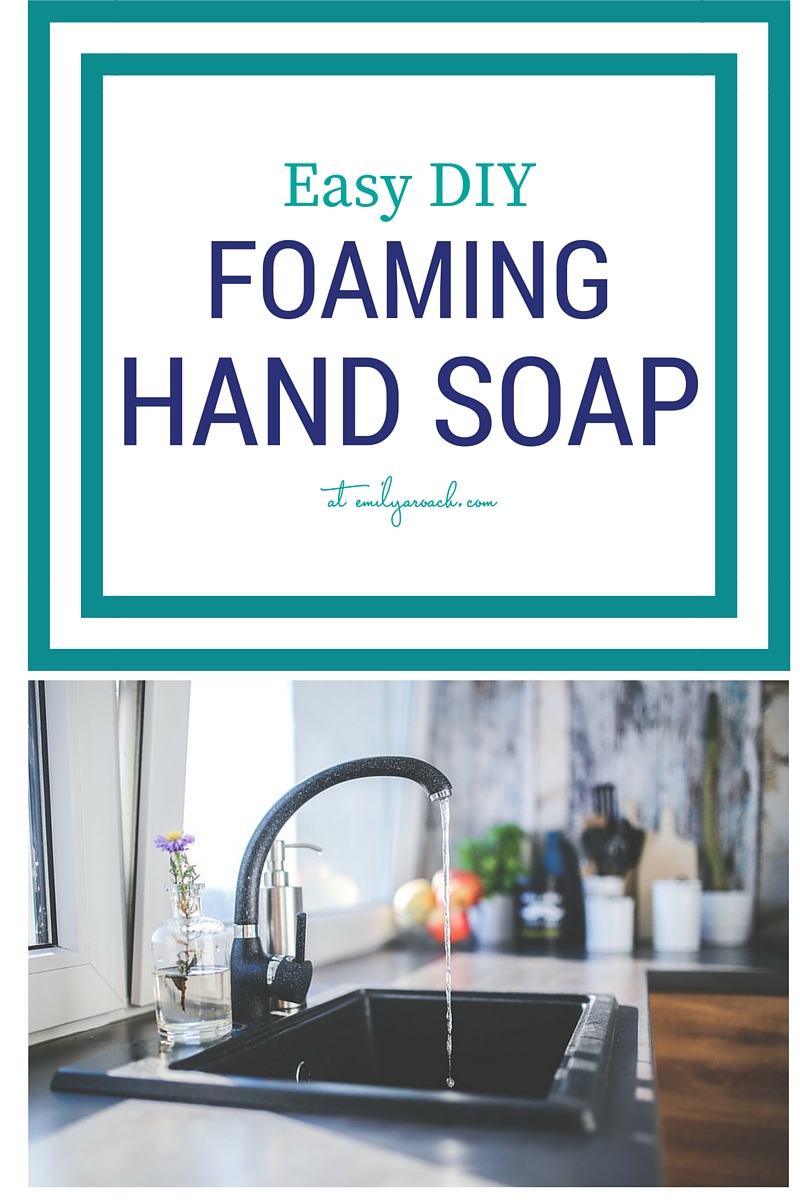
I reuse the foaming hand soap dispenser from CleanWell.  This line of products is a favorite and when I need a fresh bottle.  They have antibacterial soaps without triclosan, which is a big environmental hazard.

DIY foaming hand soap recipe

Foaming Hand Soap Recipe

Keyword: Soap

Ingredients

  • 2 tablespoons Castille Soap
  • 2 drops of Tea Tree Oil
  • 2 drops of Essential oil I use lemongrass currently

Instructions

  • Add ingredients to empty foaming hand soap dispenser (about a 9 oz size). Fill the balance with water and shake gently.
Tried this recipe?Mention @emilyroachwellness or tag #erwellness!


DIY foaming hand soap recipe


This is a super cheap way to keep up with the kids overuse of the foaming hand soap.  I have found Madison “cleaning” the bathroom sink with half the bottle.  At about 25 cents a bottle, I don’t have to stress about it.  Plus, there’s no sodium lauryl sulfate, triclosan or synthetic fragrance involved in her cleaning project.

If you can handle making your own hand soap, now you can move on to making your own bubble soap for kids!

Happy washing!

Disclosure: Some affiliate links are included in this post. 

Ready for a no-waste lunch! How cute are these lunch boxes for kids. They were not this cute when I was little.  Best part, they are all eco-friendly.  Which one is your favorite?
Eco Friendly Lunch Boxes for Kids

Eco-Friendly Camping for Families

Please welcome my guest blogger Elizabeth who is sharing some great sustainable camping tips.  I have been camping once so I am happy to have someone with a lot more experience share some fun ways to stay green while camping.

 
My first camping memory is from when I was seven years old.  We lived in Fort Lewis, Washington at the time and I can still recall running down the shoreline of the Pacific Ocean with my siblings and friends.  There is a vague memory of waking up in a tent and the smell of campfires.  I love talking to my father about my first encounter with a raccoon that was stealing trash through a fence right near our camp.  It was beyond exciting.

Since I have grown up, camping has taken on a whole new interesting twist for me.  Now I have a growing interest in all things frugal, but also in trying to be sustainable and take care of the same environment I’ve grown to love spending so much time in.

Basics – Follow the Rules
First and foremost, follow these common and important rules that you’ll find in most camp areas.
  • Don’t bring firewood that isn’t from that particular area.  This creates a risk of introducing disease and pests that could wreak havoc on the beautiful place you are staying.
  • Make sure you never leave your fire or hot coals unattended.  Also, if possible try to only have fires in designated areas.
  • My mom always taught us to leave the campsite cleaner than it was when we arrived, and I think it’s one of the best pieces of advice for any camper.
Reduce, Reuse, Recycle
When you start packing your camping boxes, you may find yourself reaching for paper (or Styrofoam *shudder*) plates with those white plastic forks, knives, and spoons.  There will inevitably be those rolls of paper towels and paper napkins accompanying them.  My best piece of advice is to resist this urge and the illusion of convenience.
These items are garbage, no really; they are just going to be trashed.  This inevitably is negative because obviously if you care about sustainability you don’t want to contribute to our trash problem for no reason.  You may not have considered that this trash is also inconvenient for you.  The more of these papers goods you are putting in a trash bag in your campsite, the more objects there are for our favorite camping critters and friends to smell out and then toss all over your campsite.
So let’s consider some really fun options out there.
  • BPA-Free reusable plastic kitchenware comes in all sorts of shapes, sizes, and colors.  Check out the Sea To Summit X Bowl & X Plate which is collapsible so it saves you room.  They also have the Delta Plate and Delta Bowl.
  • Check out the many metal-based products out there.  The MSR Mountain Plate is stainless steel and lightweight, while still being a bit more sturdy then the cheaper aluminum plates.  Enamelware plates are also really popular choices like this GSI Metal Rim Plate.  If you are interested in a bit more of an investment, check out this Snow Peak Titanium Plate that leaves no metallic taste in your food and will not rust.
  • Sporks are not just a fun idea for kids in school, so check around for some great multipurpose reusable utensils.  The Delta Spork with Serrated Knife is BPA-Free and is ergonomically designed for easy use.  Bamboo has become known as a great sustainable resource and so I was excited to find these Bamboo RePEaT Utensil Sets that come with cute cases in various colors, but it doesn’t just stop at bamboo.  Those cases are made from recycled PET plastic! How great is that?
  • Check out local thrift stores for hand towels you can pack with you to use instead of paper towels.  The great things with these are that you can just simply rinse them out and then you hang them up to dry and they’ll be ready to go by your next meal generally.
Cook Well, Store Well, Eat Well
A great investment option for campers is cast iron that can be used both in your home and during your great outdoor adventures.  One of my favorite pages for information on cast iron is found at Sustainable Baby Steps.  You can either purchase these beauties brand new or you can keep an eye out for friend, family, or garage/yard sales looking to get rid of older pans.
Next, invest in a real cooler.  Do not be tempted by cheap coolers because the chances are you will quickly lose money in the ice that you will have to replace.  Not all of us can go for coolers like the Coleman OptiMaxx though, which rings in around $370.  The Coleman Xtreme is a much cheaper cooler that promises to keep ice for around 5 days at 90F degrees, that isn’t bad! Be sure to test your cooler out before you purchase it as well.  Sometimes coolers makes great promises but are difficult to latch or barely stay closed at all.
Lastly, remember to eat well.  Sometimes campers are bombarded by convenience foods that are packed with unnecessary fillers, preservatives, and tons of sodium.  Before you venture out into your camping trip, make a detailed list of meals for your time.  Be sure to include snacks and drinks.  Most recipes are easily translatable to a campfire, especially if you have a cast iron Dutch oven that allows you to bake.


  • Meet your campsite neighbors.
  • See if your campsite has fun activities for the kids (or the adults – bingo anyone?).
  • Walk trails.
  • Bring your bicycles.
  • Go swimming if you can.
  • Create traditions.
Most of all – make memories with your loved ones that will last their lifetime and enjoy the time you have together in nature.

About the Author
Elizabeth Beadles is a twenty-something stay at home mom and wife.  She loves camping, writing, and playing with her son.  She believes that we are all capable of making choices to become responsible individuals living a sustainable lifestyle.  You can find her ramblings and thoughts on life, love, and sustainability at As We Grow Green.
 

Kitchen Stewardship in the Big Woods: Family Camping Handbook

Need more Camping Food ideas? Check out the Kitchen Stewardship in the Big Woods ebook with lots of real food recipes for camping. Plus tips on how to organize your campsite and what to pack to keep the kids entertained.  (Disclosure: I am an affiliate of Kitchen Stewardship ebooks. I love her recipe books and  I get a small percentage of each book sold. Happy reading.)

photo credit: bulliver via photopin cc

Keep Pests Out of Your Garden Naturally

There is nothing worse than spending loads of time and money on your vegetable garden, only to have it decimated by natural predators.  This is our first year doing square foot gardening in our raised beds.  I’ve had to do some research into how to keep our neighborhood bunnies, foxes and friends away from my young vegetables.  We have had containers on our farmers porch the past few years and didn’t have to deal with any pests, aside from the curious toddler. Here are a few things we plan to try out in the garden, plus some that my Dad has done for years.

Source

~Dried blood keeps the bunnies at bay.  Rabbits don’t like the smell of dried blood, or hair from it’s predators (coyotes and foxes). Get these items at your local garden store and sprinkle them around the perimeter of your garden.  Too gross?  Build a 3 foot high fence instead.

Source

~Cup of beer to drown garden slugs.  There were always little cups of beer in our garden growing up.  Usually filled with slugs.  They are attracted to the yeast and barley in the beer.  I would use a little yogurt cup filled halfway with beer.  Replace as needed.
~Plant an onion border around your garden.  Bunnies don’t like onions!

Source

~Marigolds are your friend.  Plant them around tomato plants to help deter pests like tomato worm, white flies and nematodes.

Source

~Garlic Fire Spray.  Keep the bugs at bay with this homemade recipe from No-Dig Vegetable Garden. This will take care of ants, grubs, caterpillars and most small bugs.  Be nice to the ladybugs though, they are your friend. They eat aphids!
~Cats may not be nice to your garden. Discourage them by giving them a little squirt with a hose.  Don’t let them take a cat nap on your little seedlings.
~Groundhogs.  If you got them, build a fence.  A tall one.

There are loads of other natural gardening remedies online and I support giving them a shot if you end up with some pests in your garden.  Think twice about chemical pesticides that have been linked to cancer, nerve damage and birth defects.  Keep your garden and your food clean and healthy with these natural gardening tips. Good luck!

I am in love with holiday decorating. Easter included.  Time to decorate those eggs!  This year I finally took some time to do some egg dying with natural ingredients.  Everything came from what I already had in the house.

I bought generic white eggs.  I went with hard boiled instead of blowing them out because I was wasn’t sure if my kids could handle something so delicate.  Cook for at least 15 mins on a simmer to avoid cracks.

I did some clean out of the fridge/freezer and cabinet to test out a few options.  The blueberries soaked in water for about an hour.  Others were boiled for about 20 minutes to draw out the colors.

Once the liquid was ready, I divided it up into smaller containers and added about one teaspoon of vinegar per one cup of liquid.

Cover the area with a large cloth or newspaper as this got messy when the eggs were dropped in!

We got used the following and let the eggs sit in the mixture overnight.

Spinach~ light green
Cranberries~ light pink…I would strain in a cheese cloth before doing this again.  I got funny bubbles on the eggs
Pomegranate tea~ turned green over night!  Originally was pink
Carrots~ light yellow
Red wine~ brown, almost prehistoric looking.
Beet juice~ (very) light pink
BLUEBERRIES~ dark blue. Favorite of all the eggs by far.

We drained them on a cookie cooling rack.  I didn’t care about little marks as it just adds to their character. This was an easy kids activity when adult can make the natural dyes at the stove ahead of time.  The eggs are safe to eat as long as they are refrigerated.  Find more egg dying ideas on my Pinterest Board.  Next up for me are some chalkboard eggs!

Happy Easter and Passover to all!