Posts

It’s never too early to inspire children to love gardening. 

5 Ways to Get Kids to Love Gardening

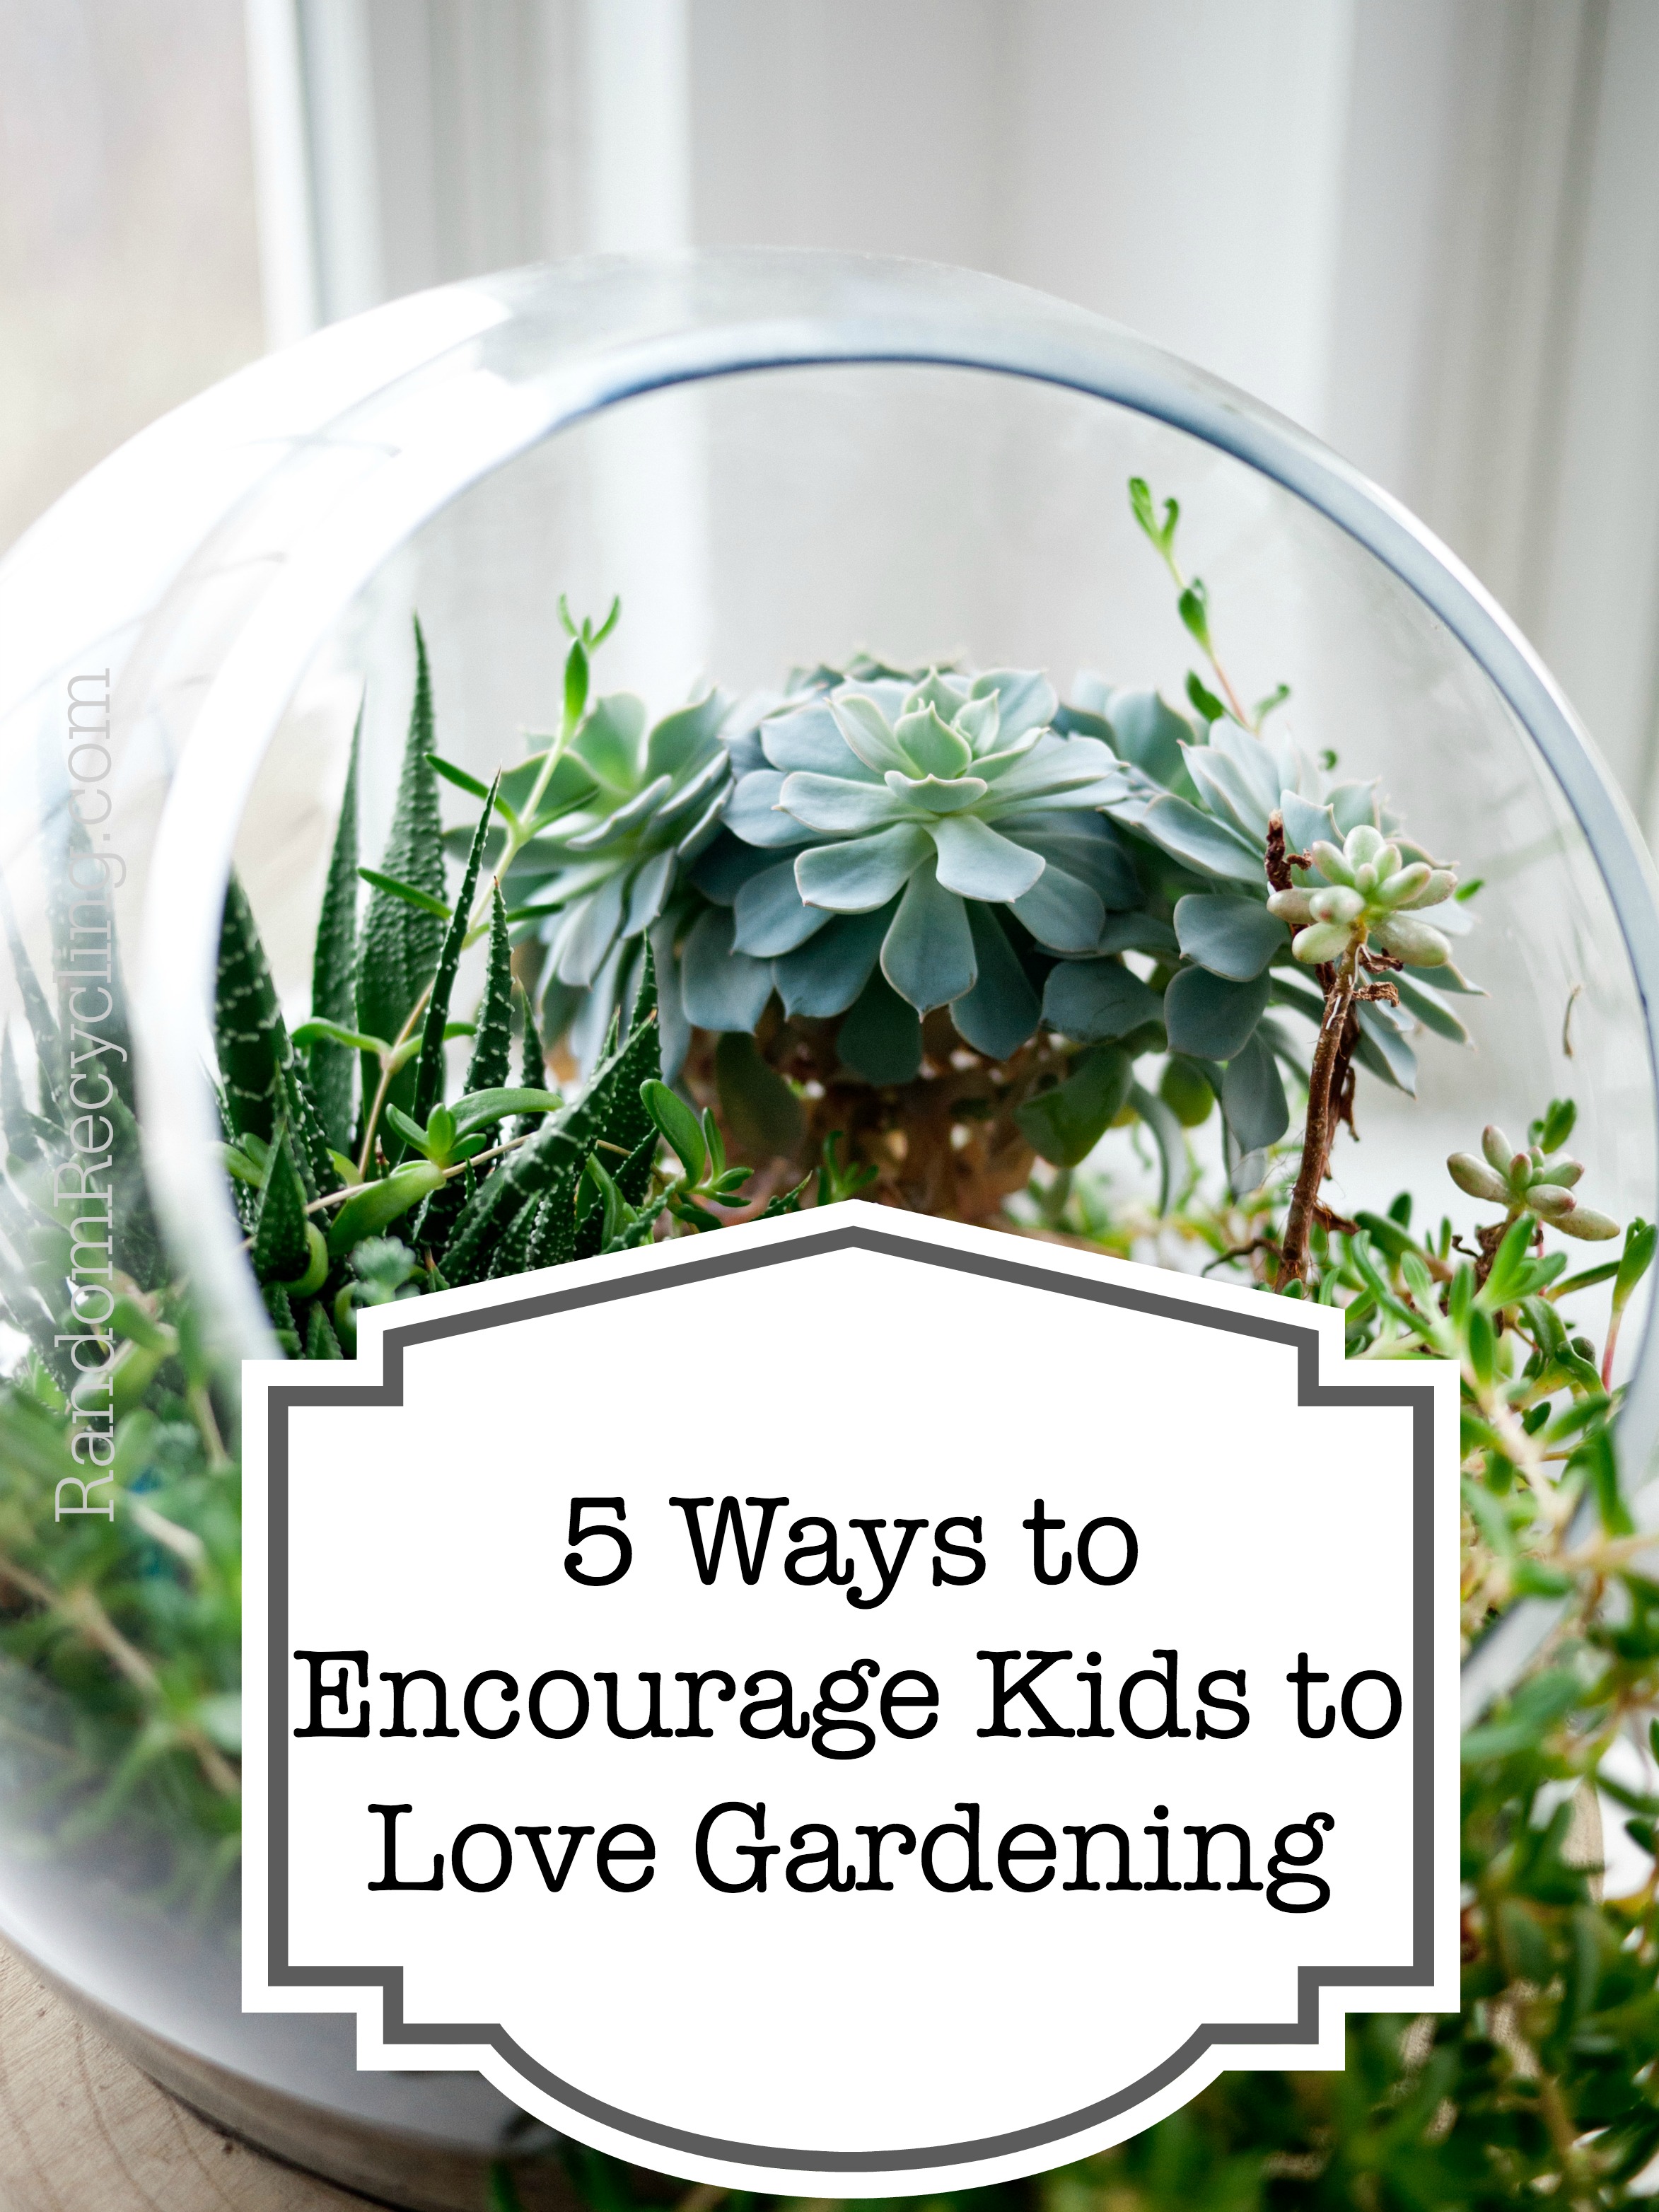
As the seasons shift into spring, now is a great time to start planning your summer garden. There is no better way to teach children the connection between us and nature than gardening. Plant it, grow it, eat it. It’s so simple and easy to understand in a child’s eye. So how do we inspire a love of gardening in them at an early age?

1. Include Children in Choosing the Plants to Grow

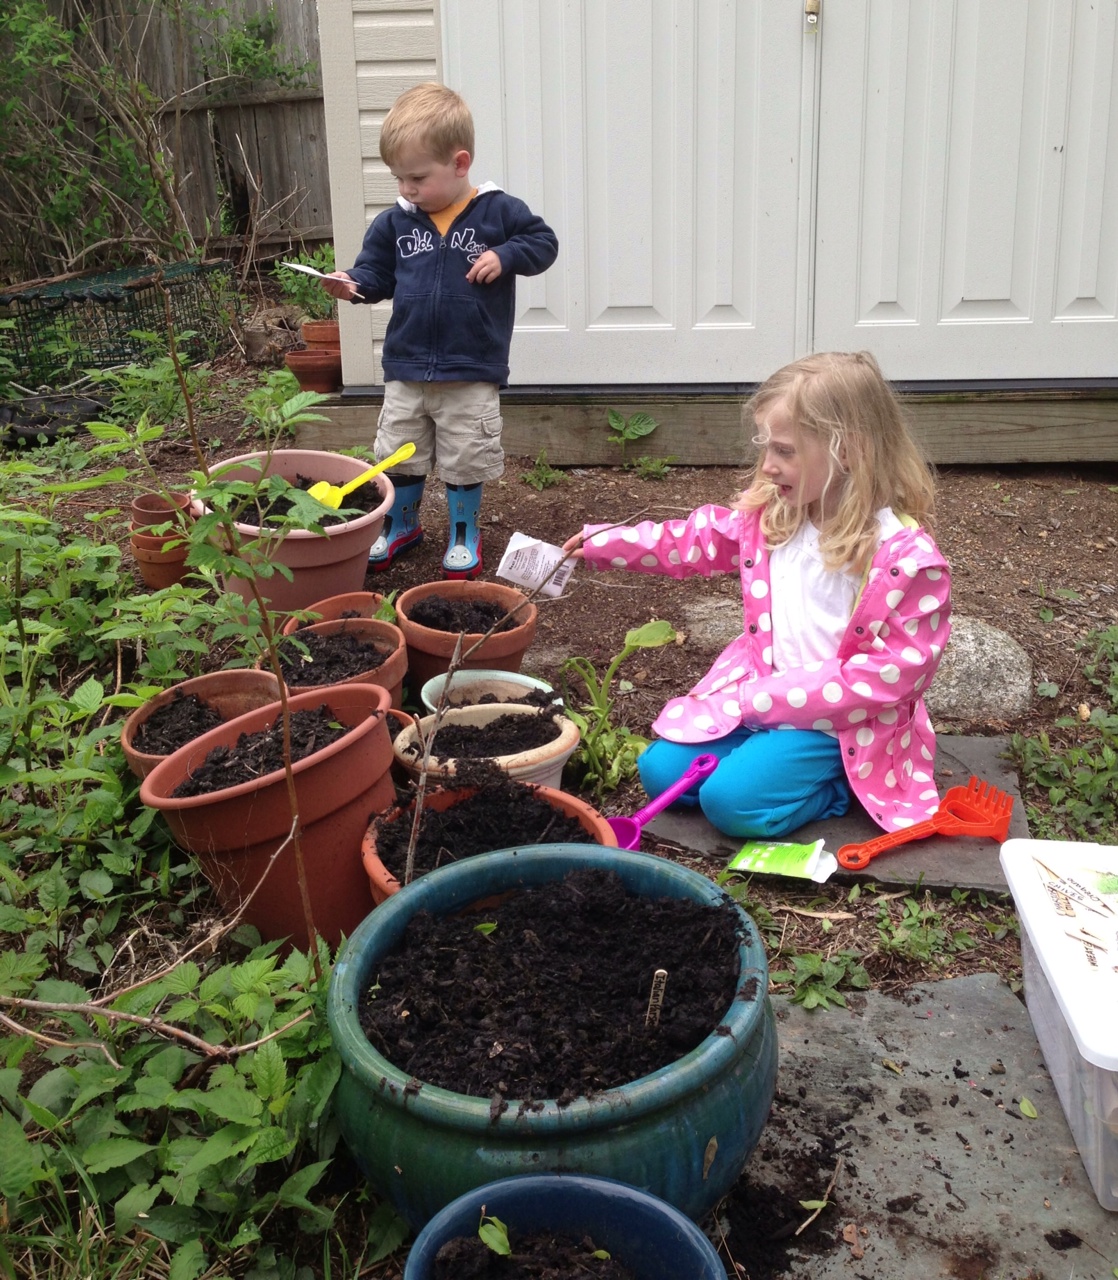
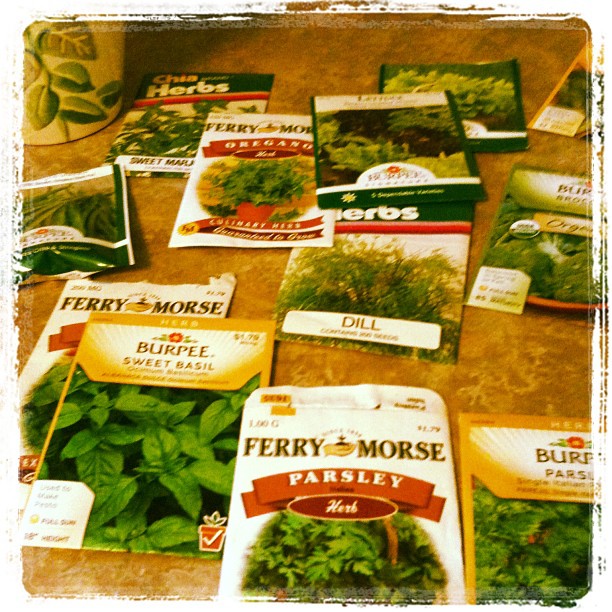
The first step is to give the kids some control. All kids love to “own” things and you can start by letting them choose seed packets, or a special container to plant in. At our home, we have always limited our gardens to vegetables and herbs. This year I am choosing to follow this guideline and let our daughter plant flowers. I was impressed that she knew exactly what she wanted when we went to pick out some seeds. “White daisies.” So simple and so sweet.

white daisy flower

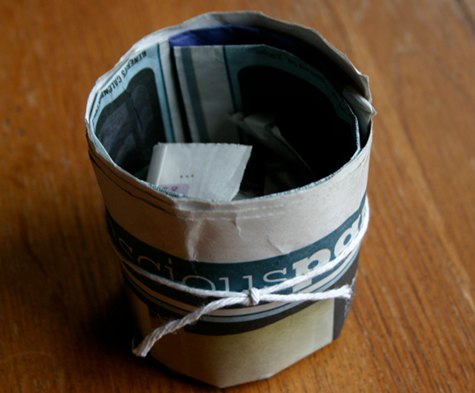
Kids can choose their own seeds and plant them in “cow pots!” Have fun explaining to them what they are made of. (wink, wink) Just know you are being a little greener by skipping the plastic starting pots.

Strawberry kids garden.

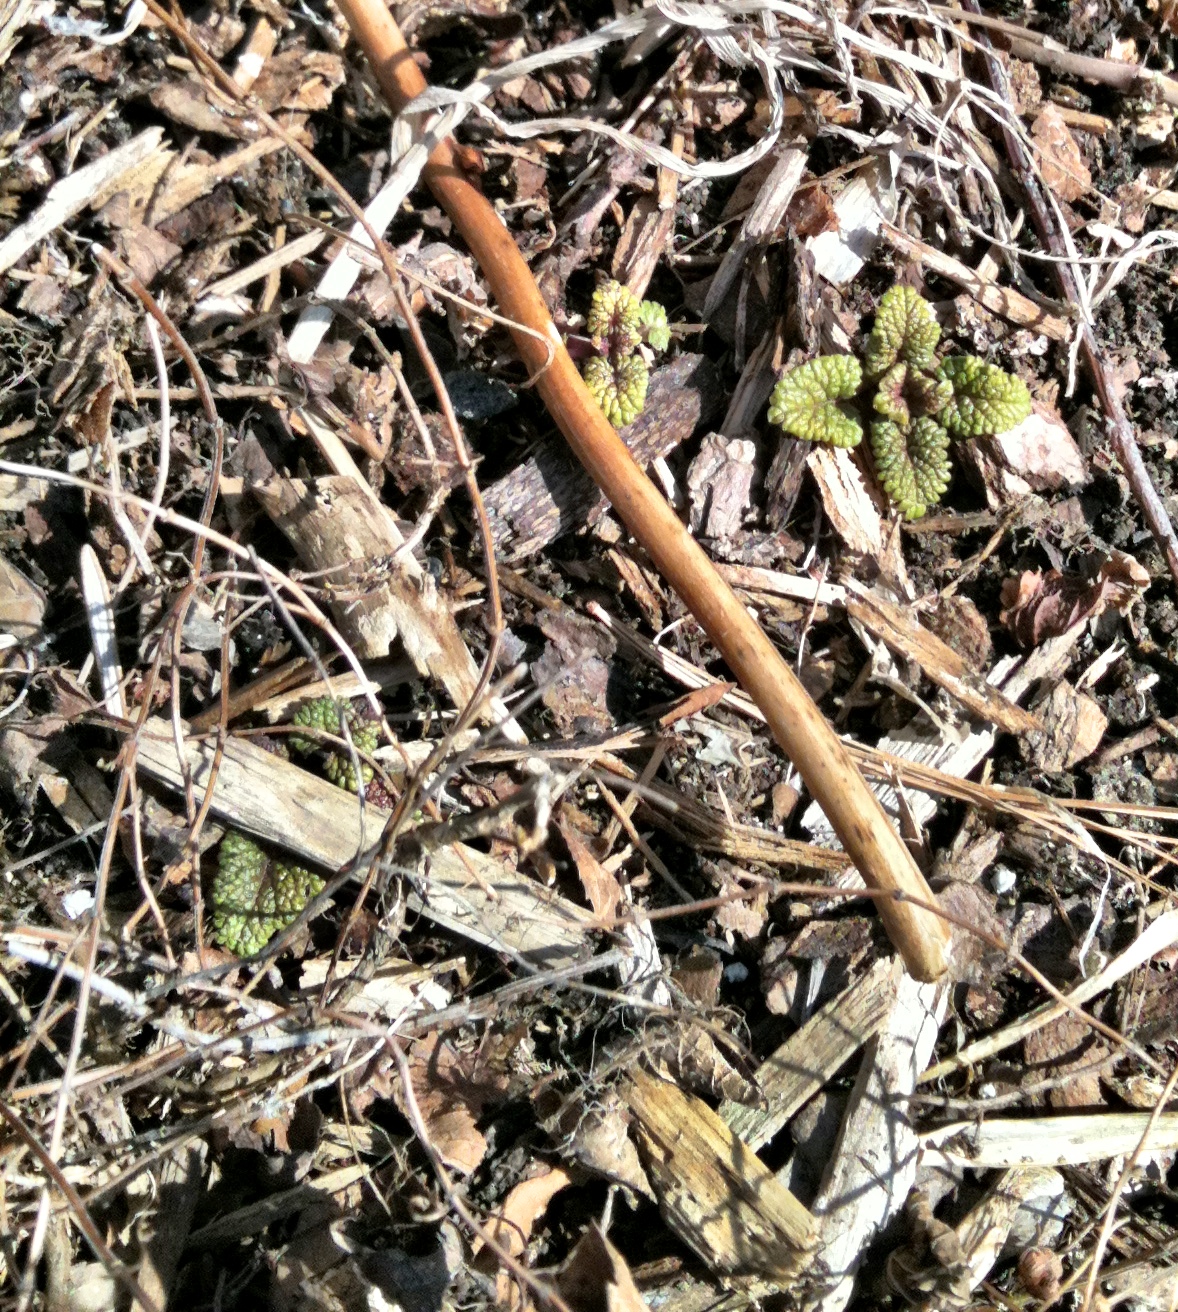
She is tending her strawberry garden.

2. Choose Fast Growing Plants

Radishes may not be every child’s favorite vegetable, but they will love to grow them. They have a seed to table time of about 22 days which is amazing. Cherry Bomb is a common spring variety and the key is to grow them before it gets too hot outside. The fresher they are, the less spicy they taste! Serve them with some ranch dressing to cool down any heat and you may have a new veggie to stash in the kids lunch box.

Radish seeds can be tucked in among other early spring plants like broccoli and spinach. The radishes will already be ready to harvest when the other plants need a little more growing space. Staggering the harvest time is more exciting for kids as there will always be something new to look forward to.

Alternatively, skip the seeds and go straight for the seedlings. It’s almost foolproof to just plop a seedling in the ground, water it, then watch it grow. There are often too many of one kind of plant in the seedling trays so partner up with some neighbors and make a trade or two.

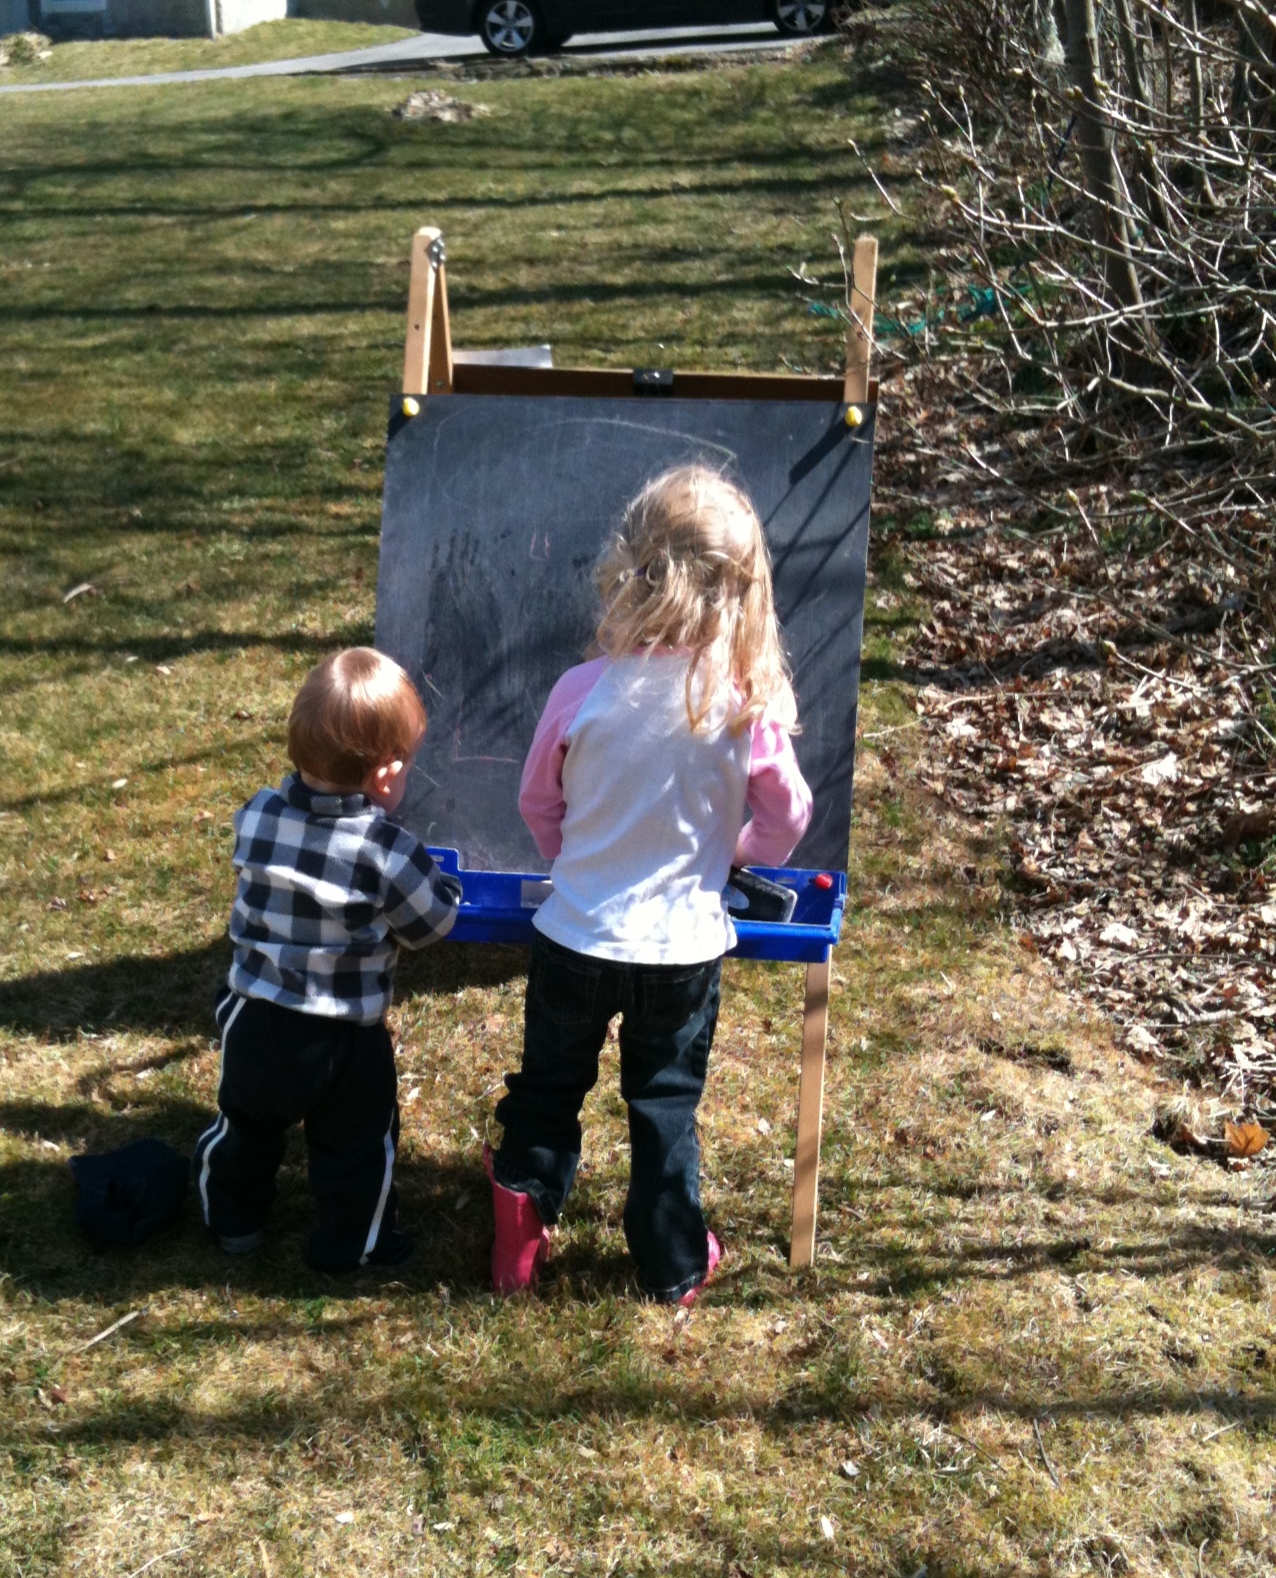
3. Create a Growing Chart

Kids love to track things on a chart. Let’s move beyond potty training stickers and get out a ruler and measure some of the fun plants you choose to grow. You can also print out a calendar page and have kids draw out when each new action occurs. One day will be planting seeds, another the first seedlings, then the flowers and so on. Create a competition among siblings or neighbors and see which plants are growing the fastest!

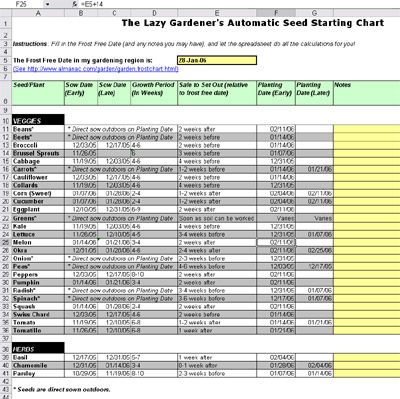
4. Start Seeds Inside to Extend the Growing Season

With winter lingering here around Boston, and our raised beds covered in snow, we are starting seeds inside this year. Either go with the cow pots or a seed starting kit. This Indoor Garden kit is kid-friendly and includes 3 different seeds to grow: teddy bear sunflower, basil and zinnia. We already started seeds inside and the kids love to see how much higher they are every morning!

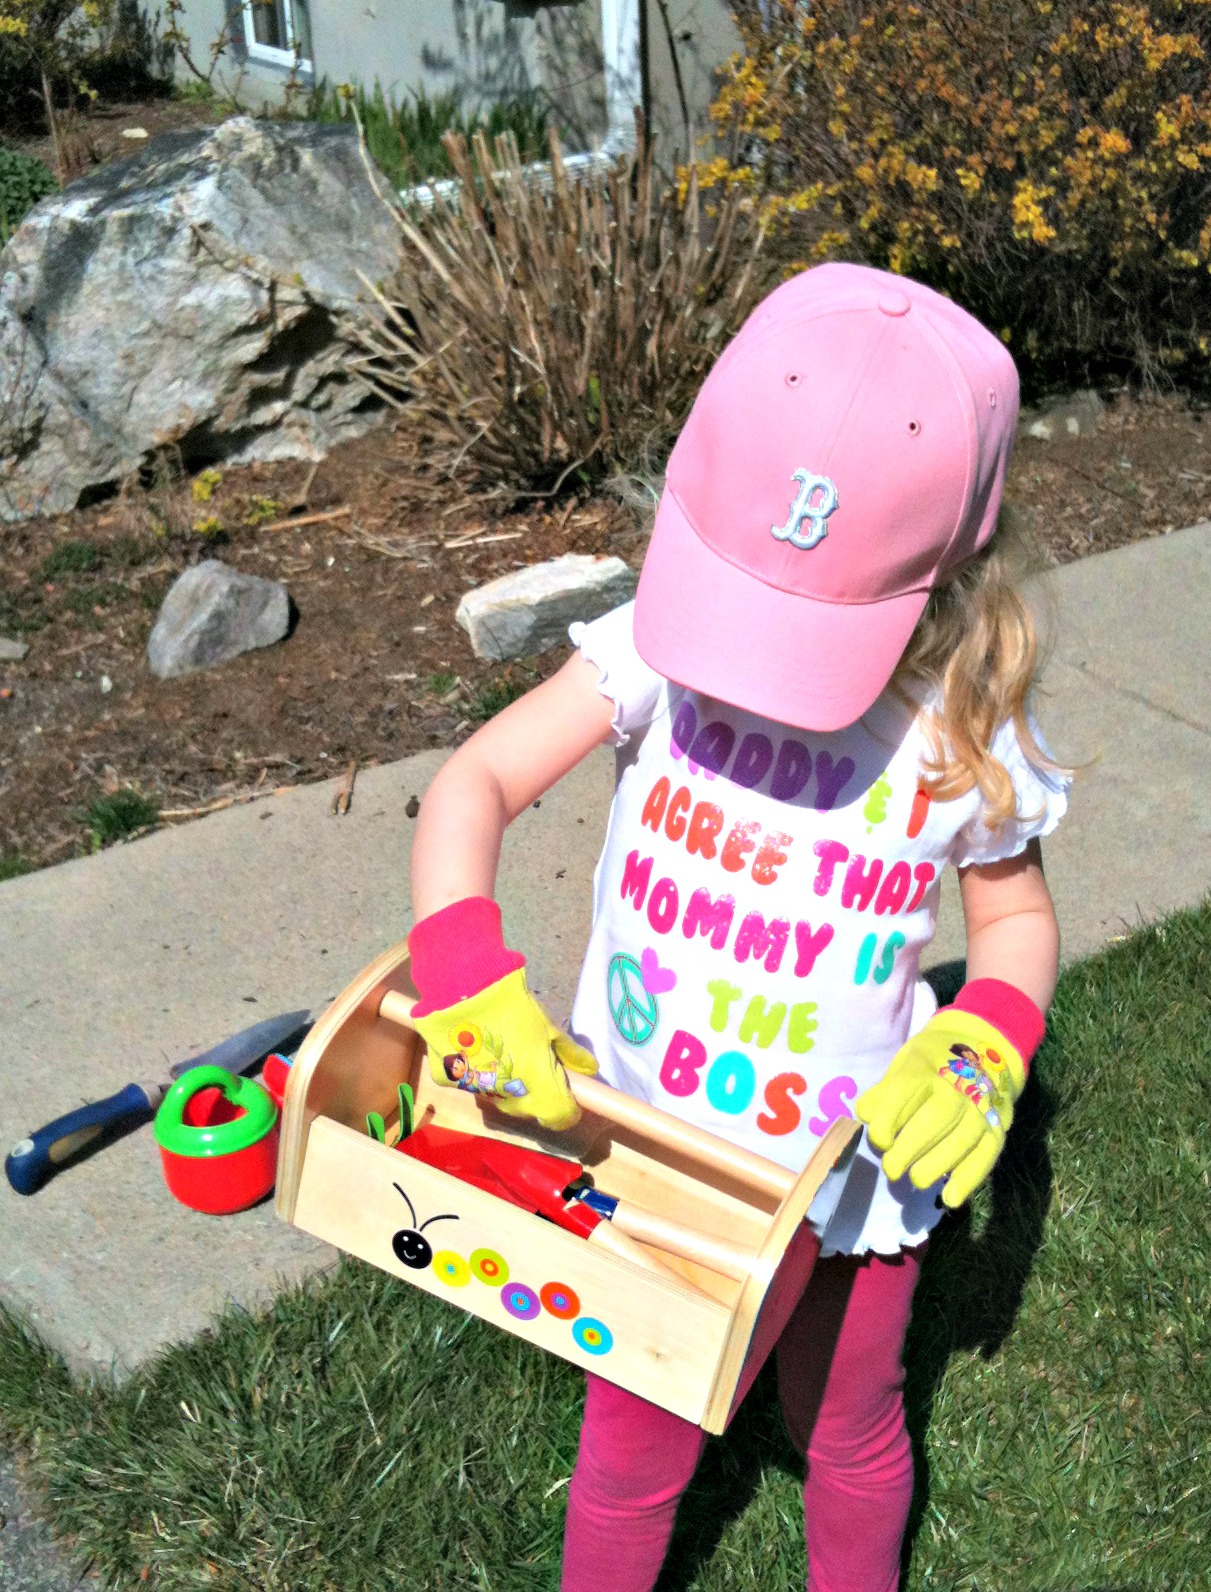
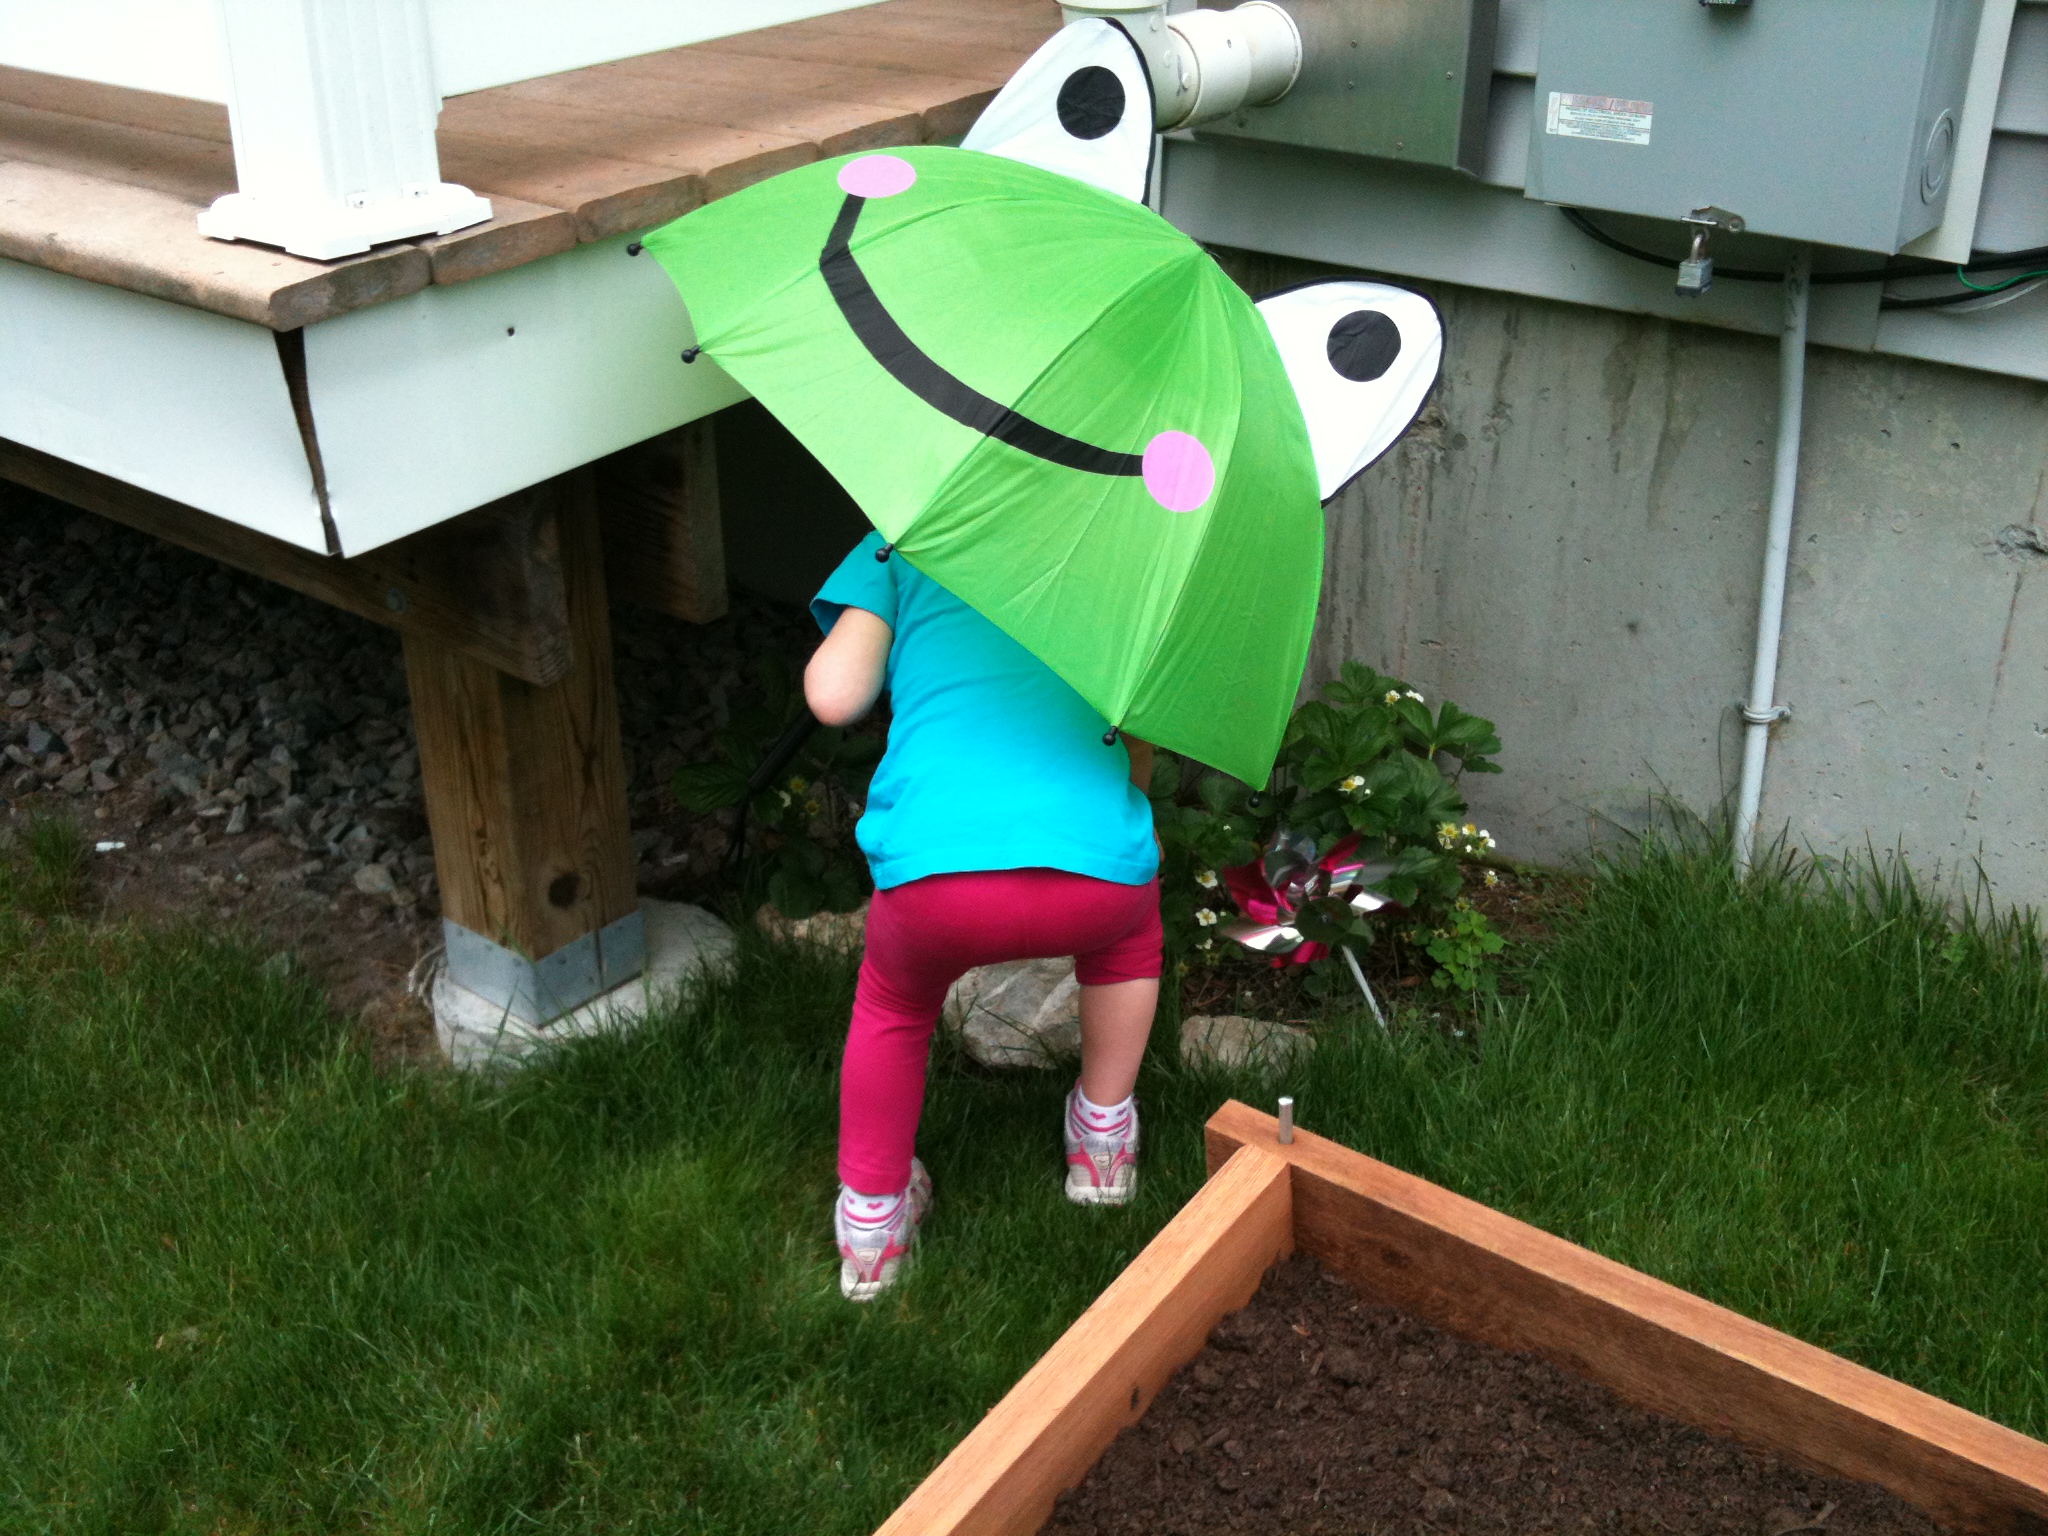
5. Give Kids Their Own Garden (or Container)

Our little girl has already placed a claim on her own raised bed this year to be used for flowers only. I think it’s adorable and love how excited she is to plan it. When the weather is warmer and we get the seeds in the ground, we can use the time to make our own labels for the flowers, and reread Miss Rumphius (or The Lupine Lady), one of our family favorites. If space doesn’t allow for a garden, see if there is a home for the kids to put their own large pot on a front step. Let them decorate it and make it their own.

Make a dinosaur garden for the kids!

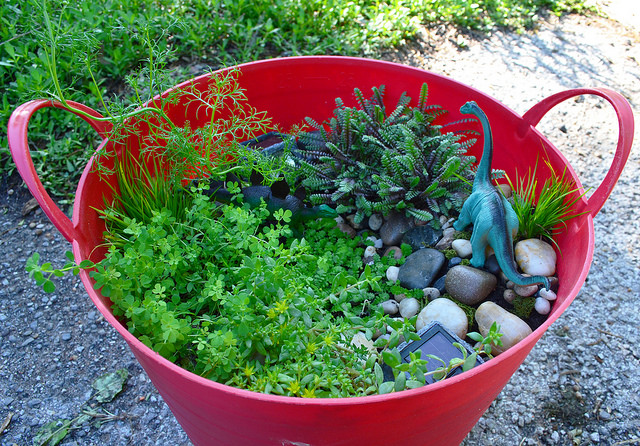
There is also a fun trend of creating a themed pot. I love how entertaining the Fairy Gardens can be as it’s open-ended with what you can include. I also came across this idea for a Dino Pot and thought it was awesome! I’m so curious to try out this “Garden Pirate” idea from Climate Store as well. You get to create seed bombs and then then tuck them into fun spots around the yard.

As your child gets more connected with nature, it becomes even easier to teach concepts like Reduce, Reuse and Recycle. With Earth Day this month, now is a great time to kick off these discussions if they haven’t been happening in your home. While you are outside, talk about other ways to preserve natural resources. You can set up a rain barrel near a garden to help water the growing plants. Got a place for a compost bin? They are so sophisticated these days, and discreet, that most people can find a tidy home for a compost bin to create their own rich soil.

How else can you encourage your kids to enjoy gardening this season? Happy planting.

Climate-Store-LogoDisclosure: I am a partner with ClimateStore.com and compensated for my time. I only suggest products I believe in. All opinions are my own.  If you want to learn more about climate change and what it means to your family, I suggest you start here and learn about the first steps you can take. As we celebrate Earth Month, now is a great time to have conversations about climate change with your family. Please share in the comments any questions you have about taking first steps to reduce your carbon footprint.

The original layout of the largest raised bed

I started some notes last week about our gardens this year and decided to create a post about it.  This is partly for selfish reason so I have a copy of what we did online.  Second, I thought it might encourage you to review what you did in your garden and start thinking about next year.

We live outside Boston so we have a fairly short growing season.  Winter was a bit of an anomaly in 2012. Super warm temps in March thawed the ground and allowed us to plant very early. My guess is we won’t see the same trend next year and plantings won’t start until May.  We had three raised beds to use and I think we will make do with the same amount next year.  Next year, we will dedicate one of them as an herb garden.

Garden mid June

In reviewing what we did and whether or not it worked for us, I asked these questions.

  1. Did it grow well?
  2. Did we eat it?
  3. Did we have too much/too little?
  4. What was missing?
  5. Was it planted in the right place?

Here are the results of my notes and discussions with my husband who manages more than his fair share of the work.

Trailing plum tomatoes

Tomatoes
-Plum: Favorite this season, need 3 plants vs 2 for next year.
-Cherry: Need only 1 plant vs 2, prefer larger size vs smaller.
-Heirloom: Our 1 plant got dwarfed by the cherry tomato plants. Need to space out better.
-Patio: Not stellar.  Taste was good, but would rather add more heirloom.
Notes: need tallest cages for tomatoes, add in a beefsteak tomato plant

Cucumbers
-Did not grow well from seed.  Only 1 plant survived. Use seedlings instead.
-Increase to 4 plants vs 2.

Peas

Second pea planting

-Sugar Snap Peas were planted twice.  Summer crop arrived in July while we are away. Plant later next year. Repeat location.

Broccoli
-Produced small heads and giant leaves.  Reduce to 4 plants vs 8 next year.

Spinach
-Terrible year, did not do well in any garden (containers and raised bed). Planted both baby and regular spinach (organic) from seed and it did not take.  Will try again next year in the large raised bed.

Lettuce Greens
-Started 1/2 from seeds and balance 1/2 from seedlings.  This was great because it created a longer harvest season.
-Trout was great (and pretty) and also the butter lettuce.

Eggplant
-Grew very well in the raised bed from a seeding.  Would skip next year as we don’t eat enough of it.

Garden harvest mid August

Celery
-Did well despite being dwarfed by the tomato plants.  Need to change placement to allow for more light. Taste was amazing. Need 3 vs 5 plants.

Peppers
-Sweet green peppers did amazingly well, must have them for next year for Madison to eat right off the vine!  Need cages for them next year.
-Hungarian hot wax peppers also grew well, but we don’t want something that spicy in the garden that the kids might eat.  We also didn’t cook enough with them.

Carrots
-Remains to be seen…not sure if they got enough light as the pepper plants grew over them.

Herbs
-Basil: produced best in the hanging Topsy Turvy planter.  Still could have used more.
-Rosemary: doing well in both raised bed and in the ground (from last year). Need to cut and dry more during the summer.
-Parsley: got dwarfed by the pepper plants. Did curly this year, prefer flat leaf italian parsley instead.
-Cilantro: grew well…too well.  Bolted at the end of June.  Would love to have it all season long so I can use it for homemade salsa when the tomatoes are ripe.
-Thyme: going strong in the ground
-Oregano: a transplant from my stepmother’s garden, I’m hoping this takes and grows back next year.

Thank you to Soil and Seed for installing our large raised bed.  Everything in the garden grew well and the soil was amazing.  I would recommend this for anyone in the local area looking to increase their gardening space next year.

How did your garden grow?  Any tips for planning next year?

All my favorite garden helpers

From this…

Our largest raised bed garden last May

To this…

Tomatoes over grown, peppers still going strong

Coming up soon, a full gardening recap of what we did right, what went wrong, and what we want to do next year.

Image and video hosting by TinyPic
I love to hear your feedback and comments. Stop by and visit FacebookPinterest or Twitter for more conversation!  Or get posts delivered via Email or RSS Feed.

I’m sharing this WW post with I Thought I Knew Mama,  Live and love Out LoudMomma T and Baby EMommy Kat and Kids5 Minutes for Mom.

Keep Pests Out of Your Garden Naturally

There is nothing worse than spending loads of time and money on your vegetable garden, only to have it decimated by natural predators.  This is our first year doing square foot gardening in our raised beds.  I’ve had to do some research into how to keep our neighborhood bunnies, foxes and friends away from my young vegetables.  We have had containers on our farmers porch the past few years and didn’t have to deal with any pests, aside from the curious toddler. Here are a few things we plan to try out in the garden, plus some that my Dad has done for years.

Source

~Dried blood keeps the bunnies at bay.  Rabbits don’t like the smell of dried blood, or hair from it’s predators (coyotes and foxes). Get these items at your local garden store and sprinkle them around the perimeter of your garden.  Too gross?  Build a 3 foot high fence instead.

Source

~Cup of beer to drown garden slugs.  There were always little cups of beer in our garden growing up.  Usually filled with slugs.  They are attracted to the yeast and barley in the beer.  I would use a little yogurt cup filled halfway with beer.  Replace as needed.
~Plant an onion border around your garden.  Bunnies don’t like onions!

Source

~Marigolds are your friend.  Plant them around tomato plants to help deter pests like tomato worm, white flies and nematodes.

Source

~Garlic Fire Spray.  Keep the bugs at bay with this homemade recipe from No-Dig Vegetable Garden. This will take care of ants, grubs, caterpillars and most small bugs.  Be nice to the ladybugs though, they are your friend. They eat aphids!
~Cats may not be nice to your garden. Discourage them by giving them a little squirt with a hose.  Don’t let them take a cat nap on your little seedlings.
~Groundhogs.  If you got them, build a fence.  A tall one.

There are loads of other natural gardening remedies online and I support giving them a shot if you end up with some pests in your garden.  Think twice about chemical pesticides that have been linked to cancer, nerve damage and birth defects.  Keep your garden and your food clean and healthy with these natural gardening tips. Good luck!

Could the weather be any better?! I love walking around the neighborhood and seeing how far along everyone is with their spring yard work and gardening plans.  The crazy warm weather makes me think I should be putting seedlings in the ground, but this is New England so patience is key.

My budding gardener got a new set of toolsfrom her Grammy for Easter. She was so excited to put them to good use and get planting. Get your kids excited about growing things and watch their eyes grow wide.

We set up a variety of containers to plant seeds, which is always a cheaper option than buying a flat of seedlings.  The herbs went in first, Basil, Dill and Oregano.  The little gardener planted her own pickling cucumbers that she picked out at the garden store.

Source: Design Sponge

When it comes to containers for seedlings, there are lots of eco friendly options.  I use leftover ones from past seasons and this year I’m trying the egg carton which can go right into the ground.  The newspaper cup above is from an old post at Design Sponge but I love how simple it is.  Plus it can go right into the ground too.  If you have yogurt containers, those will be a perfect size for seedlings but take the plastic off before putting them in the ground.

My husband had fun with the circular saw and whipped together some raised beds.  Plus we are getting one big one made from red cedar installed by Soil and Seed. When you choose wood for raised beds, skip the pressure treated ones and opt for red cedar or old wood that is still in good shape.  Avoid chemicals in the wood that will eventually seep into your soil and your food.

One of the reasons we choose to get the raised bed installed is that it will also be filled with organic soil.  Despite having our own compost, it won’t be enough to fill a 4×8′ bed.  I also had a hard time finding organic soil at the big box stores last year.  Doable, but we realize that totting little toddlers around to pick up lumber, soil and build the whole thing just doesn’t make sense.  We would rather spend the time doing the plantings.

I love the new plant-a-grams from Williams-Sonoma.  I’ll be bringing these to the local farm stand to pick out the balance of seedlings to get our garden growing. They also have one for a vegetable garden and a salad garden, yum!

Next step will be getting the raised bed installed and making a plan.  Look for that post mid-May!  In the meantime, check out Part 1: Getting Organized, and Part 2: What to Plant and When.

What are you looking forward to growing this year? Anything new?

Image and video hosting by TinyPic
I love to hear your feedback and comments. Stop by and visit FacebookPinterest or Twitter for more conversation!  Or get posts delivered via Email or RSS Feed. Thanks! I’m sharing this with Simple Lives Thursday   


Visit the Amazon Earth Day Store

Post is shared with Sustainable Ways, Your Green Resource, The Homesteader Blog Carnival

Gardening Planning: What to Plant and When

Trying to figure out what to plant and when is determined but a number of factors.  The most important one is location, both in the country and also your garden.  You can find a general map on the back of nearly every seed package to get a sense of what zone you live in.  (Did you know those maps were just rewritten to account for rising temperature trends…hmmm.) Once you figure out a general time to plant, you also need to decide if you want to get ahead of the game and start your own seeds indoors.

Growing from seed allows for two key things, choosing organic or heirloom seeds and a also major cost savings.  One seed packet vs a flat of seedlings will always be a more economical option. However, some things just don’t start well from seeds.  A little trial and error comes into play here.

Take inventory of any past packets of seeds before you go shopping.  It’s easy to forget you still have spinach seeds from last year and they are still good a year later.  This chart is handy for determining how long you can hold on to your seeds.

Source: You Grow Girl

Seed planting guides are easily found from searching online.  The one above is from a favorite site of mine, You Grow Girl. You download the chart from the site and then enter your last frost date into Excel.  It then gives a personalized list of dates of what to plant and when.  The site has lots of handy tips for beginner gardening and beyond.

Next up will be some seed starting indoors, how I use window boxes for my greens and our plan to get a raised bed installed. And check out Fresh Food from Small Spacesfor a little more inspiration to get your garden growing, no matter how much room you have.

Check out Part 1 in the Gardening Series: Getting Organized for Early Season Plantings.

What are you planting this year?  New to gardening or do you have a green thumb and can share some tips?


Tips to get your garden ready for planting season

Time to get planting!  Or at least planning.  Outside of Boston, we got a surprise hint of warm weather last month. We used the opportunity to take stock of our containers, compost inventory and get a few vegetables started.  This is Part One of a Three Part Gardening Series.

First thing was to pull every container we owned out of the garage and storage area.  We washed them out and decided if any needed to be trashed or recycled.  Many of the plastic ones are #5 plastic.  We do a lot of container gardening and have a mix of starter pots, windowsill boxes and large containers for tomatoes and peppers.

Daddy is in charge of turning over the two compost piles and getting out the good stuff.  We manage two bins, one for all the household scraps (veggies, eggshells, coffee filter and grounds, etc.)  The second large one collects mainly grass clippings and some household waste.  It’s not as organic as we would like, but it’s great to use for flowering plants in the yard.  We need to buy another compost bin and on the look out for a good deal since our DPW said the town ran out of money and won’t order any more.

Both kids loved playing with the dirt!  I think there are some studies out there that kids who play in the dirt are healthier.  Certainly happier.  We took the compost and created a container mix of one part compost to one part potting soil.  This allows for a lighter soil in the container.  Straight compost is too heavy.

My favorite part of our garden are the herbs that come back every year.  It saves money and time!  The lemon balm is already growing in the picture above.  The thyme and chives also are already in good shape, about a month ahead of schedule.

How do you get a project like this done with little kids underfoot?  Just bring out their independent play activities outside.  The easel outside was a huge hit with both of the kids.  It gave us at least 10 minutes of uninterrupted time to get things organized.

Next post will detail what we are planting when, plus our plan to get a raised bed installed!

What are you planting this year? How do you get your kids involved?


Check out Part 2: What to Plant and When?