Posts

Prior to the arrival of Blizzard Nemo, our friend Susan hosted a wonderful Valentine’s Day party for some little preschoolers. It was a cute morning filled with craft projects, cupcakes, glitter glue and coloring.

Valentine's Day Cupcake

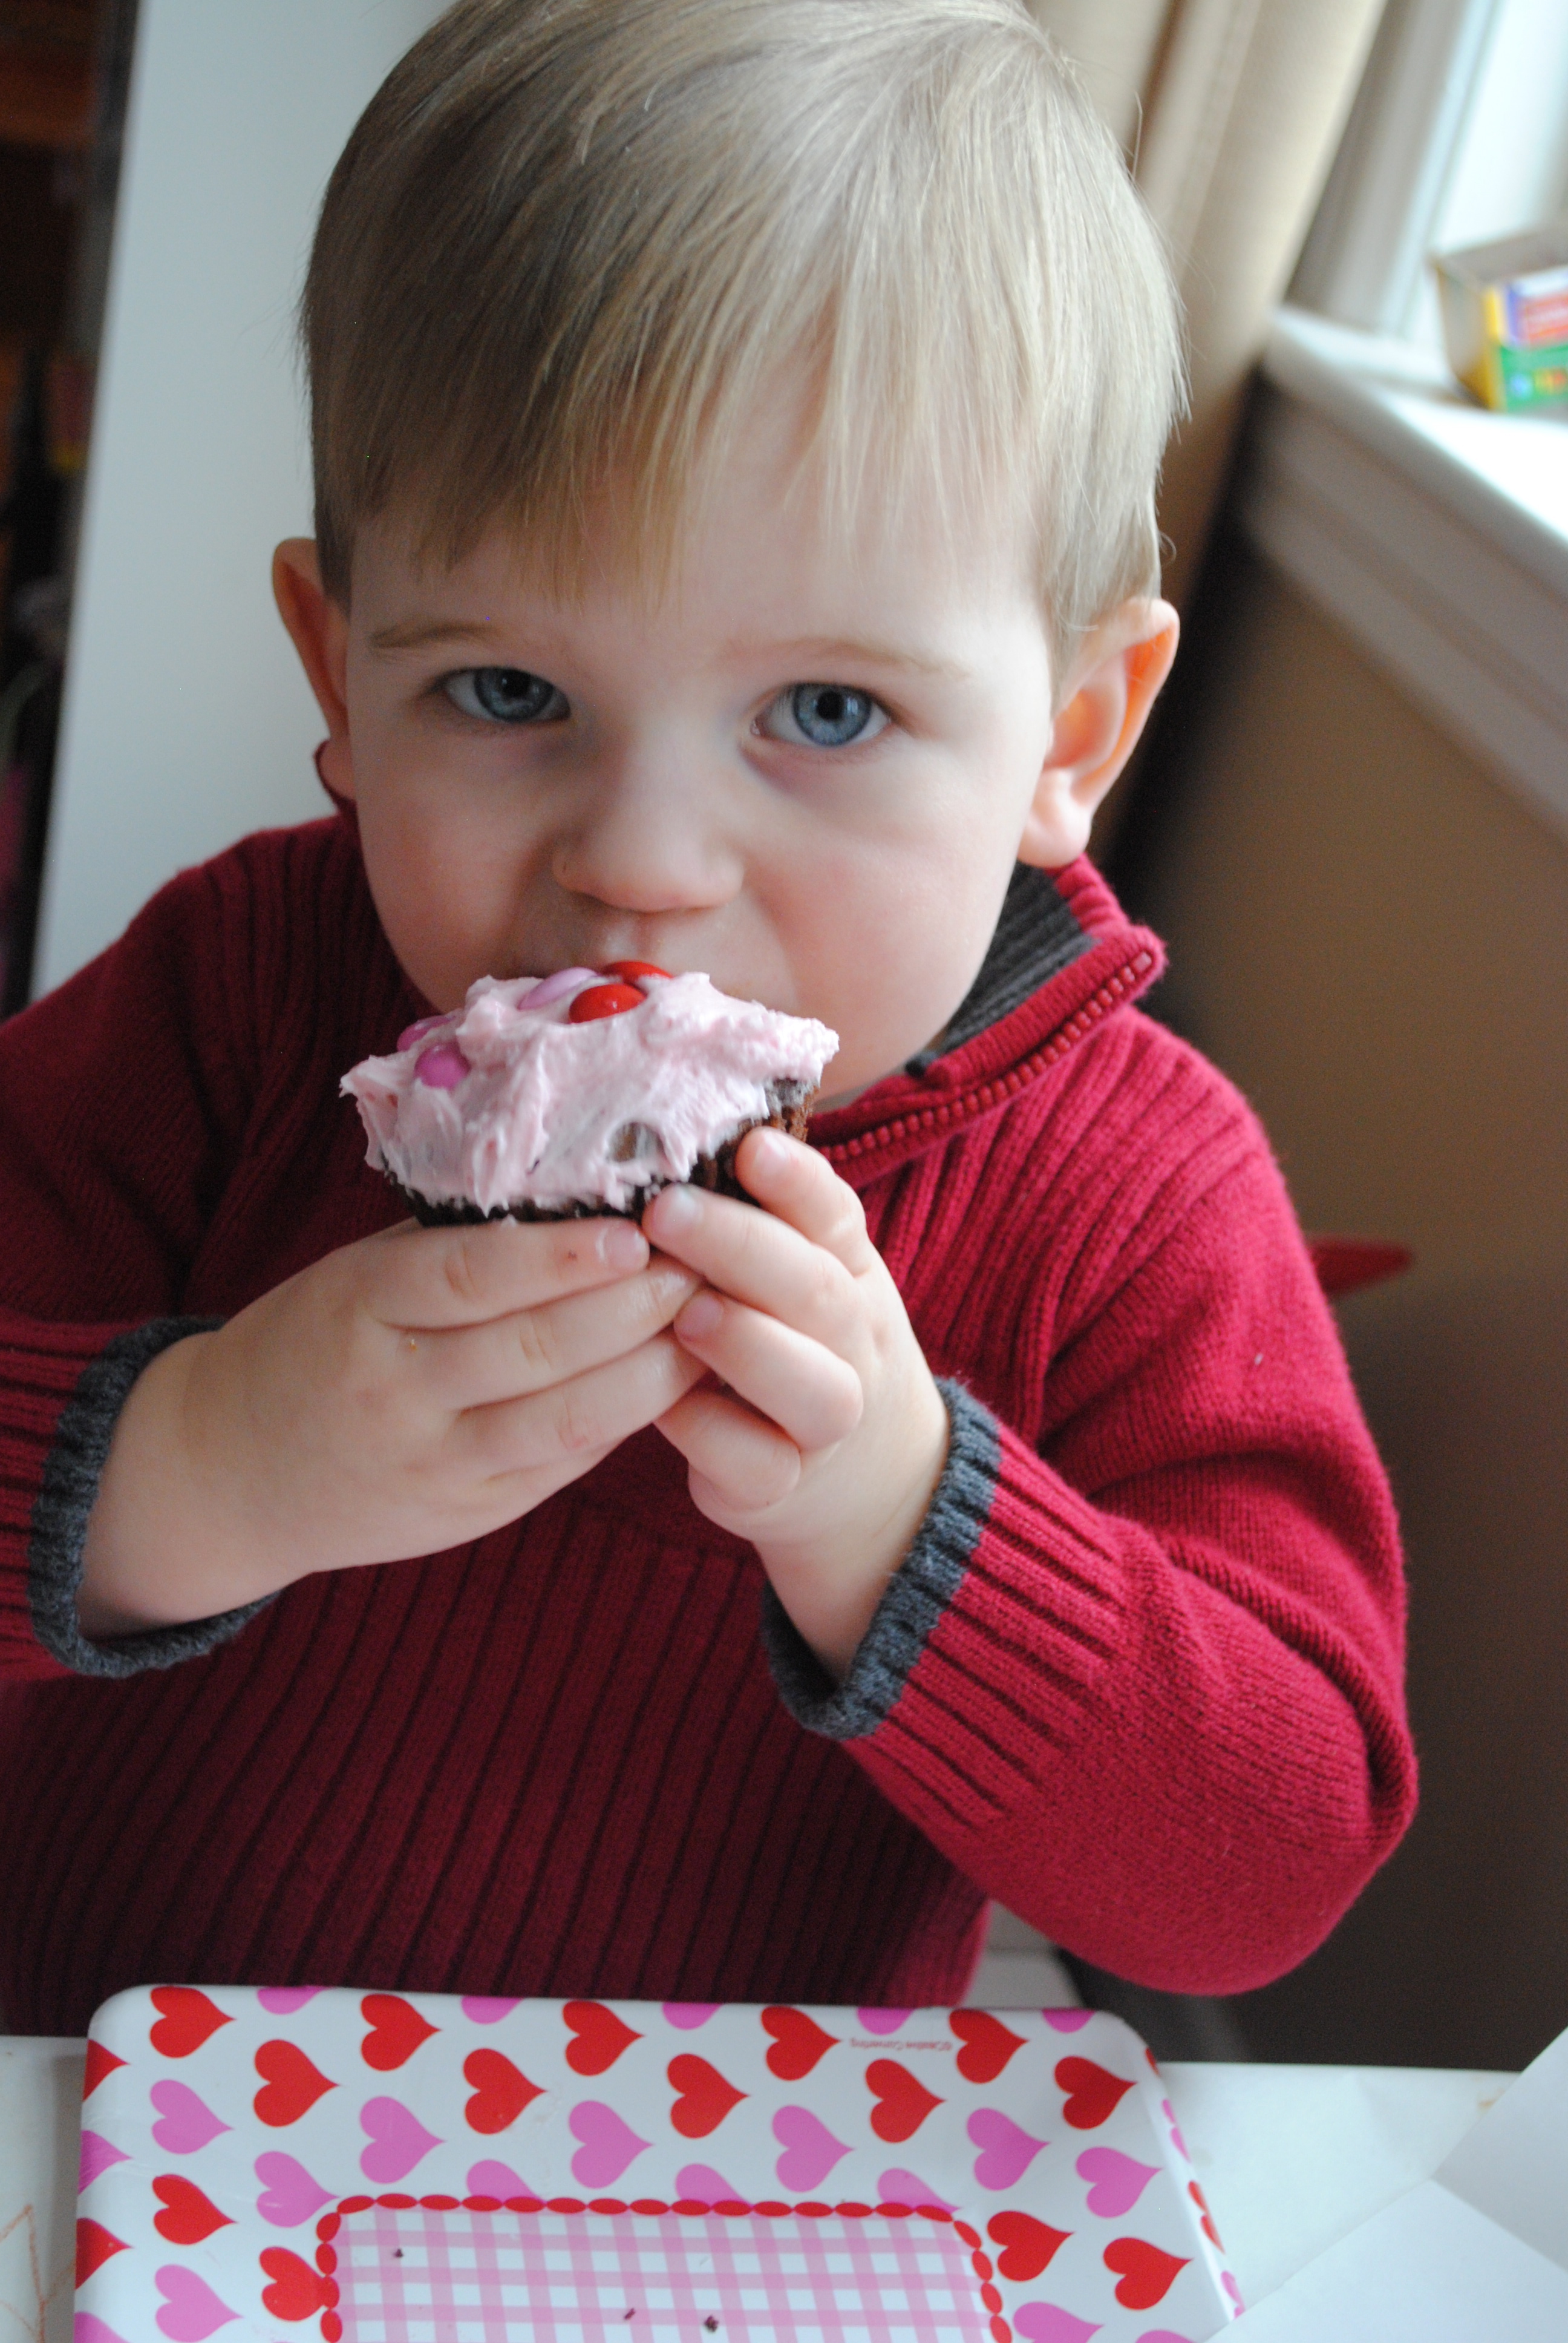
All he remembers from the party is this cupcake.

Valentine's Day Preschool Card Making Party

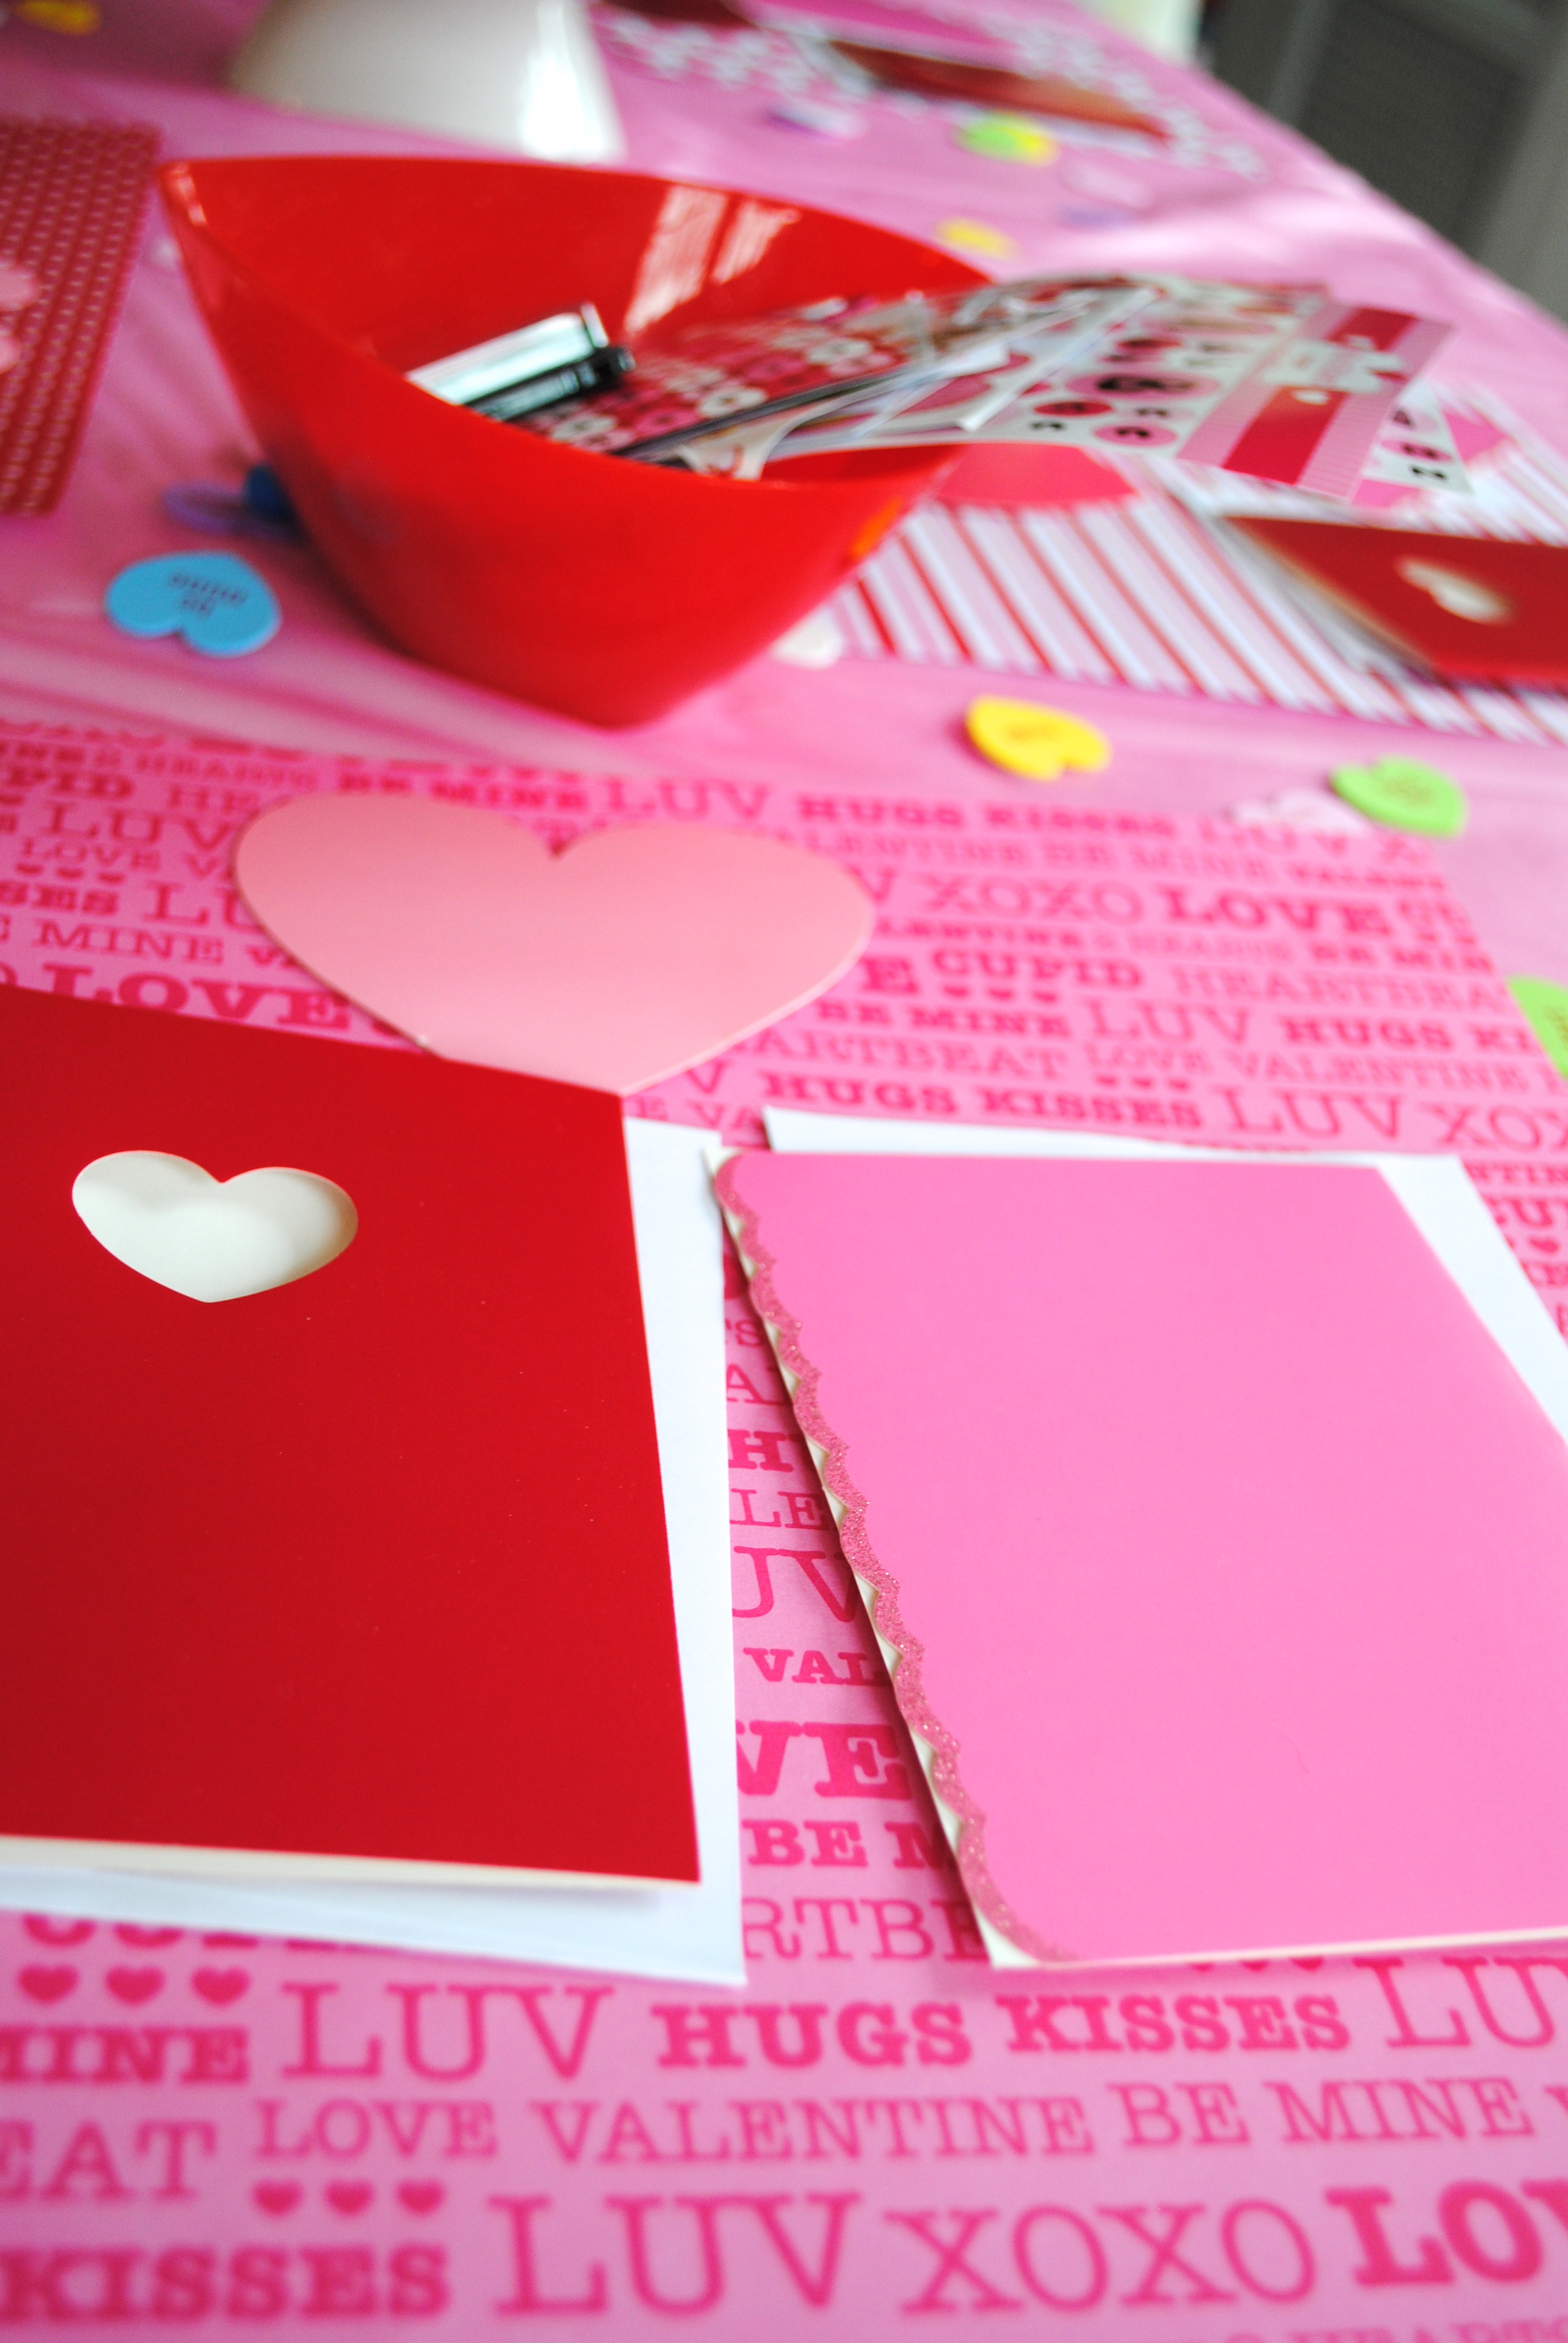
Card making craft time for the kids. Stamps, glitter glue and stickers for their special Valentine.

Gingerbread house for Valentine's Day

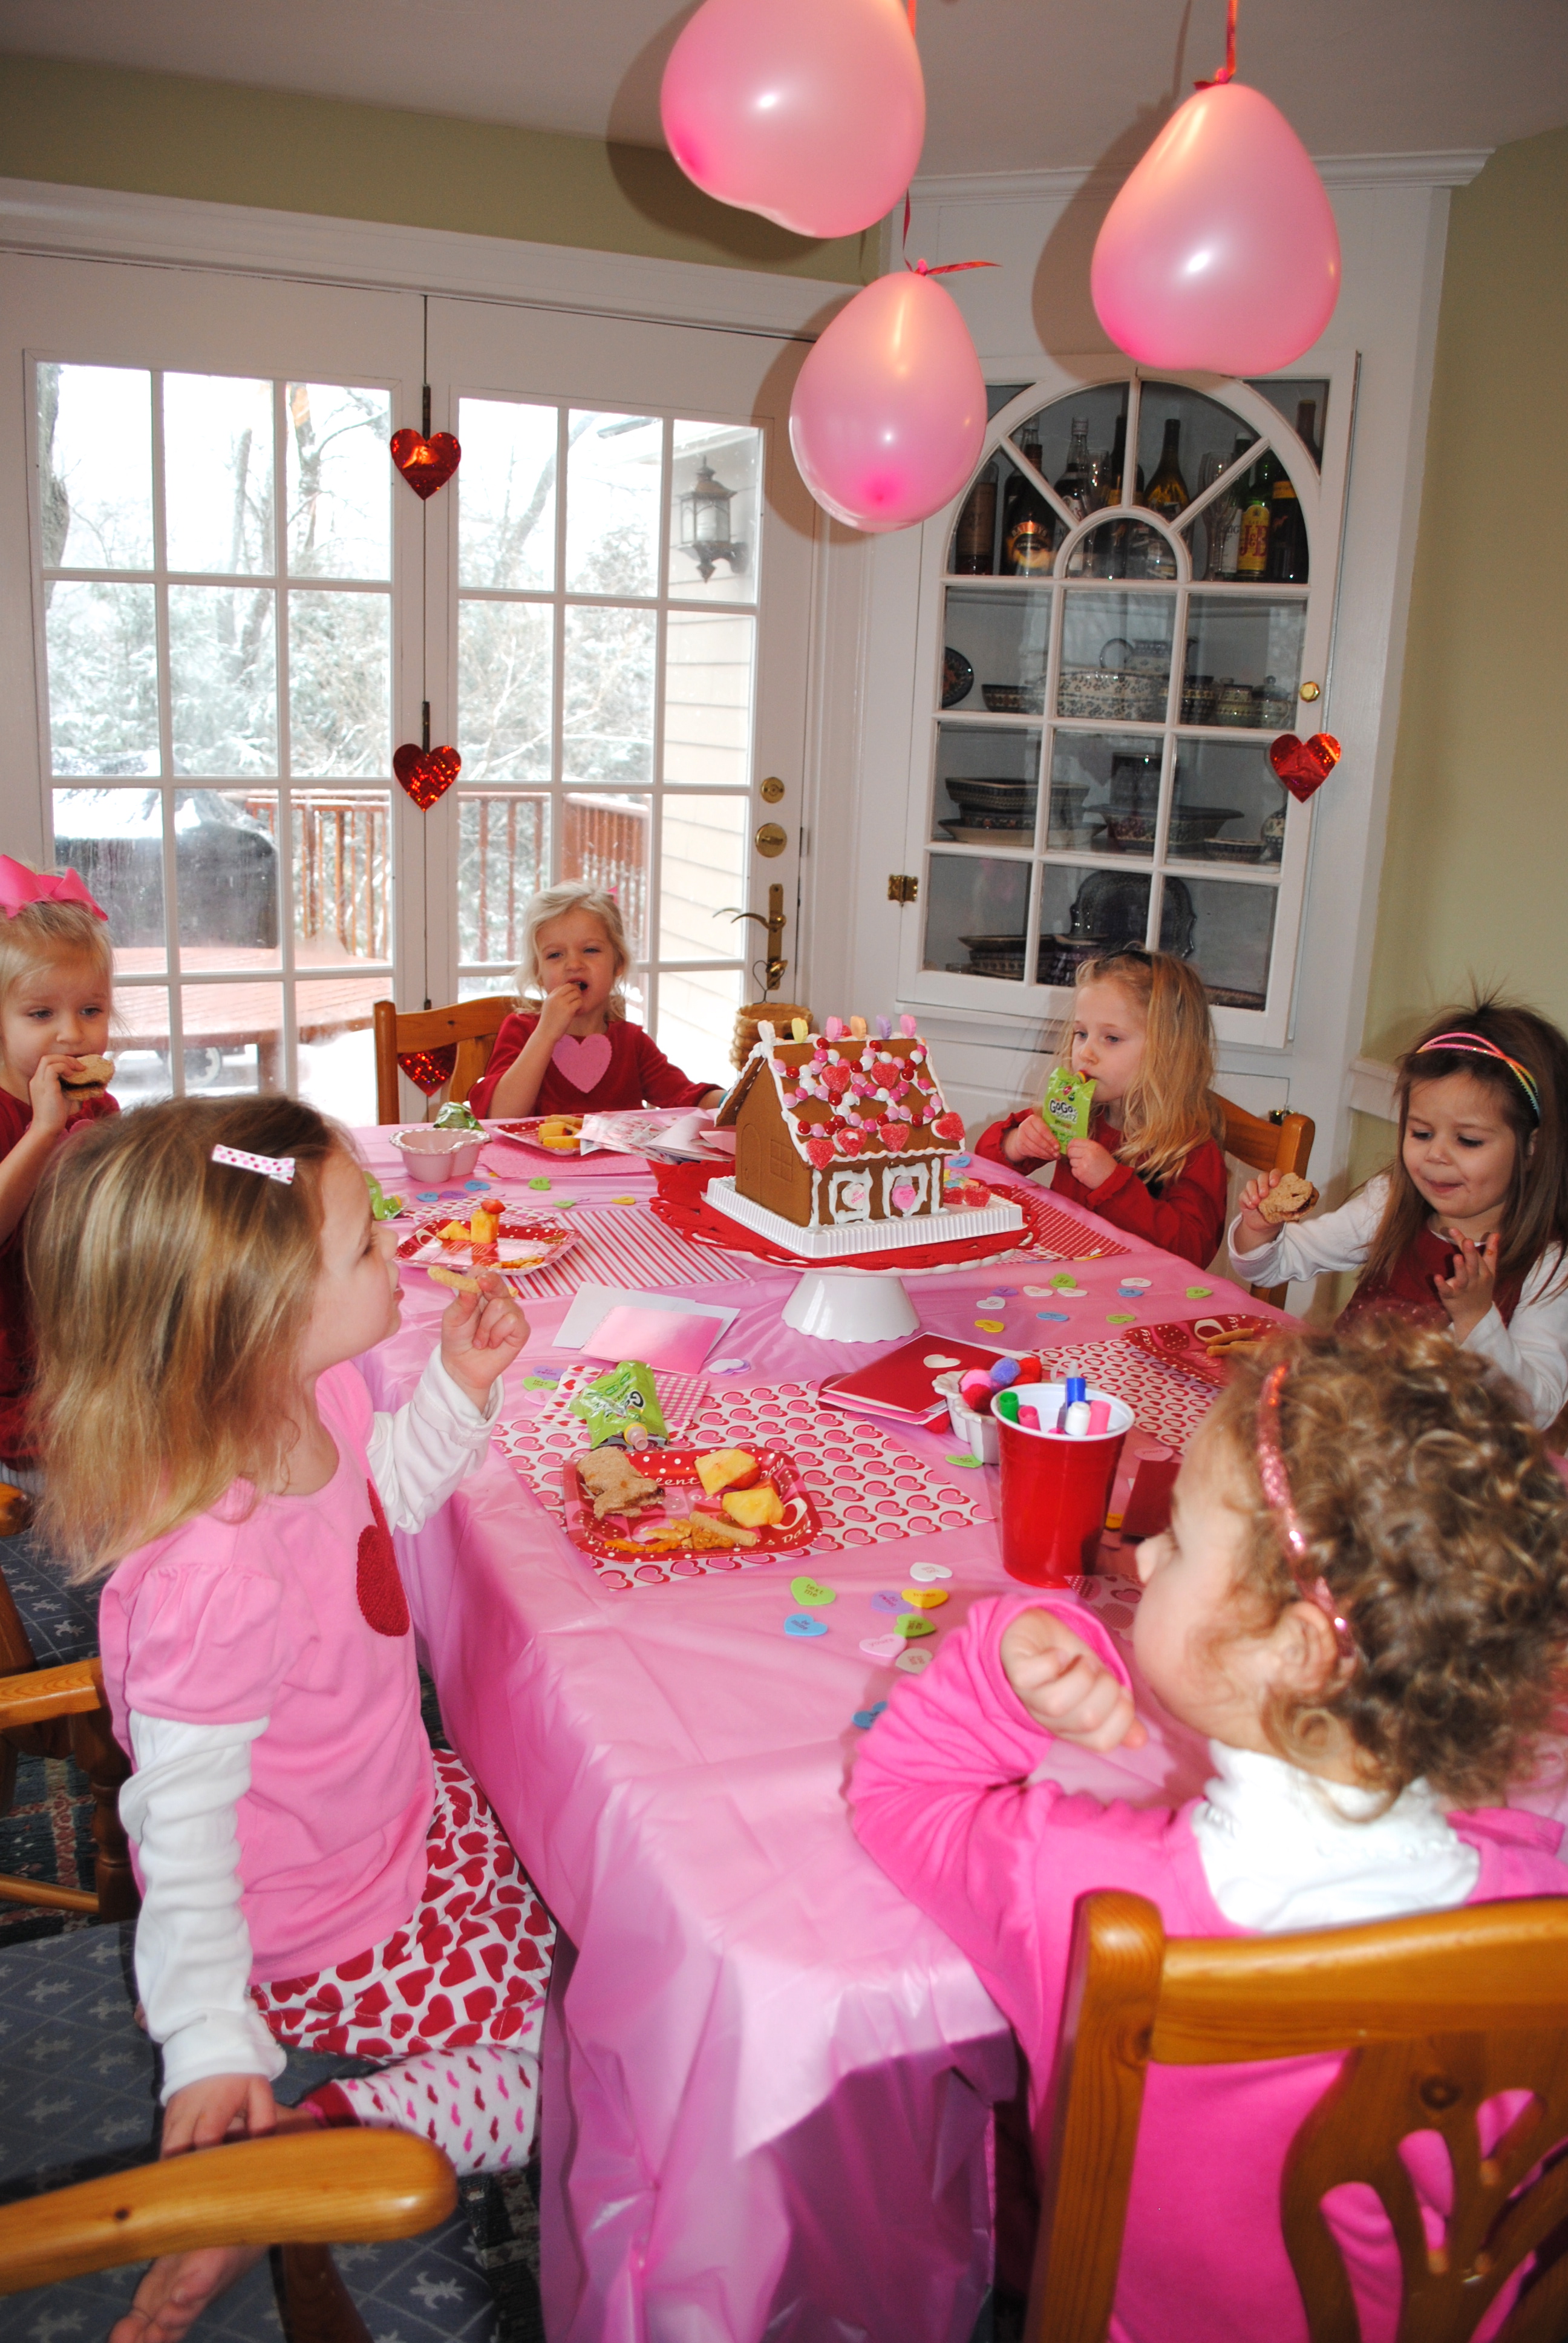
Who says gingerbread houses are just for Christmas time?

Valentine's Day craft party

Lunch time with heart-shaped peanut butter and jelly sammies.

Pom Pom Crafts

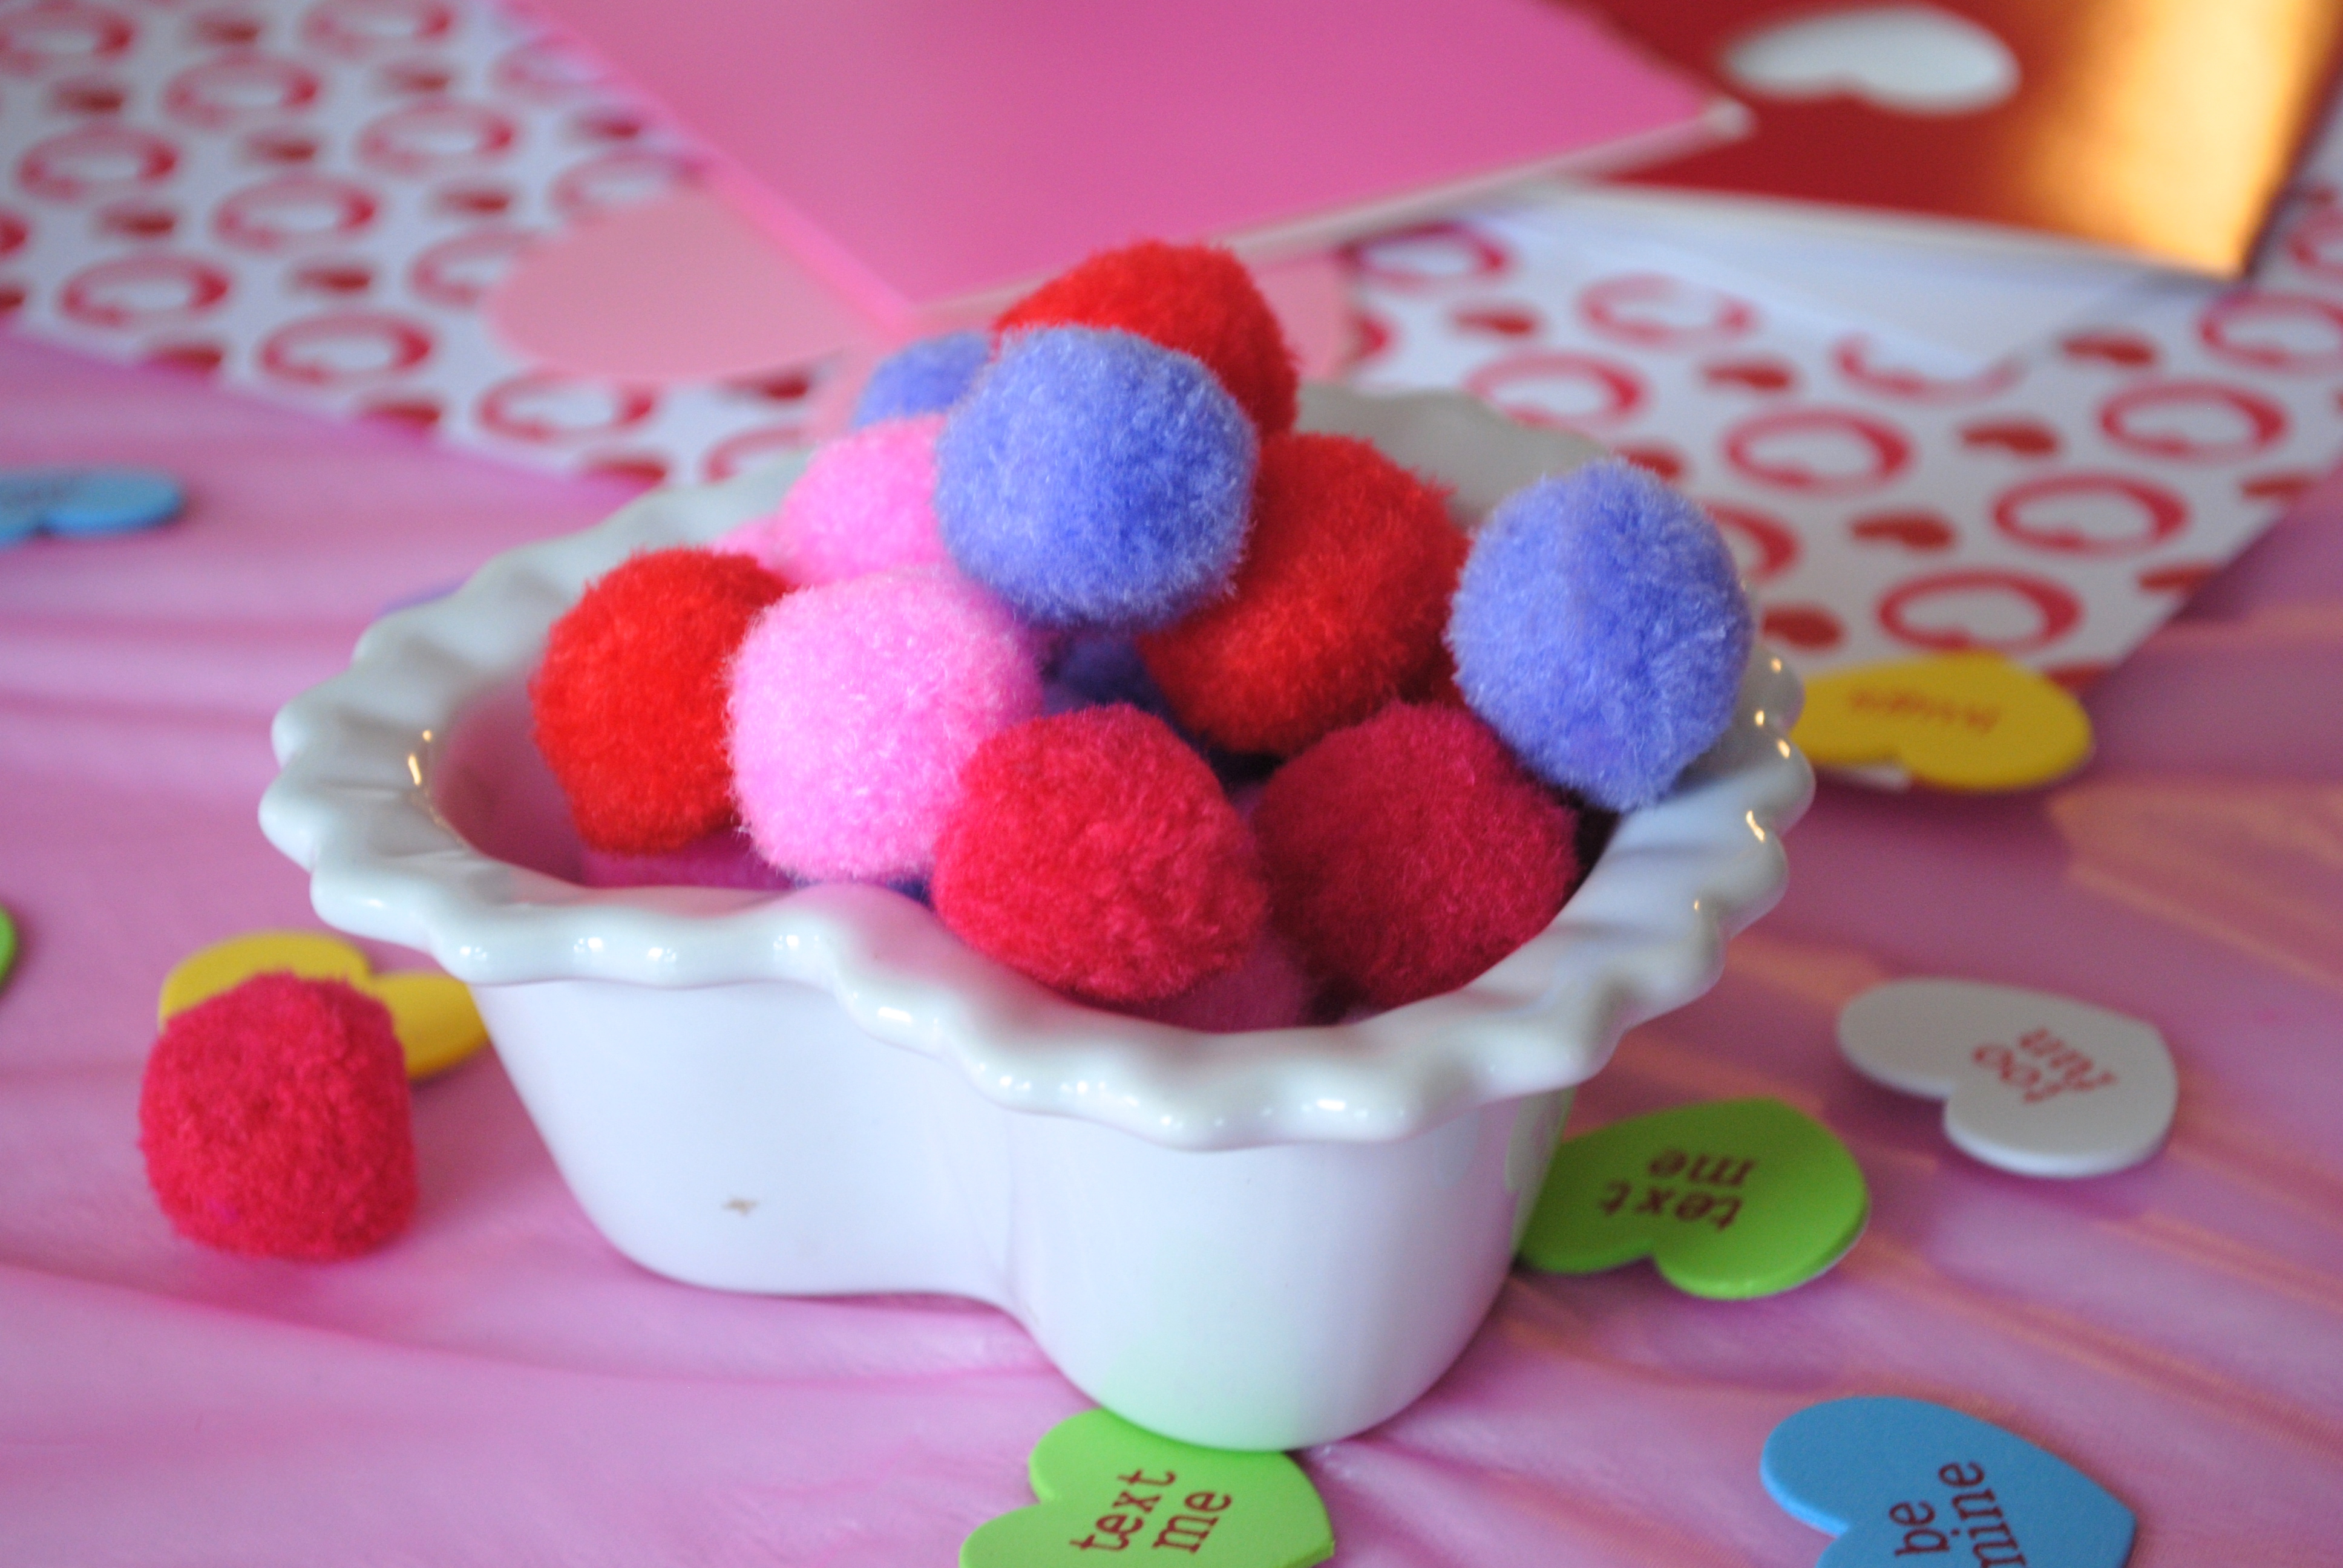
Who can resist using some fun pom poms.

Toddler Valentine's Day craft table
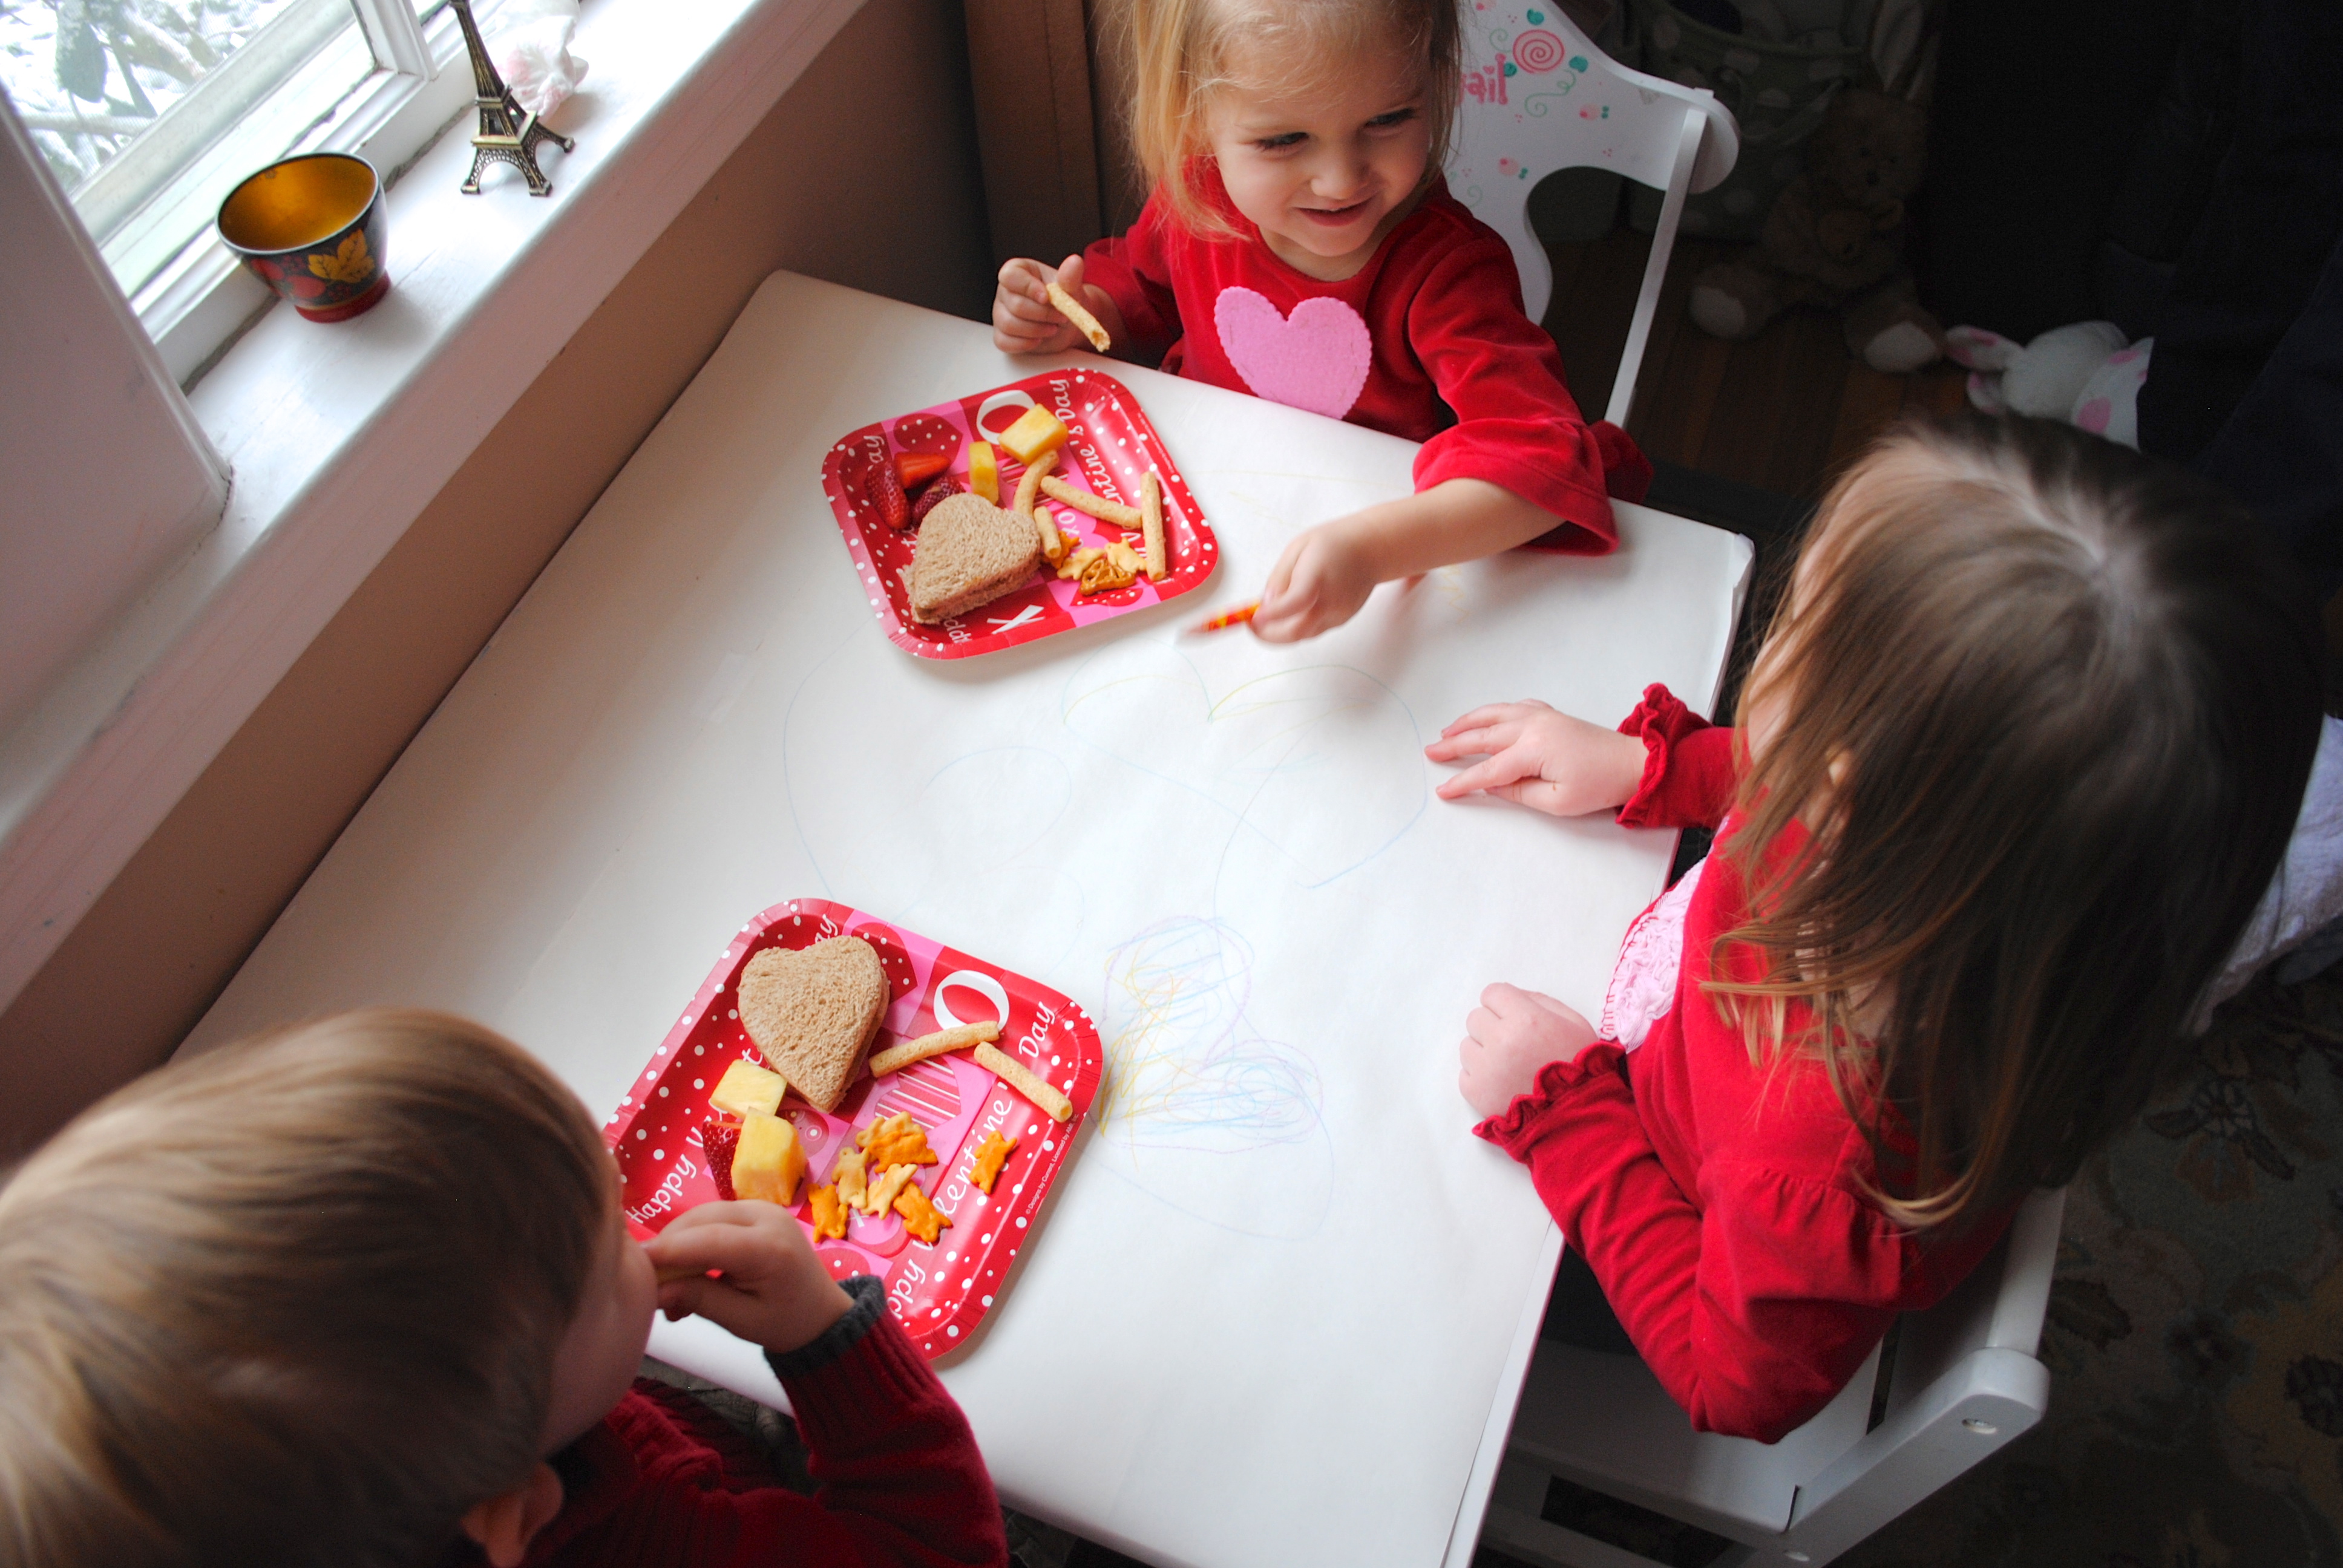
Use paper to cover the table for toddlers, they can decorate it themselves!

Valentine's Day Outfits

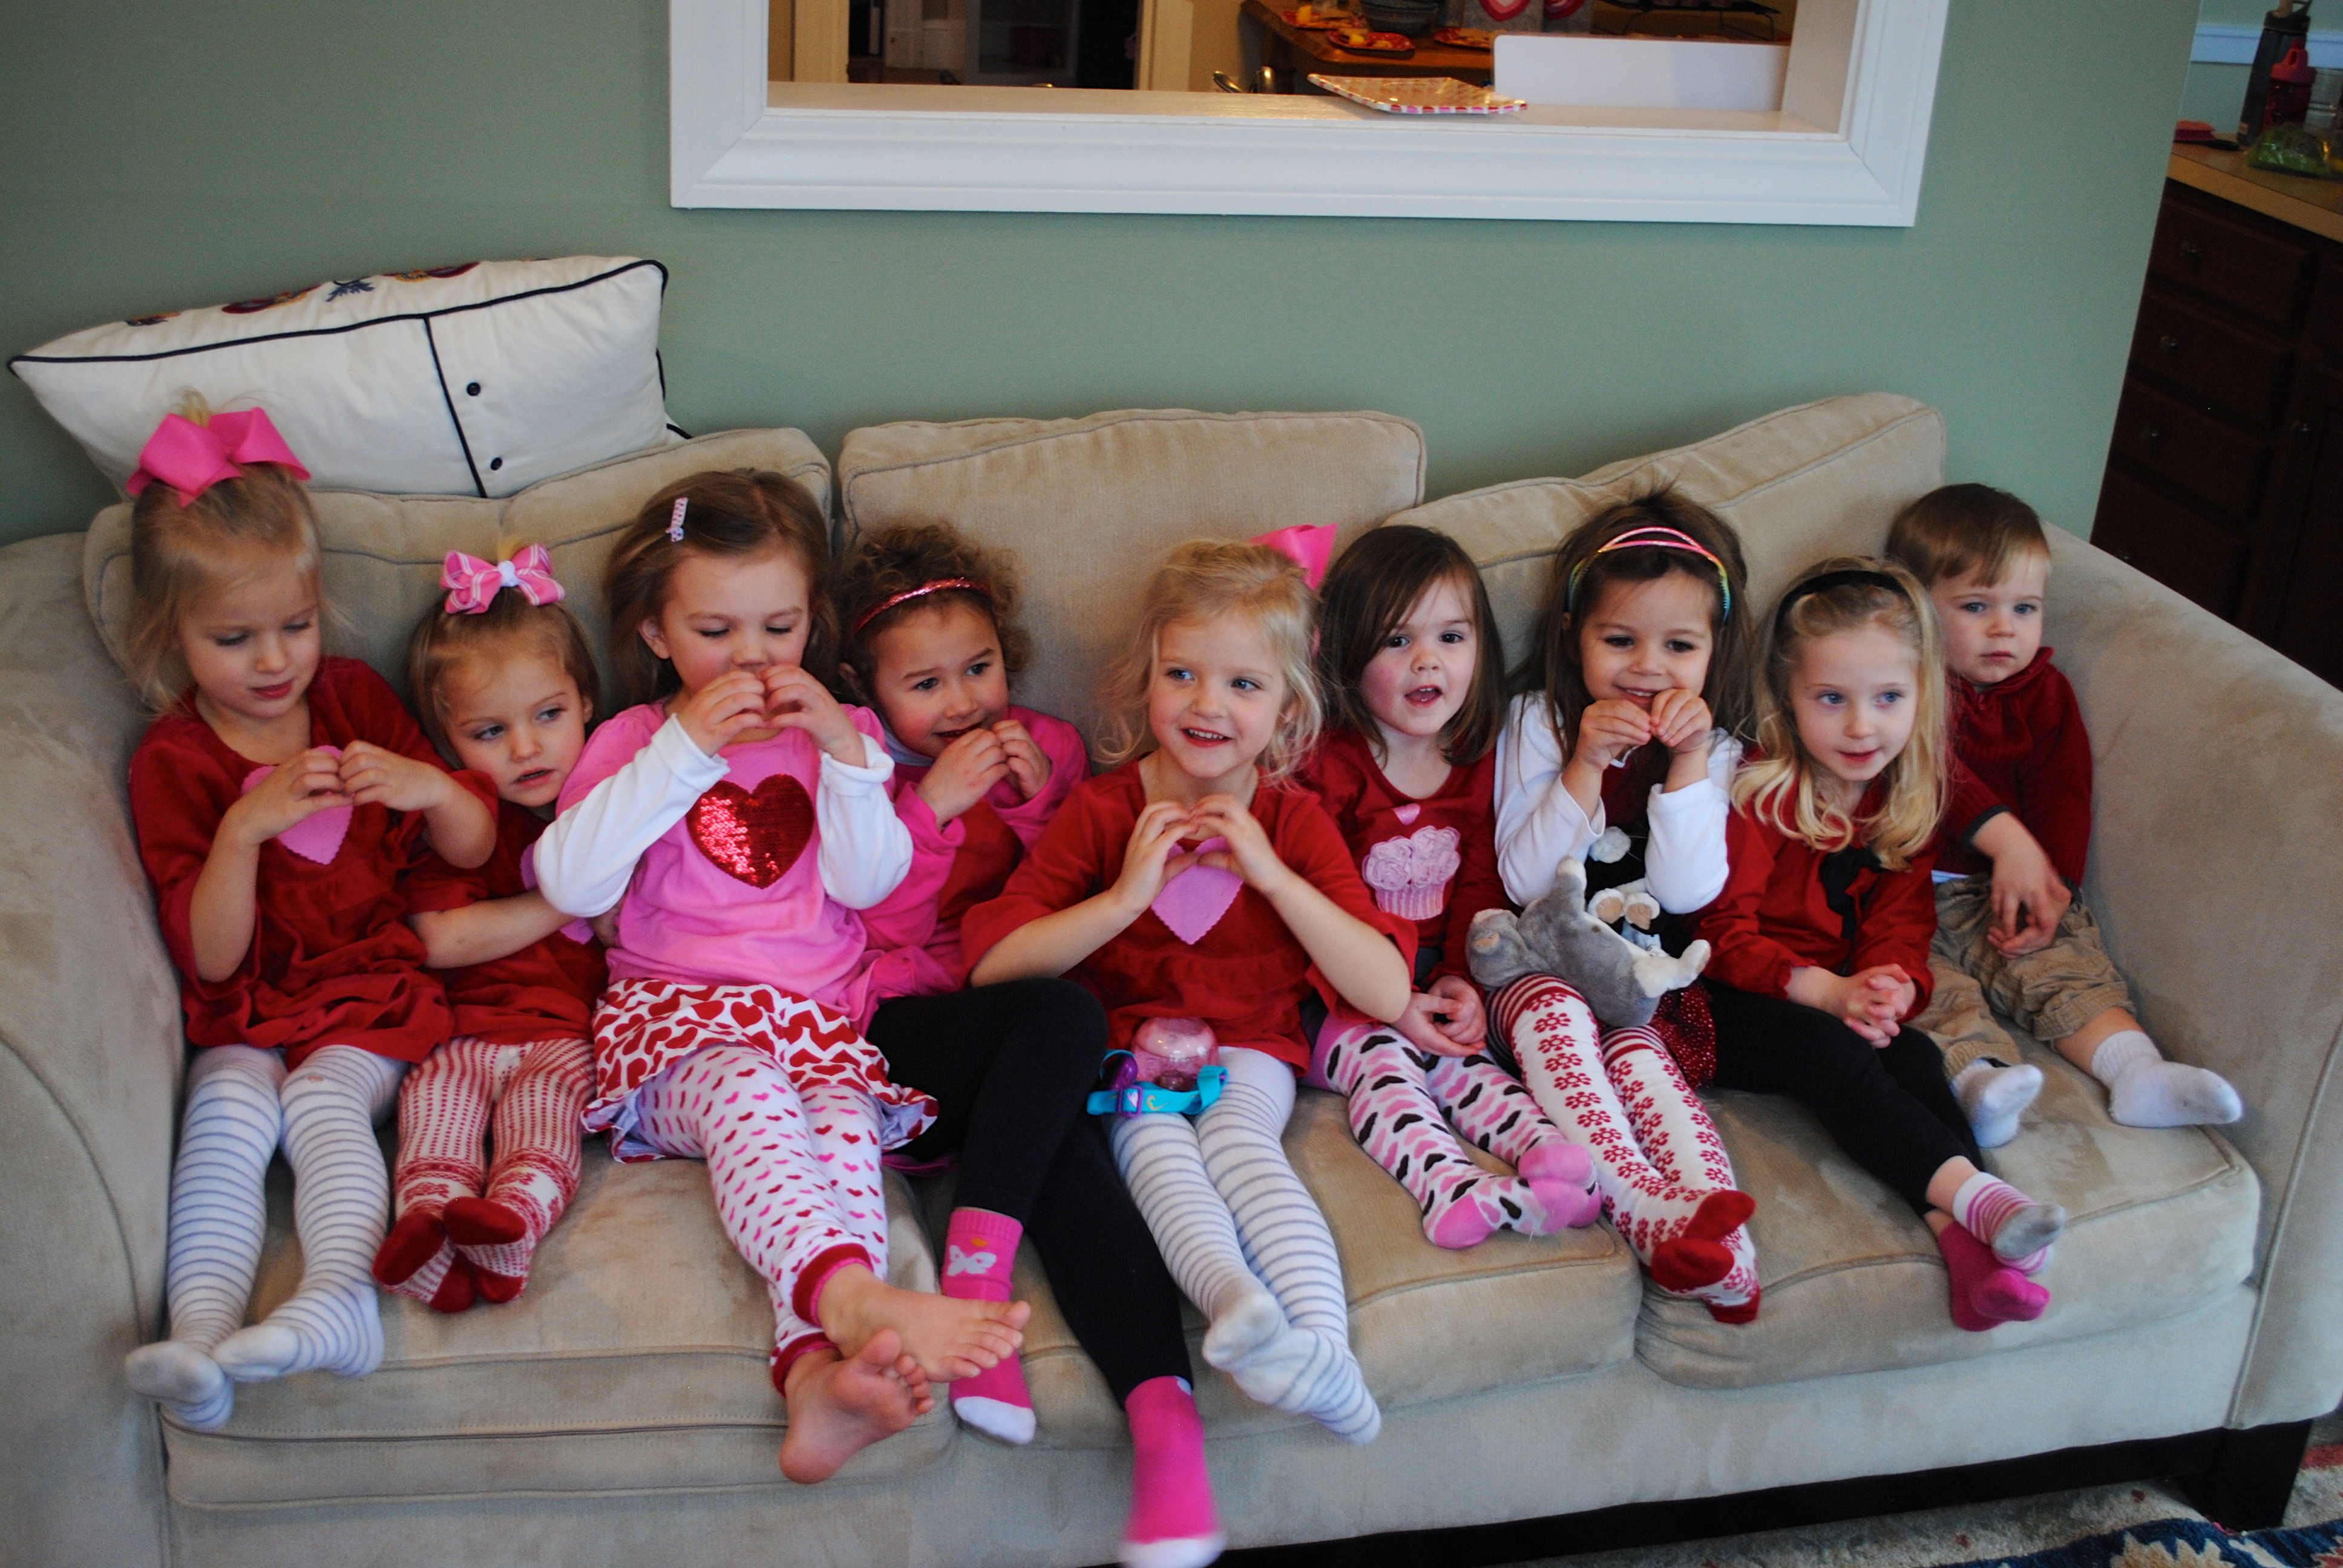
They are trying to make hearts with their hands.

Valentine's Day tights

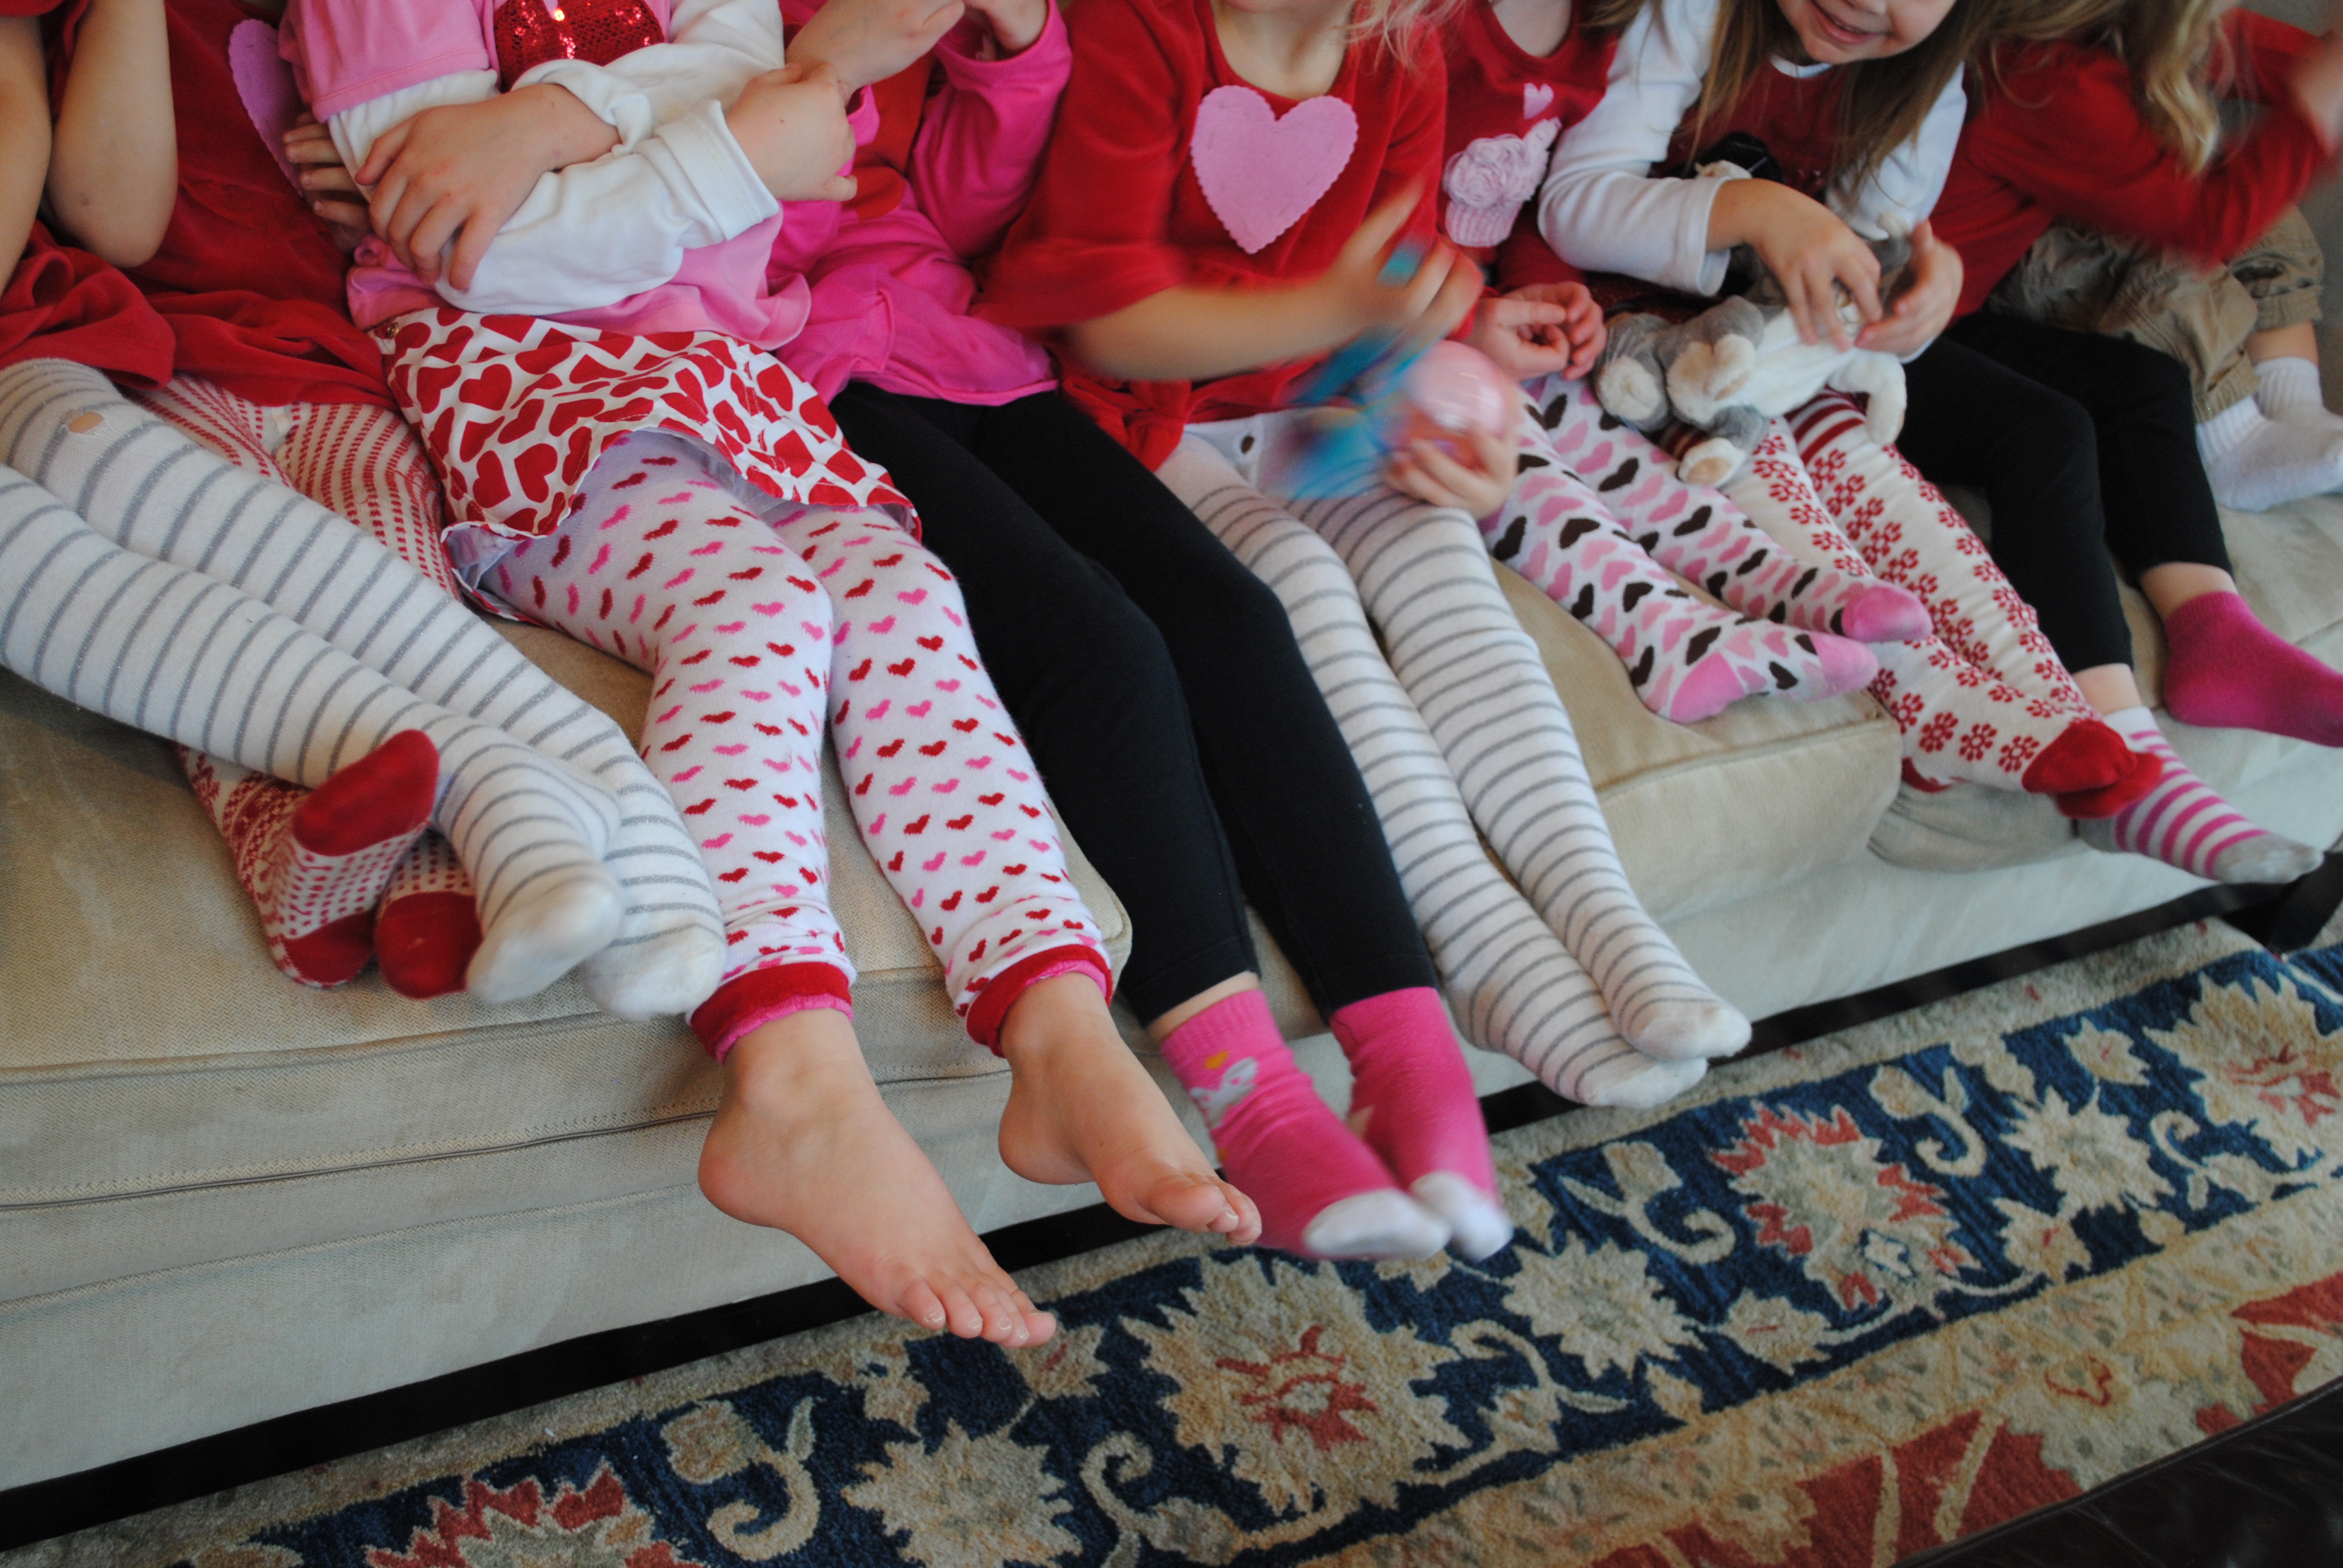
How cute are all those tights!

Janie and Jack bow shirt

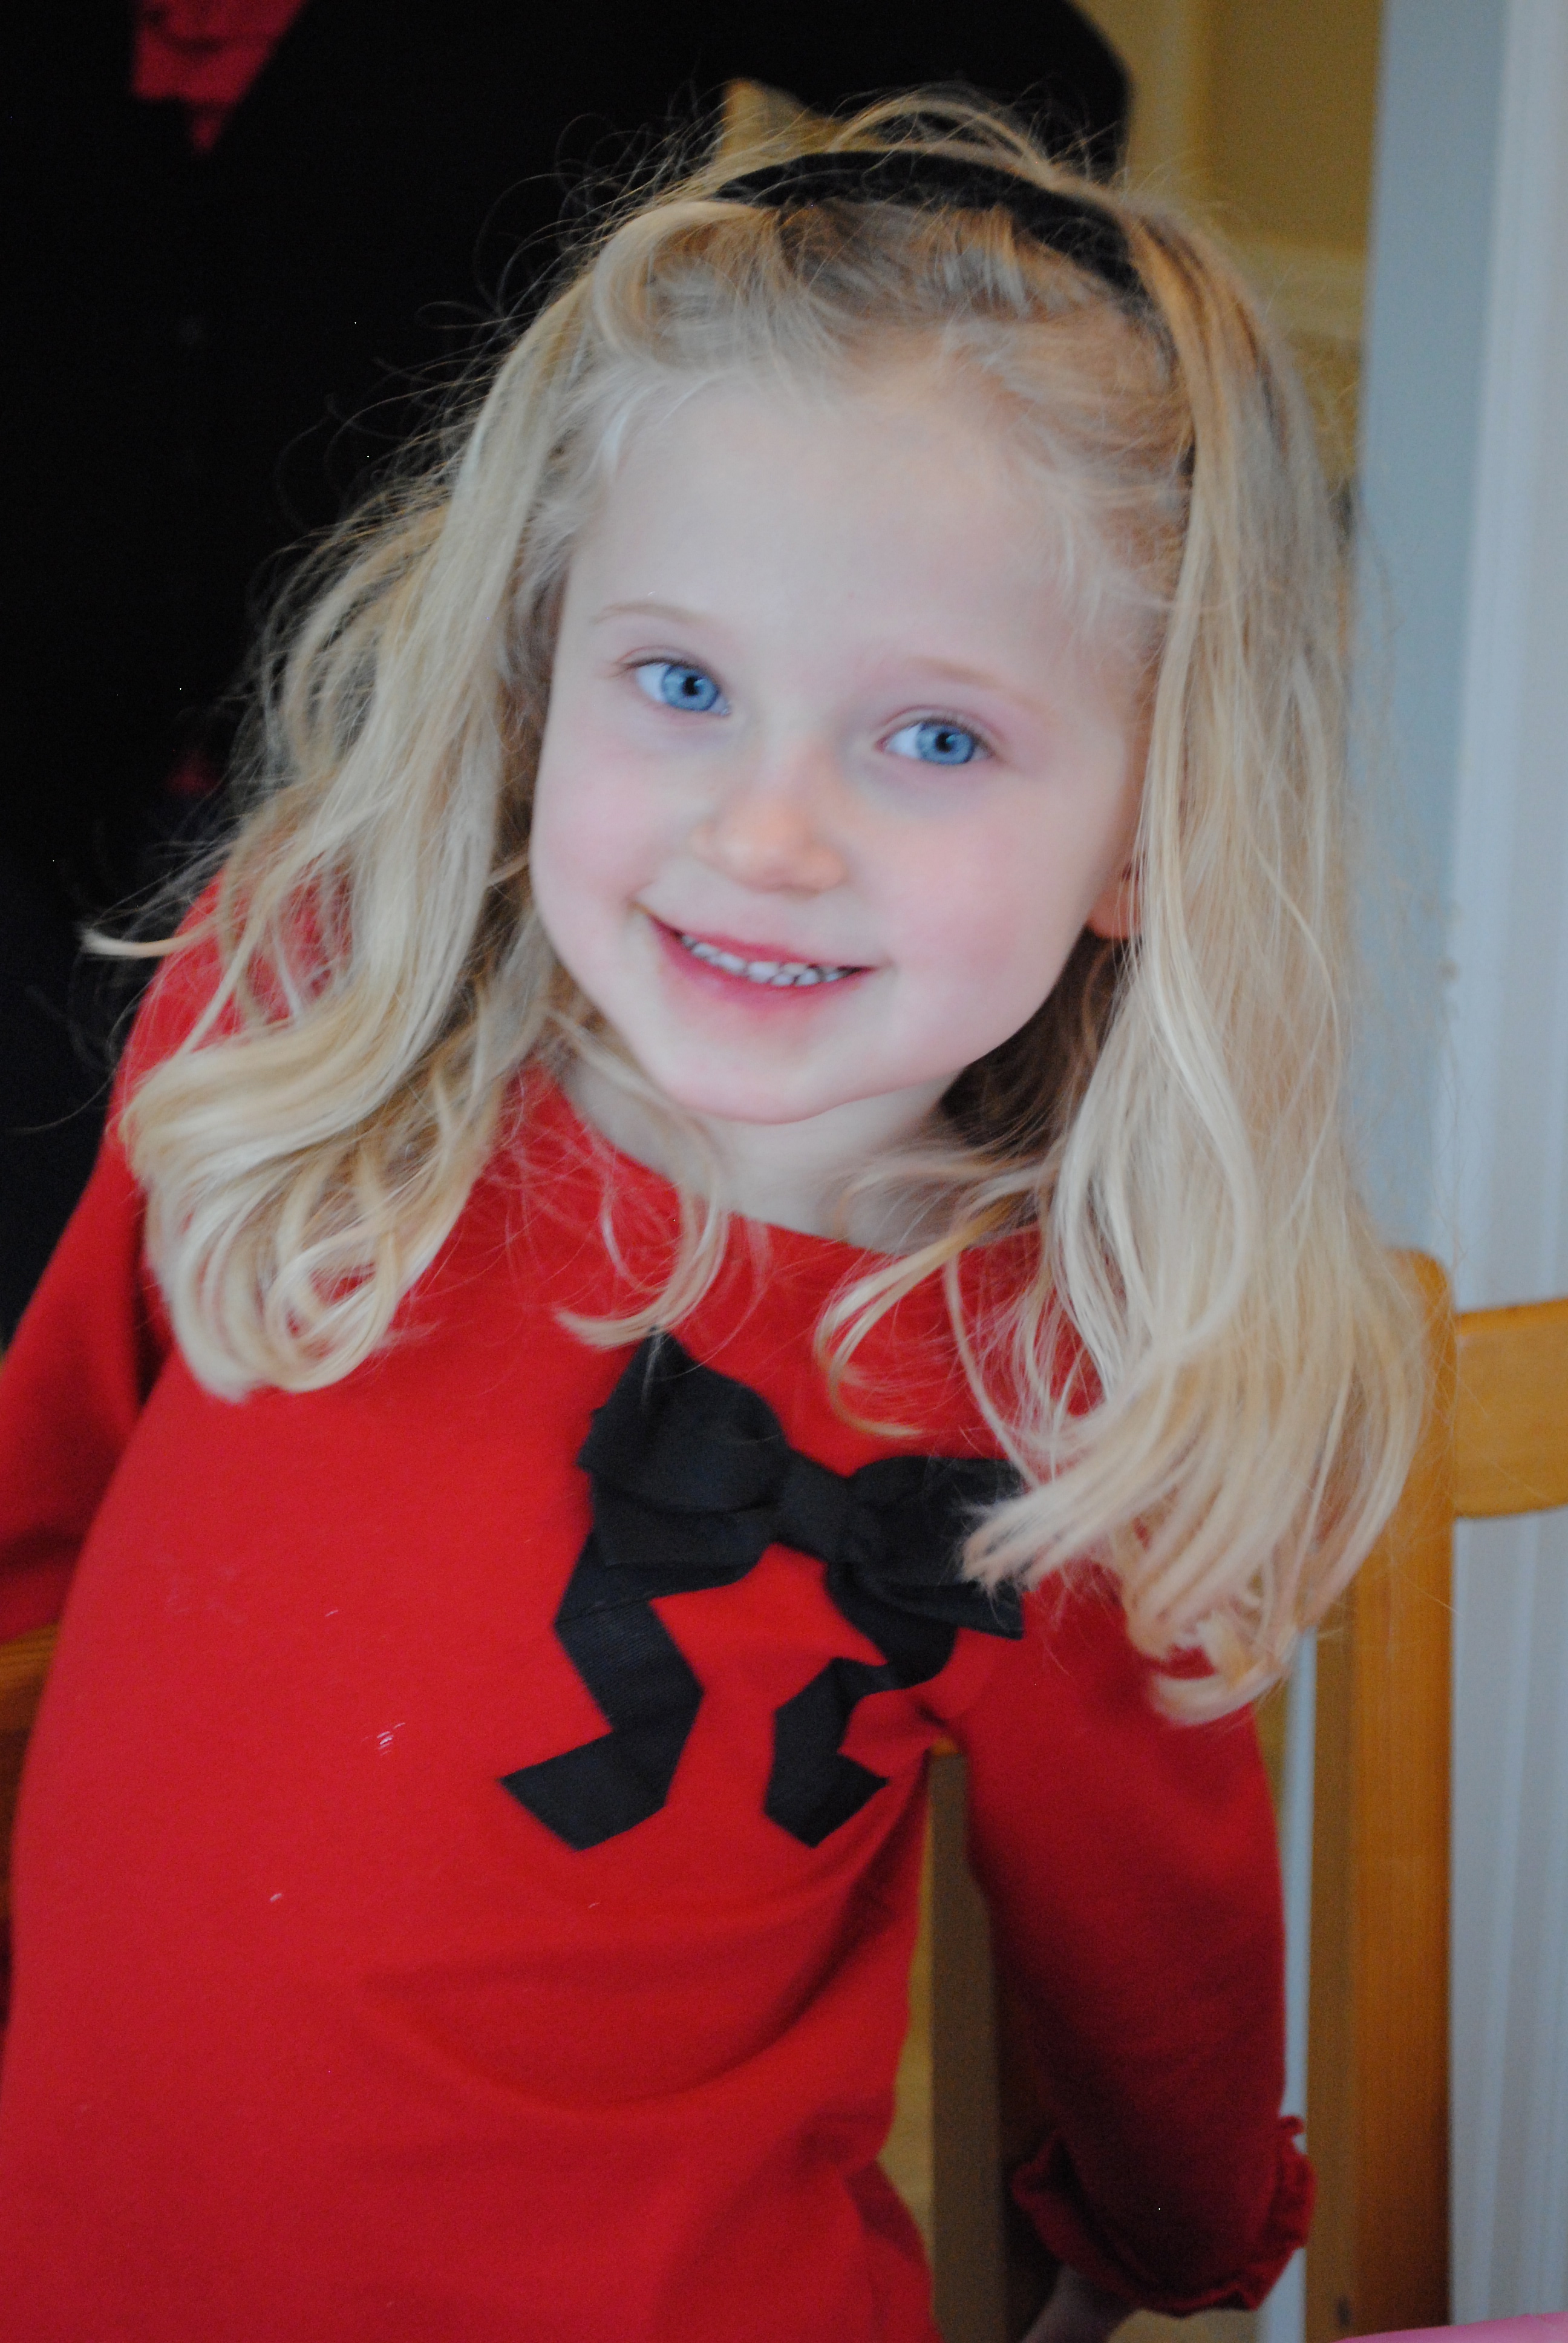
One very happy girl!

Heart Felt Valentine's Day BagsAdorable goodie bags!

Personalized coloring page

The perfect parting gift~ a personalized coloring page from Frecklebox.

Thank you Susan for hosting a wonderful party! It was great to watch the girls make some masterpieces, both with their Valentine’s day cards and their cupcakes. Hope everyone has a Happy Valentine’s Day this week! If you still need some inspiration, stop by and see what’s new on my Valentine’s Day Pinterest board.

DIY Finger Paint for Kids Random Recycling

When it’s too cold to go outside, it’s time to get creative inside. Our craft project of the day was to make DIY Finger Paint. One of my goals is to finally make some of the many kid-safe recipes I have found on Pinterest. There are recipes for nearly everything that you buy at the store, except you can make them for a lot less with ingredients you already have in your home. Often times, it’s also less toxic than what is available at the store.

DIY Finger Paint can be made with just 4 ingredients, plus some food coloring. I had a box of unopened food coloring that I have avoided using in our baking. Using it to decorate paint is a perfect way to use it up. The project is actually two steps: 1) Making the paint 2)Finger Paint time.  I made the finger paint with Madison’s help while the little guy took his nap. By late afternoon the paint was cool enough to use and they could get nice and messy playing with the paint.

The messiness level is pretty high on this one so beware. The food coloring stains the hands, but it did wash out fine in the bath. The color will be a lot better on white paper, I used paper bags instead to test it out. The paper is really durable and my kids don’t really care about the “picture” they are making. They just want to swirl it around and make “rainbows.”

Ingredients

2 tablespoons sugar

1/3 cup cornstarch

2 cups water

1/4 cup clear liquid dish soap

food coloring

Instructions

Add sugar and cornstarch to a small sauce pan. Blend together, then add water. Cook on medium heat until the mixture turns into a gel-like substance.

Bring to a boil, then turn off heat and stir in the liquid soap.

Divide the mixture into separate containers that you can add the food coloring too. I would use about 8-10 drops for small containers. Glass baby food jars are great for this. We used larger jars to create the colors, then I transferred smaller amounts to an egg carton to use at the kid’s easel. If you have any leftovers, cover tightly to use later.

DIY Finger paint Random Recycling

Do you have a favorite DIY craft project or recipe to share?


I’m sharing this over at The Tuesday Baby Link Up.

The Butterfly is my favorite Urban Canvas project.

Ever notice how excited kids are to play with a box instead of the toy that came in it? There is just something magical about cardboard boxes and a child’s imagination. Urban Canvas brought these elements together to create a line of design oriented art projects using recycled cardboard. The line of art projects is designed by a mom of three who has a background in interior design and art education. She also had children who loved the cardboard box as much a my two kids. Urban Canvas just launched this year and I love their commitment to using sustainable materials, very little packaging and creating a project that eventually can be recycled.

The train set is appropriate for ages three and up.

Want to try out an Urban Canvas project with your kids? Or maybe give one as a gift? You can get 25% off using the code: COOLTOY. If you buy one now, you can also snap a picture of the finished project and enter it into a contest. All entries will get another Urban Canvas toy. You can also buy these projects in a few local retailers, including Henry Bear in the Boston area.

To celebrate the holidays, Urban Canvas is also going to give a lucky reader their choice of an art project! Take a look and see which one you like; there is also a note about the appropriate age for each project in the details. Contest is open to US residents and runs until midnight 12/22.
a Rafflecopter giveaway

Good luck!

When I first spied glitter slime on Pinterest I was hooked. Such a fun project for the kids with a lasting toy to play with.  This only requires three ingredients: glitter glue, Borax, and water. It’s not too messy and it was easy to make with both a three year old and a one year old.

Ingredients
1 large glitter glue bottle (glitter glue pens are too small)
1 teaspoon Borax
1 cup of water plus 1 tablespoon

Instructions
1. Empty glitter glue bottle into a large bowl.  Add 1 tablespoon of water and swirl around to thin out the glue.

2. Mix 1 cup of water with 1 teaspoon of Borax. Add to glue mixture.

3. Let the kids swirl it all together and it instantly becomes slime!

Madison was really excited to find pink glue to make for her and a friend. It was a great sensory experience for both children.

We are storing our slime in reused glass jars. Large baby food jars are a good size too.

Easy peasy. Here is a cute Google + album sharing pictures of our experience making this project a reality.  Happy Halloween everyone!!

Image and video hosting by TinyPic
I love to hear your feedback and comments. Stop by and visit FacebookPinterest or Twitter for more conversation!  Or get posts delivered via Email or RSS Feed. This post is shared with Green Your Way.

I am in love with holiday decorating. Easter included.  Time to decorate those eggs!  This year I finally took some time to do some egg dying with natural ingredients.  Everything came from what I already had in the house.

I bought generic white eggs.  I went with hard boiled instead of blowing them out because I was wasn’t sure if my kids could handle something so delicate.  Cook for at least 15 mins on a simmer to avoid cracks.

I did some clean out of the fridge/freezer and cabinet to test out a few options.  The blueberries soaked in water for about an hour.  Others were boiled for about 20 minutes to draw out the colors.

Once the liquid was ready, I divided it up into smaller containers and added about one teaspoon of vinegar per one cup of liquid.

Cover the area with a large cloth or newspaper as this got messy when the eggs were dropped in!

We got used the following and let the eggs sit in the mixture overnight.

Spinach~ light green
Cranberries~ light pink…I would strain in a cheese cloth before doing this again.  I got funny bubbles on the eggs
Pomegranate tea~ turned green over night!  Originally was pink
Carrots~ light yellow
Red wine~ brown, almost prehistoric looking.
Beet juice~ (very) light pink
BLUEBERRIES~ dark blue. Favorite of all the eggs by far.

We drained them on a cookie cooling rack.  I didn’t care about little marks as it just adds to their character. This was an easy kids activity when adult can make the natural dyes at the stove ahead of time.  The eggs are safe to eat as long as they are refrigerated.  Find more egg dying ideas on my Pinterest Board.  Next up for me are some chalkboard eggs!

Happy Easter and Passover to all!